

 March 26th, 2013
  Kevin
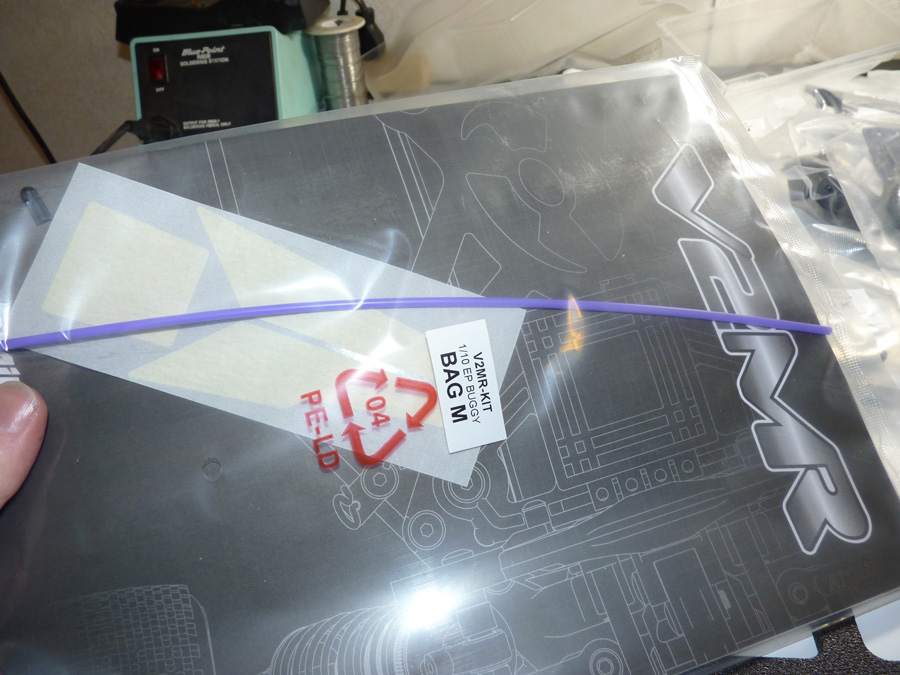
Kevin Here’s the sealed manual with window masks, decal sheet, and purple?? antenna tube.
Manual out.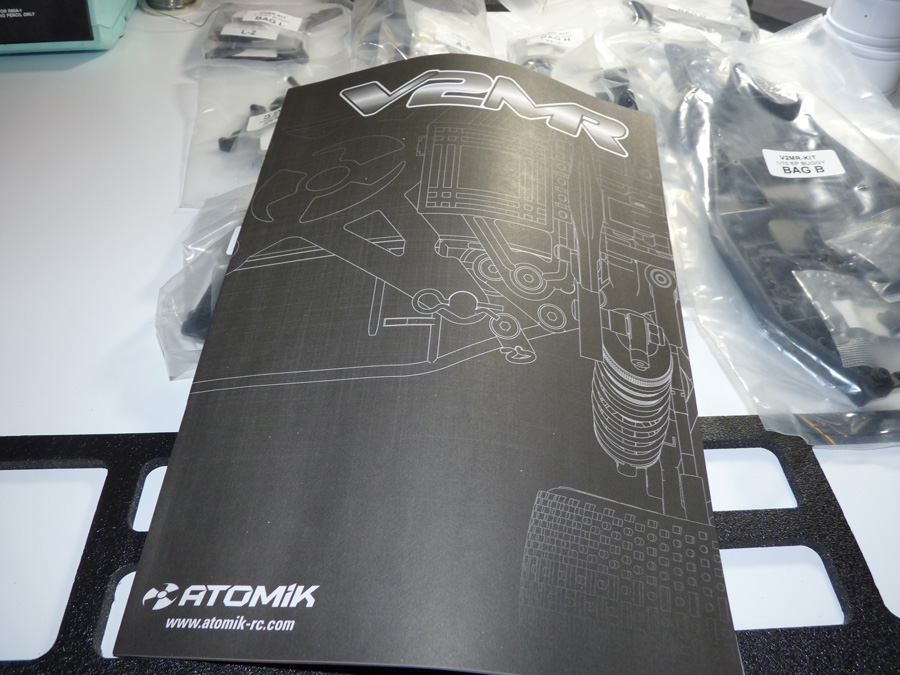
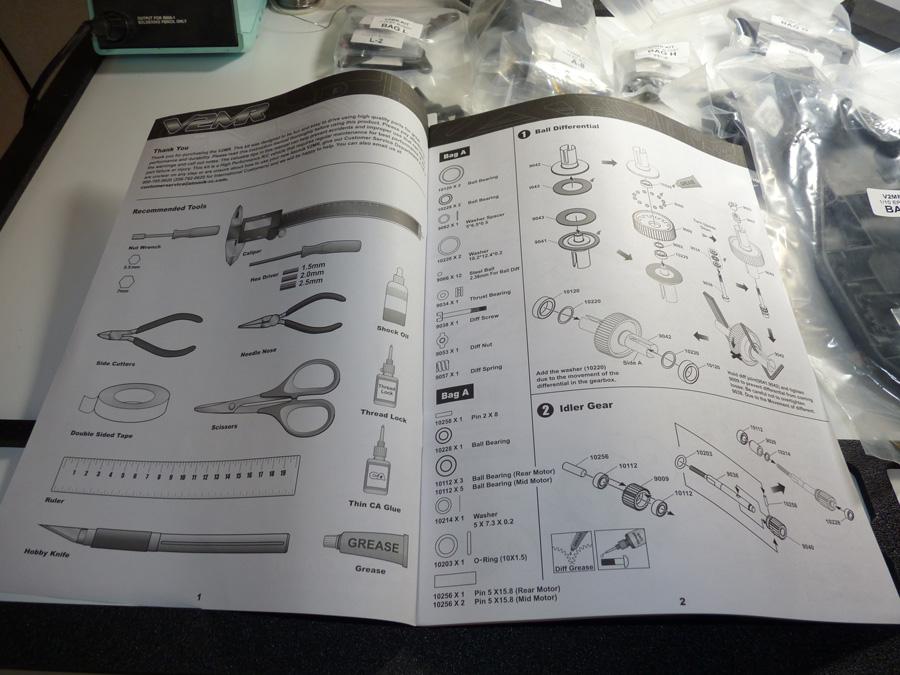
The manual is awesomely all in English.. not to hate on others that are multilingual but this is so much cleaner and easier to navigate. As with others it has a 1:1 sidebar so if you unsure the size of a screw, you can hold it up the the manual and tell if you are using the right length. This isn’t too big of an issue in this kit build though because everything is pretty straight forward. All the bags are labeled, and they correspond with the instructions. As you can see, we start with Bag A, the Ball Differential. In this bag is everything you need to complete these steps (including hardware) and nothing more or less. There is no centralized hardware bag as with some kits that you have to rifle through to find what you need. It’s awesome and easy to follow. A 10 year old could build this kit unsupervised.
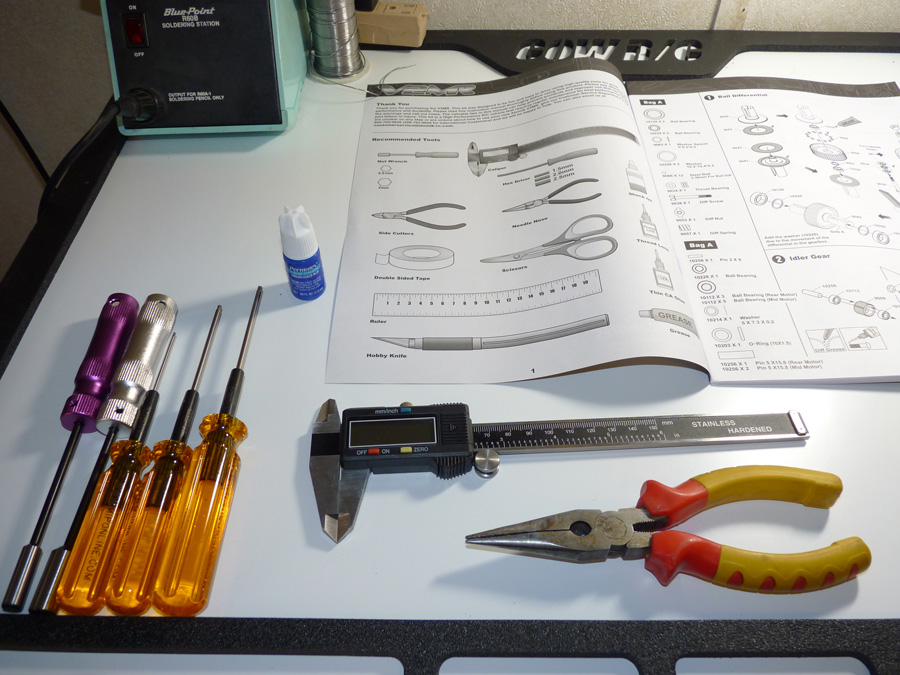
So, I got my trusty tools out. I bought an entire set of MIP hex drivers. The old ones were made by RC-ONE and I think the hex was stripped on every one of them. The alloy they use is much too soft for use on tools. Everyone told me how great the MIP ones were, so they will now be my hex driver of choice. I used them thru this whole build, and they never once let me down, always a tight fit and no stripped screws!
So we start with the ball differential and transmission. This kit has the ability to run mid or rear motor, like most modern 2wd buggies. You will have to decide early on in the manual which configuration you want to try first. Locally most guys seem to be running rear motor, so we just went with that.
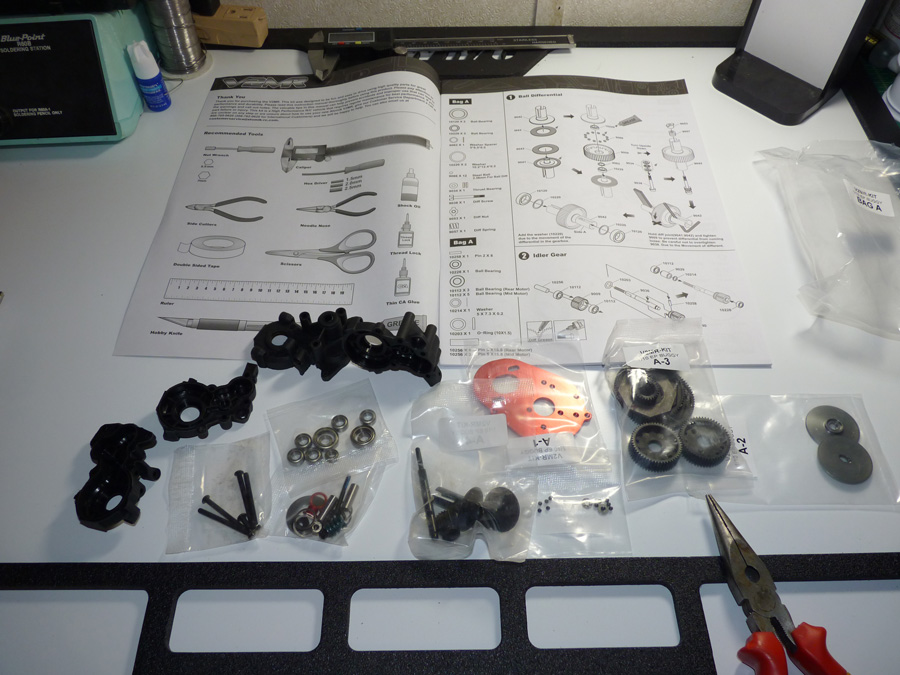
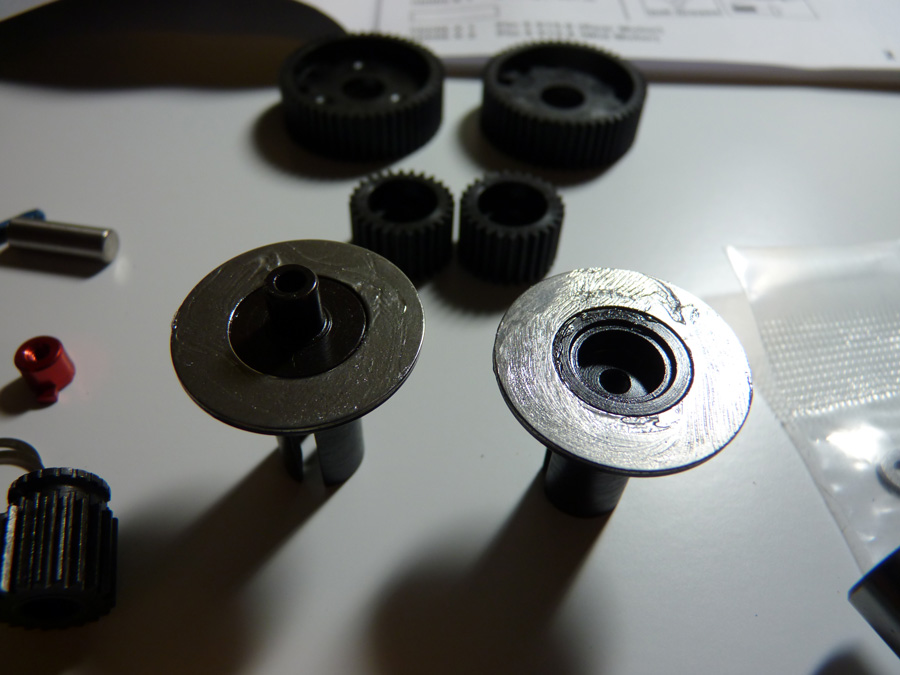
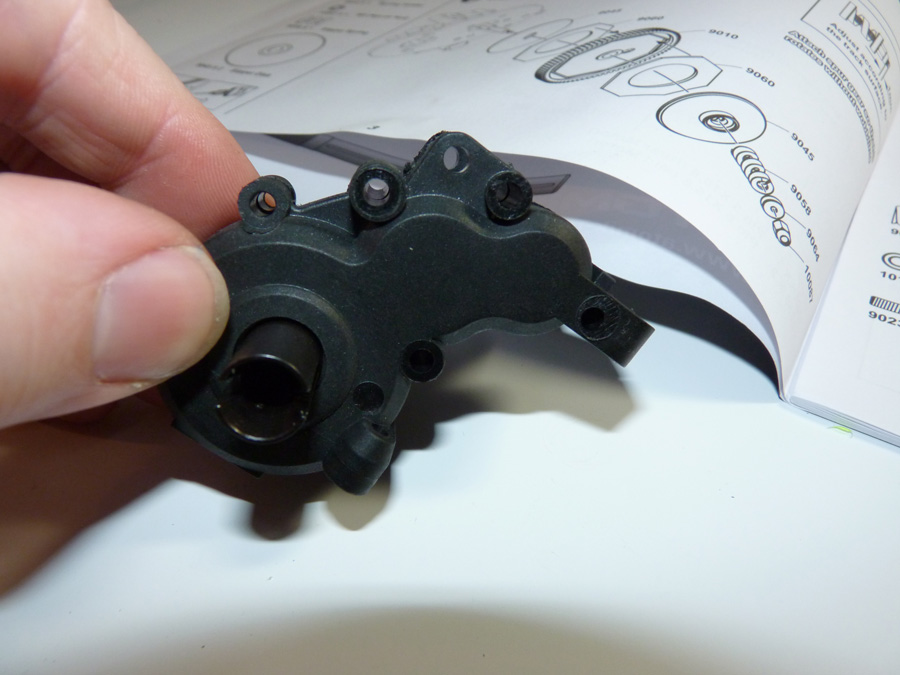
These are the 2 different gearcases. One is for mid motor, the other is for rear. You will also notice that the kit comes with full ball bearings.
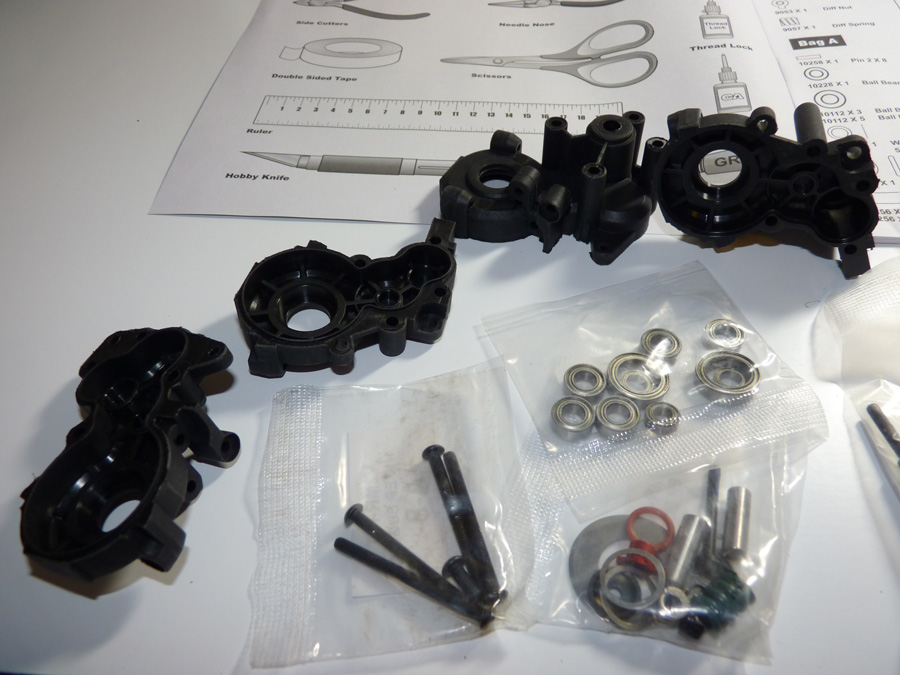
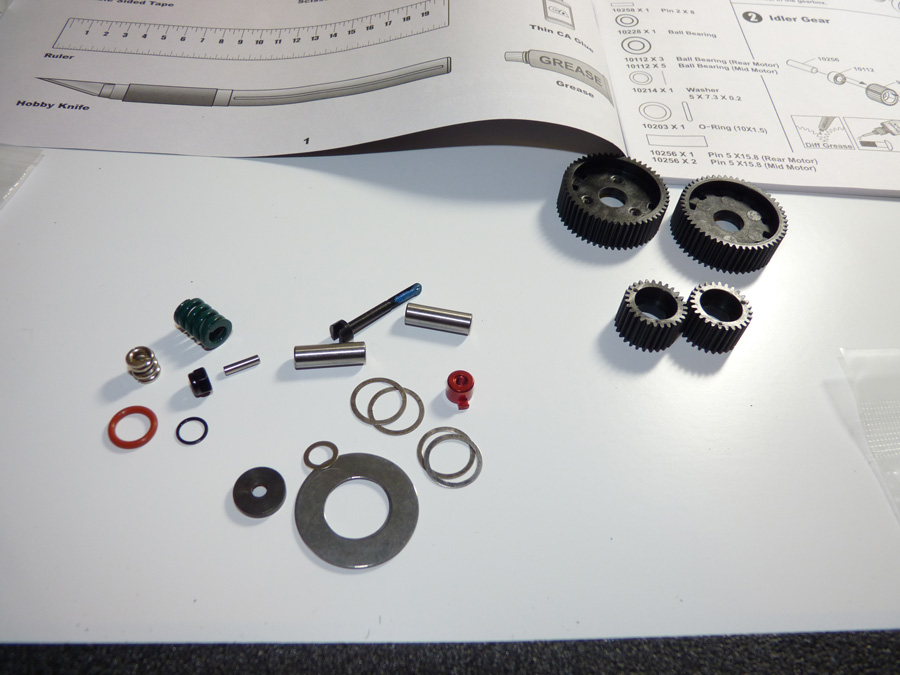
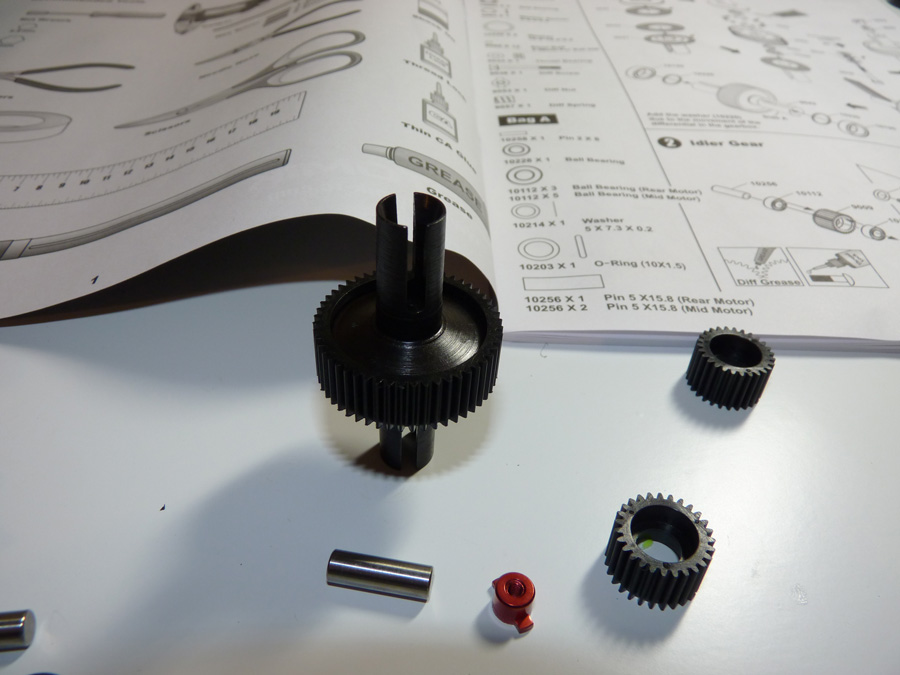
This is most of the transmission hardware. You have the idler gears, a spare diff gear, shims, slipper hardware, diff rings, etc.
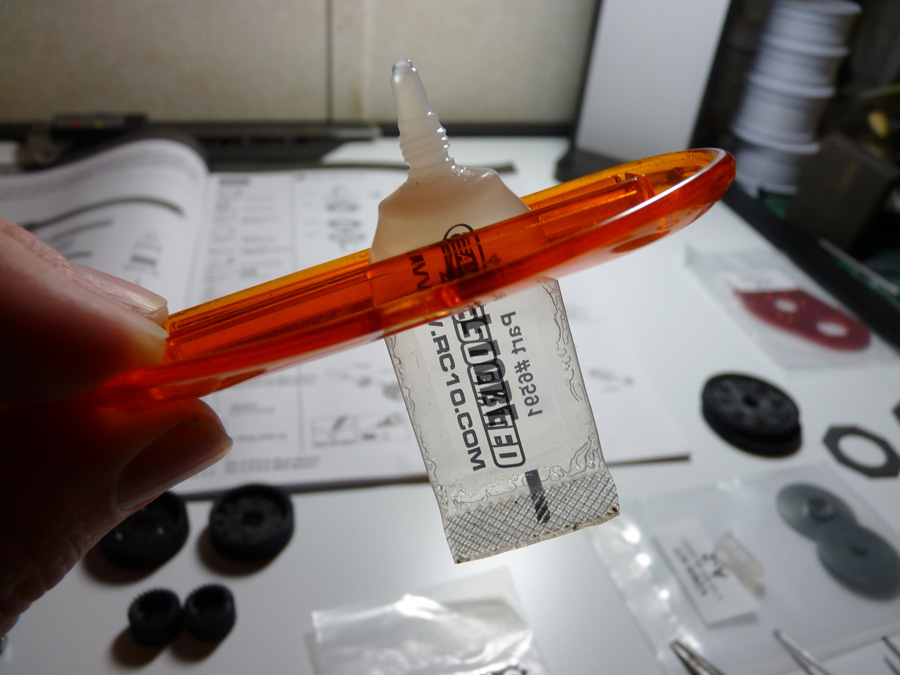
The kit does not come with any form of lubricant (be it diff grease or shock oil) so you will need to have your own for the build. I tend to stick with the Associated brand. Mine is almost empty, so I snatched this toothpaste squeegee out of the bathroom to help me get out every drop!
Now that we’ve lubed up the diff rings we can install them on the outdrives.
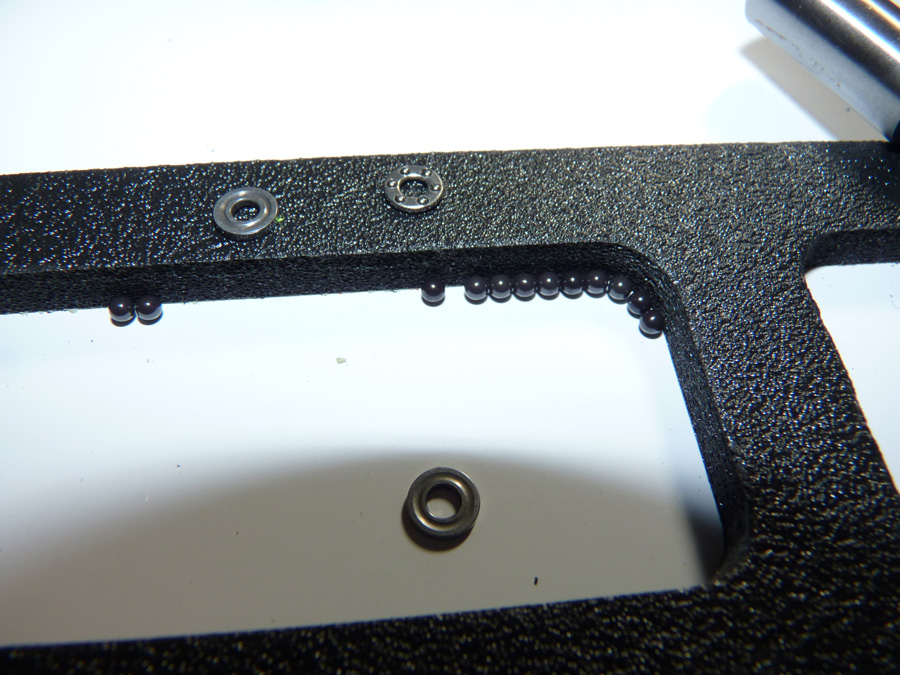
Here are the ceramic diff balls. I am SO glad I had my CowRC mat out, because these guys rolled all over, and not being metal, they didn’t stick to the mat. The parts coral on the work mat though kept them from rolling too far and being lost on the floor forever.
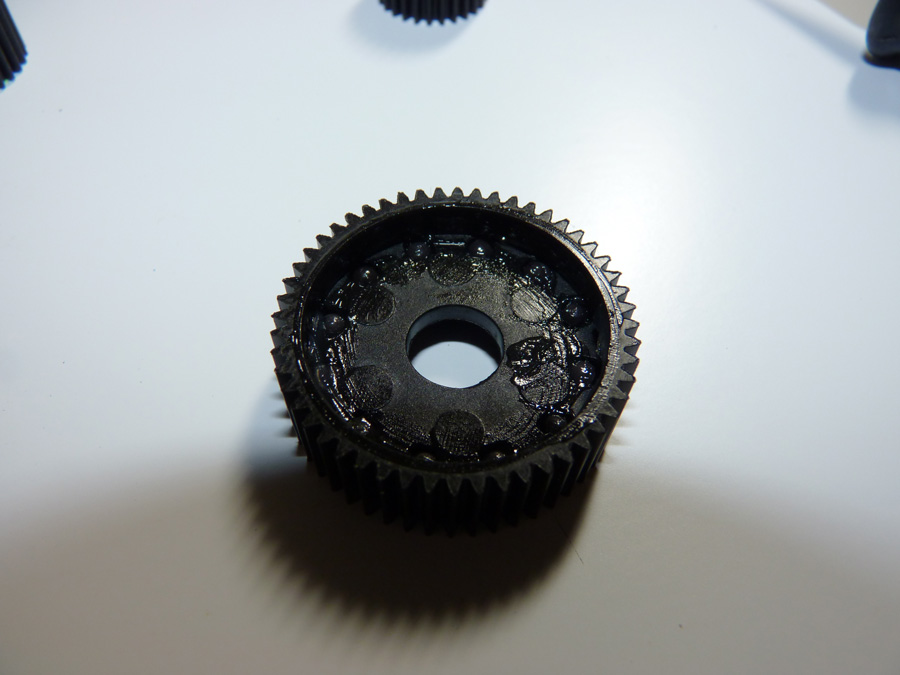
We give those a little lube and put them in the differential gear.
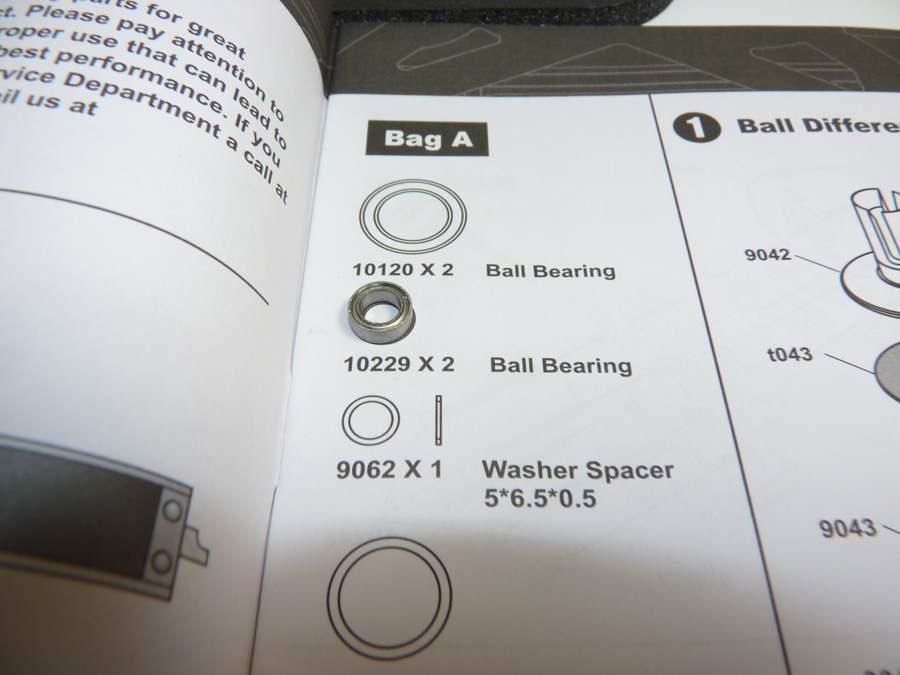
Here’s an example of the 1:1 diagrams in the manual. When you aren’t sure what size to use, just compare it.
Here’s the diff coming together.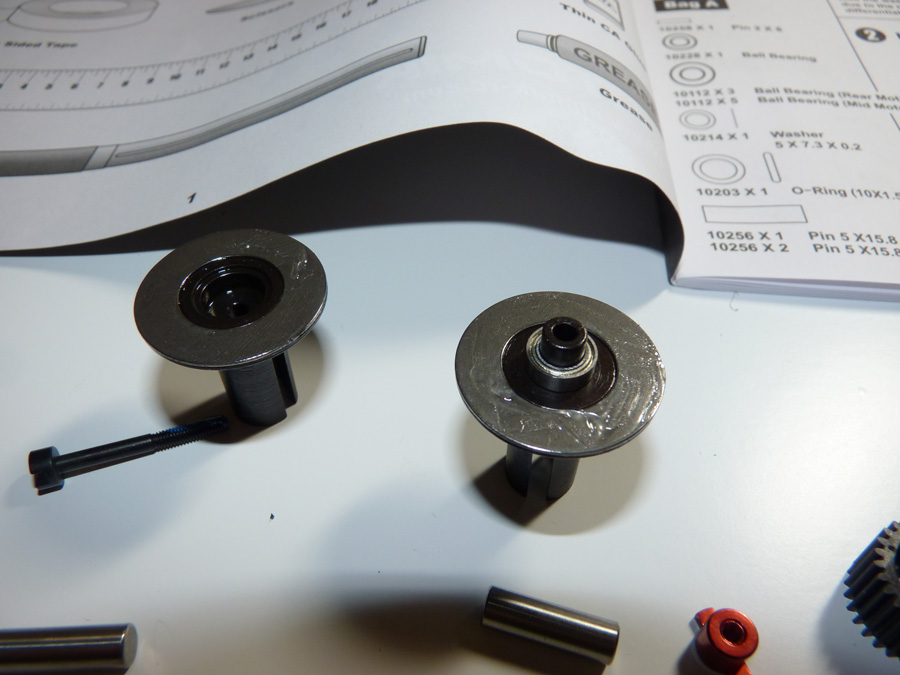
Once that’s together we assemble the thrust screw/washer/bearing assembly.
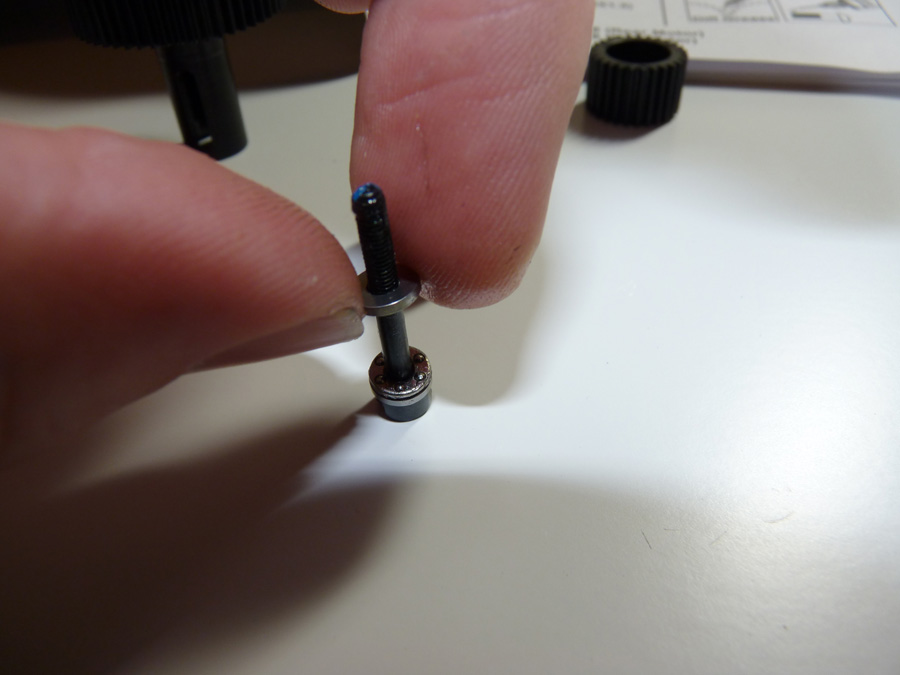
Put the spring in and tighten the screw to the T-Nut. Done deal.
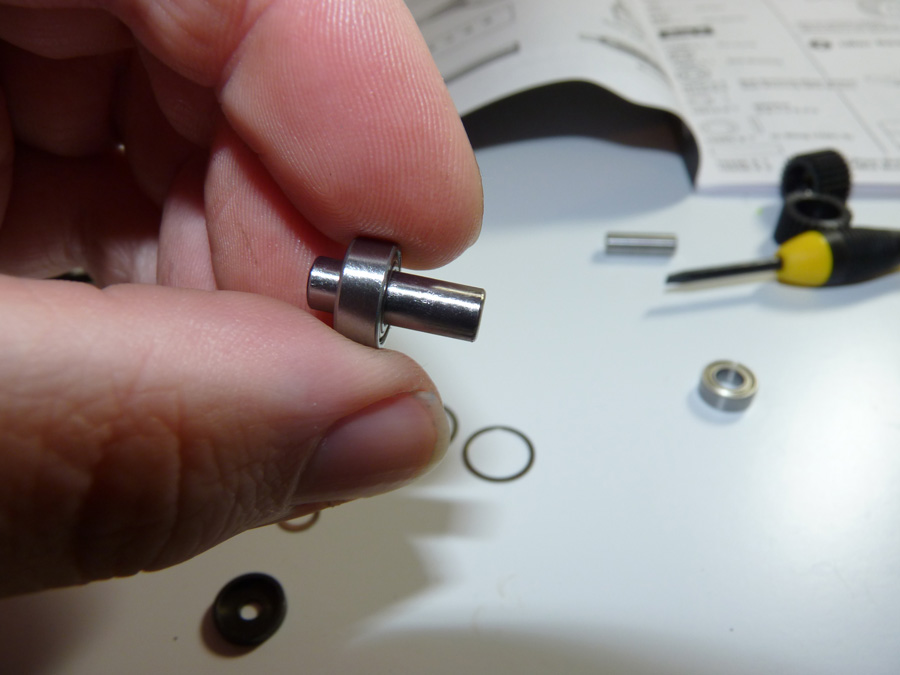
Next we install the outdrive bearings and prep the rest of the transmission gears.
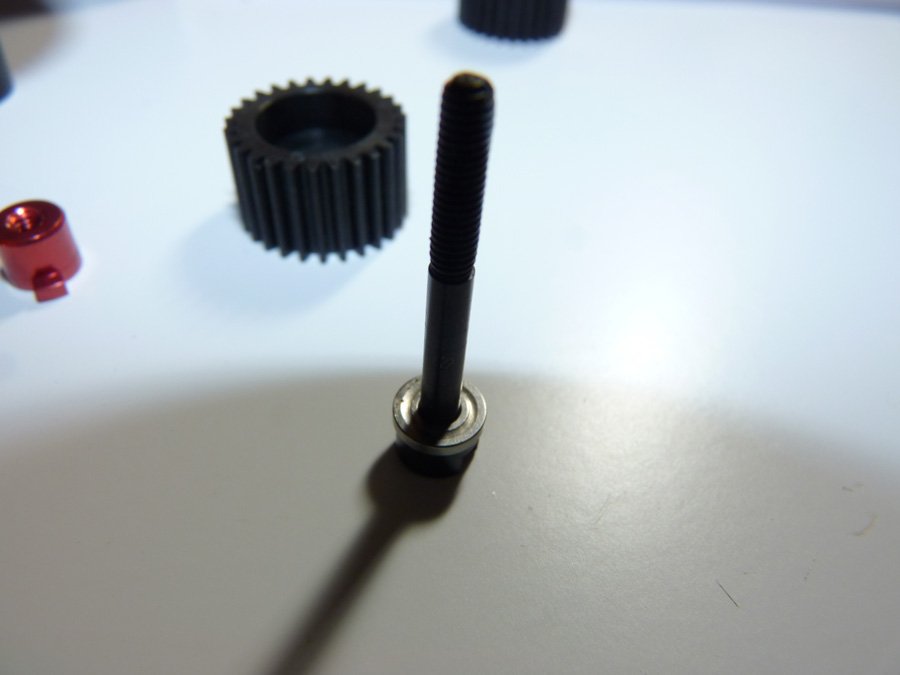
Here is the idler gear and bearing(s) being put together.
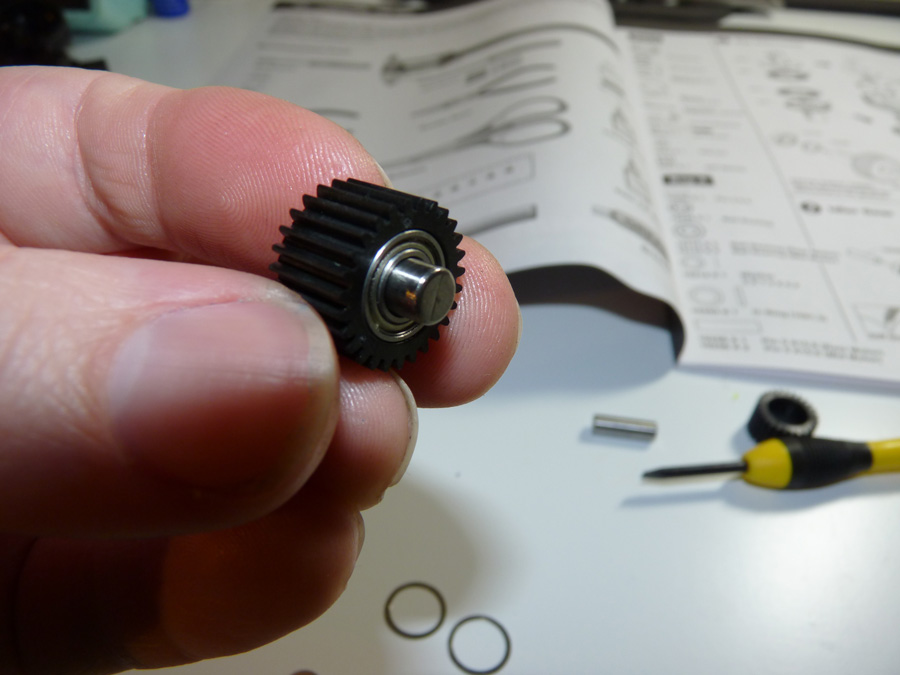
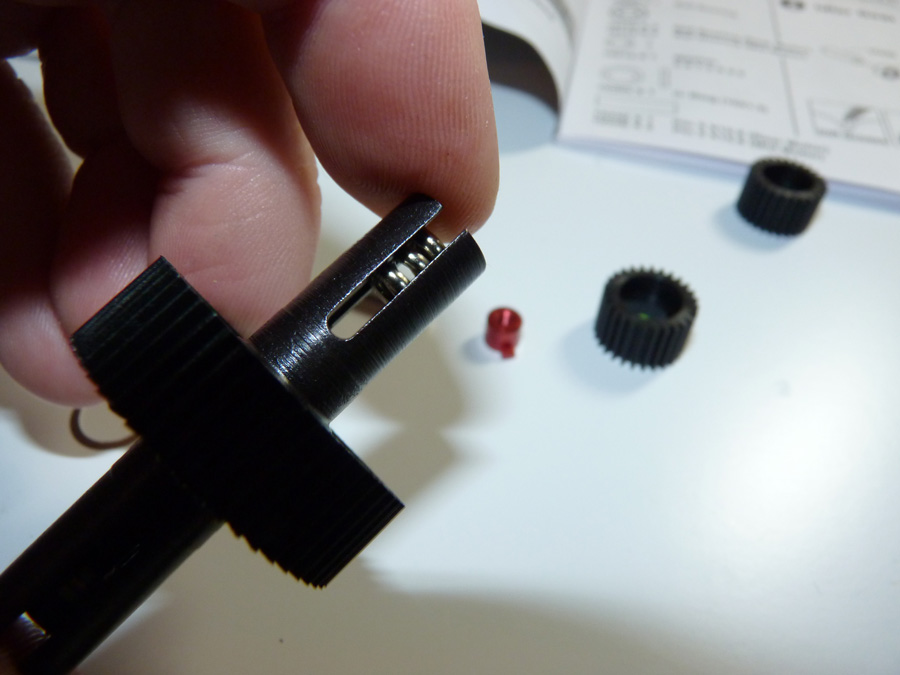
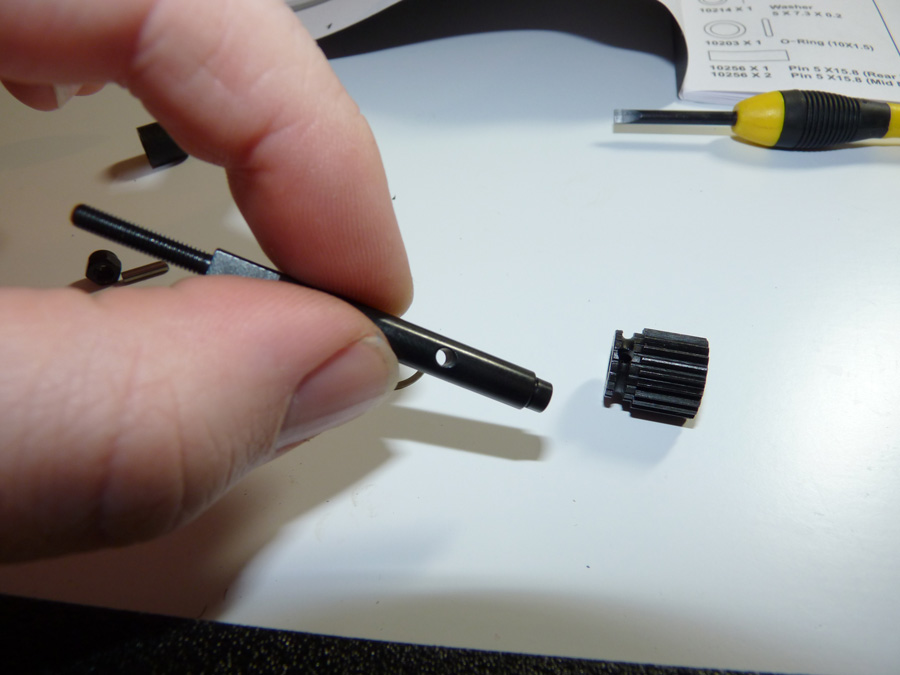
Then we have the topshaft. This went together a little weird than I’m used to, but so far it seems to have held up. The gear has a recess in it. A pin slides through a hole in the gear and the shaft, and that pin is held in place by an O-ring.

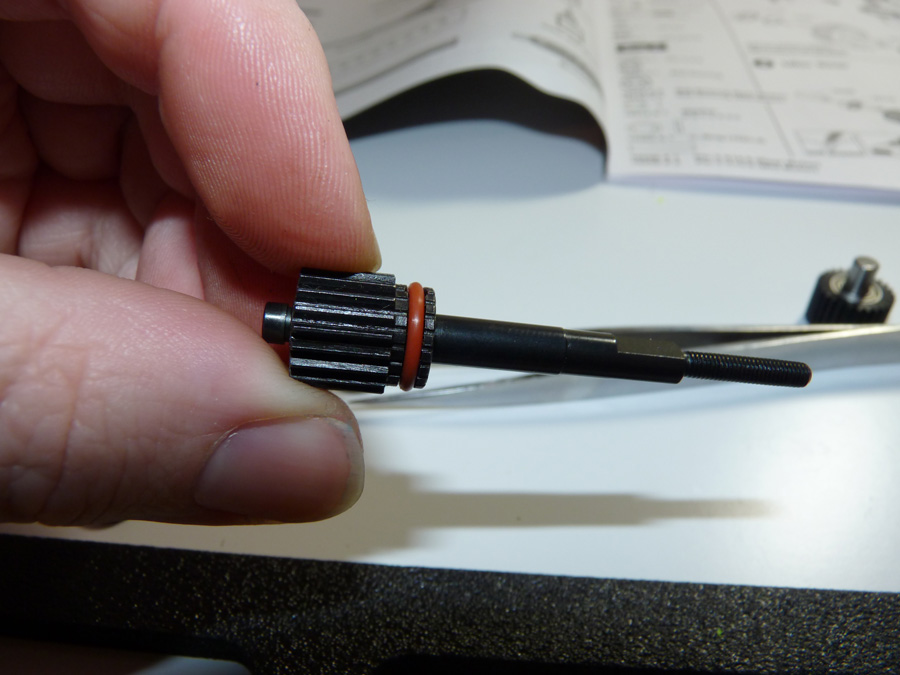
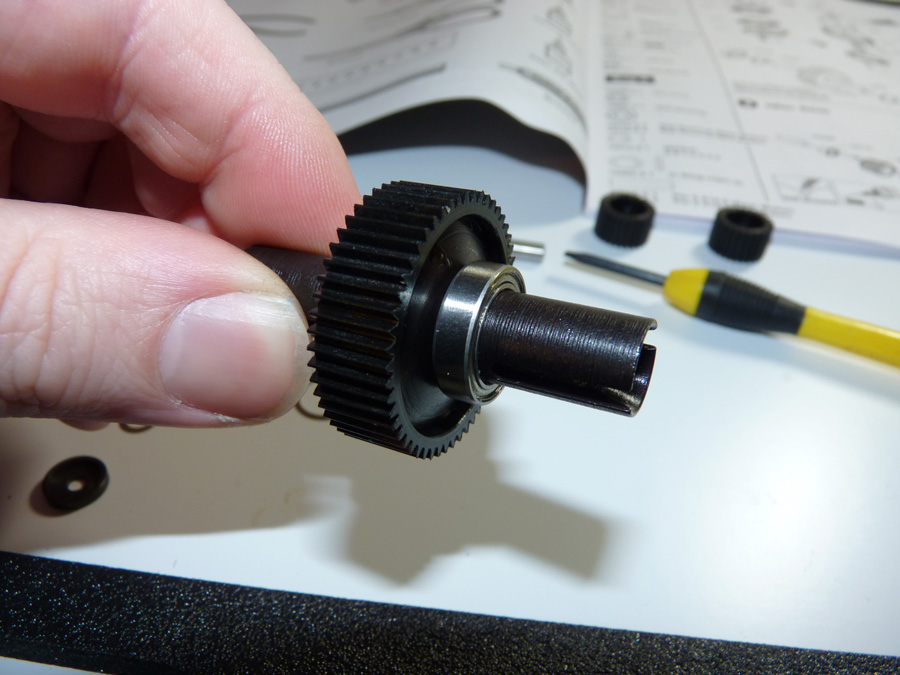
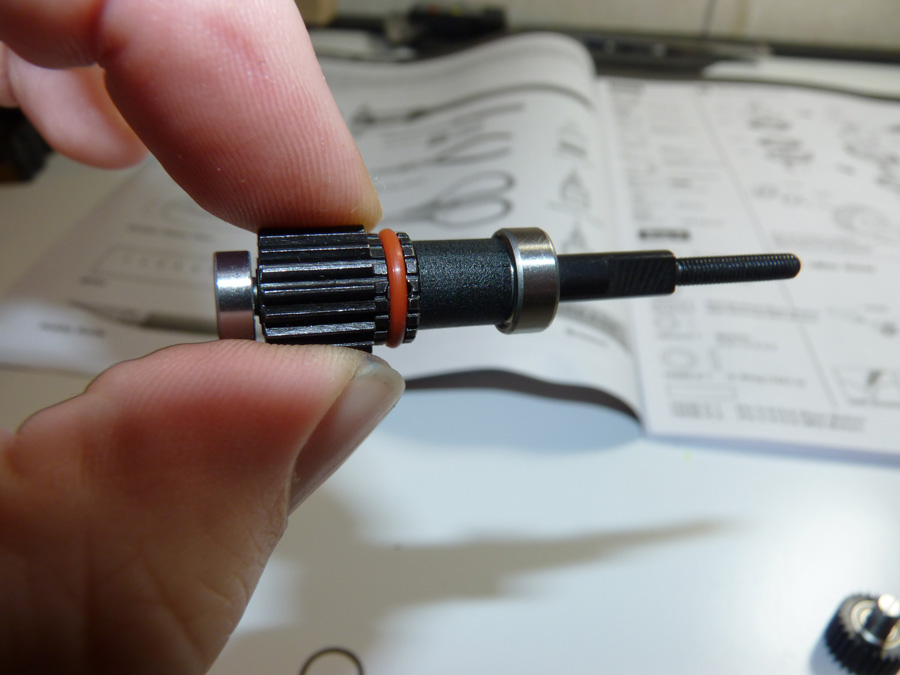
We then install a plastic spacer and the bearings on the top shaft.
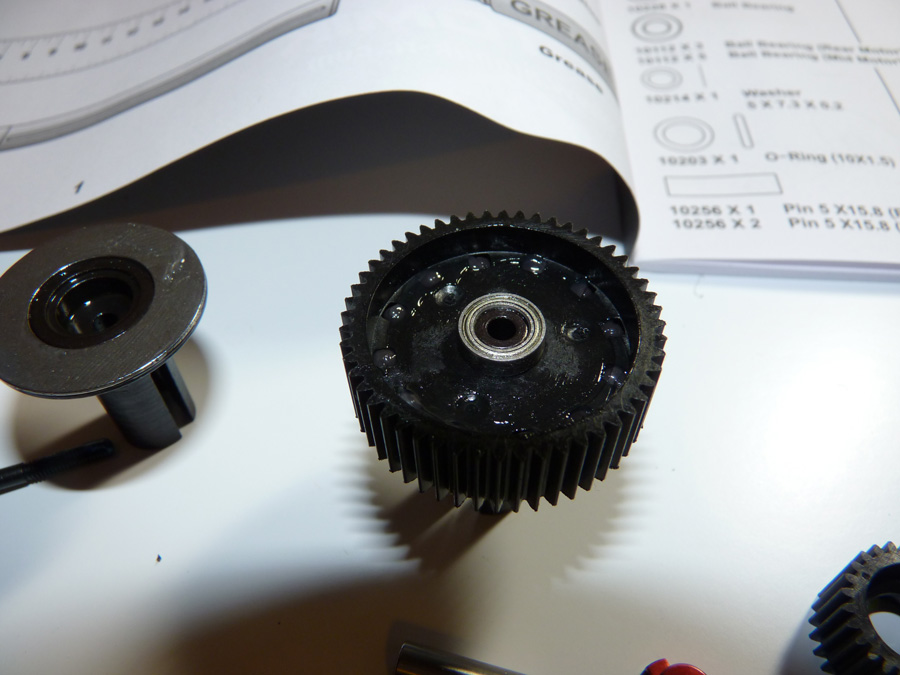
All gears are ready to go in the gearbox.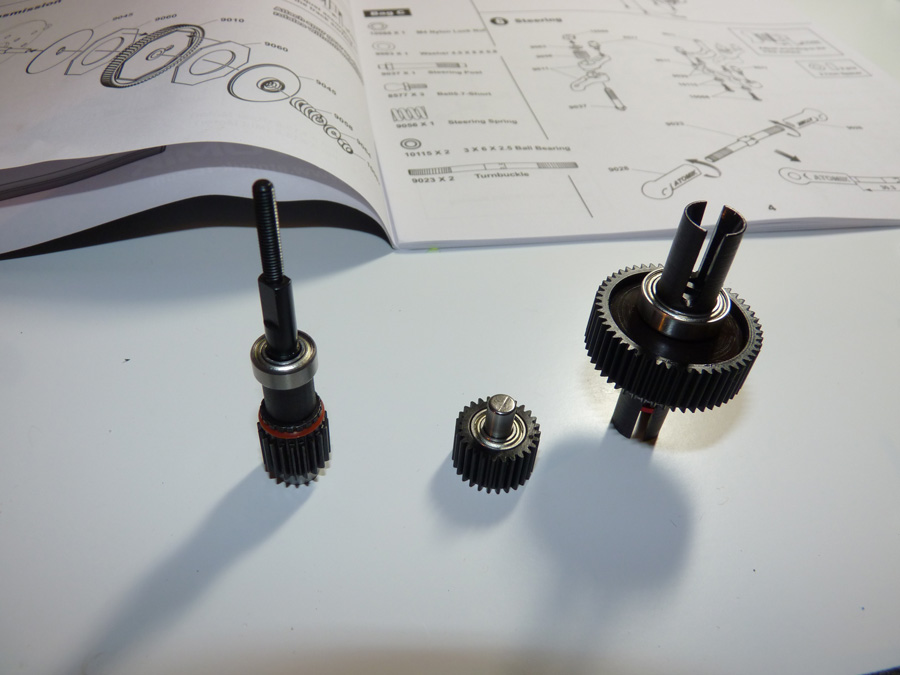
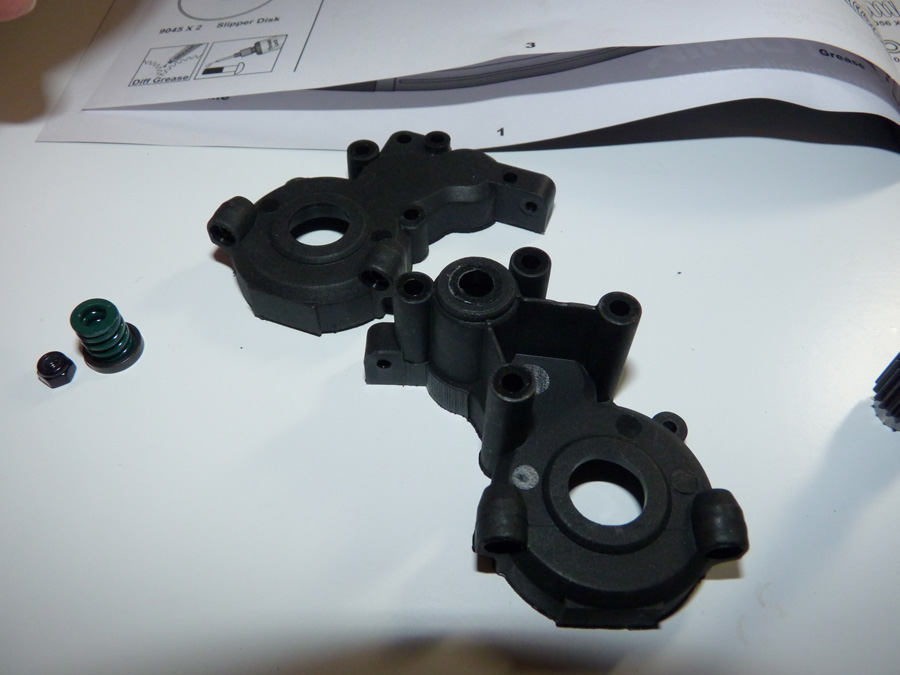
These are the gearbox halves for the rear motor configuration. They are more upright in comparison to the mid motor ones.
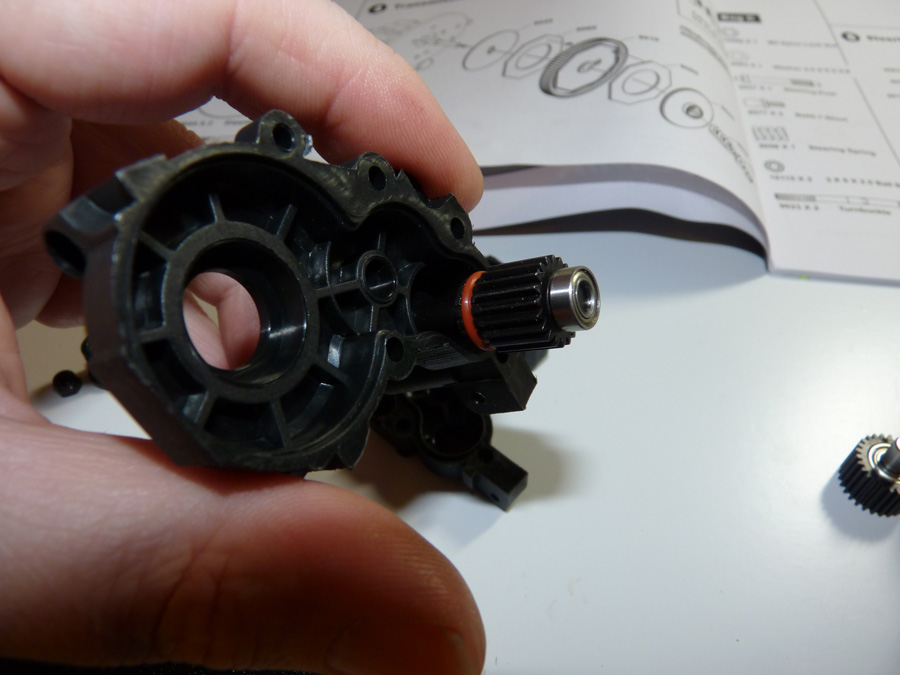
First we install the top shaft, followed by the rest of the gears.
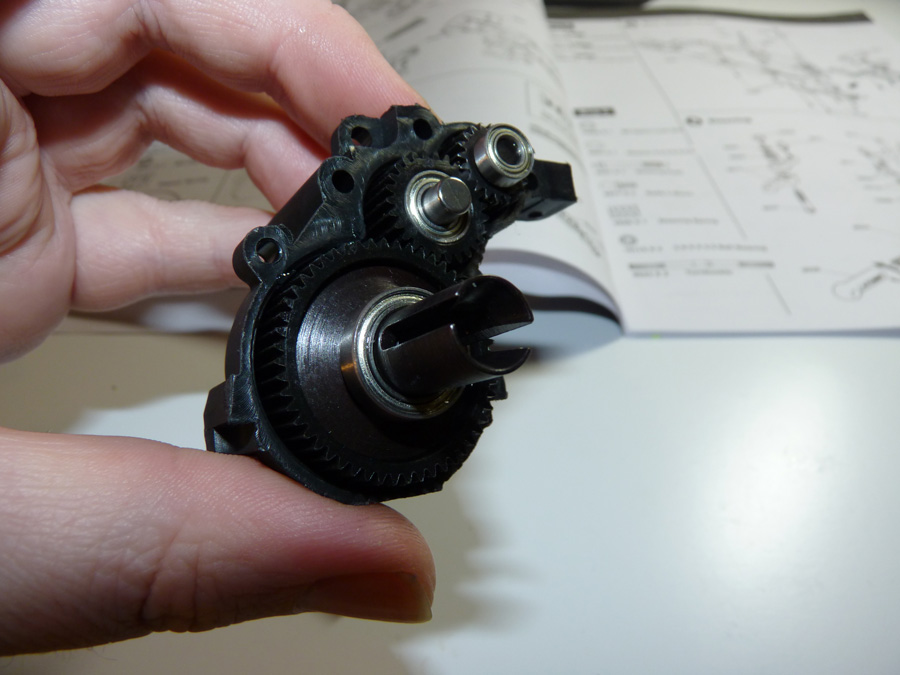
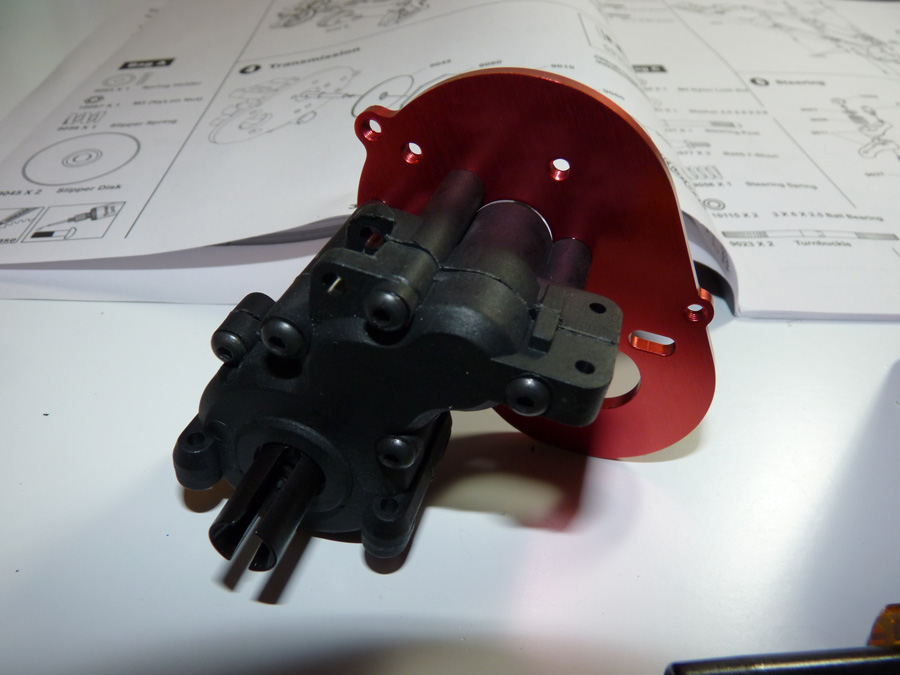
Then we close it up and make sure everything is spinning freely.
Next we attach the very sweet looking red anodized motor plate.
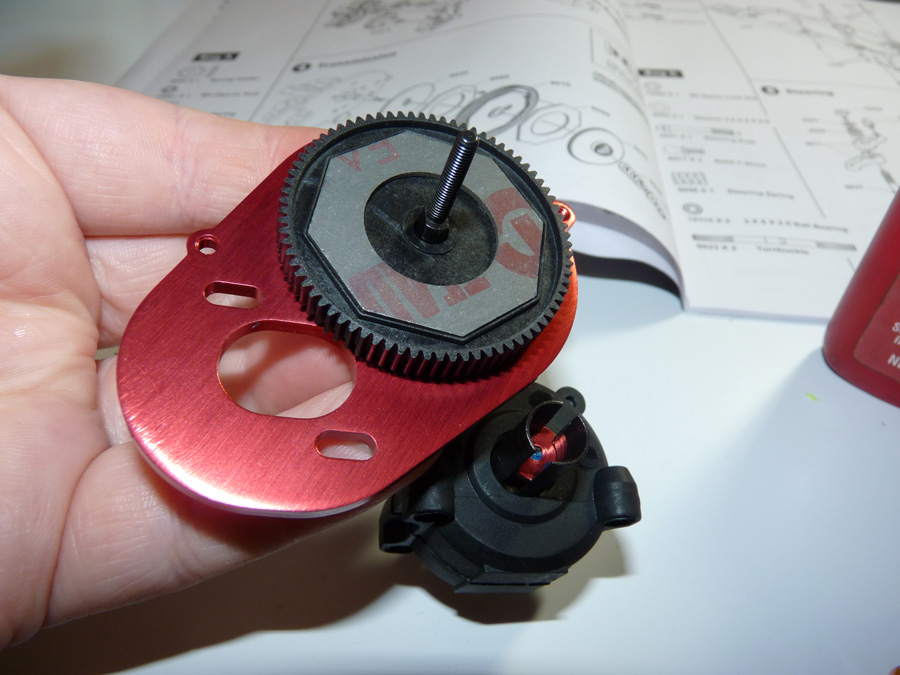
Now we start assembly on the slipper clutch assembly. First we install the backplate disc.

Then we sandwich in the slipper pads and spur gear.
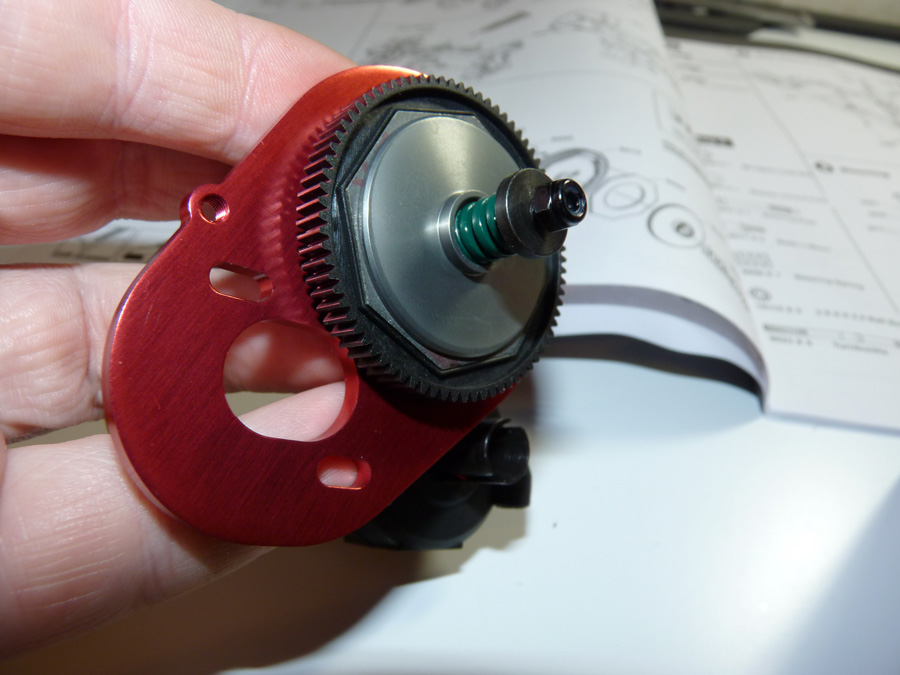
We then install the other slipper plate and the spring, washer and nut. Now we have a complete gearbox.
 Posted in
  Tags:
Tags:
[…] Soup's V2MR build is now live! http://www.rcsoup.com/2013/03/atomik…uggy-build-up/ __________________ http://www.rcsoup.com – R/C Reviews, News, and Tips <<- PM Me if you'd like […]
Kevin,
I am really impressed with the time and attention to detail you took to do such a complete build-up of our new V2MR buggy. Looking forward to reading your next commentary on the buggy.
Clint Bower
President
Vertical Partners West, LLC – Atomik RC, Venom & Steerix
[…] over the RCSOUP write up about the car, he uses B4 standard rears with no issues. http://www.rcsoup.com/2013/03/atomik…gy-build-up/9/ __________________ Joey King Old School Racer, Vintage RC Car nut Atomik/Venom, RC Carbon […]
What gearing were you running for stock
I have one this kit -Atomic V2MR 1/10 buggy,really easy bulid up,and the price is very cheap,but the performance is perfect,I like this kit