

 March 26th, 2013
  Kevin
Kevin Time for Bag D. This is everything needed for the front arms/axles/steering knuckles, etc.
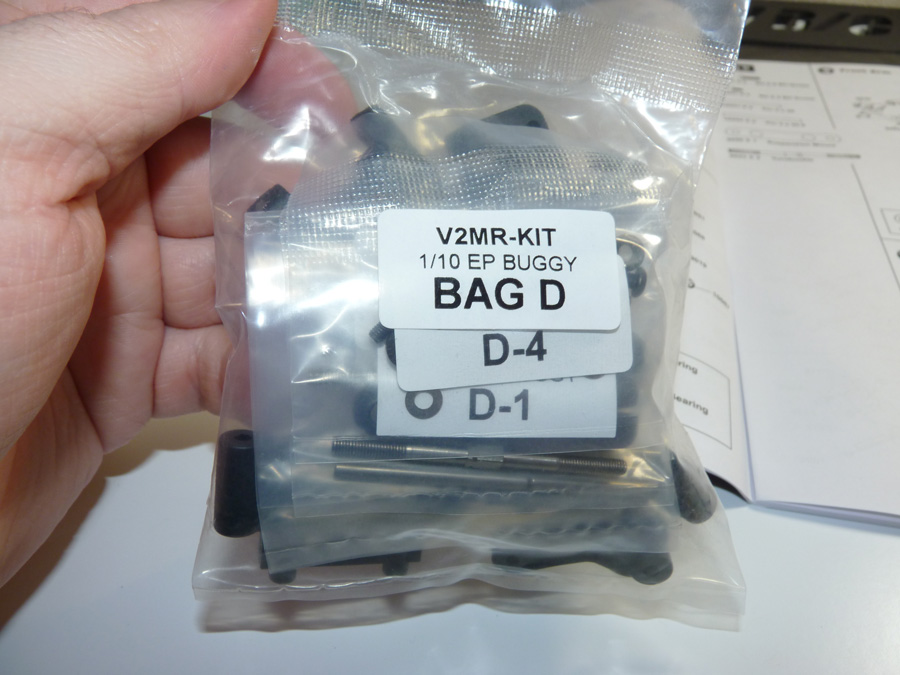
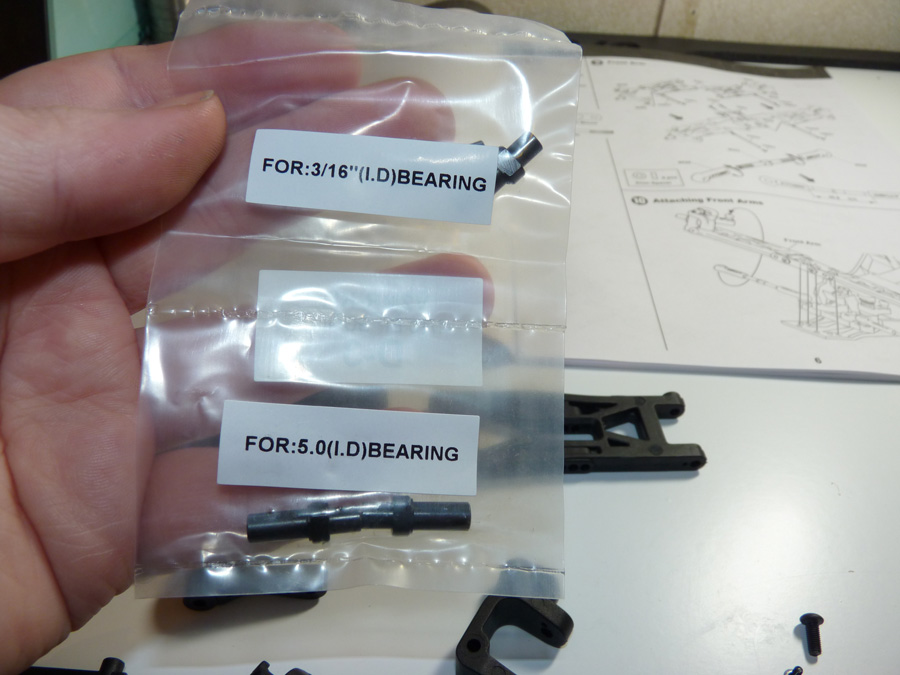
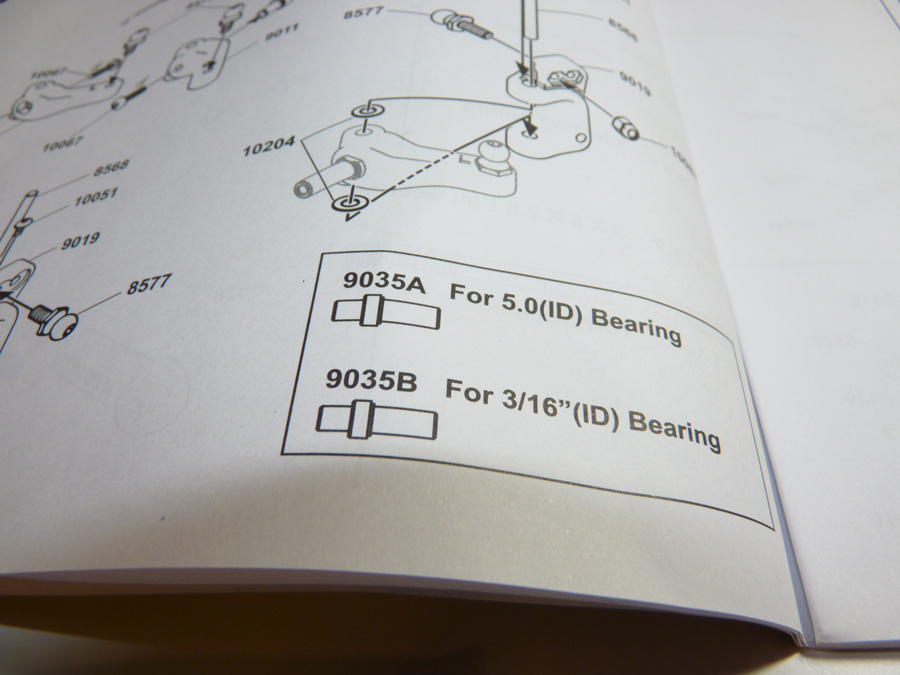
The kit comes with 2 different size axles to allow the use of different wheels/bearings.
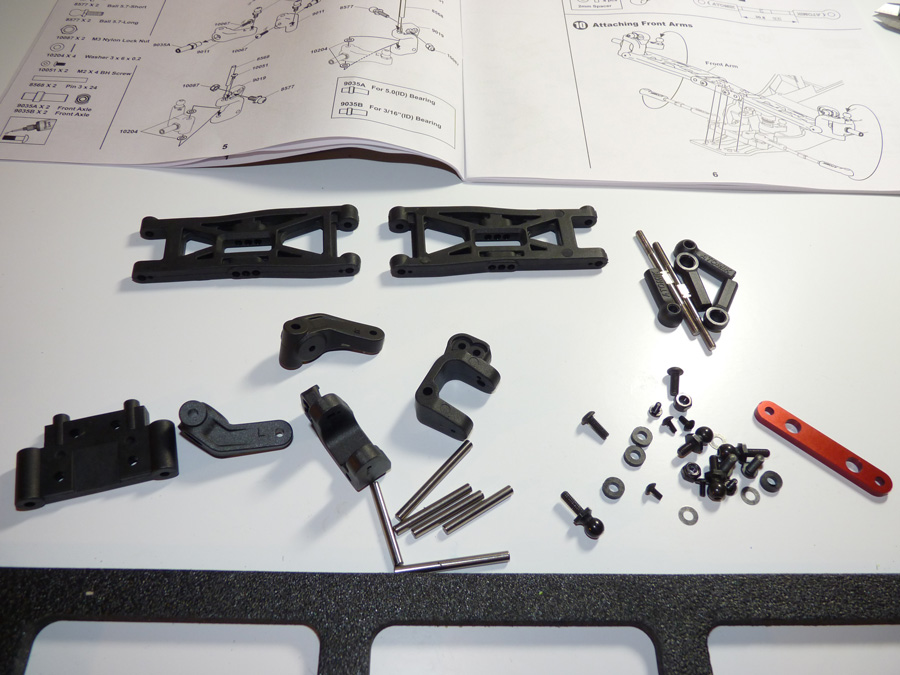
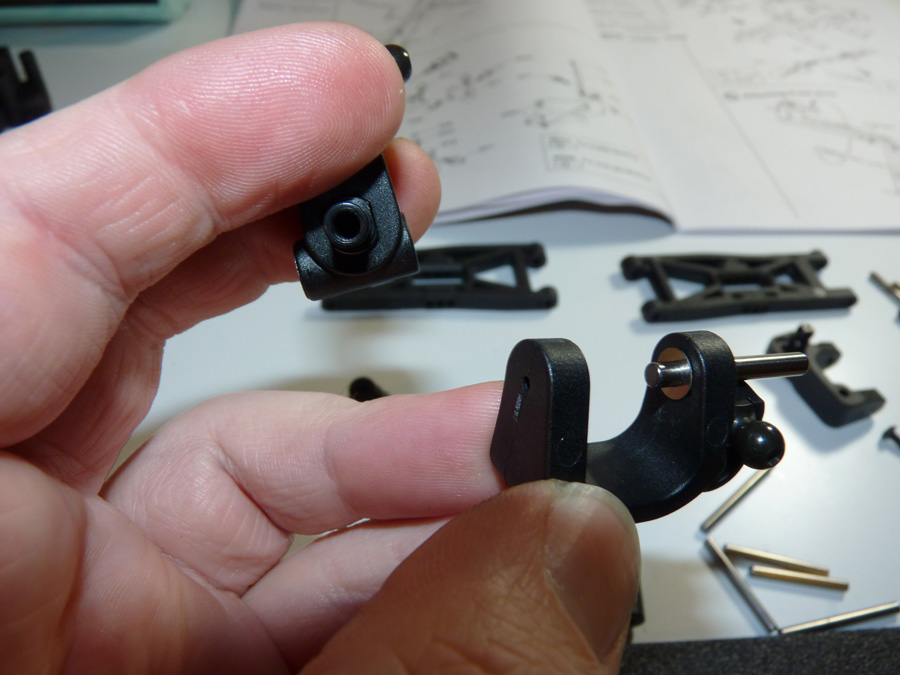
First we install the ball studs on the steering knuckles.
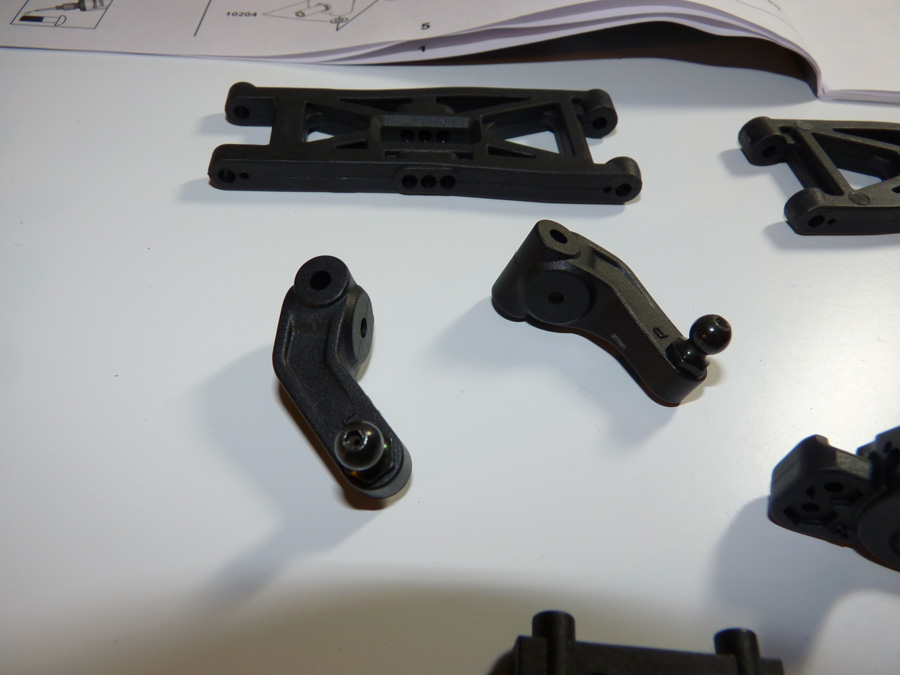
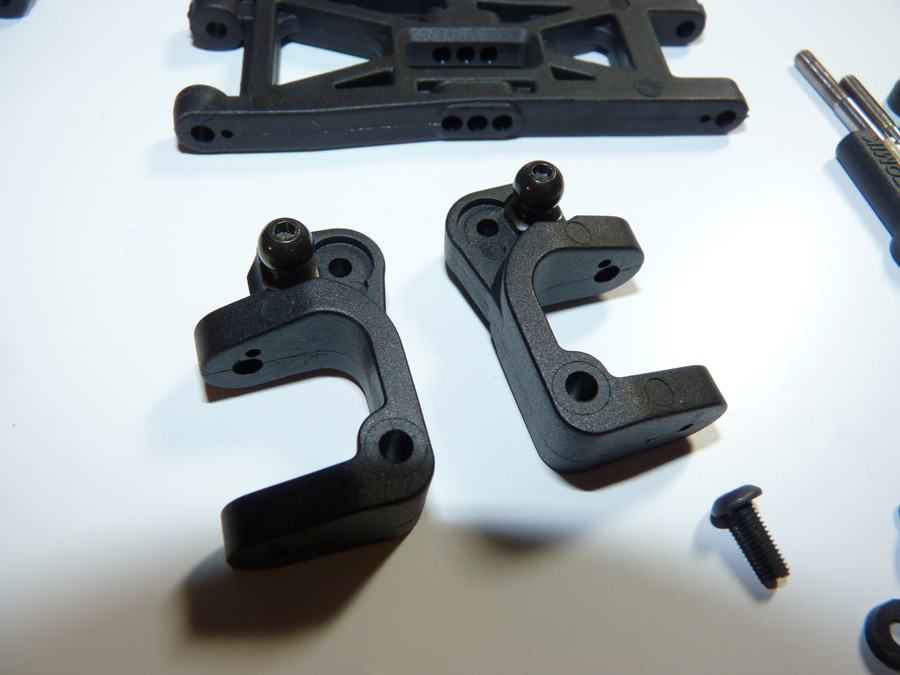
Next we install the ball studs on the C hubs. These look to be pretty beefy.
Slide the axle of your choice into the steering knuckle. They are slotted to prevent them from rotating around in the knuckle.

They are secured from the back of the knuckle with a screw.
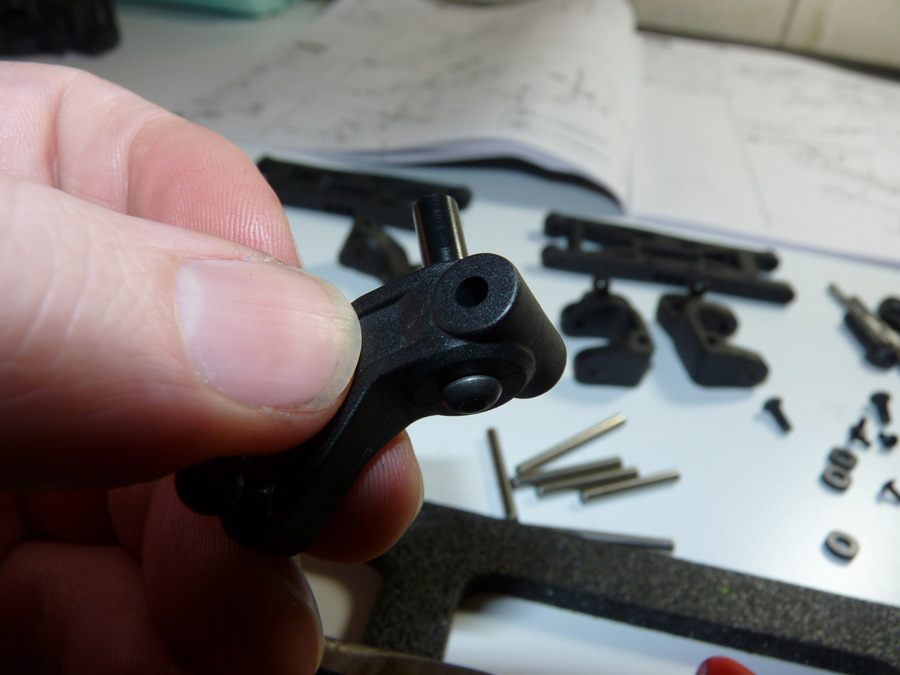
Completed knuckles!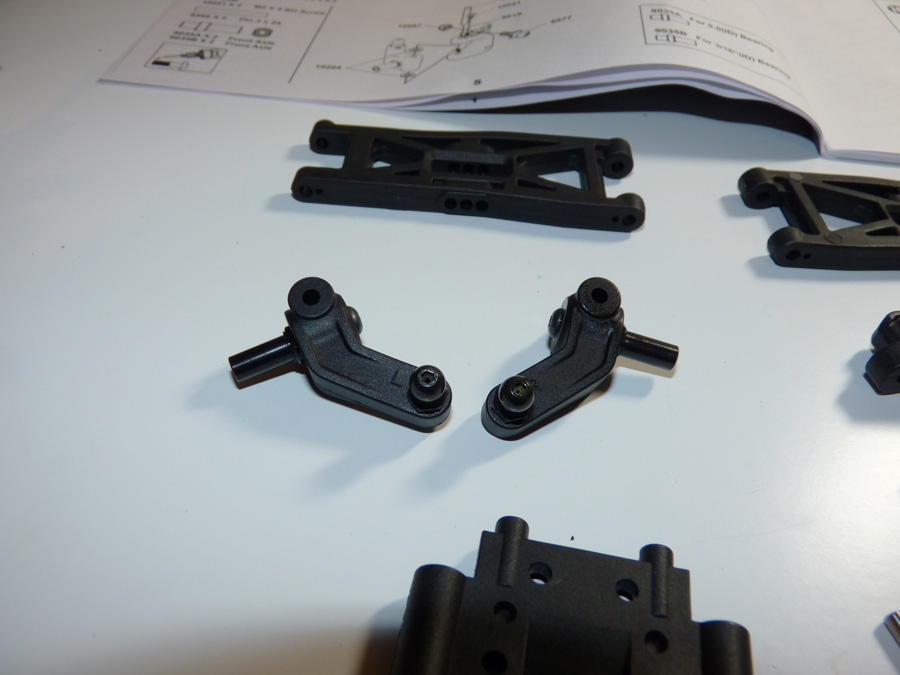
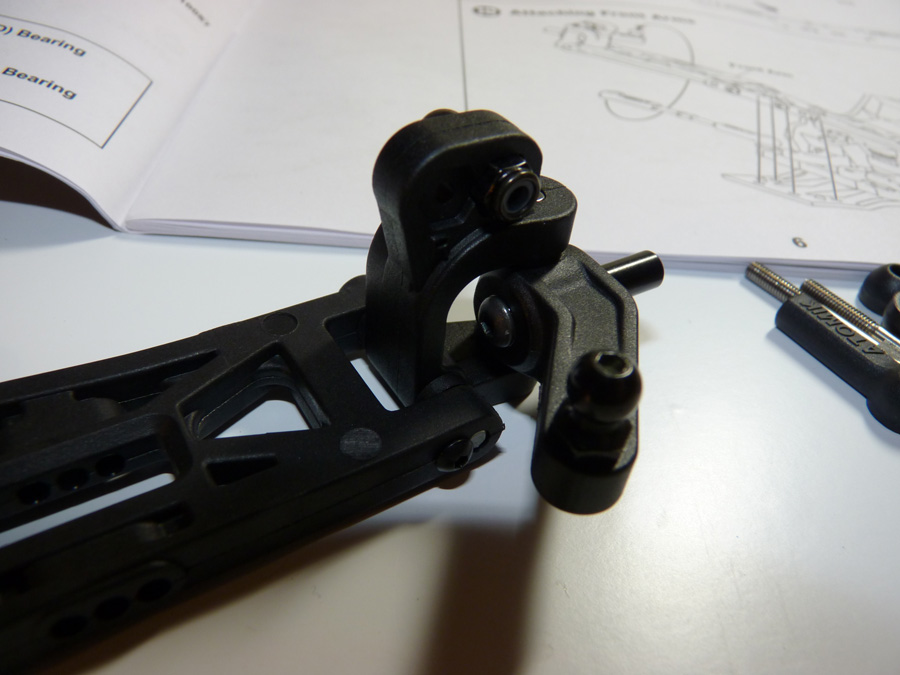
Next we will install them into the C hubs. This proved a little challenging with a camera. Shims are sandwiched between the knuckle and the hub to ensure silky smooth movement.
Insert kingpin, and it is held in with a small button head screw like most suspension arms, including the V2MR which you will see in a minute.
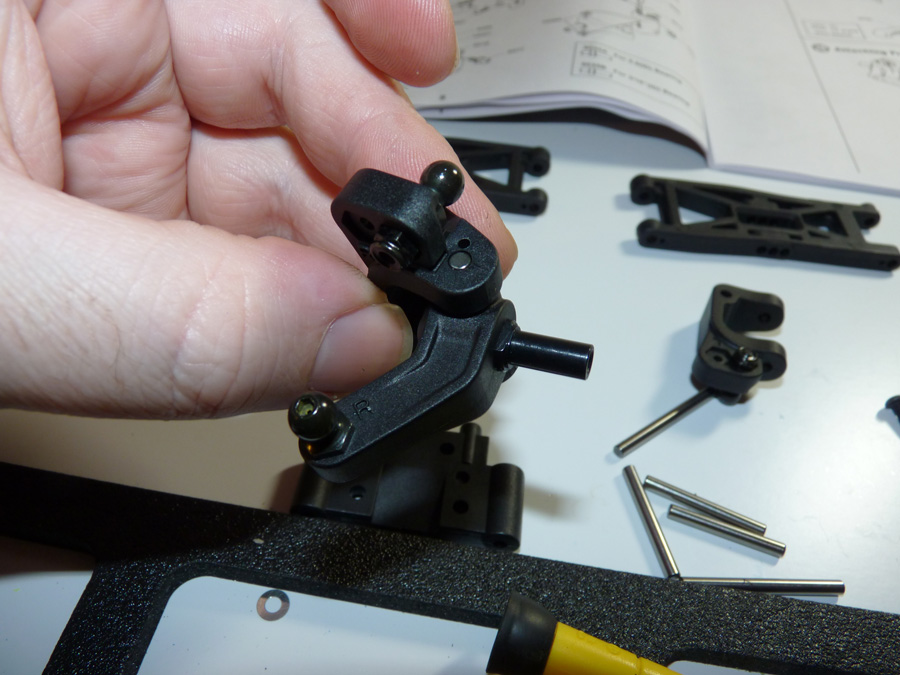
BAM!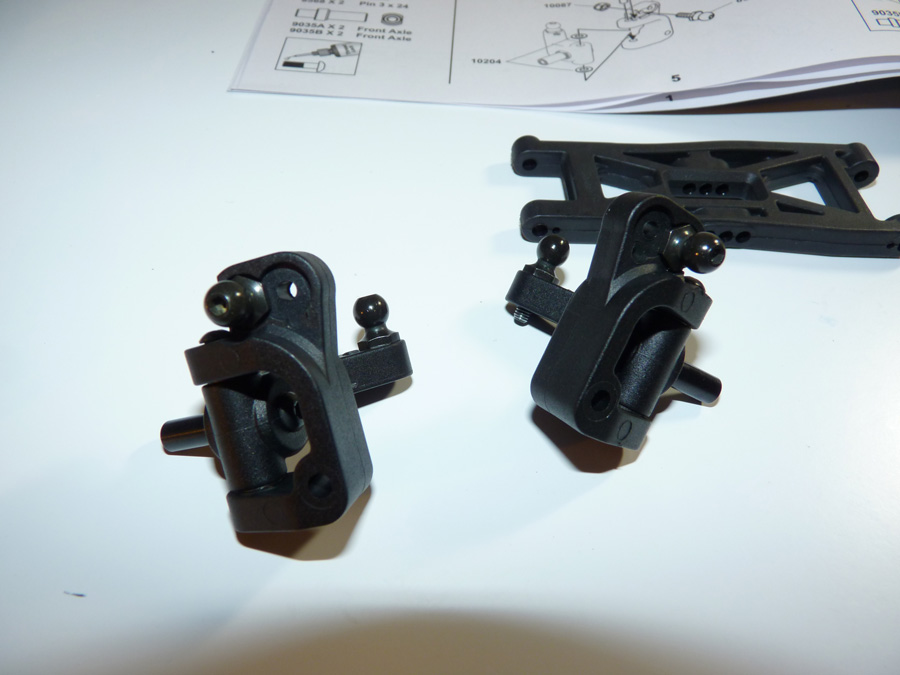
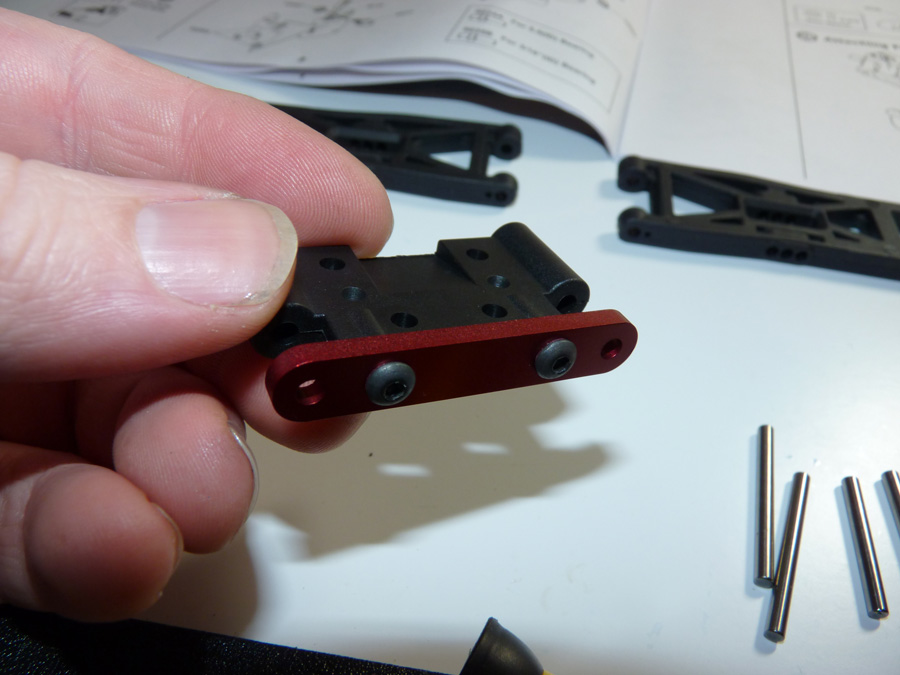
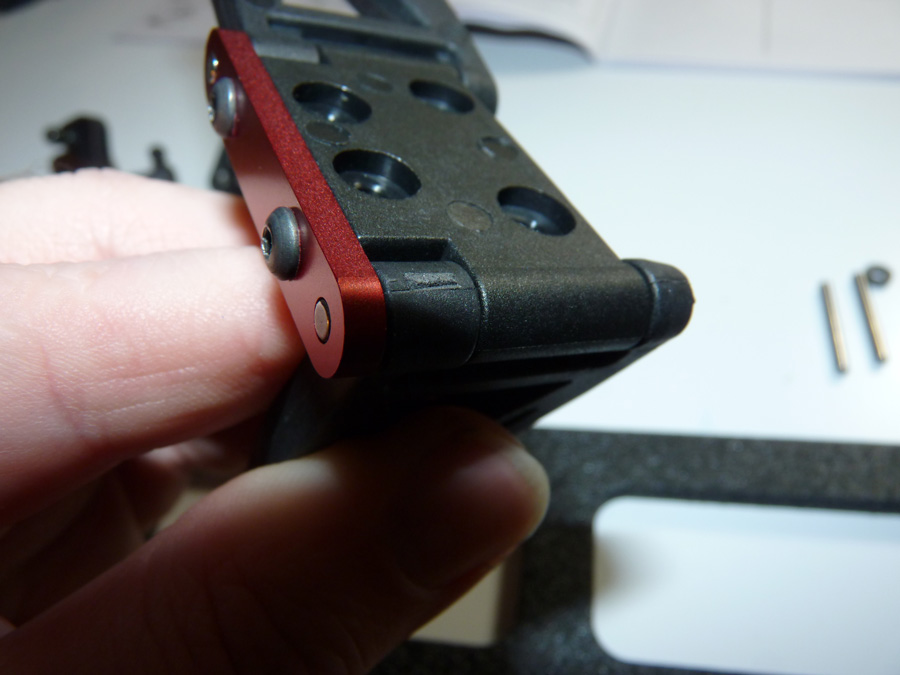
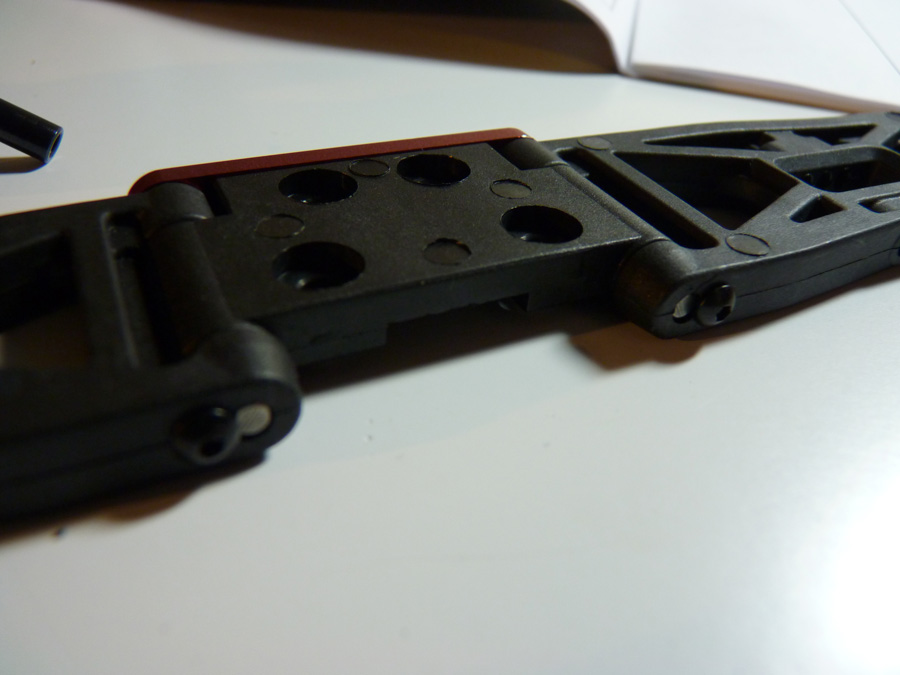
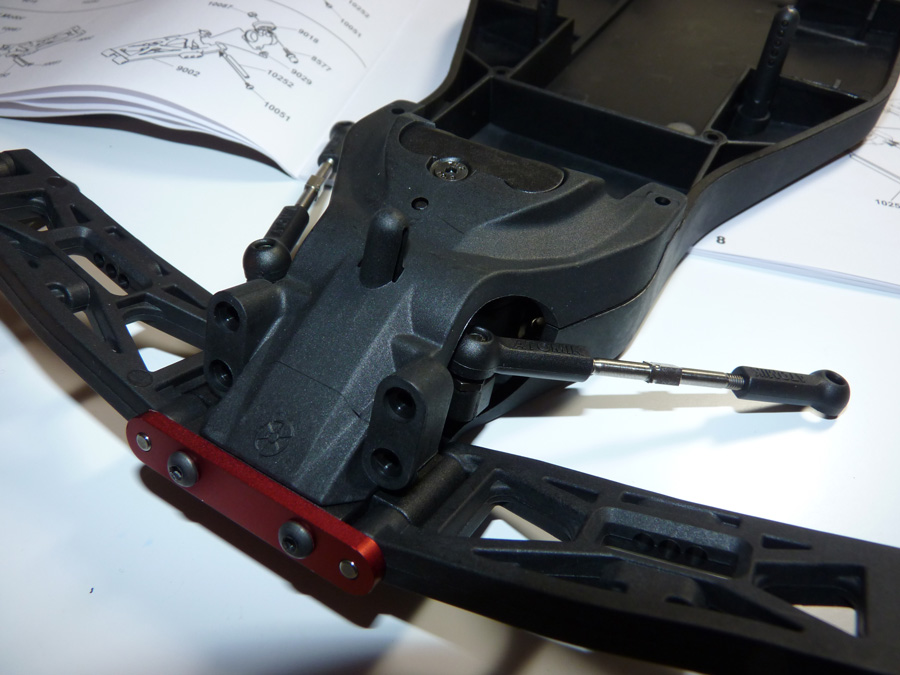
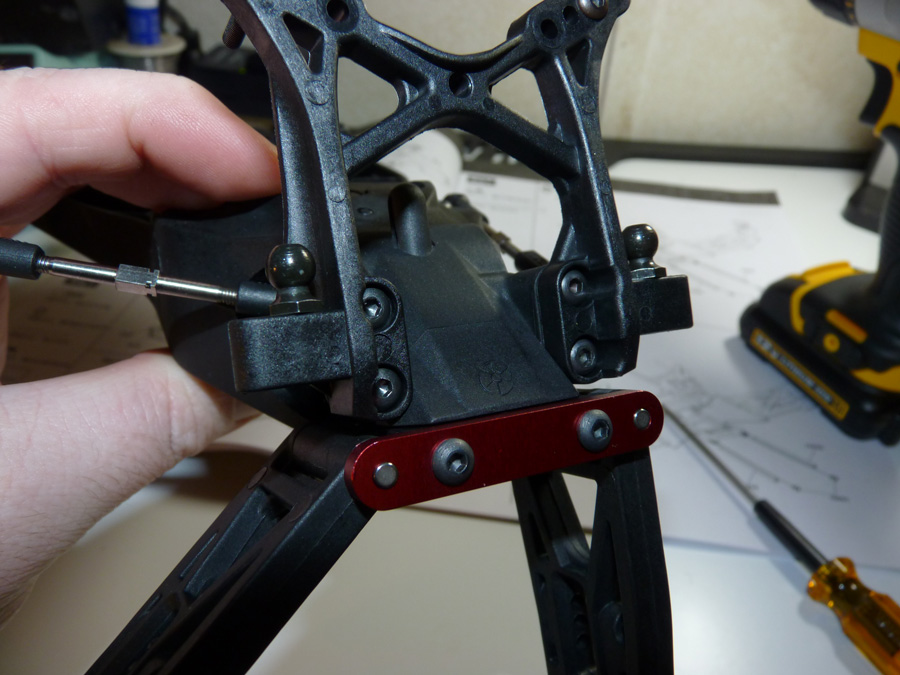
Now it’s time to install the red aluminum hinge pin brace onto the front bulkhead. This is done with 2 screws.
We then install the front suspension arms.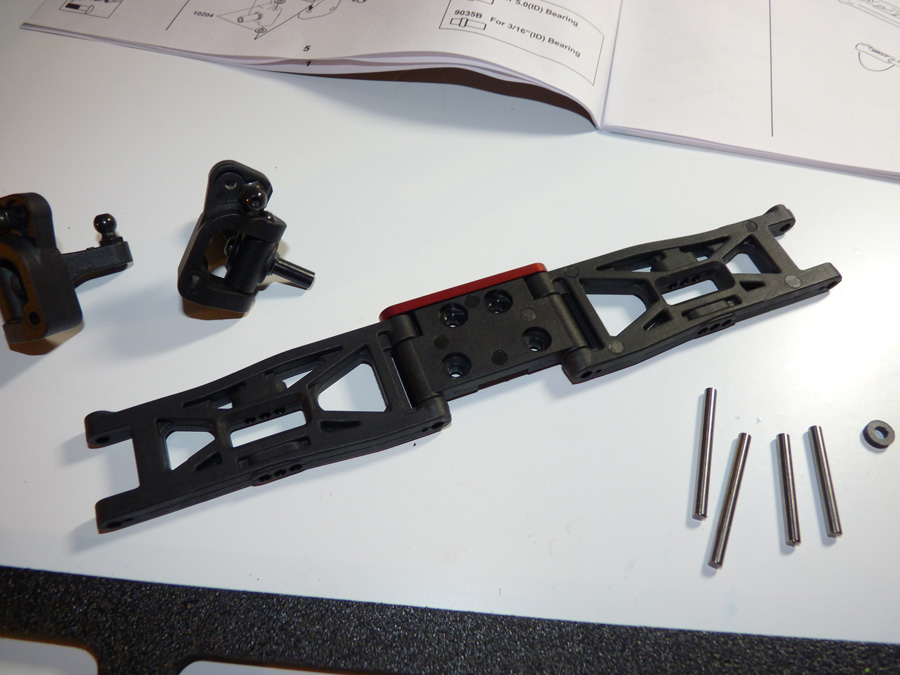
Insert the hinge pins.
Then secure the hinge pins with button head screws. These will prevent the hinge pins from sliding out.
Then we attach the knuckle/hubs to the arms.
Completed front arm assembly.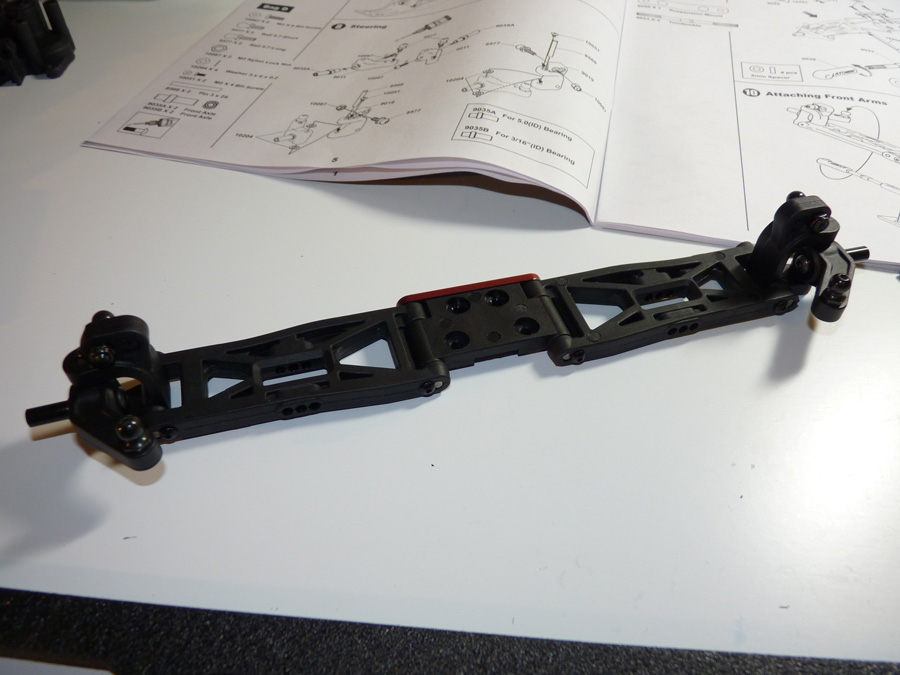
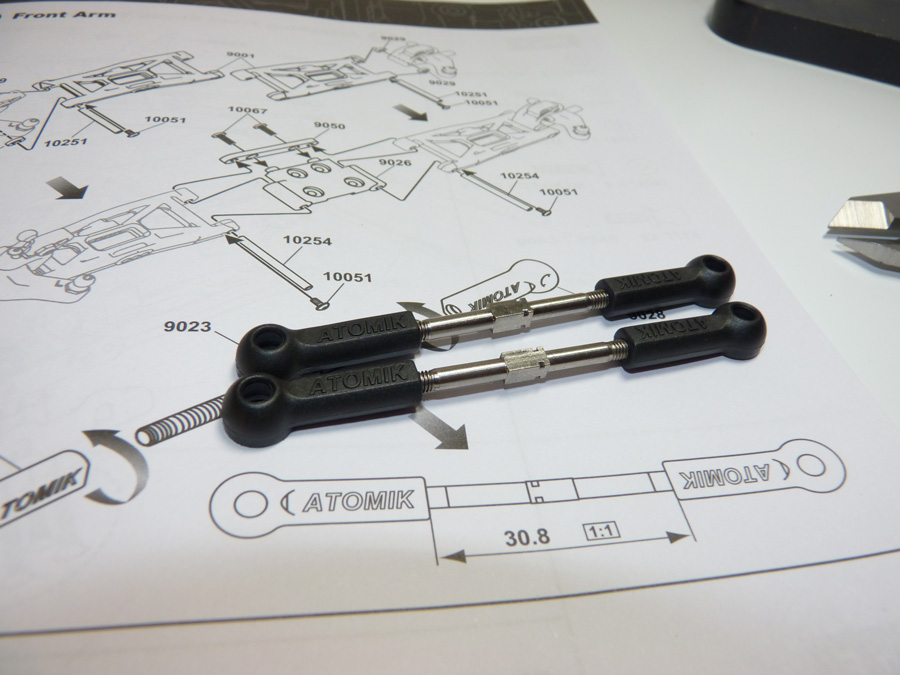
More turnbuckles!
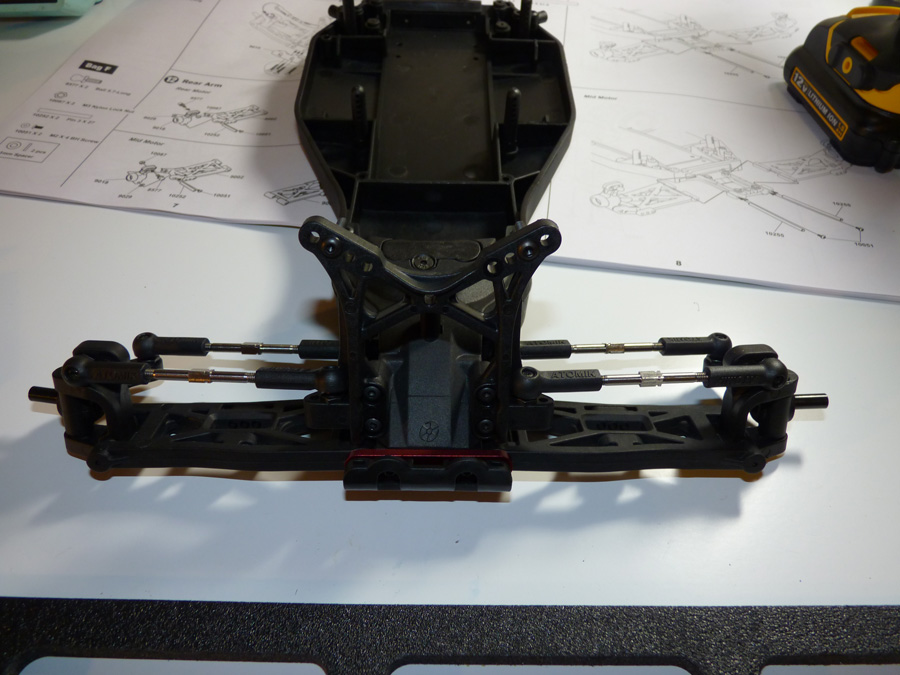
With those out of the way we can now install the front suspension onto the chassis.

More front end parts.
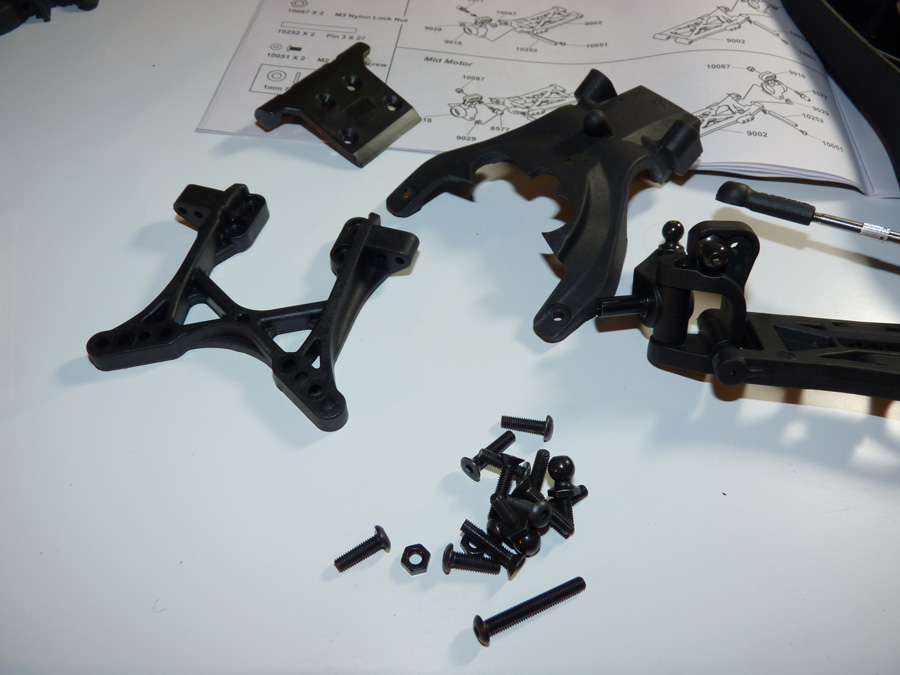
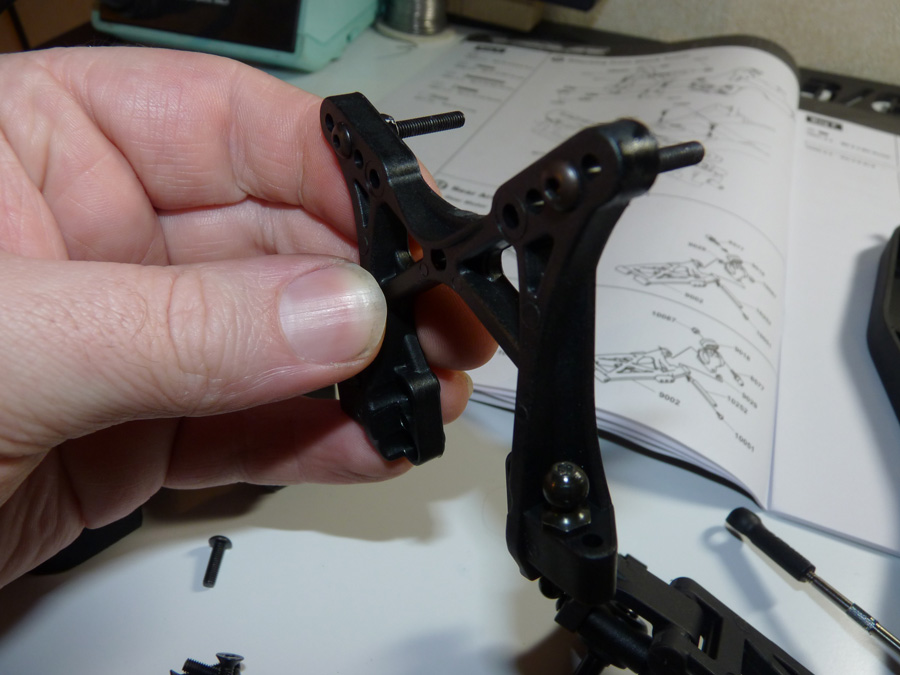
This is the shock tower for the front.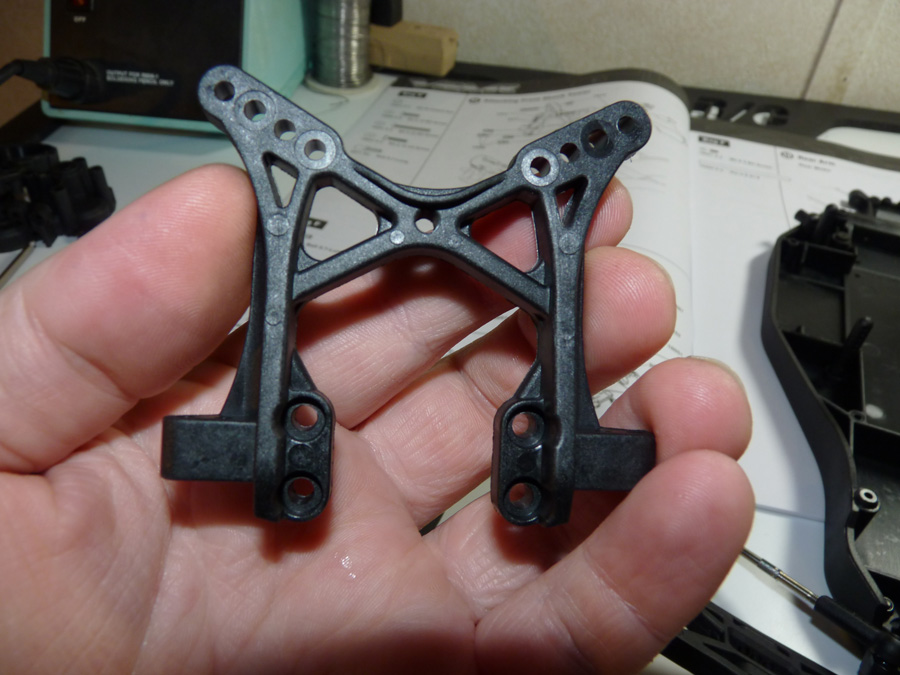
We’ll install the shock mounting screws and camber link ball studs before putting it on.
Front nose plate of the V2MR.
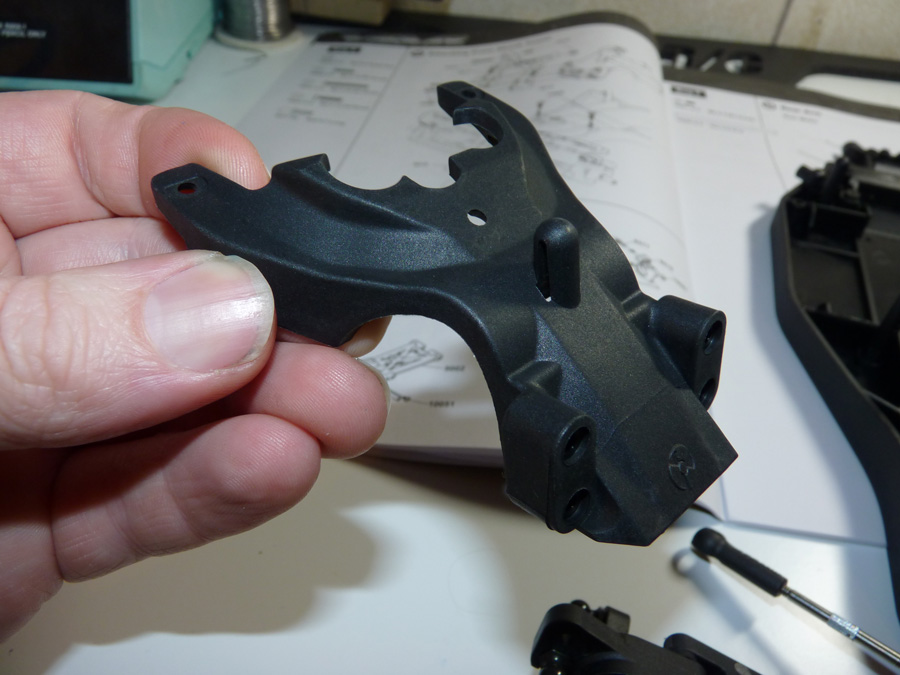
Here is how it gets installed.
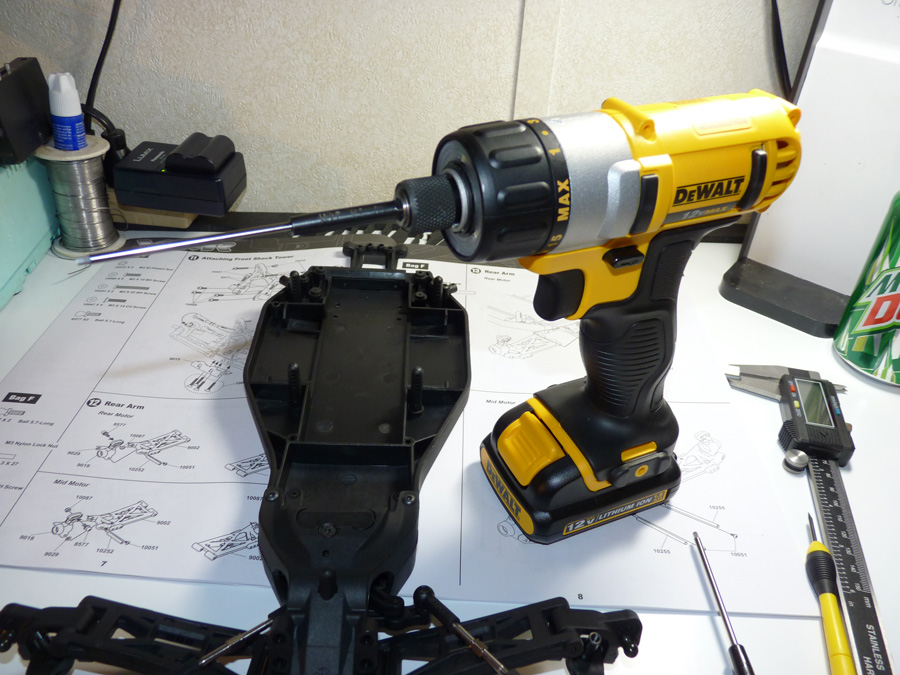
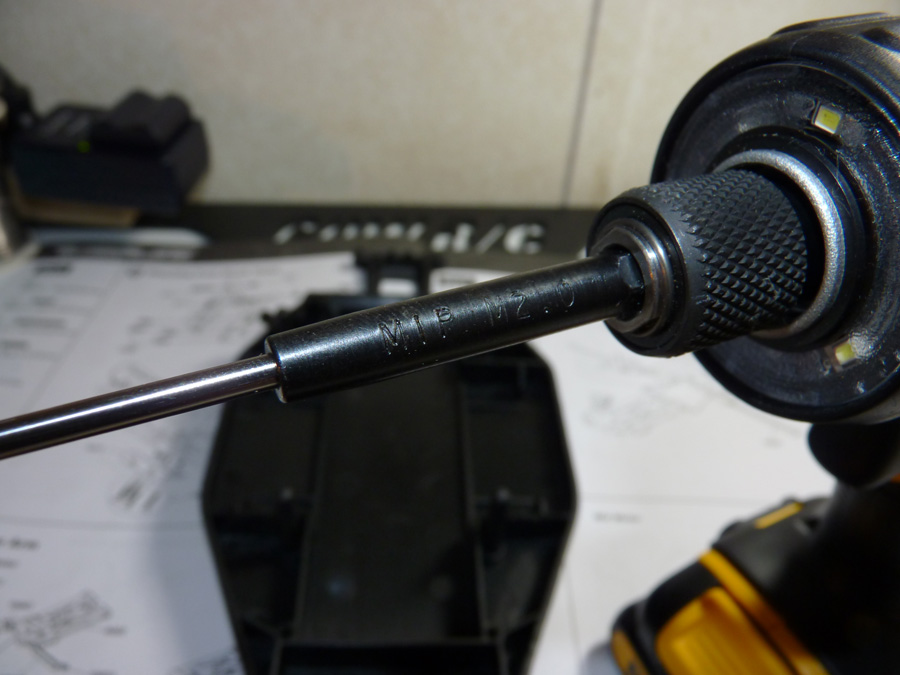
For some of the more tedious screws, I used my new Dewalt 1/4″ 12v Lithium Ion driver paired with MIP Speed Tip Hex wrench bits. Unlike the little $30 Black & Decker tools, this one has a clutch, making it easy on the screws so there is no over tightening. It also comes with 2 Li-Ion batteries, making sure you can wrench all day without charging.
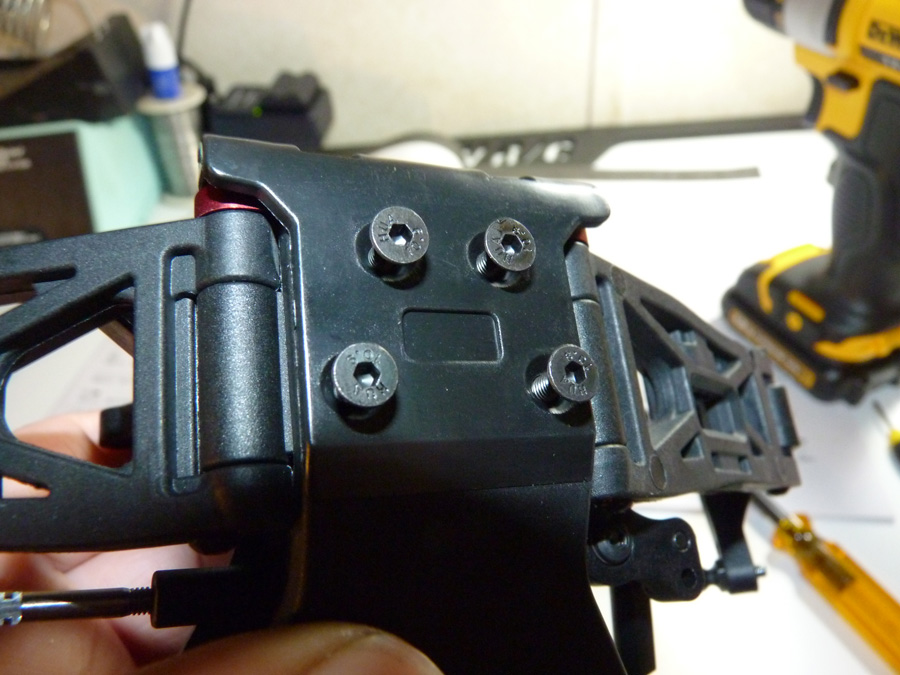
So now we have the front top plate and shock tower attached to the chassis/bulkhead.
Let’s install some turnbuckles shall we.
 Posted in
  Tags:
Tags:
[…] Soup's V2MR build is now live! http://www.rcsoup.com/2013/03/atomik…uggy-build-up/ __________________ http://www.rcsoup.com – R/C Reviews, News, and Tips <<- PM Me if you'd like […]
Kevin,
I am really impressed with the time and attention to detail you took to do such a complete build-up of our new V2MR buggy. Looking forward to reading your next commentary on the buggy.
Clint Bower
President
Vertical Partners West, LLC – Atomik RC, Venom & Steerix
[…] over the RCSOUP write up about the car, he uses B4 standard rears with no issues. http://www.rcsoup.com/2013/03/atomik…gy-build-up/9/ __________________ Joey King Old School Racer, Vintage RC Car nut Atomik/Venom, RC Carbon […]
What gearing were you running for stock
I have one this kit -Atomic V2MR 1/10 buggy,really easy bulid up,and the price is very cheap,but the performance is perfect,I like this kit