

 May 25th, 2013
  Kevin
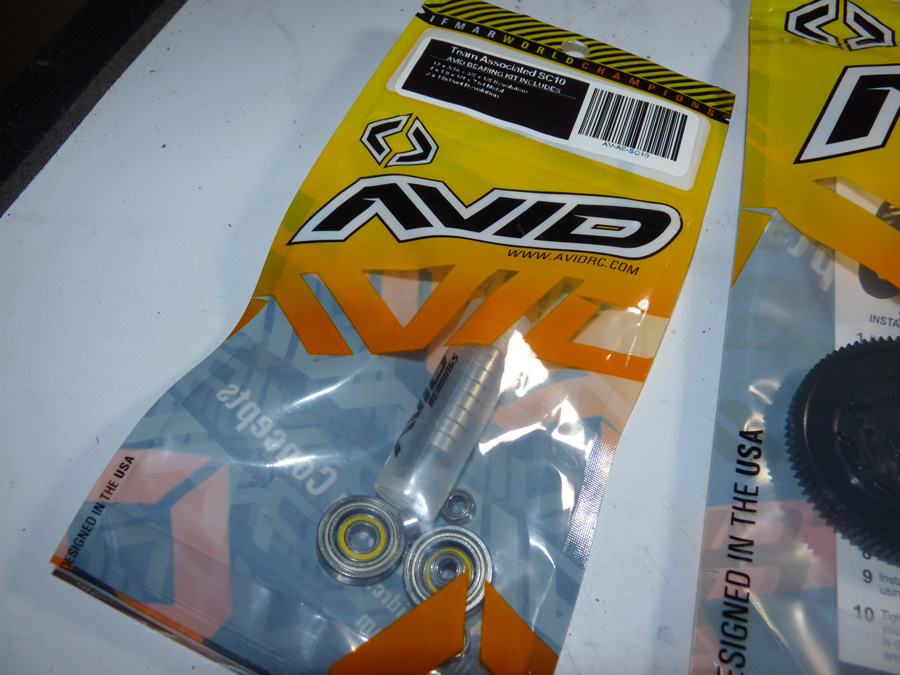
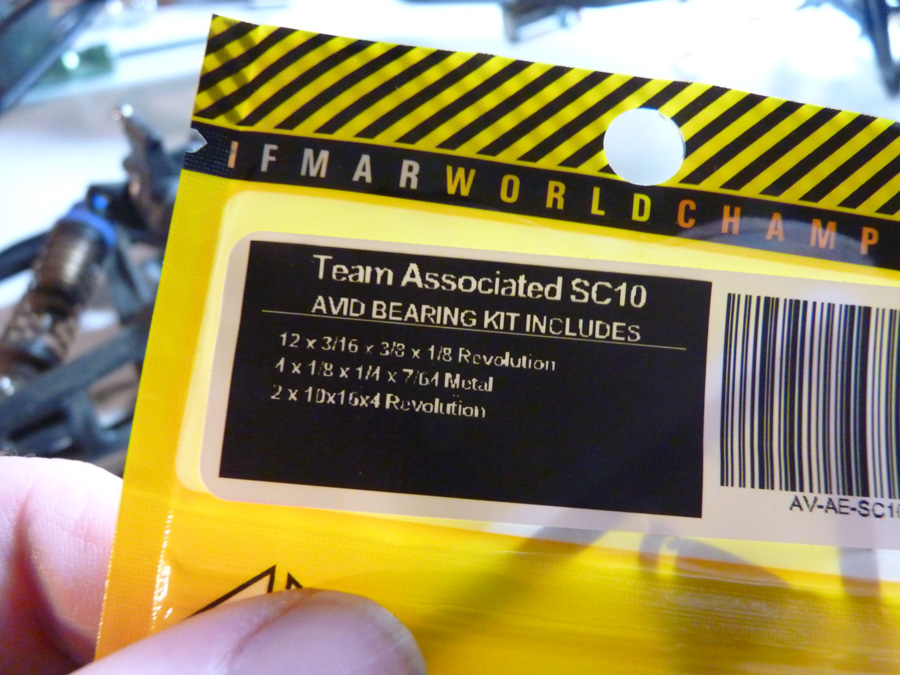
Kevin So here is the AVID bearing set. They come packaged in nice resealable bags. I actually tossed my old bearings in this bag and keep it in my pit bag for emergencies. I got the Revolution bearings, which have a rubber seal on one side (most effective for blocking dirt, but slower), and a metal shield on the other (faster movement, not a great dirt barrier). They are great because you get a slightly faster bearing than an all rubber sealed, and a little better protected than an all metal bearing. The trick is to face the rubber side towards the elements.
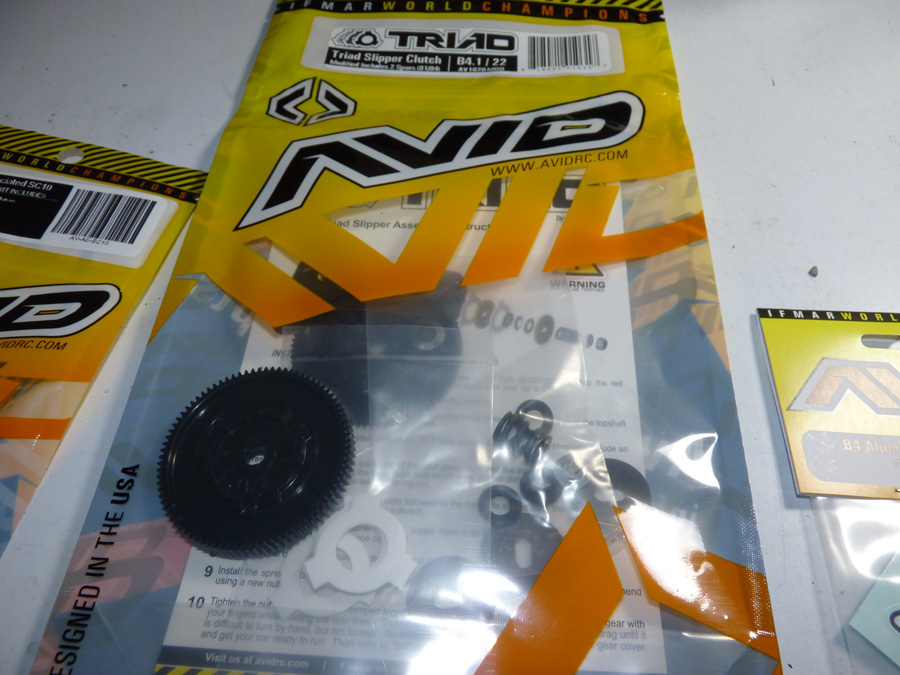
Next we have the Triad slipper clutch. I didn’t necessarily have a lot of issues with the V2 slipper (which is a marked improvement over the V1), but this clutch basket design seems to be where the industry is headed, so I figured I’d give it a shot.
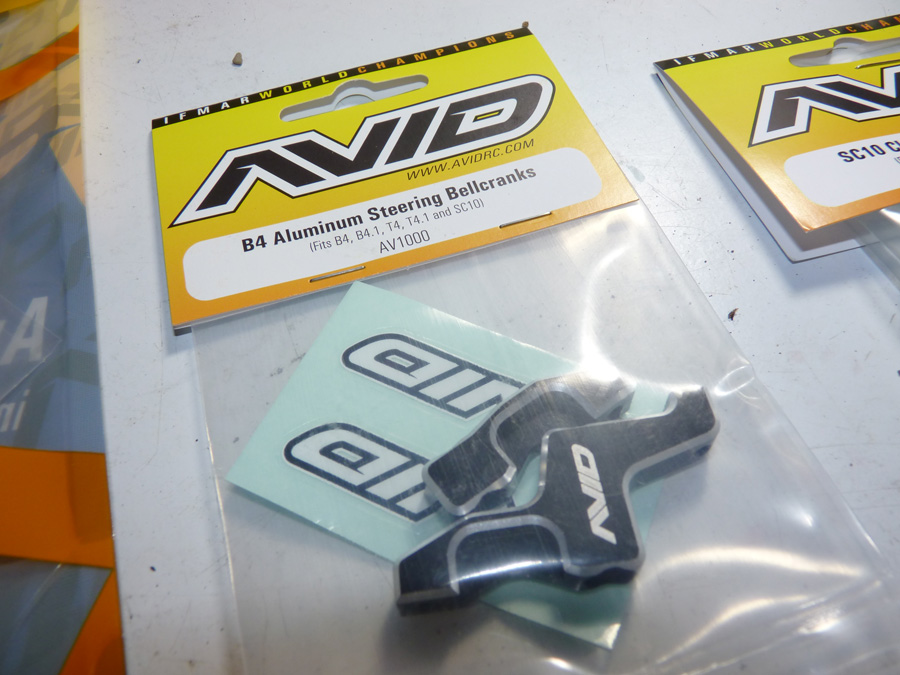
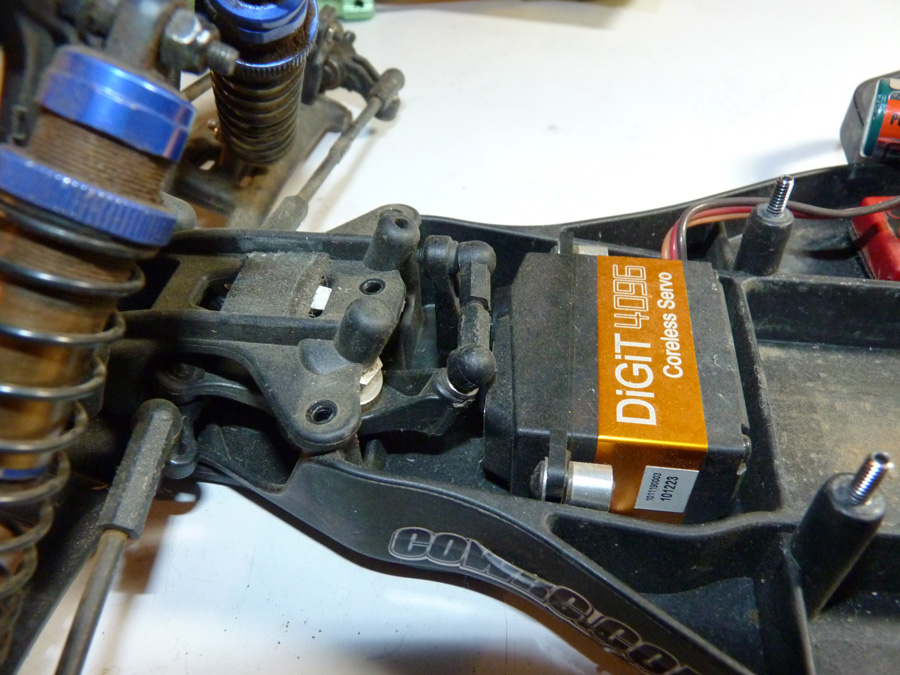
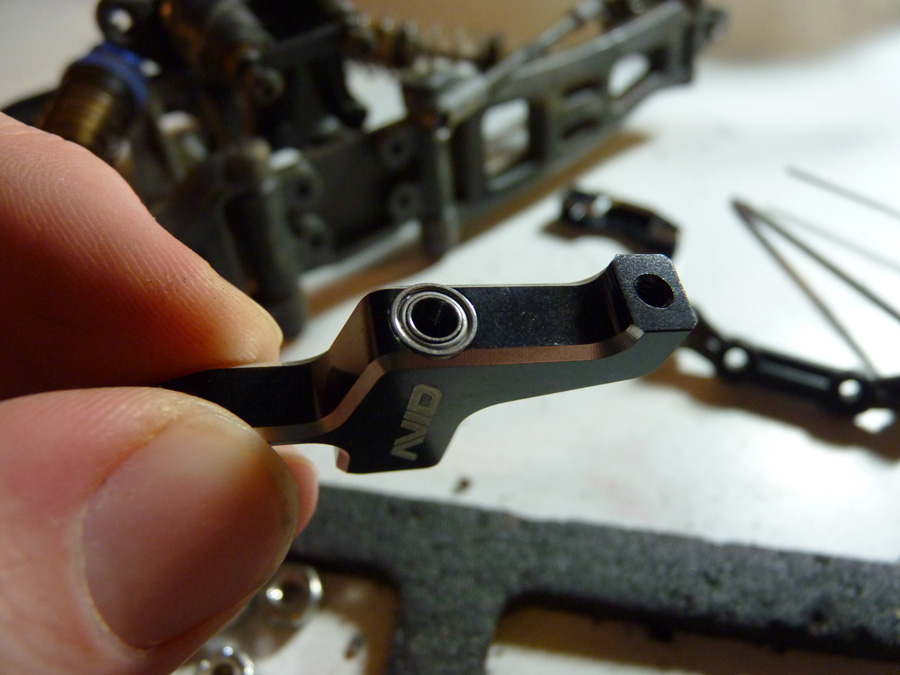
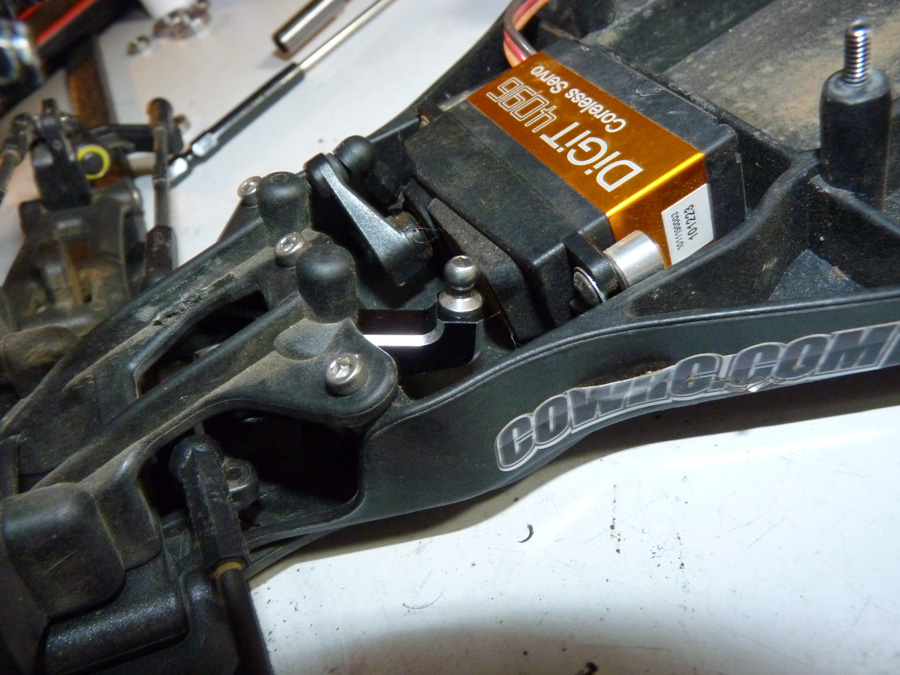
Then we have the AVID B4 Aluminum Steering Bellcranks [AV1000]. They say B4, but they also fit the B4.1, T4, T4.1, and SC10. These will remove the servo saver/spring assembly in the truck and eliminate slop that can be caused by it. Seeing that the SC10.2 ships with such a bellcrank now, I’d say this trend is picking up as well. The servo saver is used to absorb a hard hit and protect the servo from stripping out gears. Well, now most racing grade servos ship with titanium or steel gears and don’t need this protection. All the servo saver does now is cause slop when it wears out, or if it isn’t tightened enough, etc. Since I already have a good servo (Savox 1258), removing it should help handling.
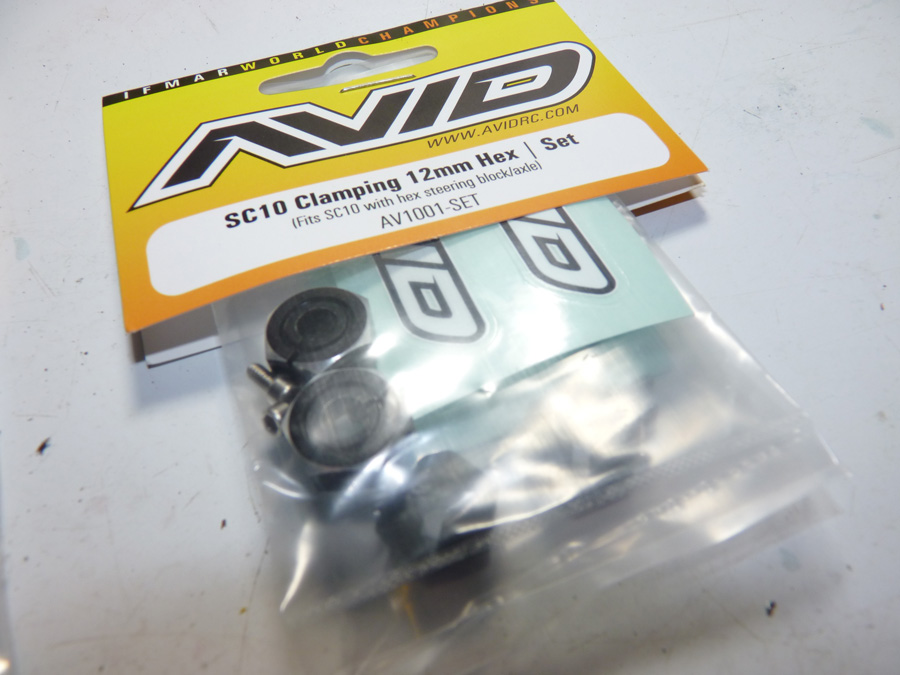
Now we have the SC10 Clamping 12mm Hex set. This is basically the same as the hexes that you get from the factory (same offset), but they are aluminum and have a screw that secures them to the axles. That means no more getting stuck inside the wheel!!
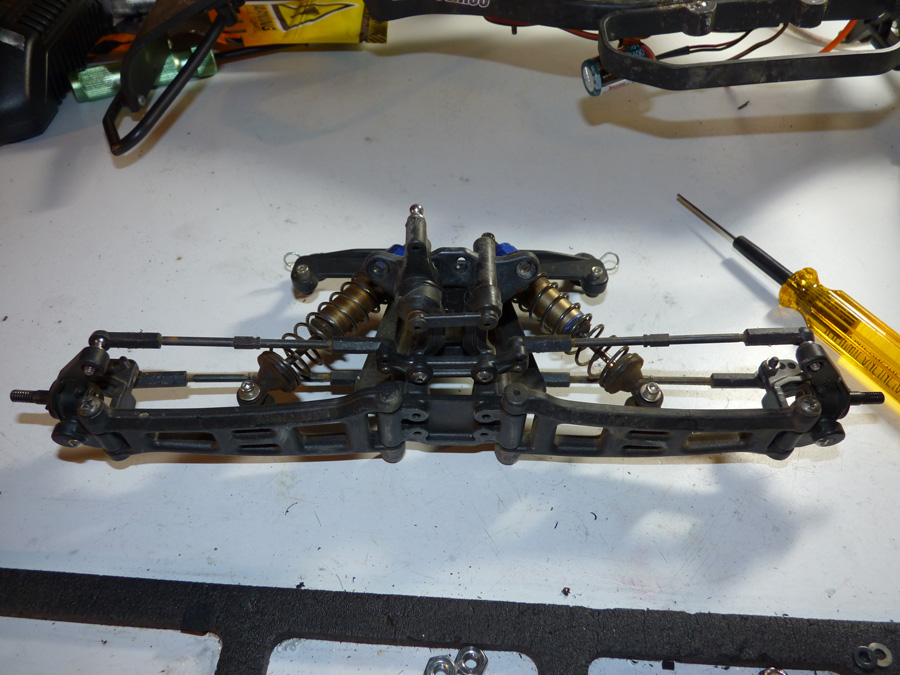
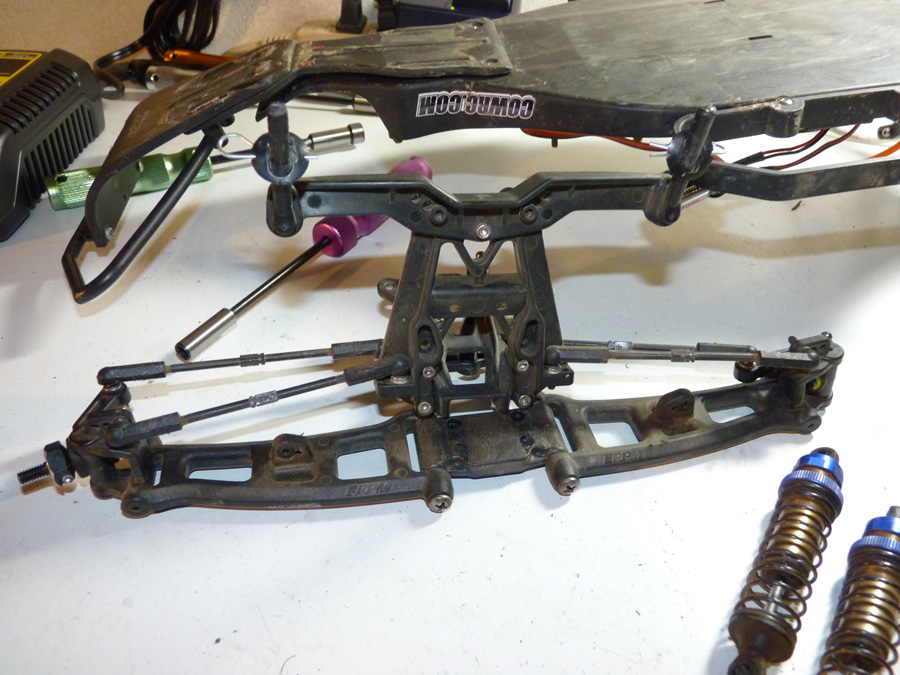
Alright, so I’m going to start tearing this down. It’s all fairly simple, but for those of you unfamiliar with the platform or process, I’ll run through it. I’m using my trusty MIP hex drivers (love these things!).
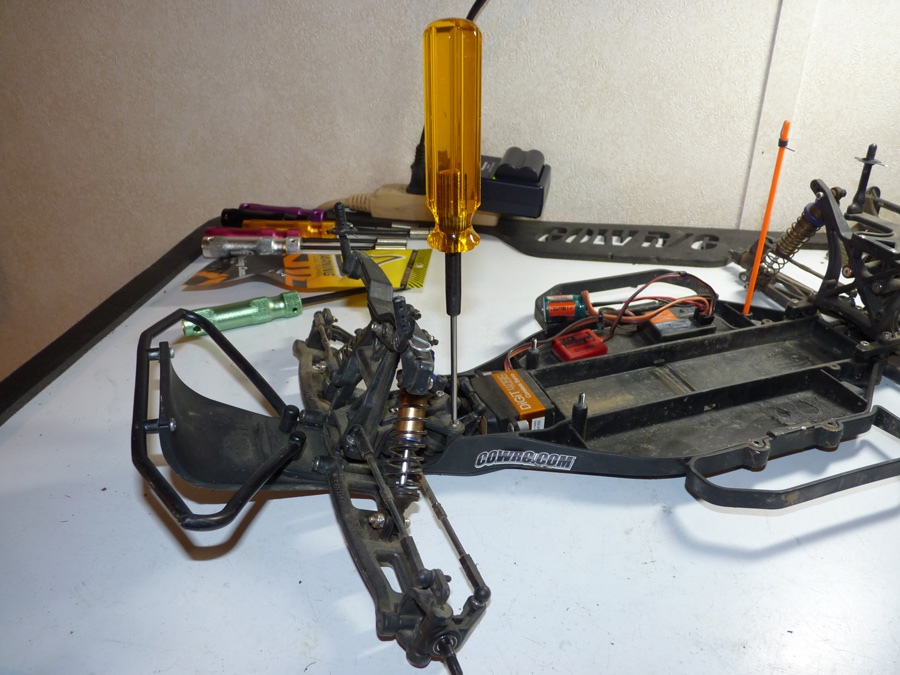
First we’ll do the bellcrank. We need to remove the front end starting with the top brace.
We’ll have to remove the screws from the lower bulkhead as well. 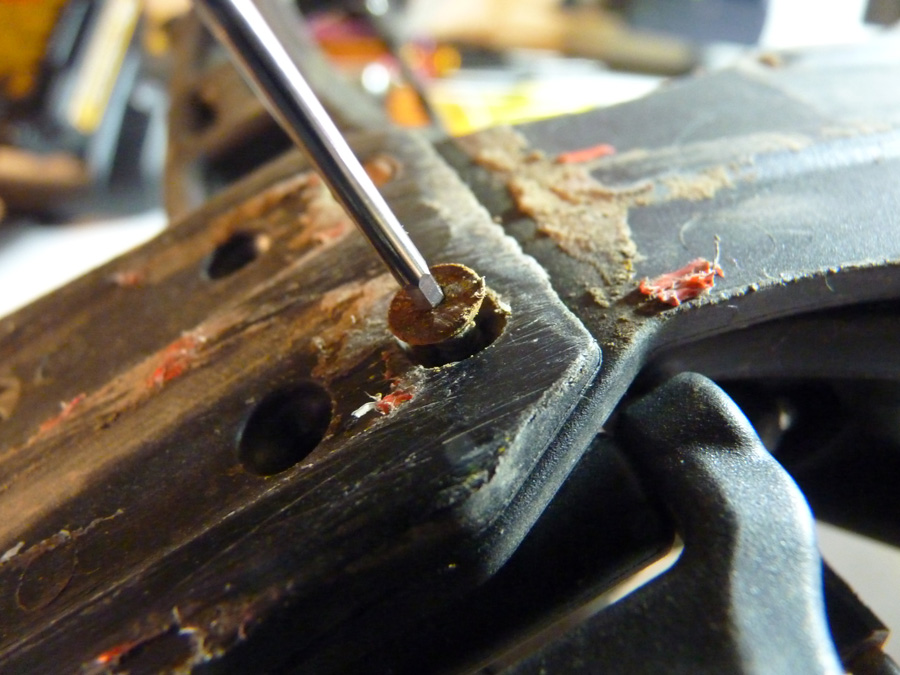
At this point the front end should be able to come off.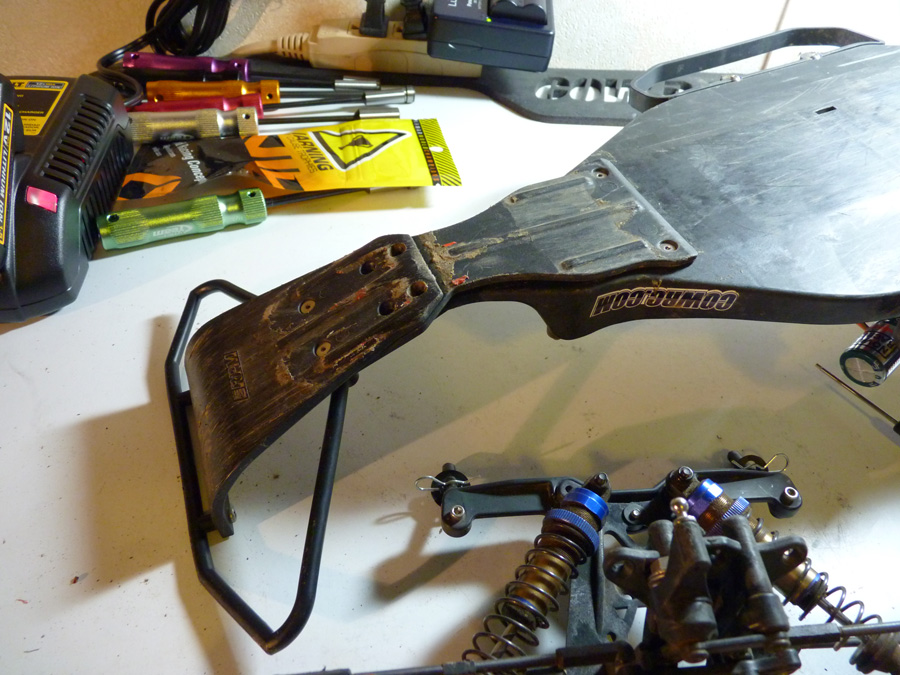
Here’s the old servo saver assembly.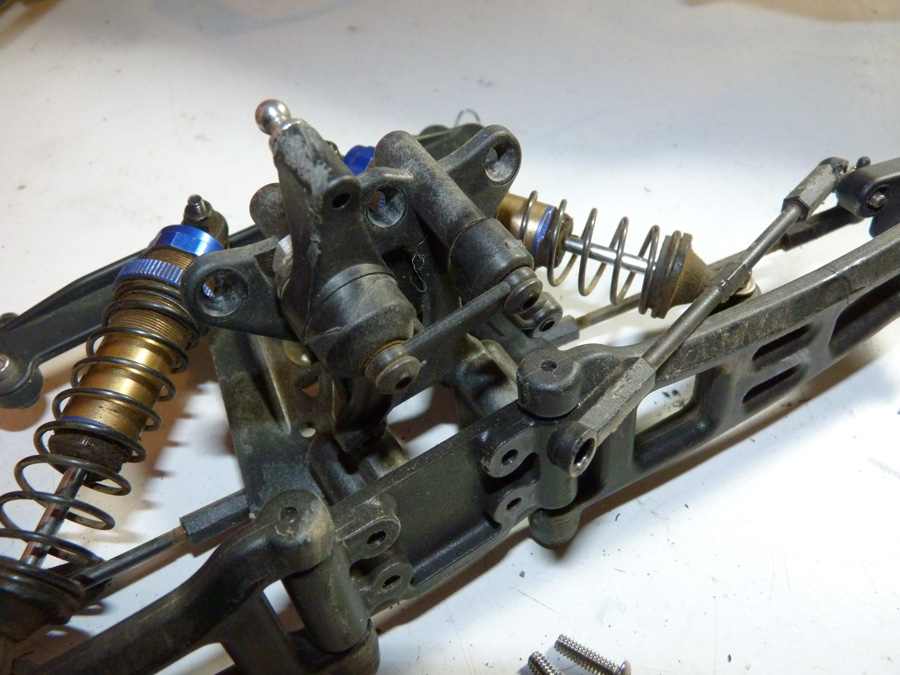
New hotness.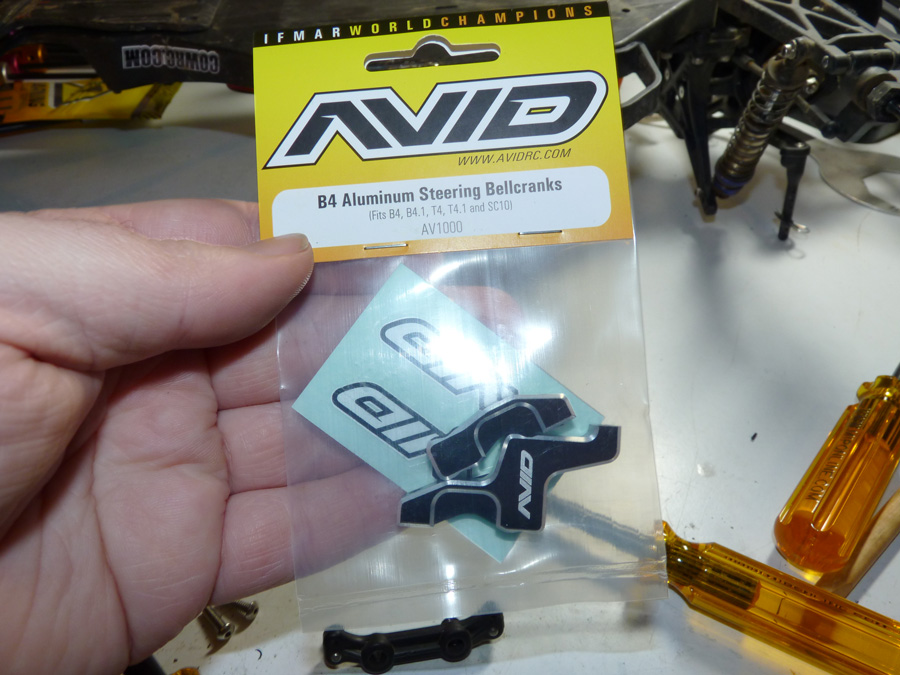
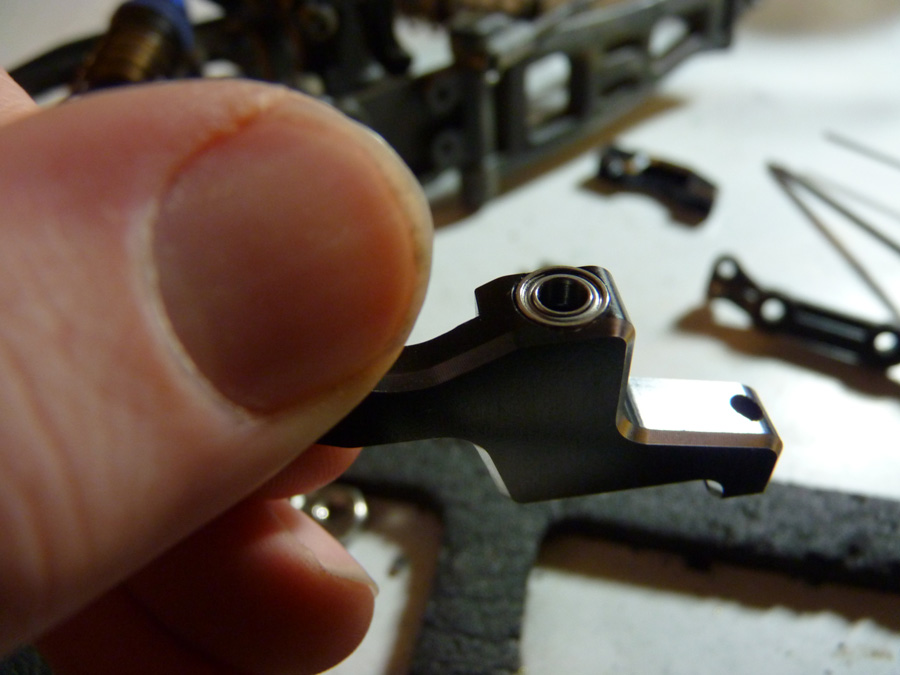
The aluminum is very nicely machined and anodized black.

At this point we also have to tear into the bearing kit. The old kit bellcrank used bronze bushings. We’ll now be steering with bearings thanks to the SC10 bearing kit which includes this size.
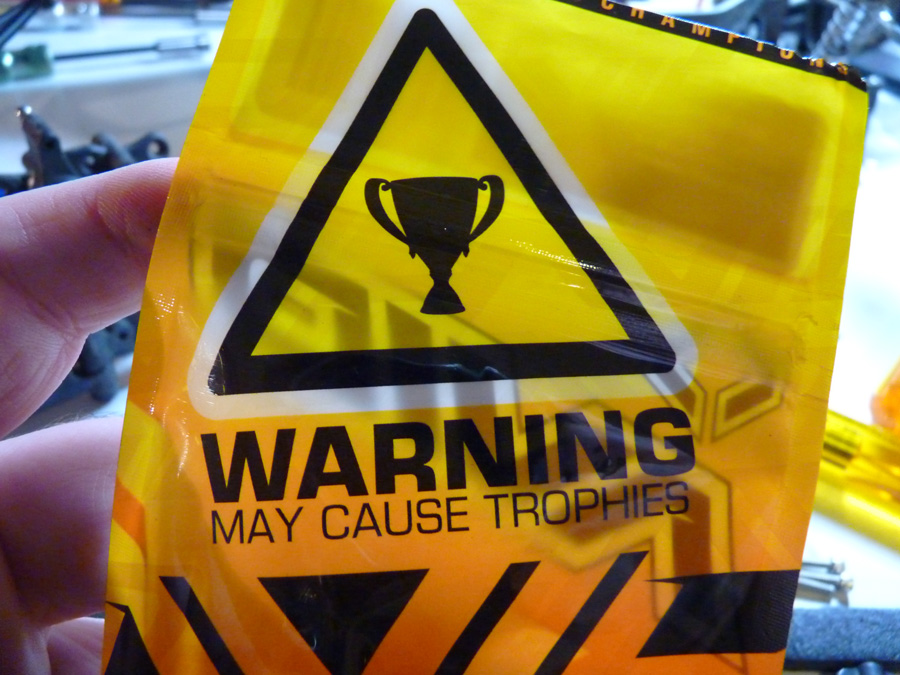
I love the AVID packaging. Might not be the case for me.. but with a statement: WARNING: May Cause Trophies, you can’t help but feel like you made the right choice in parts haha.
Bearings unbagged. 
We’ll insert the small ones into the bellcrank. Fit is perfect.
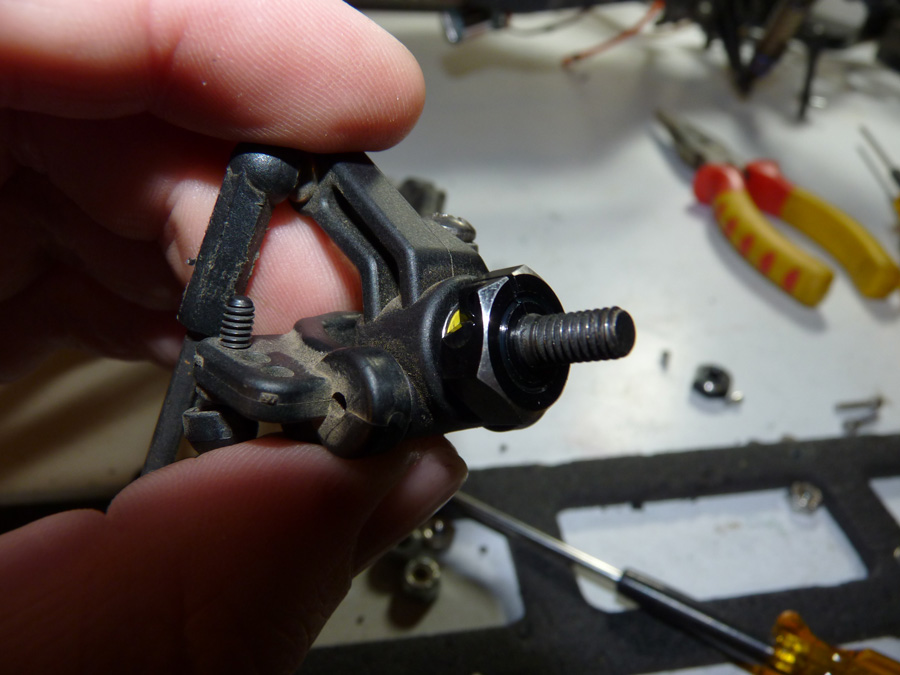
Next we’ll attach them to the posts on the top plate.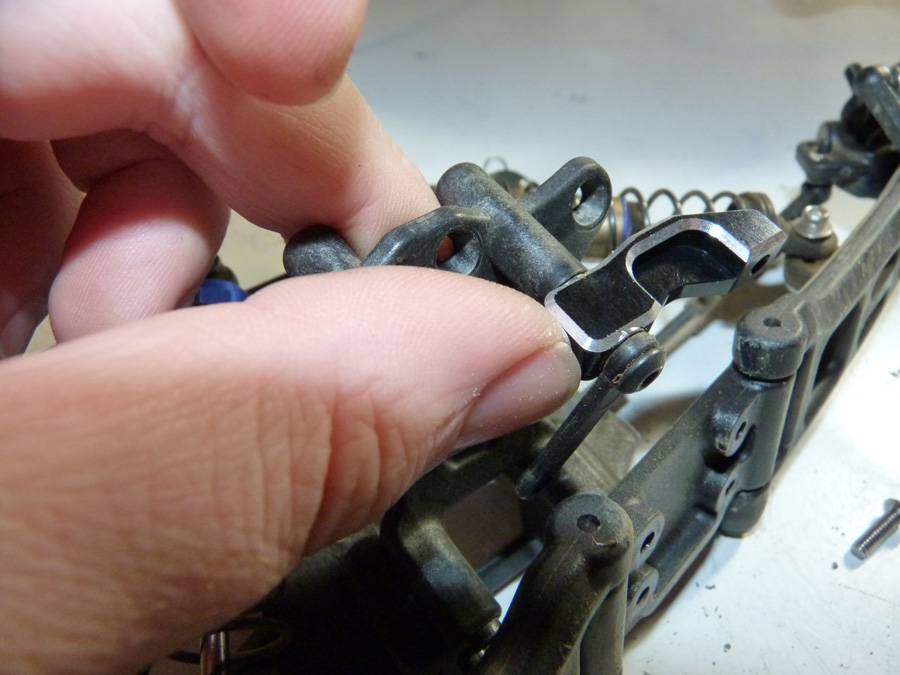
Pretty simple.. 2 screws and we’re almost done.
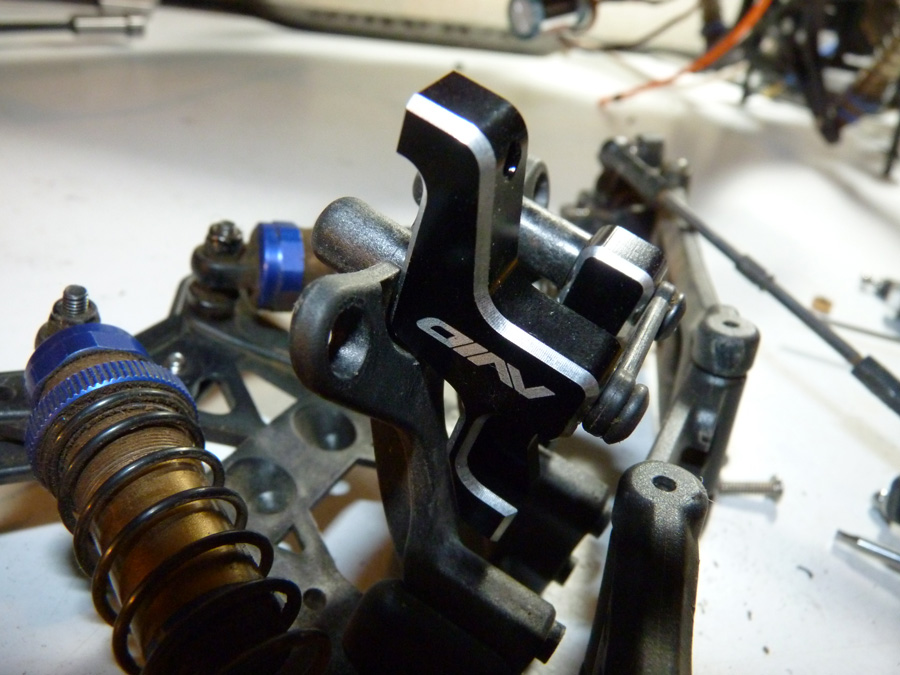
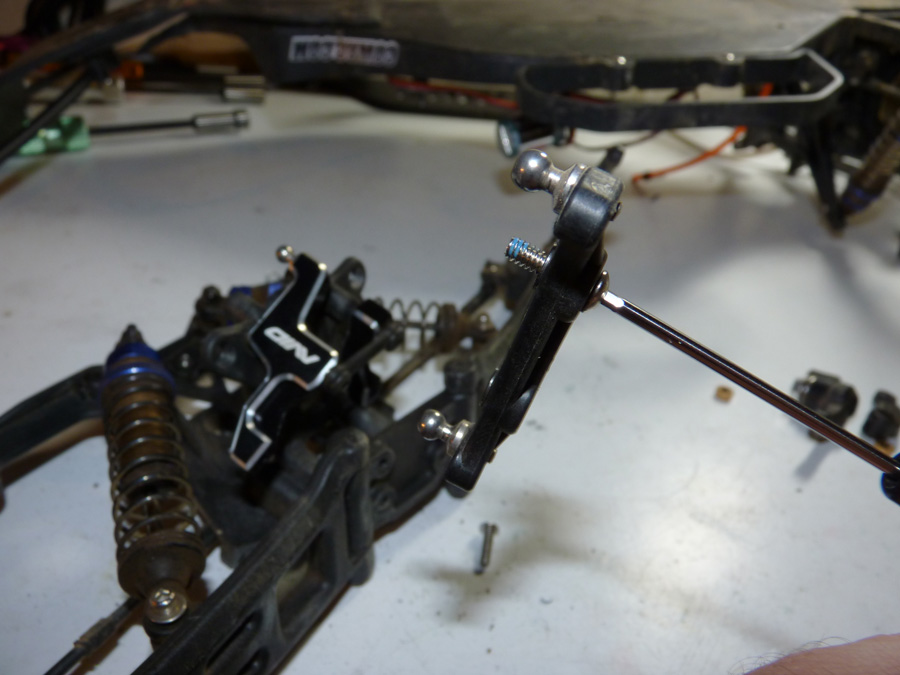
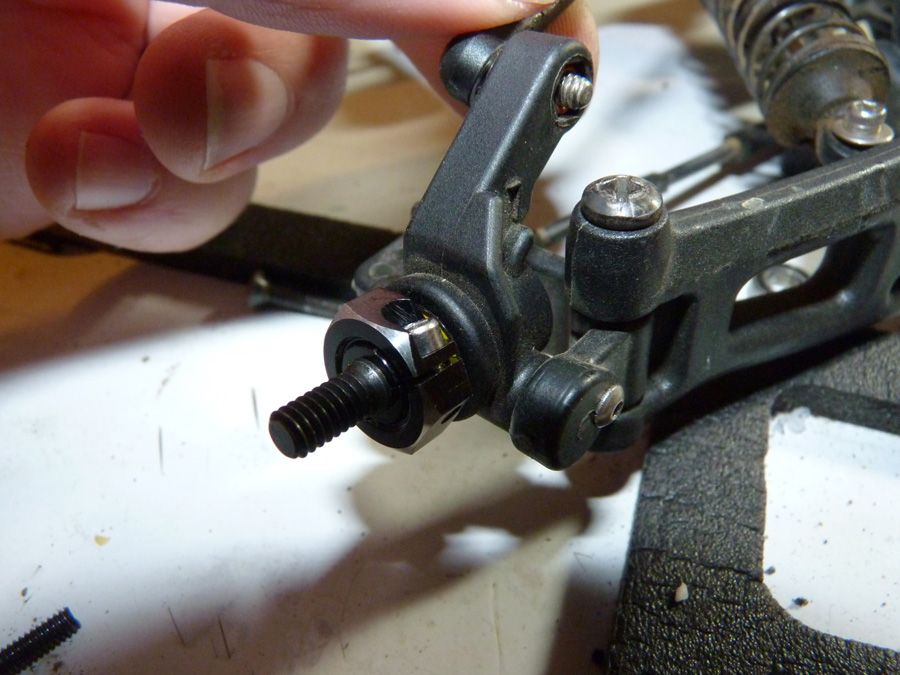
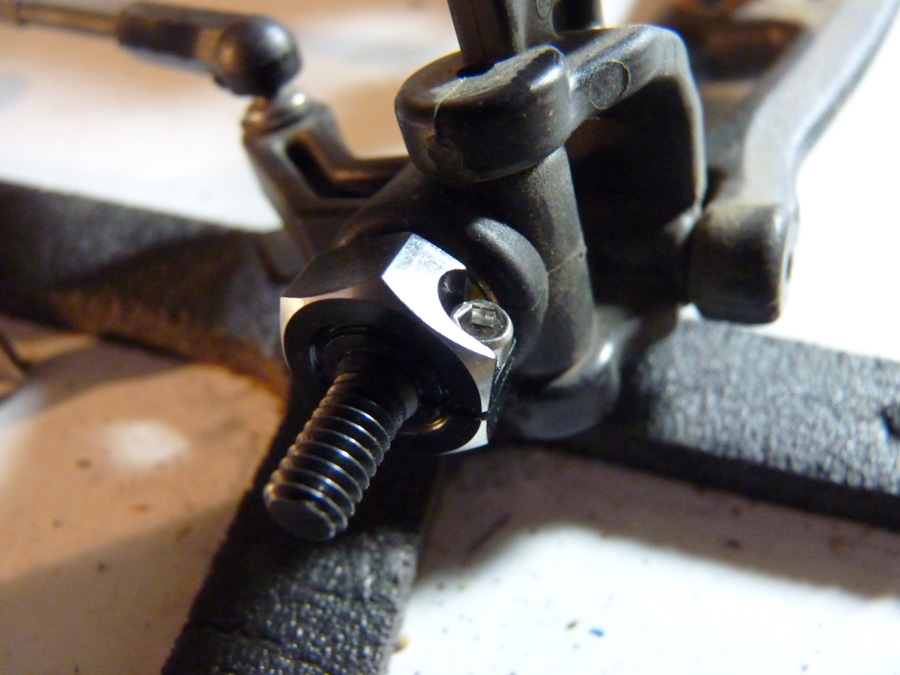
Don’t forget to swap over the ball studs.
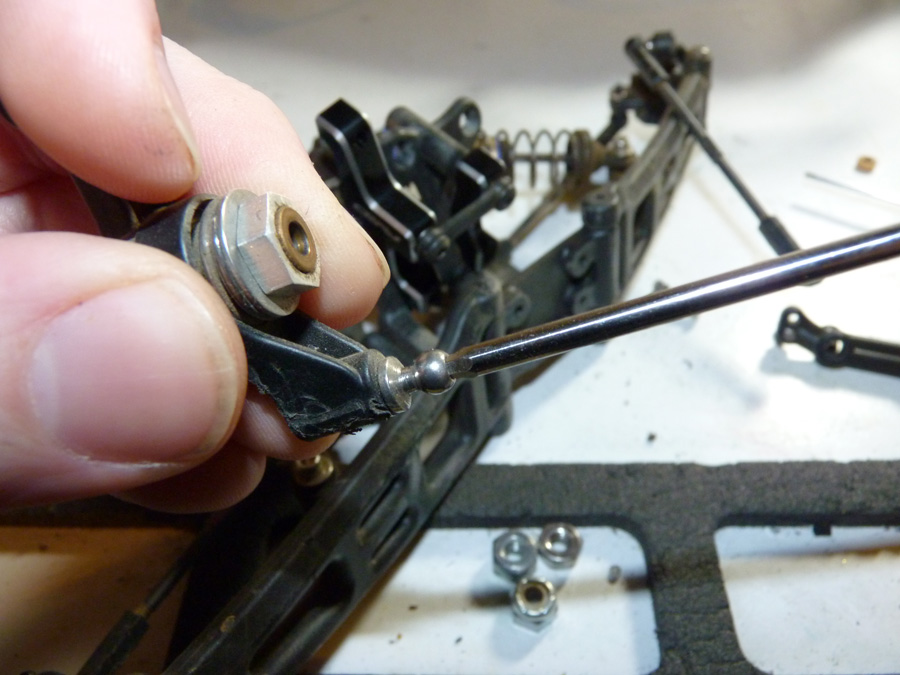
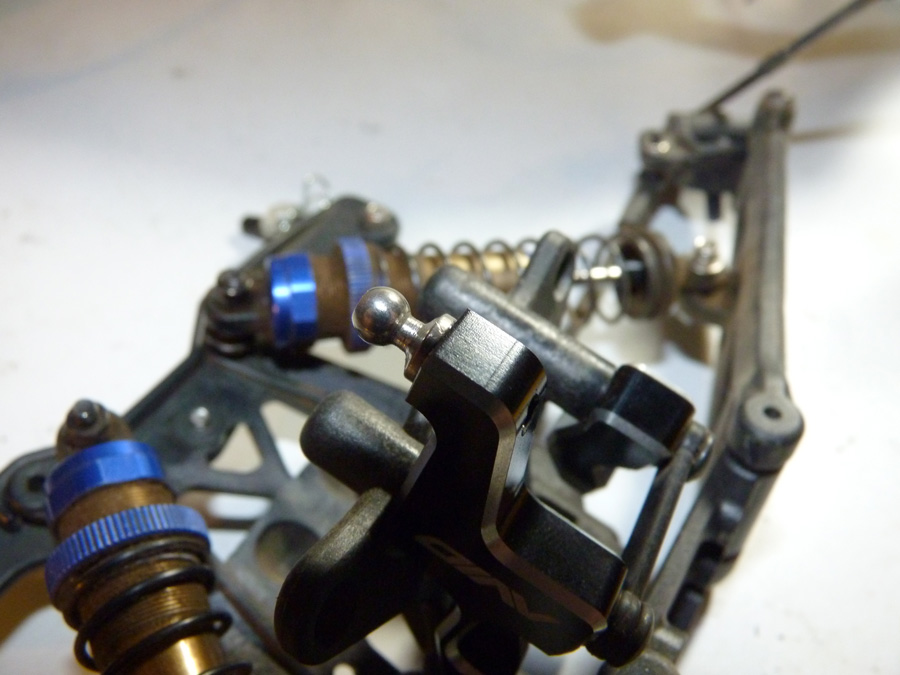
Next we reinstall the ackerman bar.
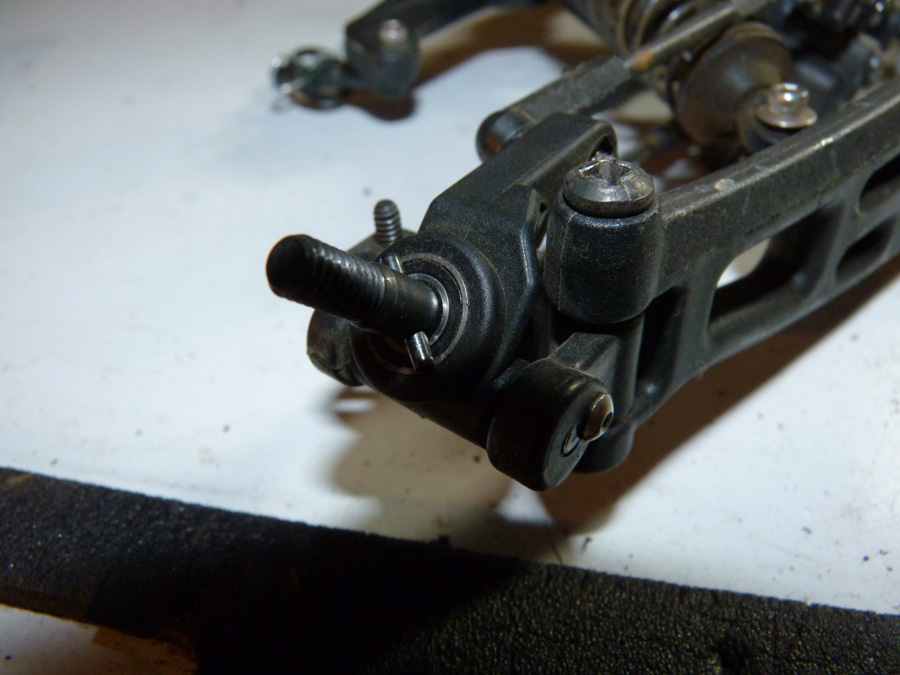
While we have the front end in our hands, we might as well replace the front bearings and install the AVID aluminum hexes.
Below is the stock setup; pin and rubber sealed bearing. The hex is stuck in a wheel somewhere.
New AVID hexes. AV1001-SET is the part number.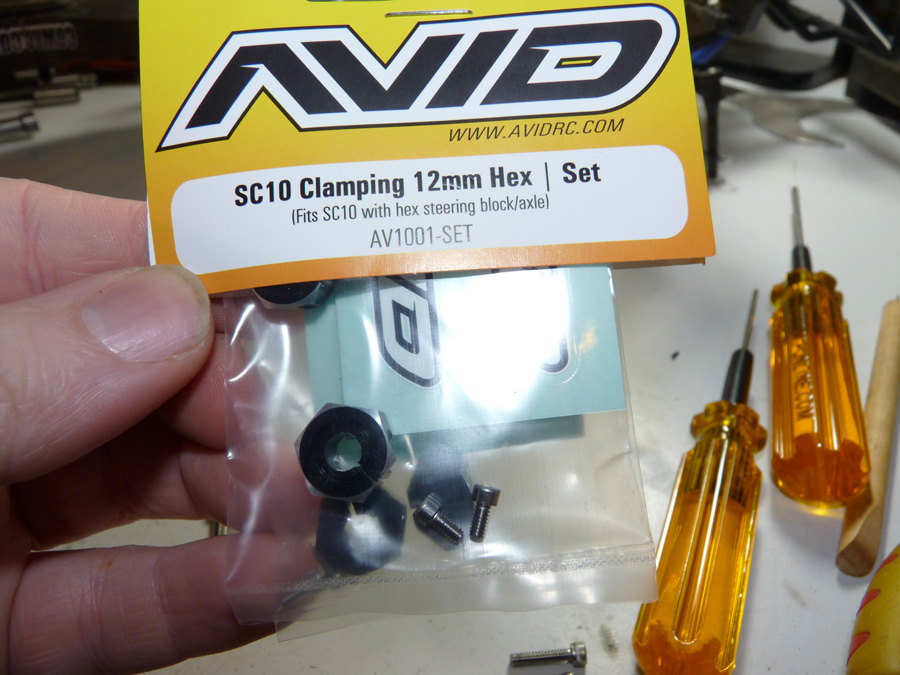
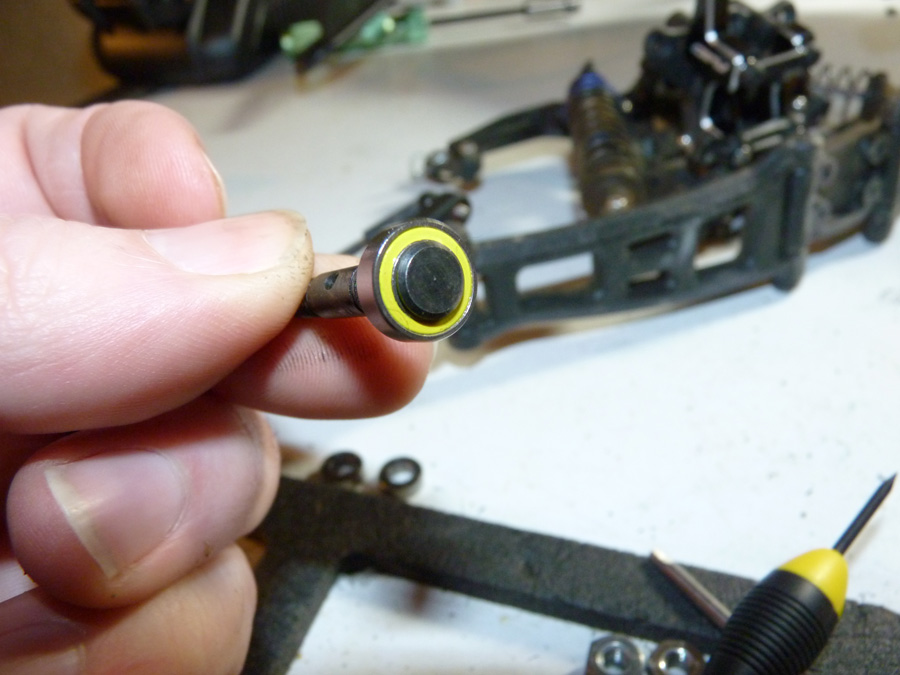
Simply pull the axle pin, pop the axle out.. then we’ll replace the rubber bearings with our new Revolution sealed bearings.
Front of the hub.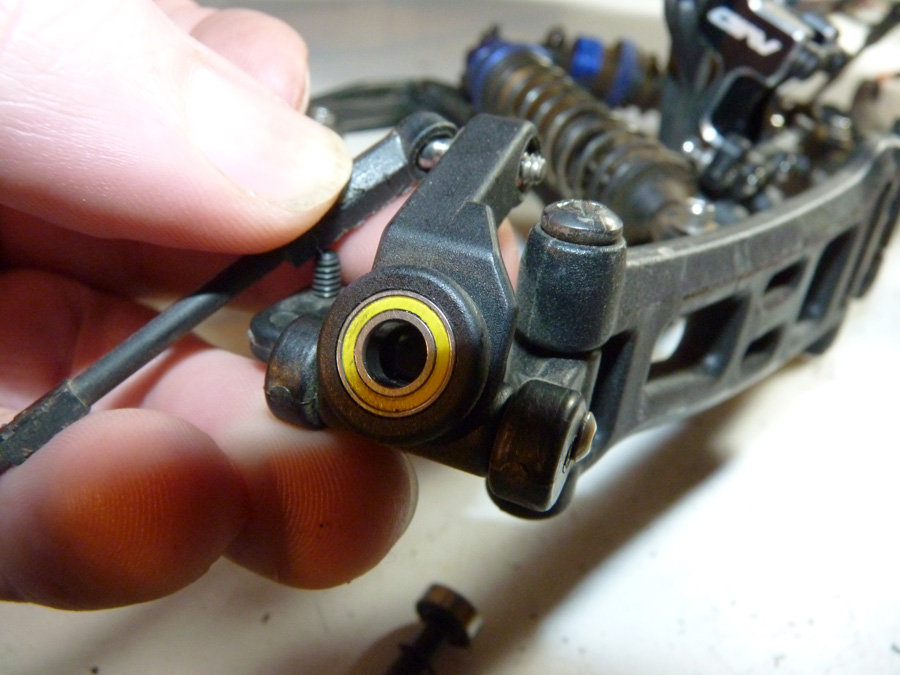
Then we install the bearing on the axle and pull it through the hub. Remember that the yellow rubber side should face out (where dirt would get in).
Slide the pin in. 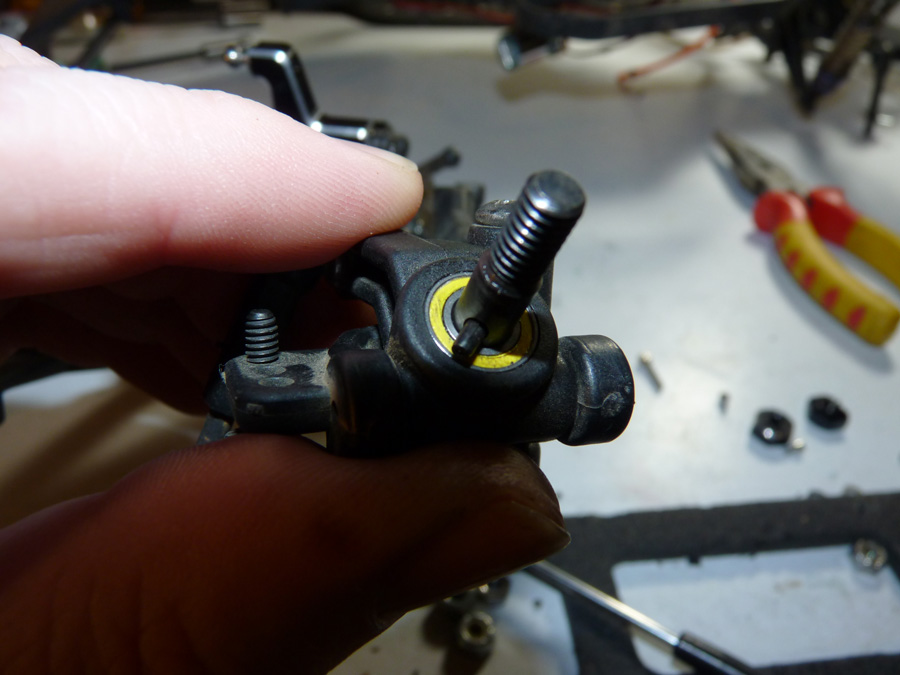
Slide the hex over the axle.
Then install the screw and tighten it down. Make sure the axle is pulled out and the back is rested up against the bearing on the backside.
 Done. Repeat for the other side.
At this point I also took the shocks off, rebuilt those and cleaned up some of the dirt on the front end before reinstalling.
Next we’ll reattach the front clip the the chassis.
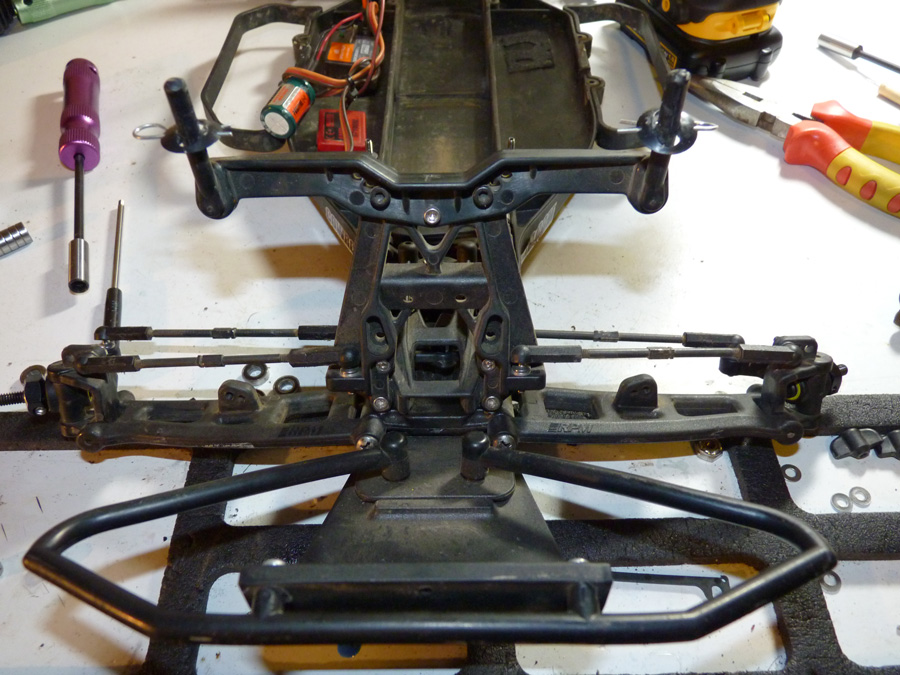
Front end complete (well except connecting servo to bellcrank). Playing with the steering while it’s disconnected I could feel it was super smooth and lightning fast. This should really tighten up the steering.
We’ll tackle the rear next.
 Posted in
  Tags:
Tags:
Great article – though you should have gotten rid of the RPM parts. The heavy front bumper and skid completely changes the weight distribution and drags on the ground. The arms flex like wet noodles.