

 May 25th, 2013
  Kevin
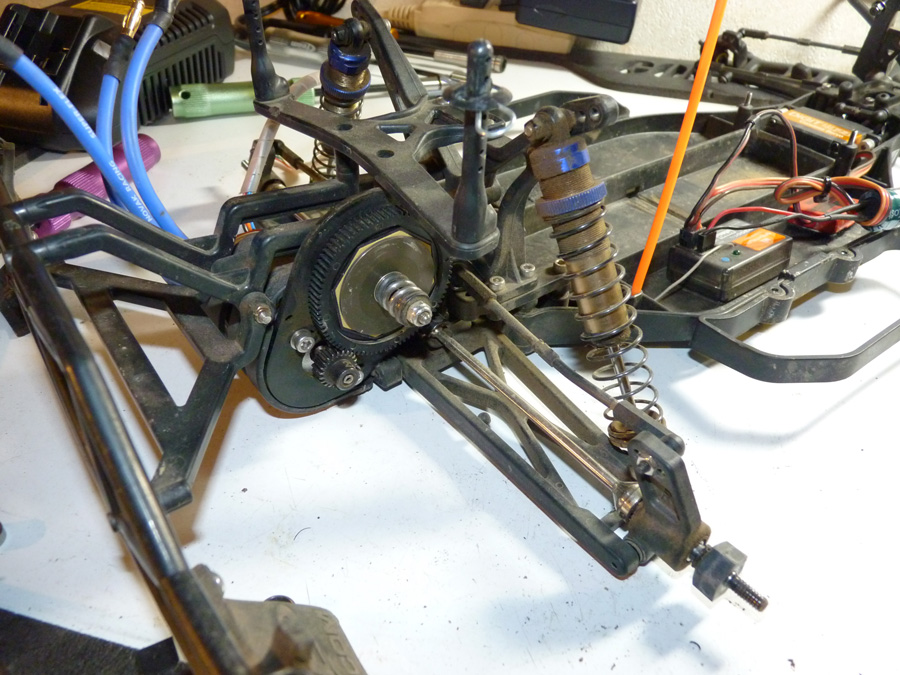
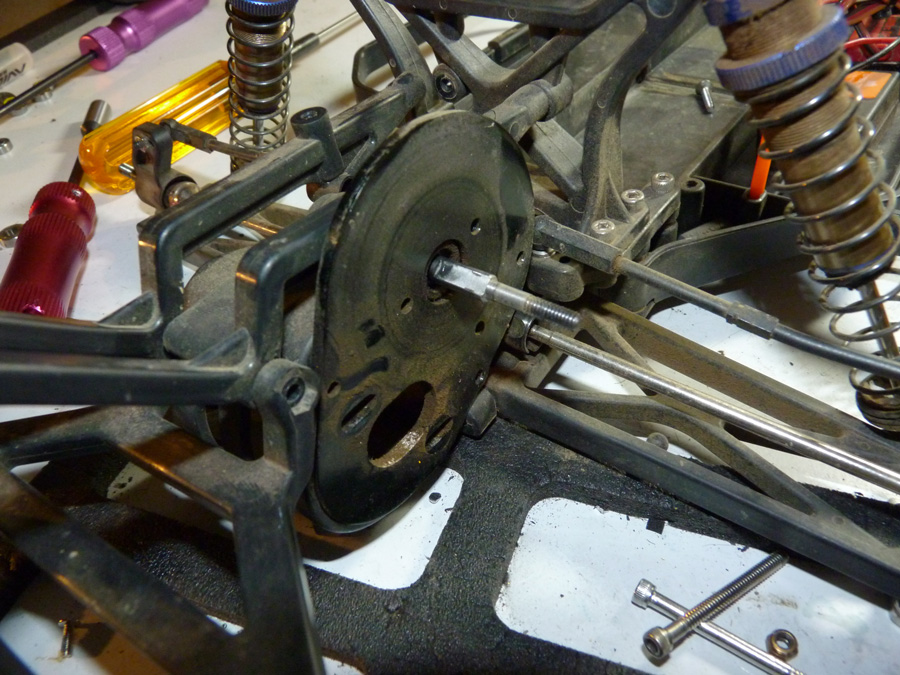
Kevin This is the rear end. Not much special about it. You can see the V2 slipper, the stock hexes (1/2 slid off because they were stuck in the wheel), etc.
First thing we’ll do is pull this motor out and get it out of the way. Same with the rear body mount.
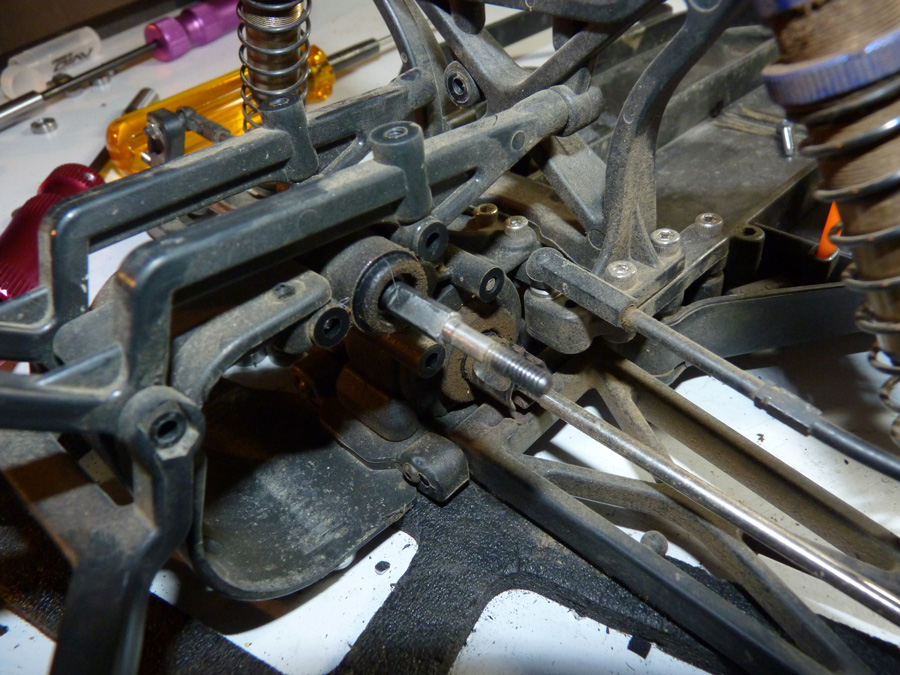
Motor removed.
Next we’ll remove the V2 slipper clutch.
Then the motor plate.
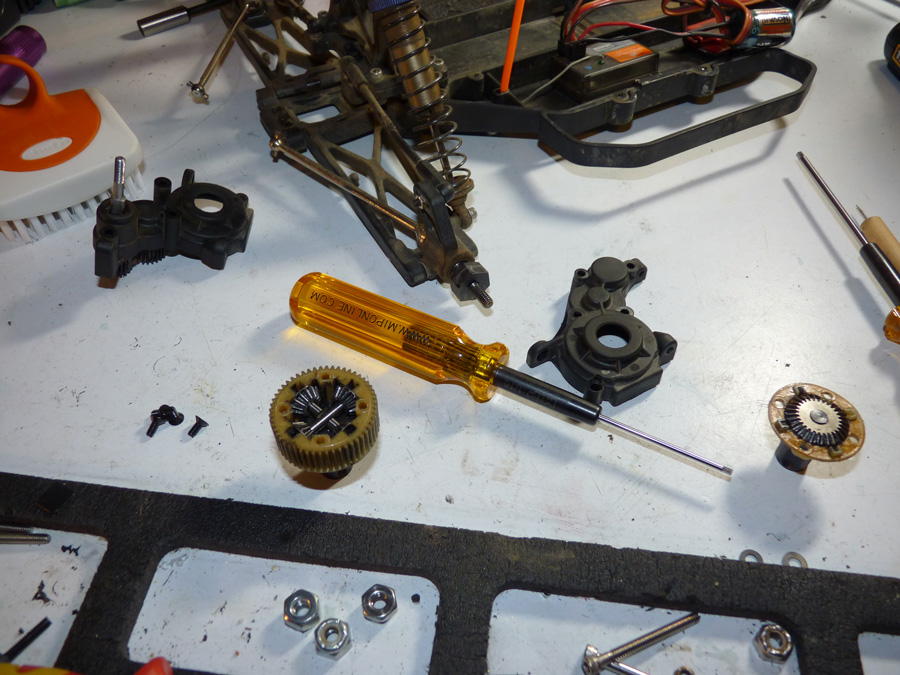
Then I just pulled the whole transmission out, because we have new bearings to install anyways.
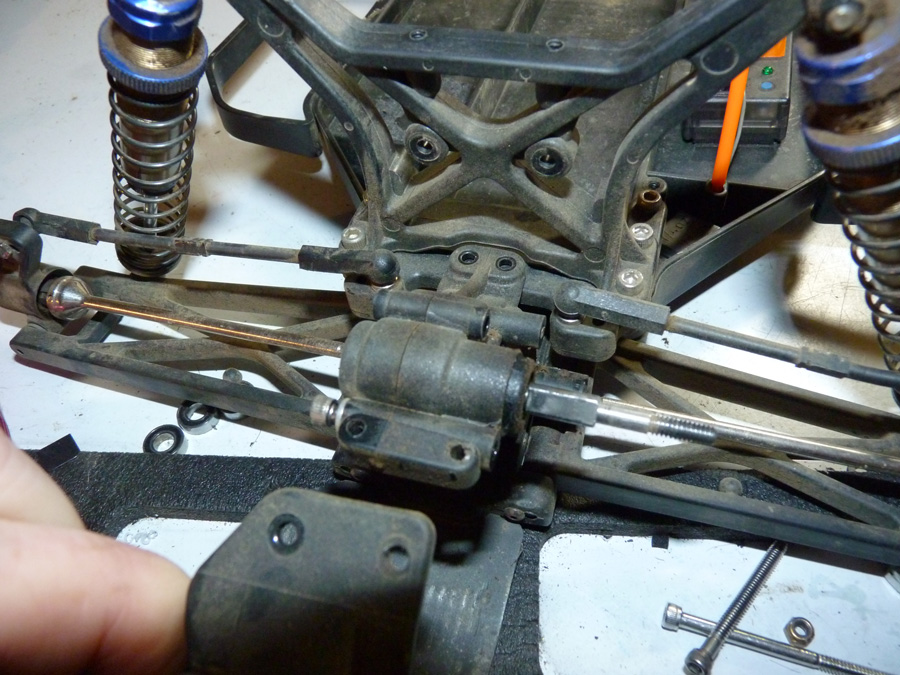

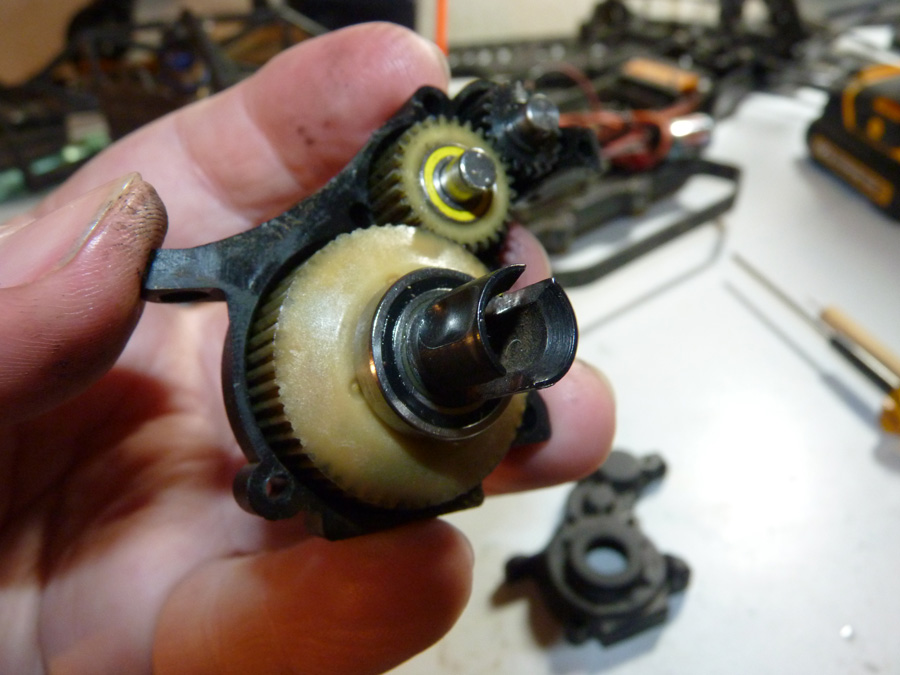
Tranny is out and you can see the stock bearings. 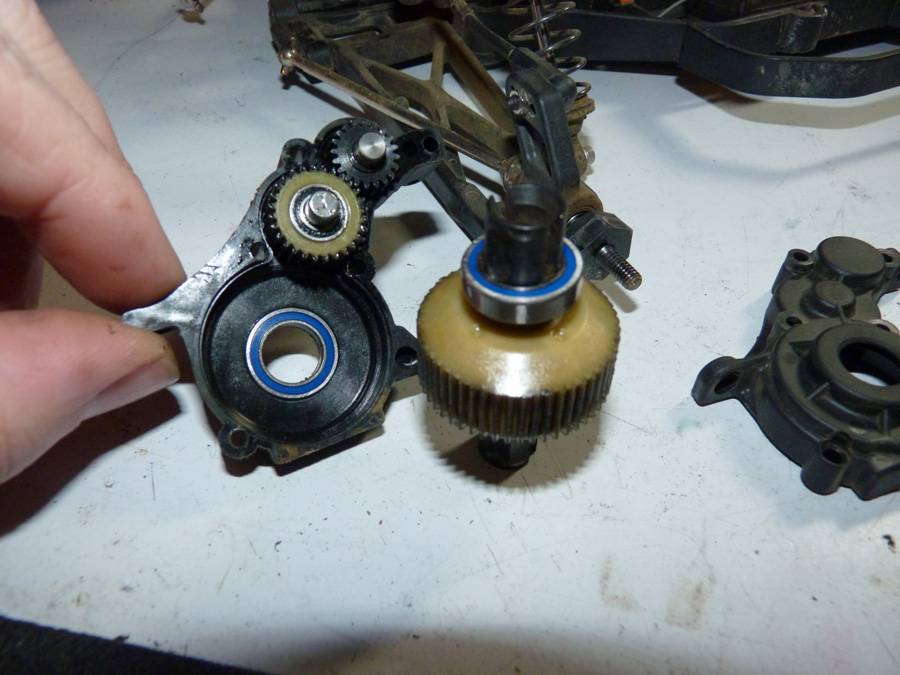
At this point I figure it’s a good time to rebuild the diff and swap fluid.
With that out of the way, it’s time to get it all back together. New AVID bearings installed.
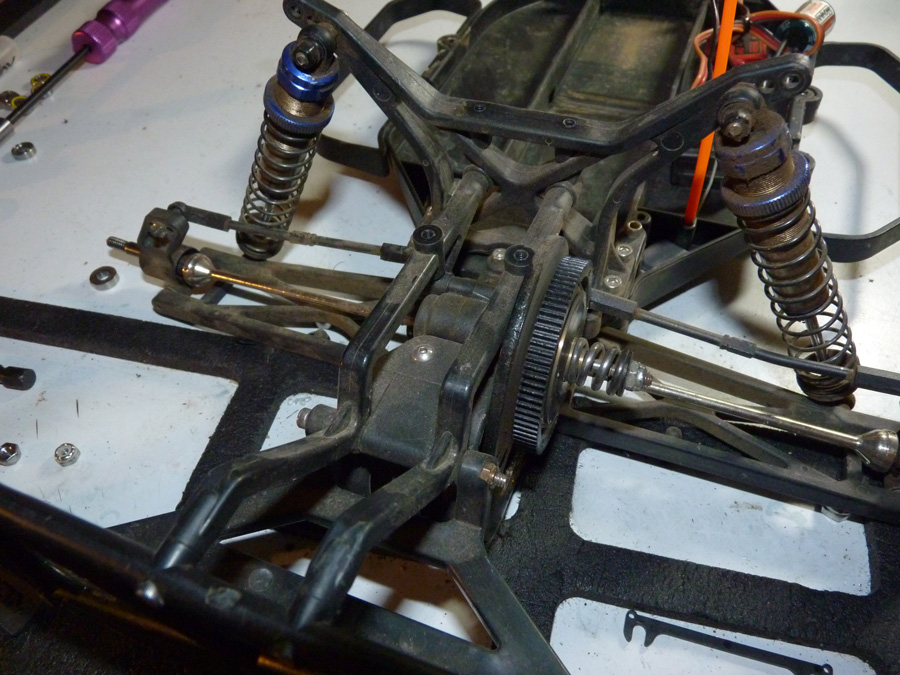
Plop the tranny back in.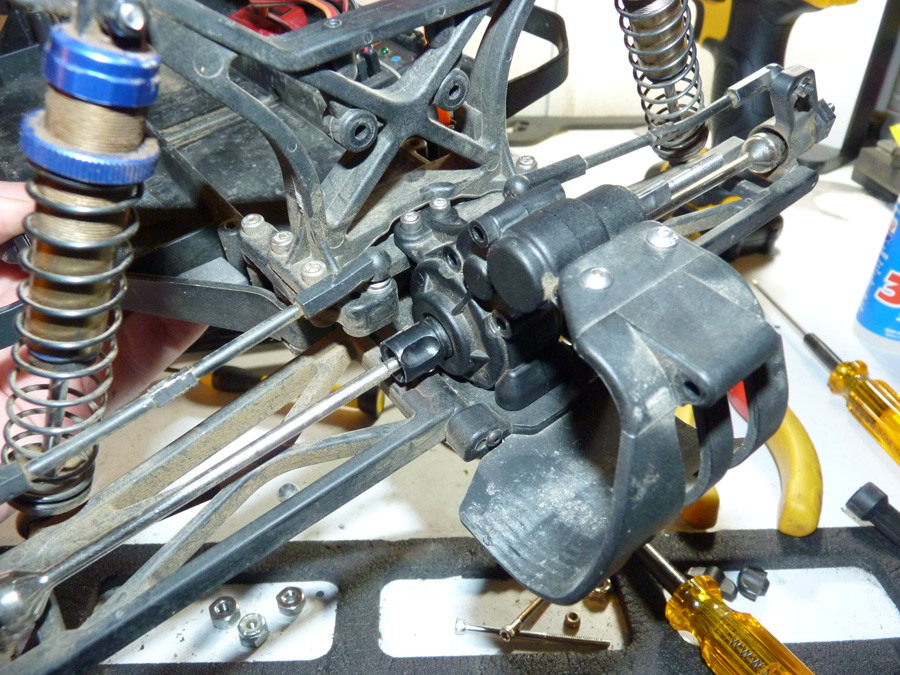
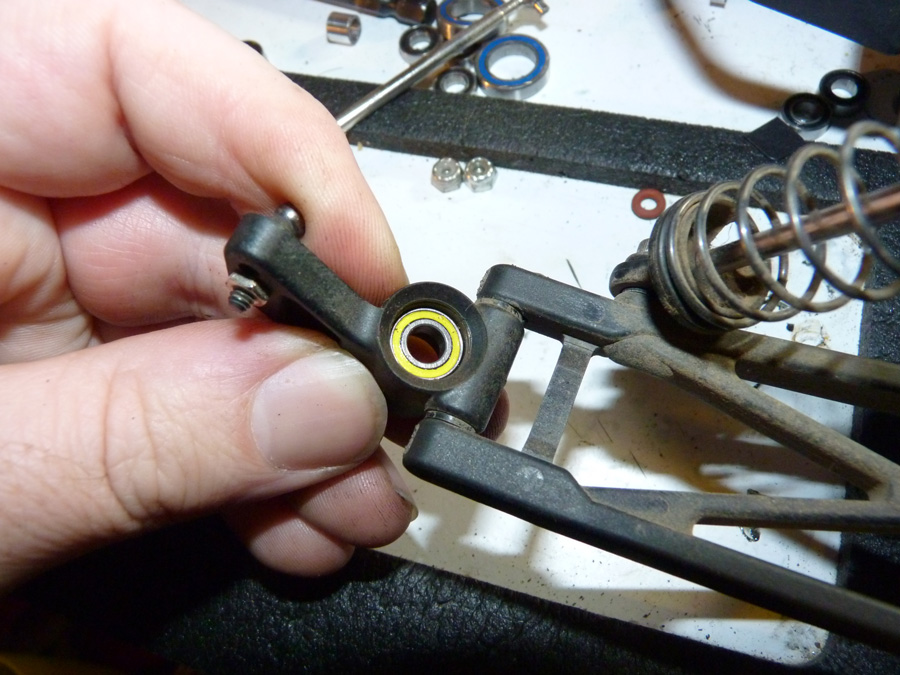
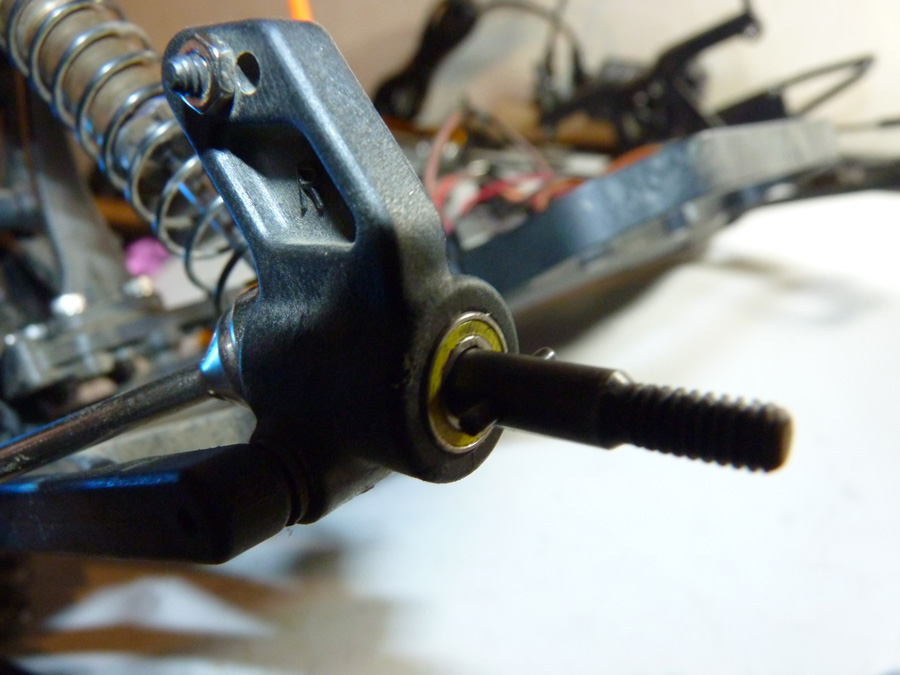
Next we’ll replace the rear hub bearings.
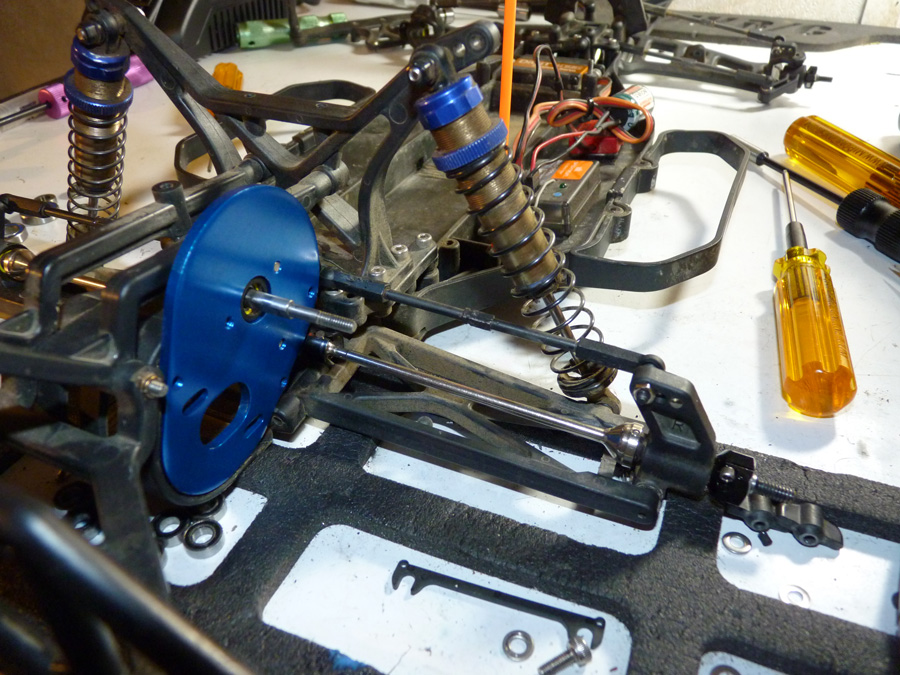
I also had a shiny new Factory Team motor plate I got off eBay a while back. Figure it would be a good time to install that as well.
AVID 12mm hexes about to be installed.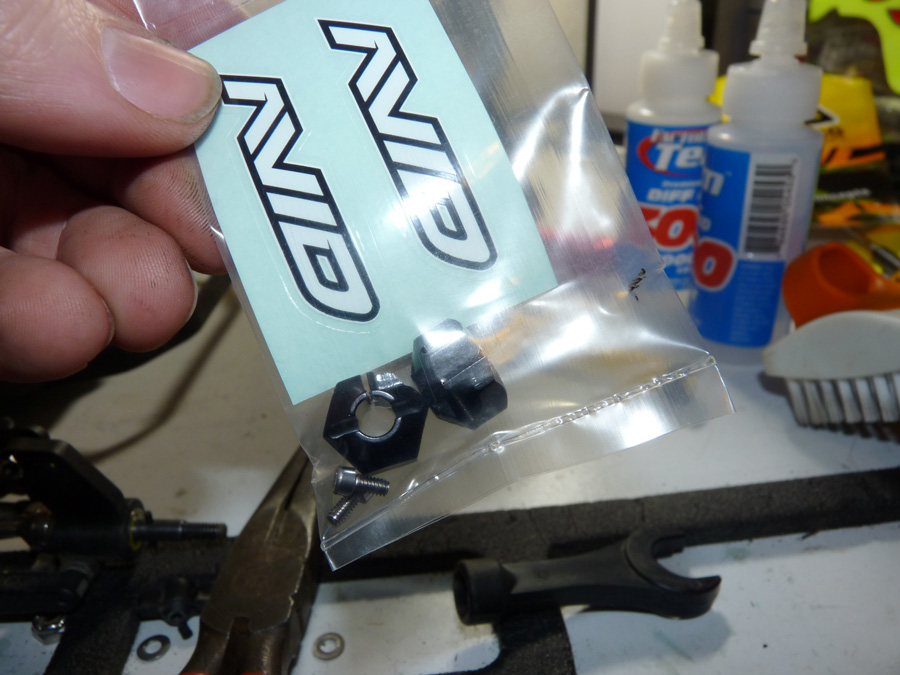
They tighten on just like the fronts. Not terribly complicated.
Now we have the awesome new AVID Triad Slipper Clutch. The design allows the clutch to transmit power, yet still maintain a degree of slip without overheating.
Highlights from the AVID site:
- smoother throttle/brake feel in jumps as well as turns
- consistent performance (jumps are the same every lap)
- light weight, compact design (TRIAD 11.2g Vs. Stock 16.4g)
- longer life with less maintenance
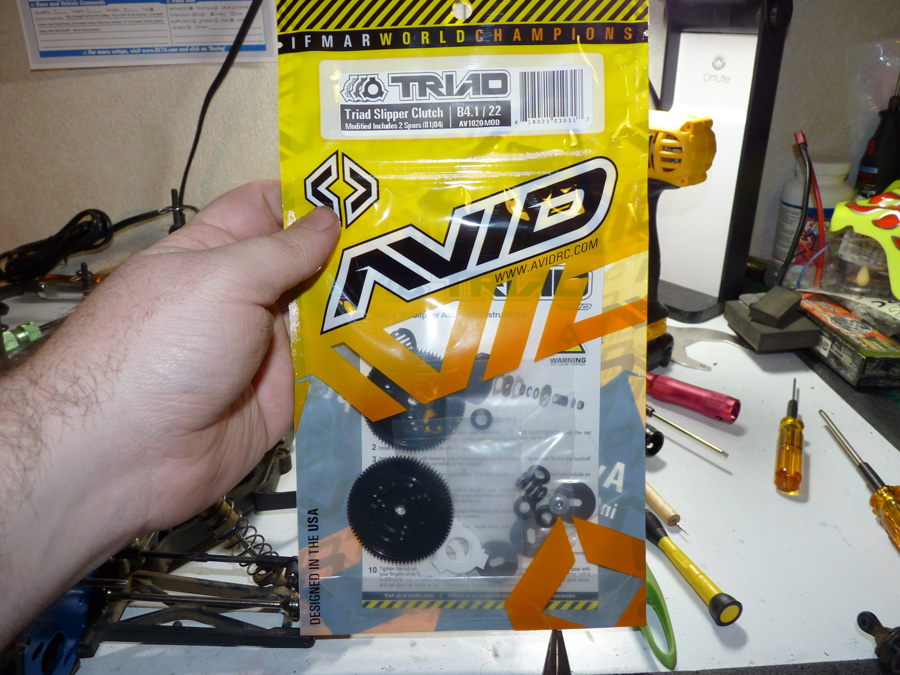
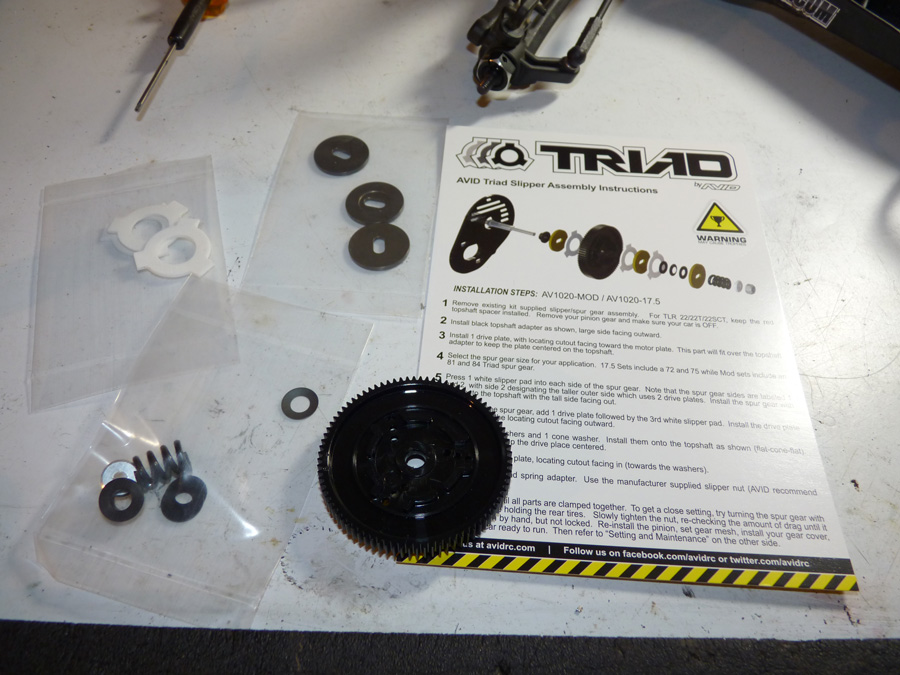
Here it is out of the bag. They include 2 different sized spur gears for gearing adjustment. A PDF of the instructions can be seen HERE.
First we install the top shaft adapter.

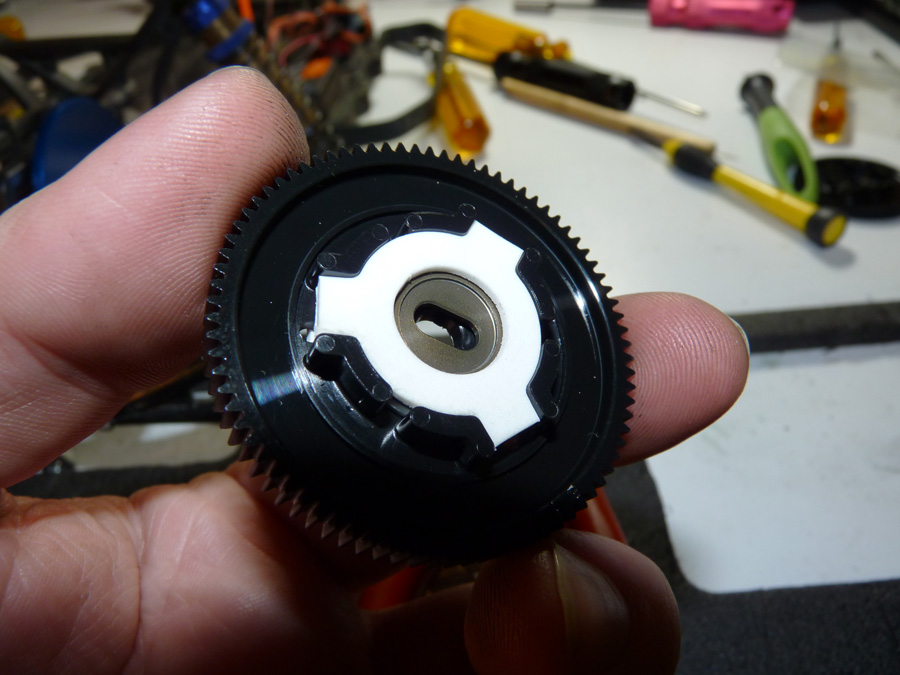
Then a drive plate.

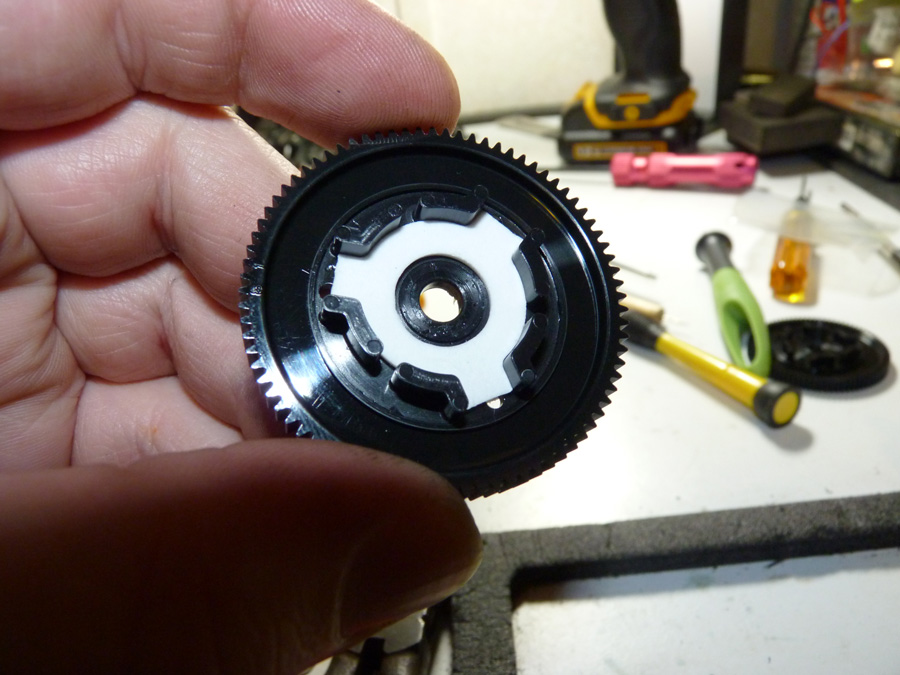
Now we can install the slipper pads onto the spur. Unlike the stock hex ones, these will actually stay in place, as grooves are deeply molded into the spur itself.
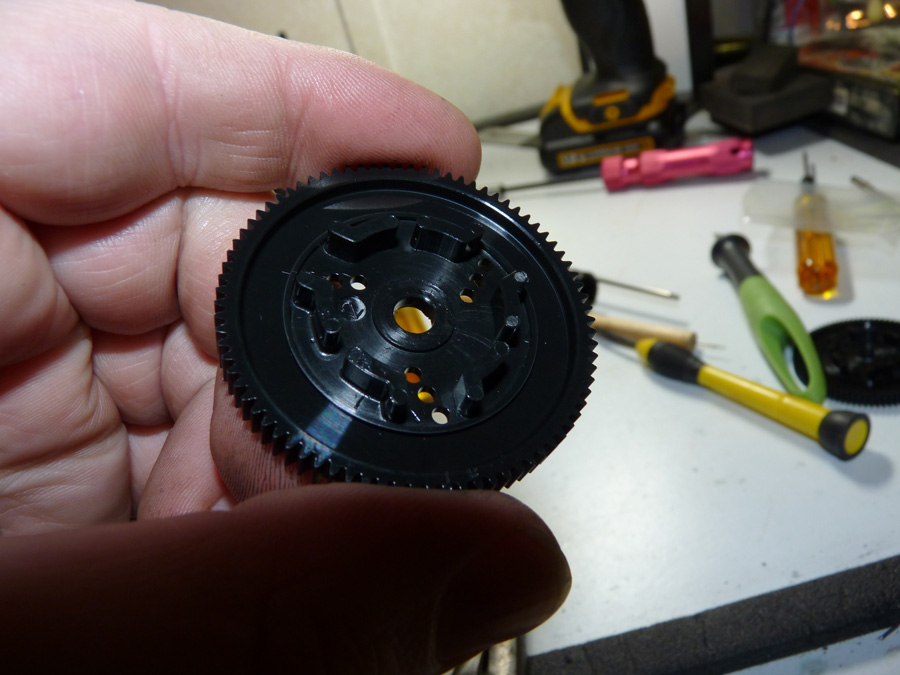
One slipper pad goes on the back.
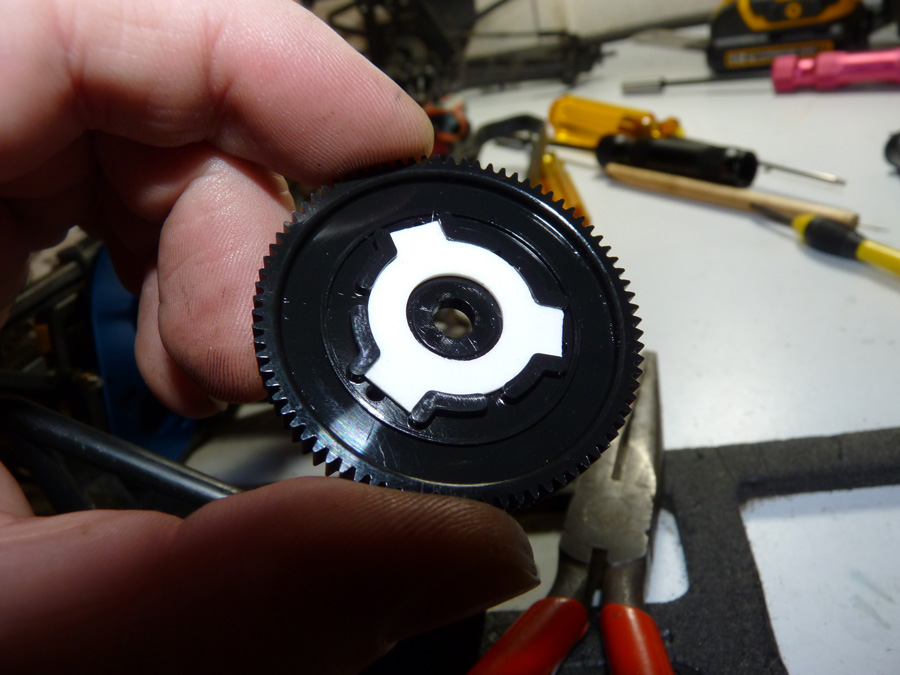
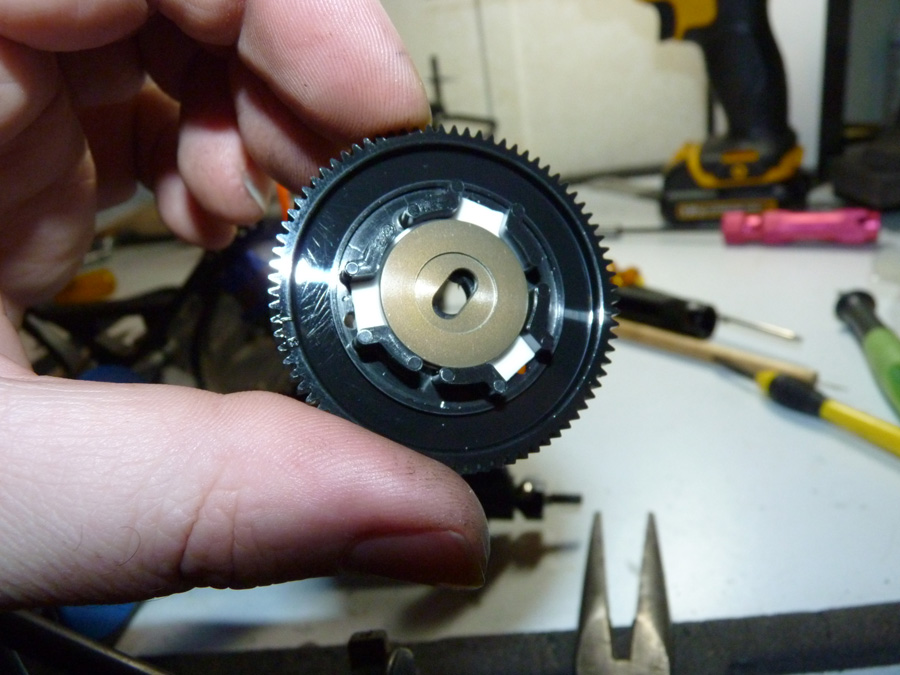
Then 2 in the front, with a drive plate between them.
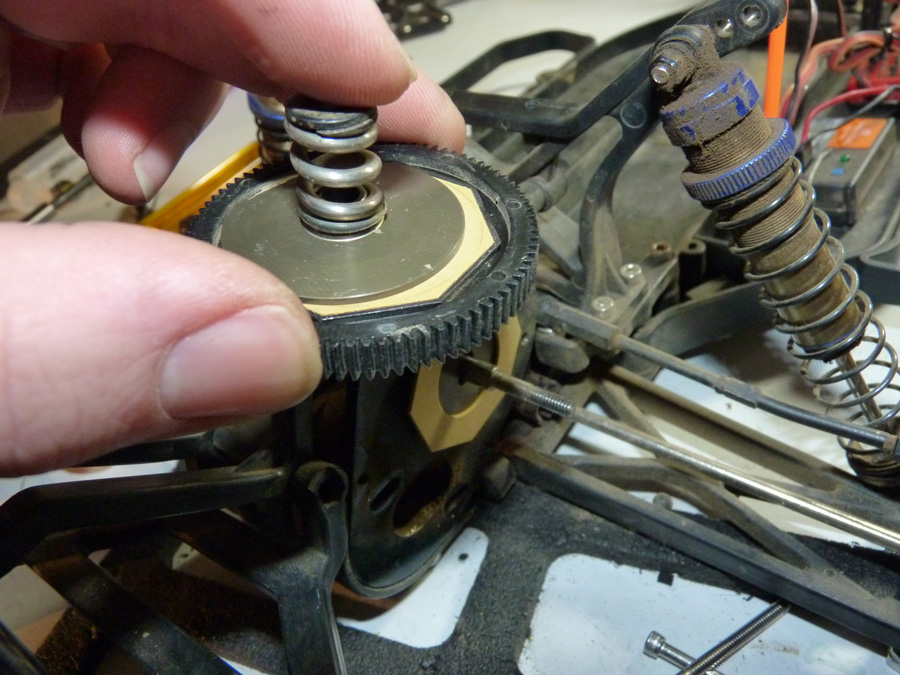
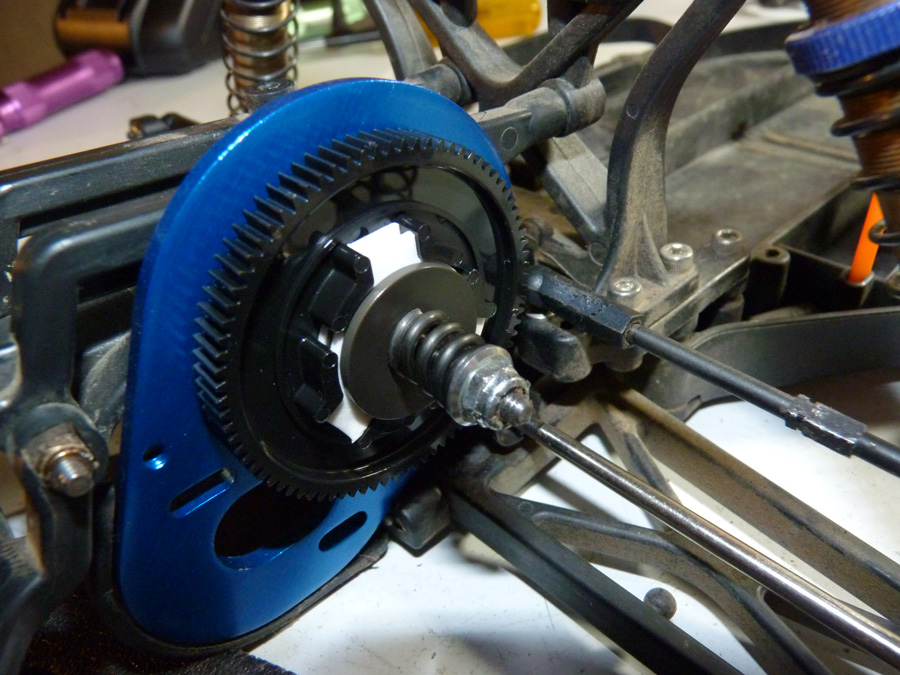
Now we can slide it onto the topshaft.
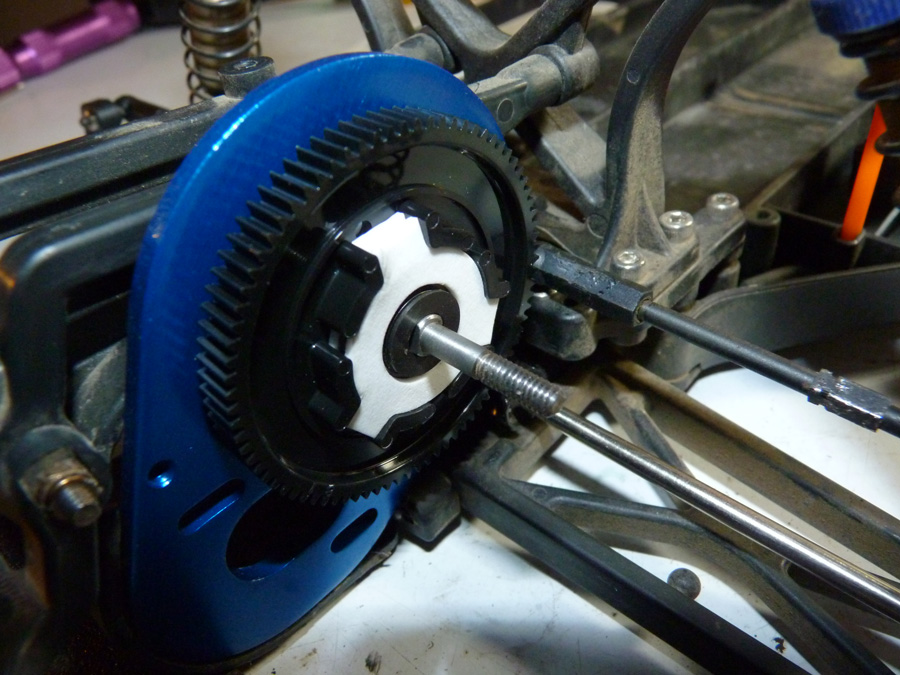
Next we install the remaining hardware as outlined in the instructions.
(Flat washer / Cone washer / Flat washer / 3rd drive plate / spring / spring adapter / nut)
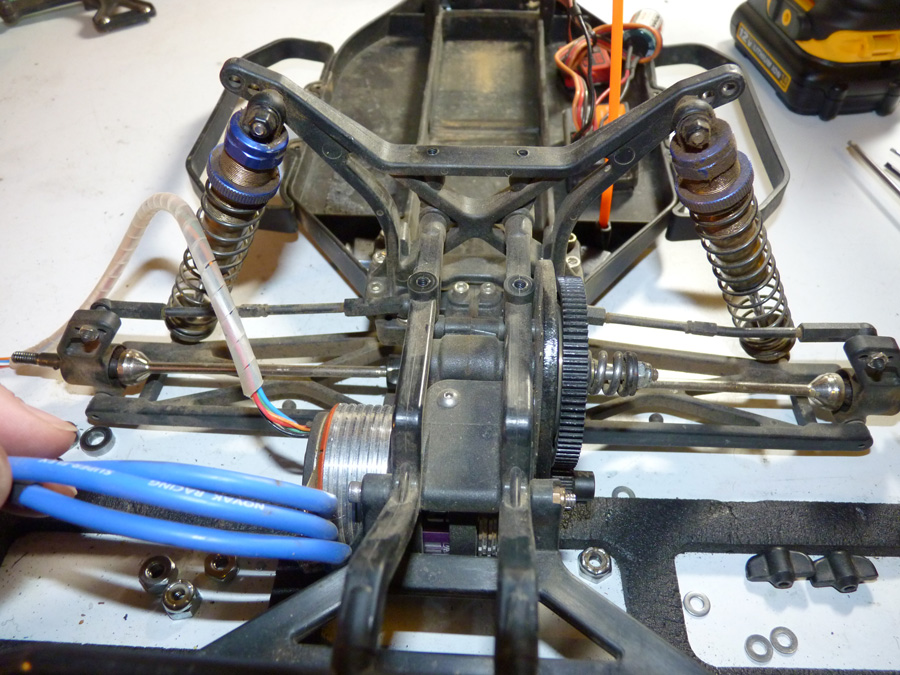
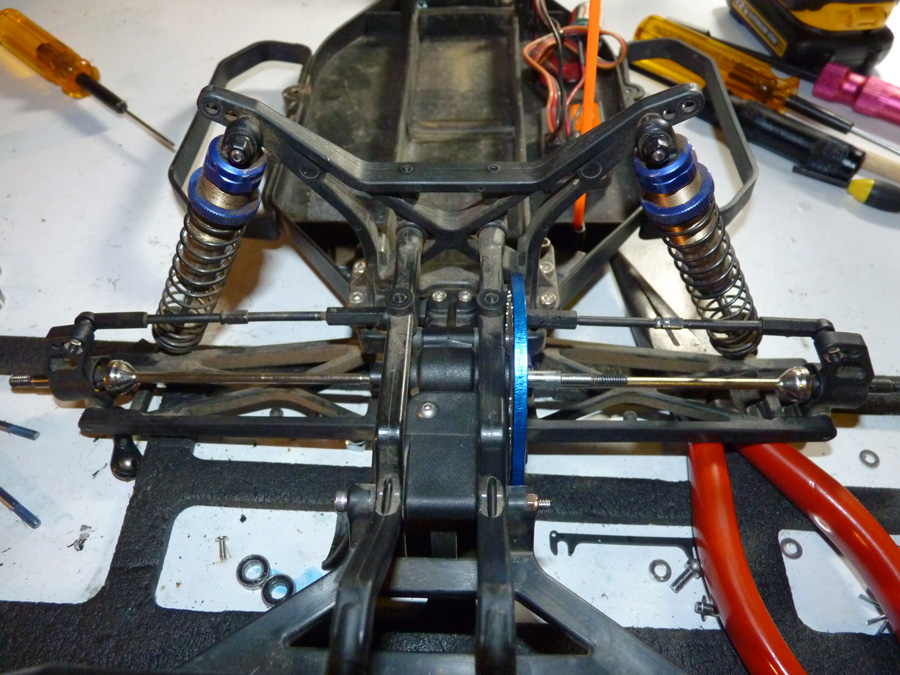
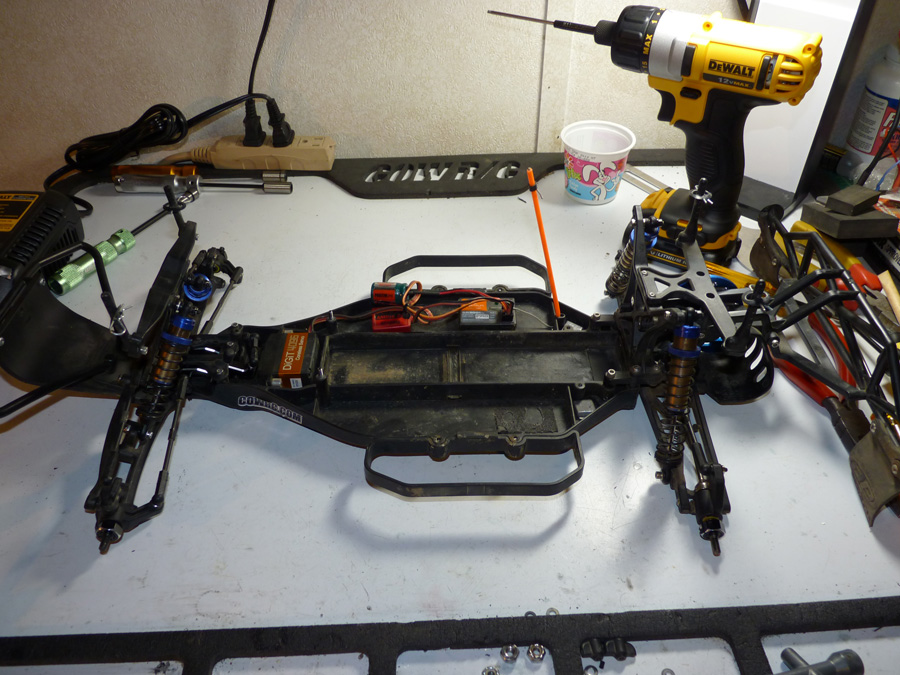
Now we have a fully assembled chassis again. That awesome Trix Yogurt cup in the background is what I used to dump my old shock oil into (in case you were wondering).
 Posted in
  Tags:
Tags:
Great article – though you should have gotten rid of the RPM parts. The heavy front bumper and skid completely changes the weight distribution and drags on the ground. The arms flex like wet noodles.