

 May 23rd, 2013
  Kevin
Kevin Through the long winter months, I was struggling to figure out what class I wanted to focus on running this summer for outdoor season. I was getting tired of looking at Short Course trucks. I briefly picked up a stadium truck, and ran that at Motorama. It was fun, but there was no guarantee I’d be able to run it outdoors (turns out it has caught enough attention to have it’s own class again this year though). I wanted something I could run at CRC Raceway in Rome, NY and have a class to run in. E-Buggy wasn’t really in my mind until the Press Release for the Serpent S811 Cobra B-e 2.0 hit my inbox.
We’ve posted Serpent news and releases for a while, but their product line was something we hadn’t covered yet. I figured it was time to familiarize myself with their stuff a little better. The more I looked at the S811, the more I wanted to try it. It has the coolest looking, slim, low profile body of any e-buggy I’d ever seen. I talked with a few friends who had driven one and they all assured me it was an impressive, well handling kit. I was sold. So here you have it.. the Serpent Cobra 811 B-e 2.0 build up.
This will be my 2nd E-Buggy. I owned a used E-converted Hot Bodies D8 last season that I only raced twice (gave it up to focus on the Slash 4×4 LCG Shootout). I figured this summer maybe I can spend more time with it, as it was fun while I did it. Time to go big or stay home.
Having gotten the kit the week of release, I never got to experience the v1.0 811 buggy, which looks like it’s been out for a year or more. The 2.0 buggy is mostly the same, but some key features are different. They are as follows.
– New wider rear end with new geometry for more rear traction and an easier handling car with wider sweetspot
– Rear shockabsorbers moved to the back of the shocktower
– Longer rear shocks; with longer housing and shafts for more travel
– Rear wing with integrated holders for the ballraced rear anti-roll bar
– Longer rear lower arms, new higher carbon shocktower, longer rear shock, new upright
– Lexan mud-guards to mount on lower rear arms
– Nylon mud-scrapers mount on the rear uprights
– Improved differential gears – as already in the Be version
– Larger bearings in steering blocks and uprights 8X16X5 (2) and 15x21x4 (2),
– Transmission using larger bearings 8x19x6 and 13x19x4 and new couplers for extra durability
So it basically sounds like they changed some rear end parts to improve suspension geometry and handling, as well as went to bigger bearings in areas to help with durability. Sounds like an improvement to me. For those with a 1.0 kit, I noticed they sell a Full Rear Upgrade kit to get most of the car updated to the 2.0 [SER600642].
Well, without further ado, how about we get building…
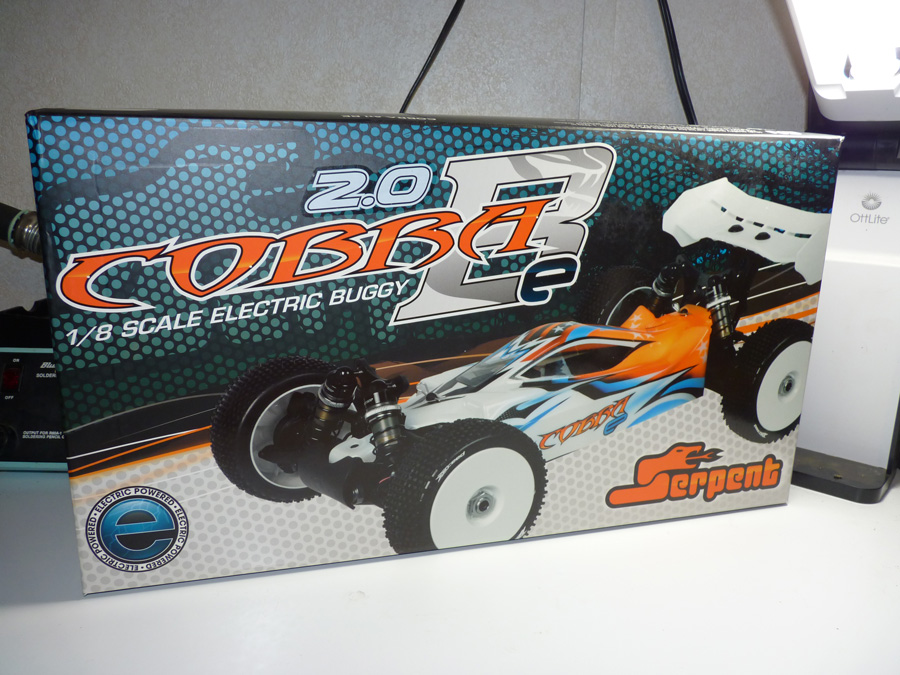
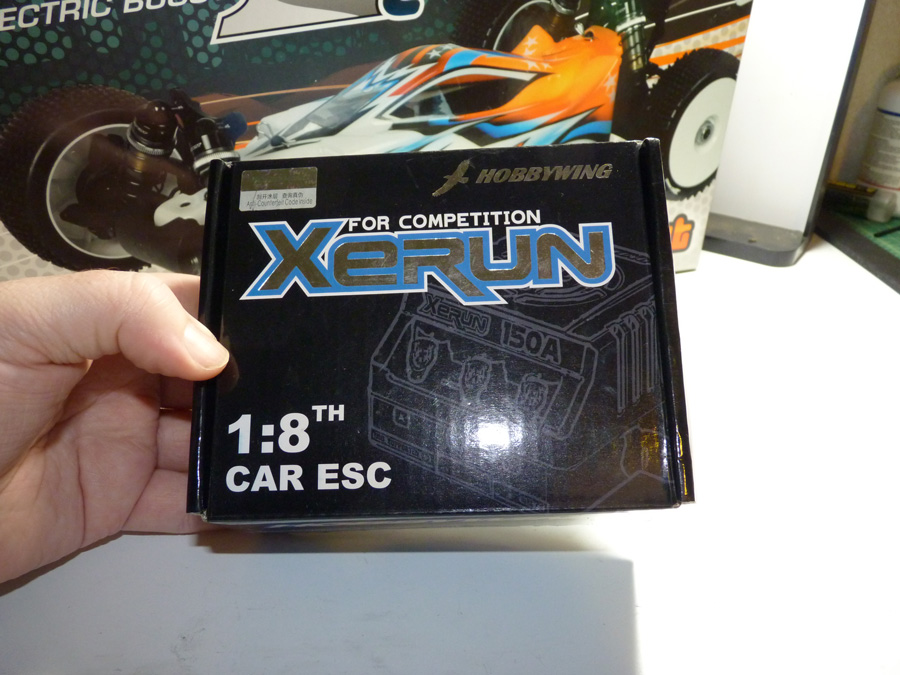
Here is the box. As mentioned, I got one of the first shipments of the kit, so it is probably one of the ones that is a transition from the 1.0’s. Later shipments might be improved and more “officially 2.0”. For instance, this is a 1.0 box (as you can see the buggy on the front is a 1.0 with shocks on the front of the rear tower). The “2.0” on the box is a sticker. No big deal, no reason for them to waste the 1.0 boxes.
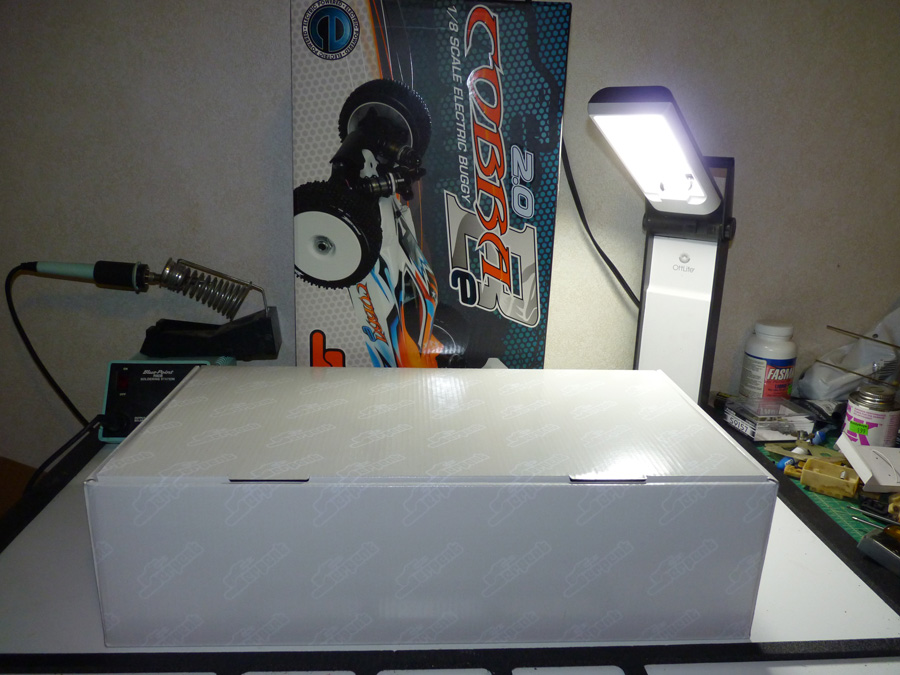
It’s a 2 part box, which makes it really sturdy and protects the kit during shipping (who doesn’t hate a crushed kit box??).
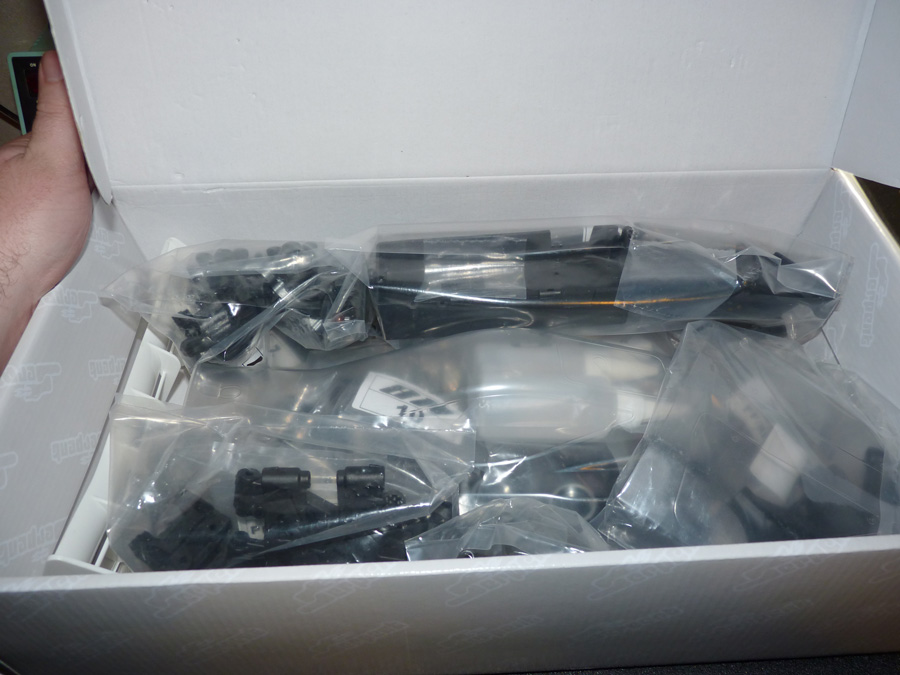
Everything is packed pretty well. The body holds most of it in. You will notice the kit does not ship with tires or wheels. I guess they figure most guys will run whatever works at their track, and their brand of choice. Most pro kits are like this now.
The first thing I did was take the body out and get it over to my new painter (Mr. Tom Snyder of Tom’s Custom Paint Werks). I ended up getting everything for the build the same week as the season opener at CRC, so I was in a rush to finish. There was no way I’d have had time to paint this myself and have it be any good.

Before I get too far into it, let me show you what all is going in the beast of a buggy.
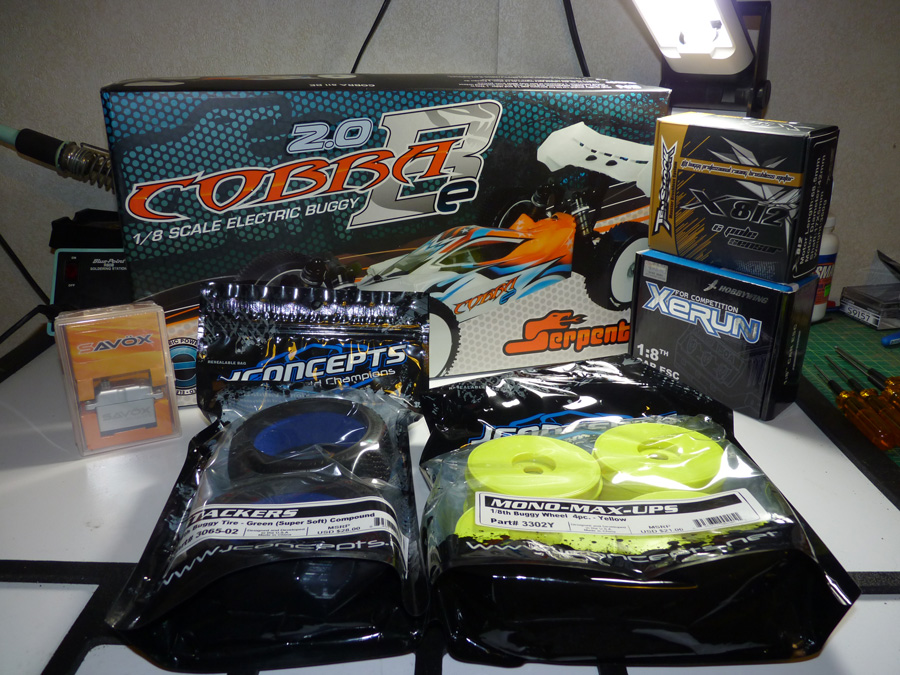
Here we have:
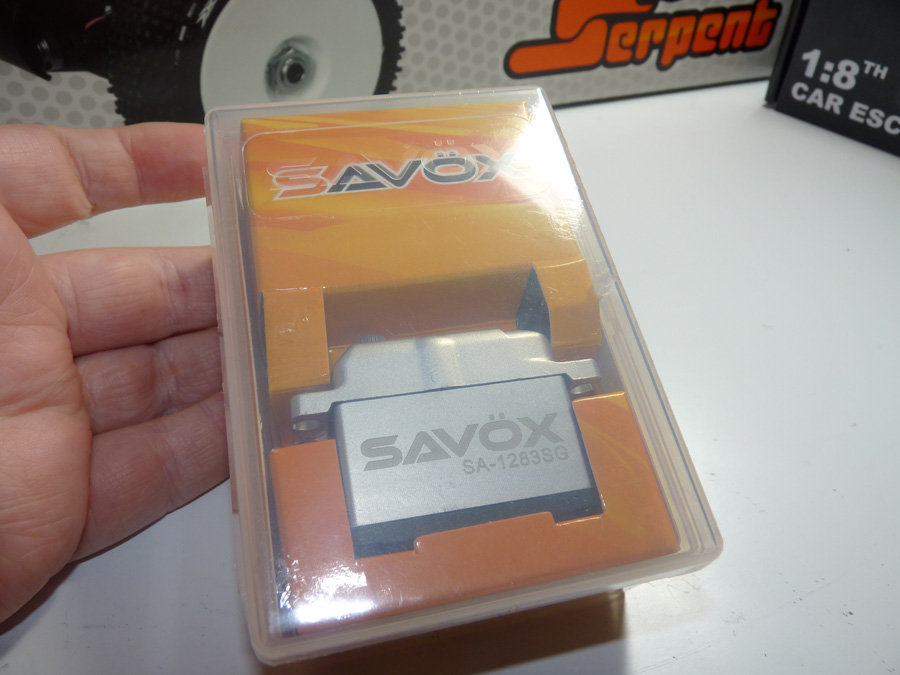
Savox SA-1283SG Super Torque Steel Gear Digital Servo (this thing has over 400 oz. @ 6v.)
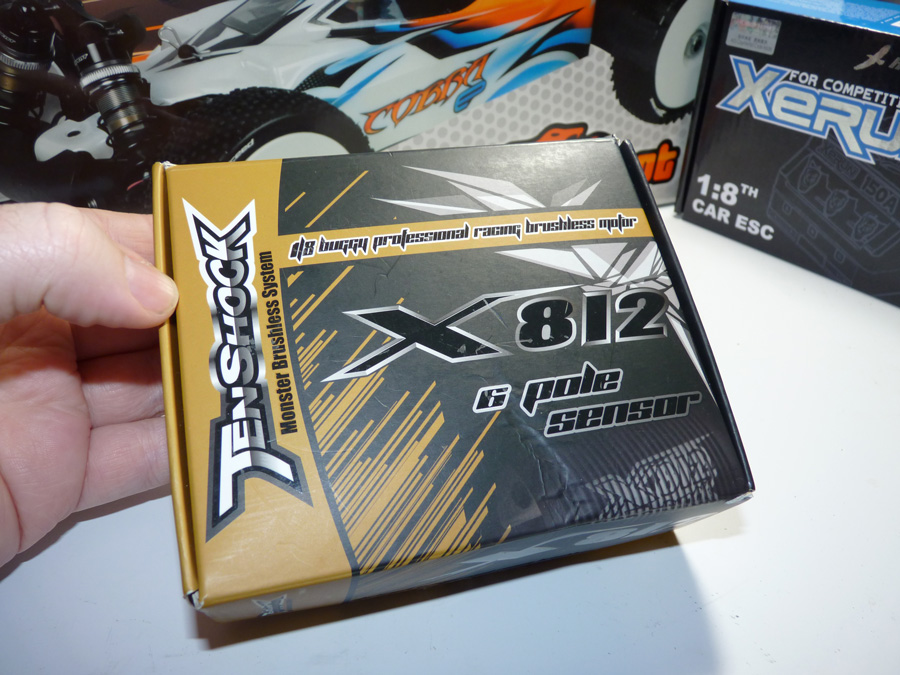
TenShock X812 6 Pole Sensored Brushless motor (2150kv)
JConcepts Stackers (Green Compound)
JConcepts Hybrids (Green – not pictured)
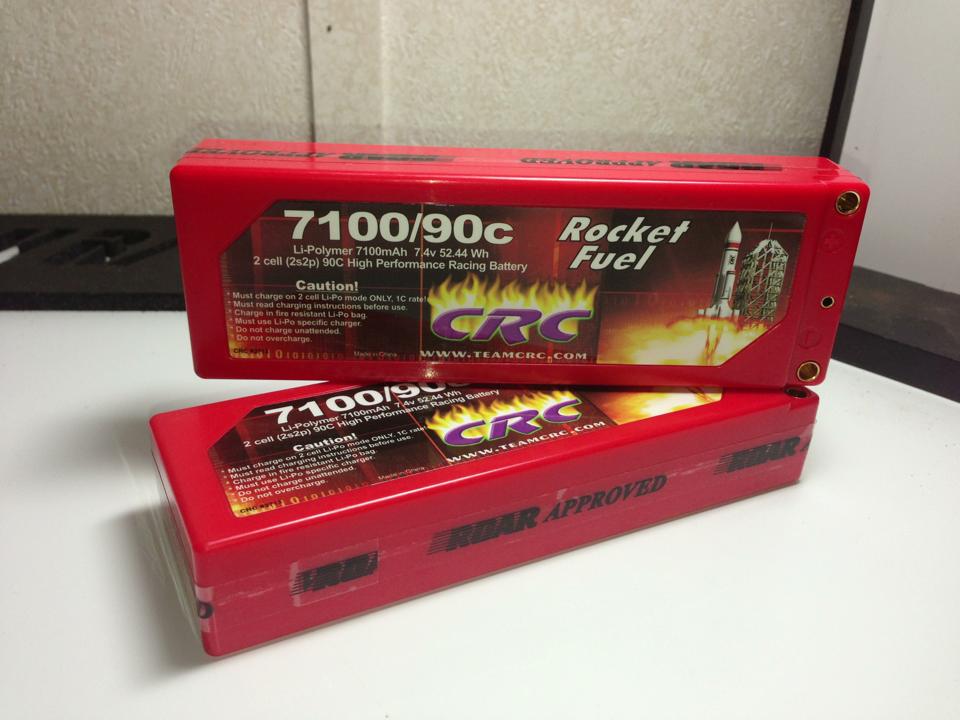
Lastly, the real horsepower maker.. CRC Rocket Fuel 7100mah / 90C 2s Lipos. These should have plenty of oomph to move this buggy and last well past the main is over. That was my main reason for choosing them, I wanted to make sure I had enough battery to last the mains, which are sometimes combined with long nitro mains at CRC due to low E-class car count. Plus, we know CRC batteries are LEGIT after all..
The tires from JConcepts we figured would be best suited to our local track surface, which is hard packed clay with a slight dust layer on top. I always run yellow wheels now, so the Max-ups were a no brainer due to their high visibility. For the initial runs I’ll be trying the Stackers, since the track is still a bit blown out from last season until they rebuild it for the upcoming Pro Series race.

The Savox 1283 I chose because of it’s massive torque and reasonable speed. I love me some Savox, and Matt already is running the 1256 in his Durango, so I figured I’d try the next level (even though it’s probably overkill).
The TenShock motor made a brief appearance in Matt’s build, but for whatever reason it didn’t like the VTX8 esc, so I figure we’ll give it a shot in this build.
And again I went with the Hobbywing 150A Xerun esc (same one I ran last year). It will pretty much handle anything you can throw at it, and it’s dirt cheap.
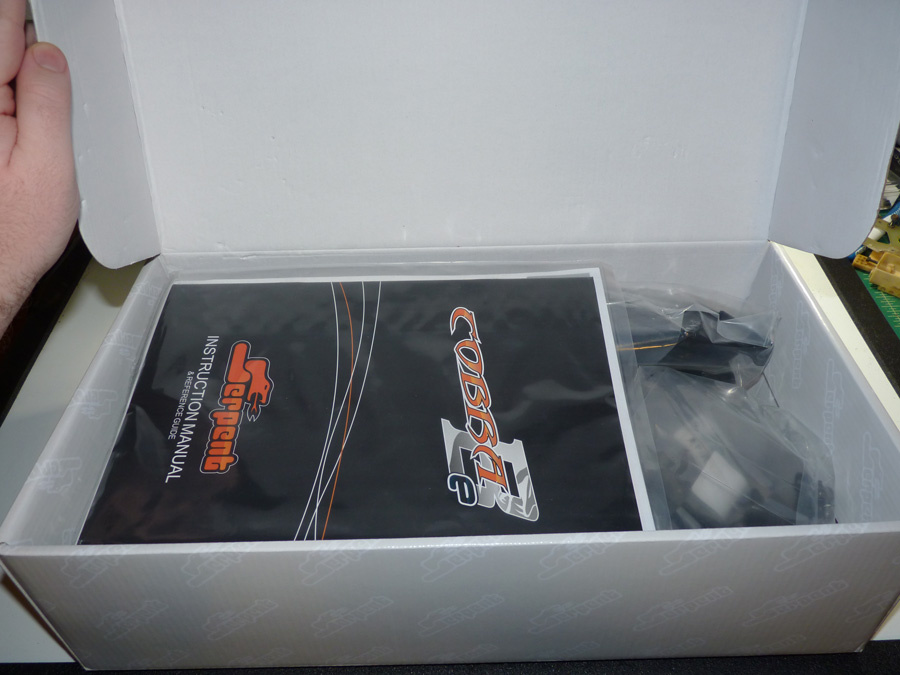
With the components introduced, lets move into the build. Here’s the manual.
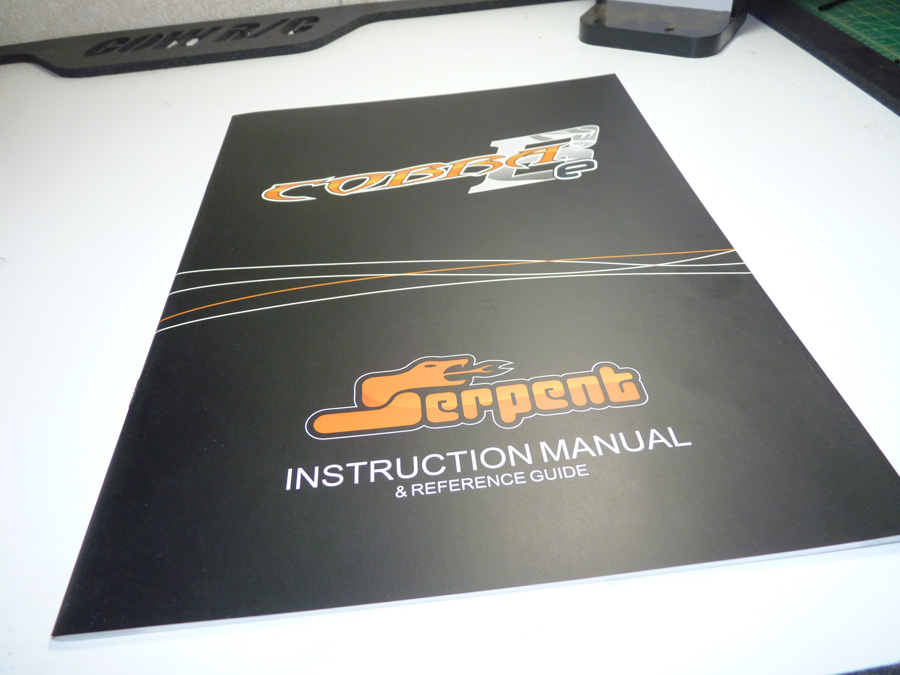
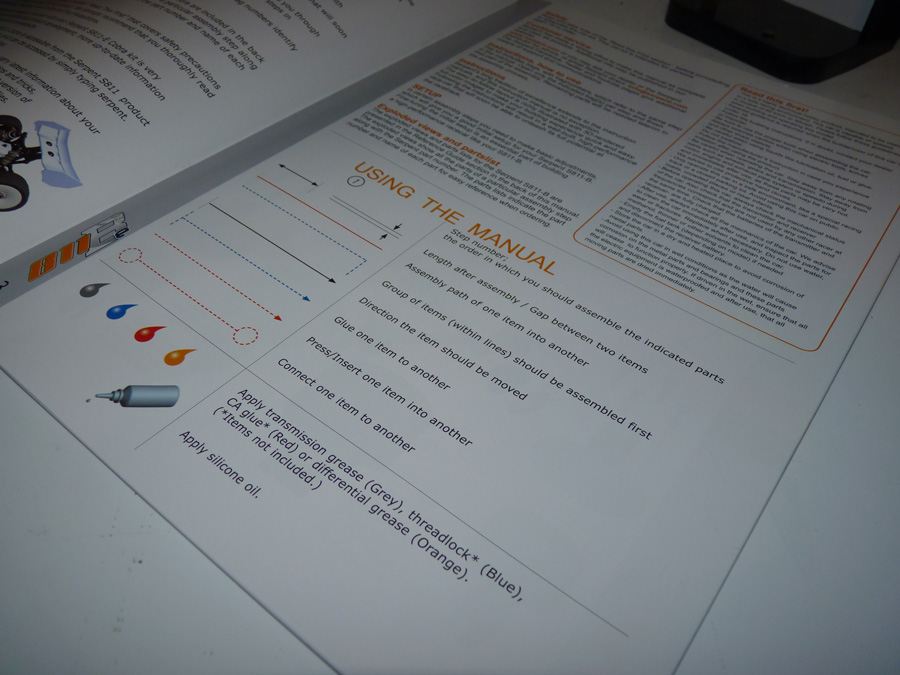
The manual is ok. It’s not the best one I’ve ever used, but it’s fairly straight forward. I wished they had explanations or tips in certain sections, or even 1:1 diagrams like most offer. Instead they offer CAD models with color coordinated arrows designating the relationship between parts (see below). I’m not that impressed with it, but I was able to complete the build without too many issues. The ones I did have I will call attention to in this writeup.
Note that the manual is also for the 1.0 kit, and the 2.0 paperwork is a separate addendum.
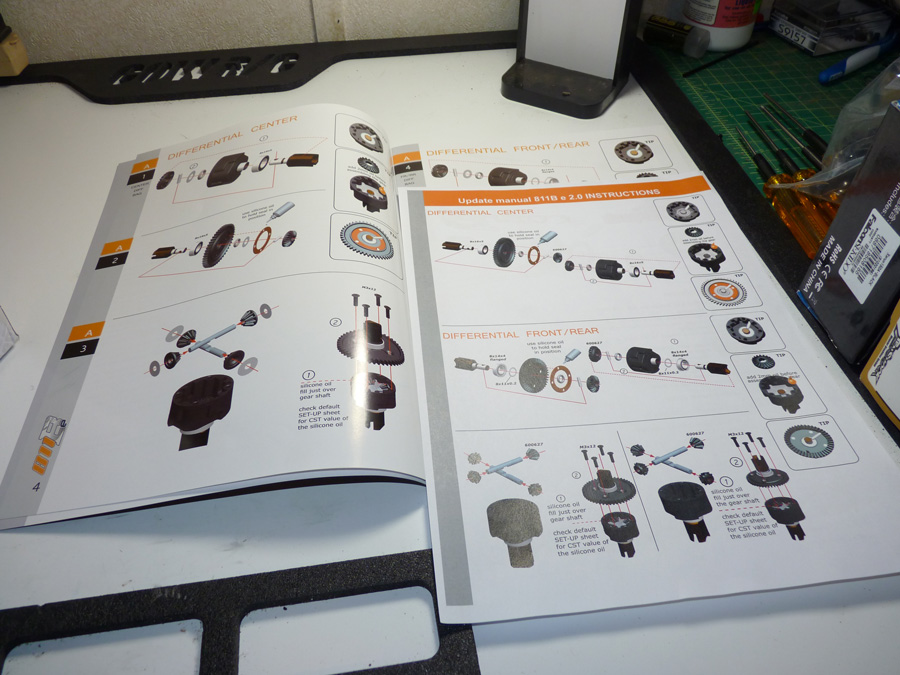
Continue through the following pages to follow the rest of the build.
 Posted in
  Tags:
Tags: