

 May 23rd, 2013
  Kevin
Kevin Shock time! We’ll be building the fronts in detail, and then quickly cover the rears because they are pretty much identical procedures.
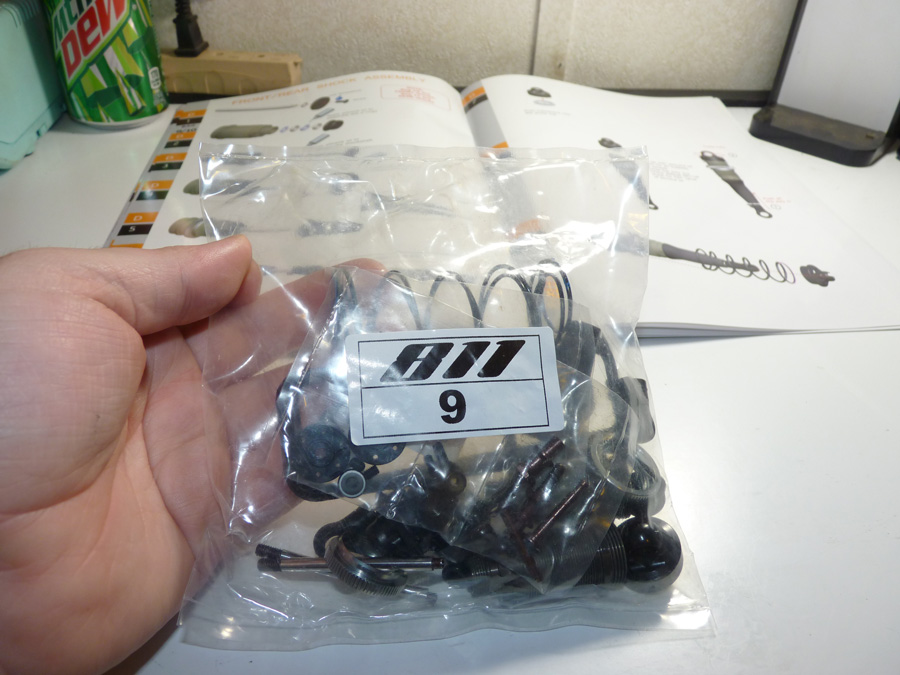
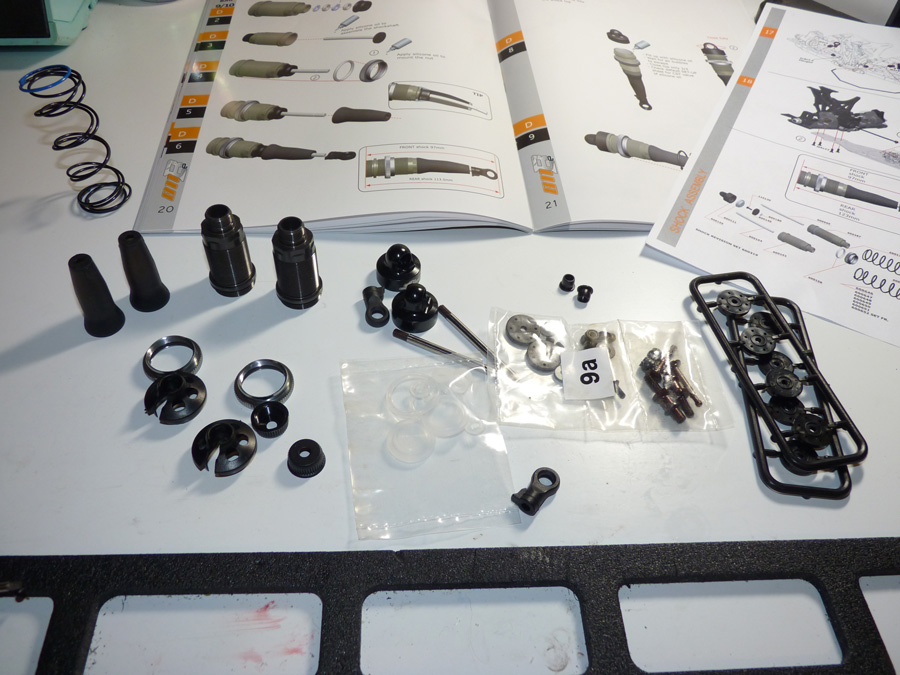
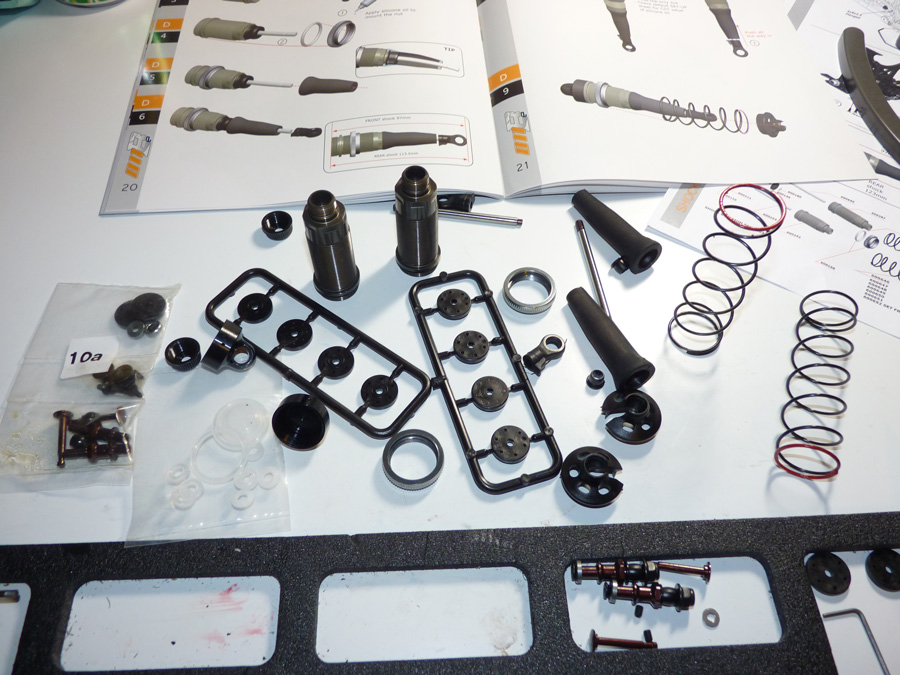
Below are all the the shock components.
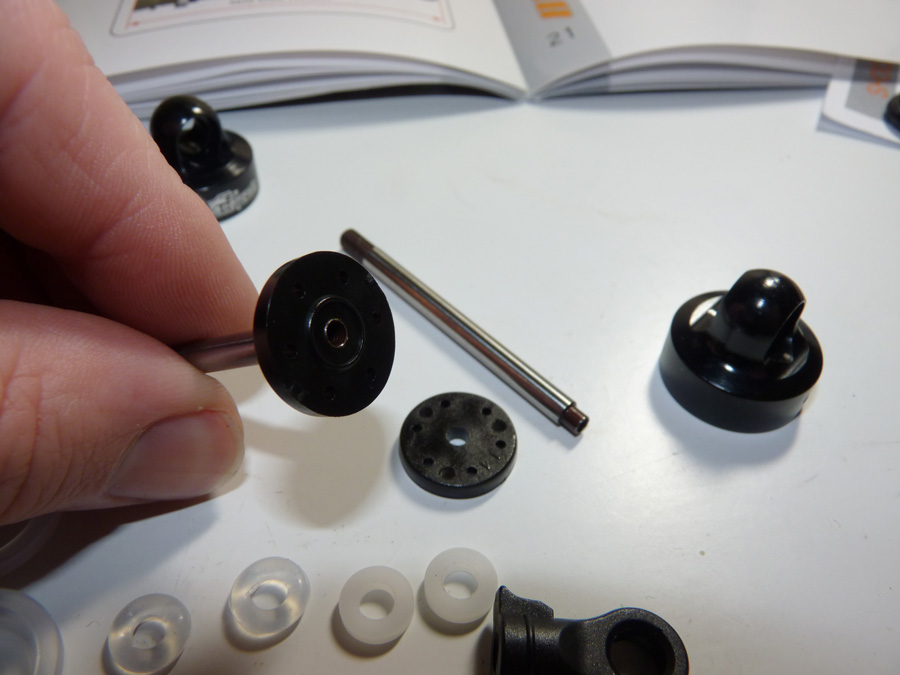
You will need to remove whatever piston you decide to run from the parts tree and clean up any burrs left behind. I’m running 1.3’s. We slide the piston over the shock shaft and secure it with a small screw (use threadlock).
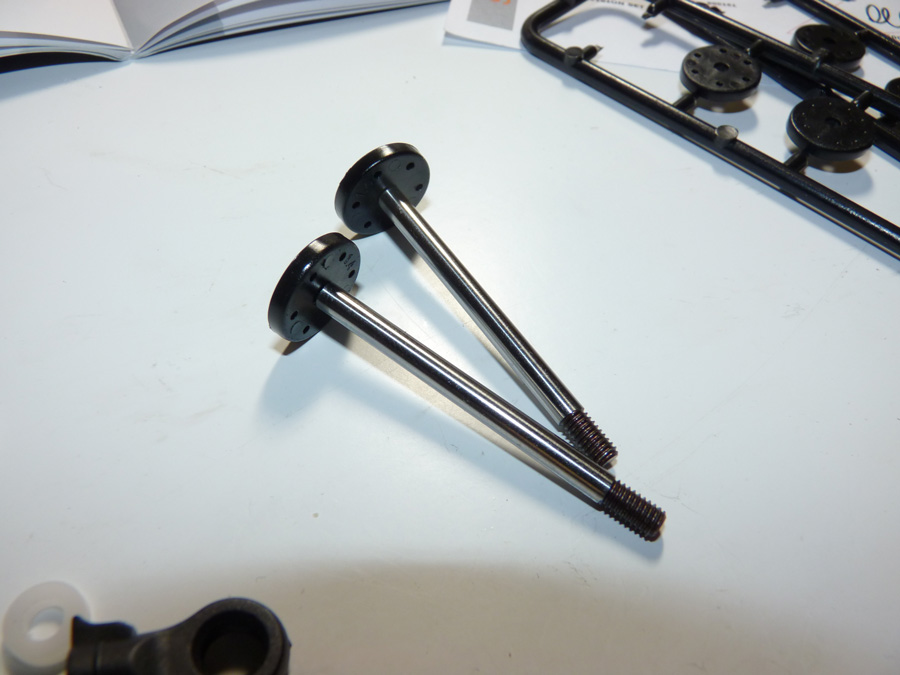
Pistons mounted to shock shafts.
Next we install the O-Ring seals in the bottom of the shock body per the manual’s diagram.
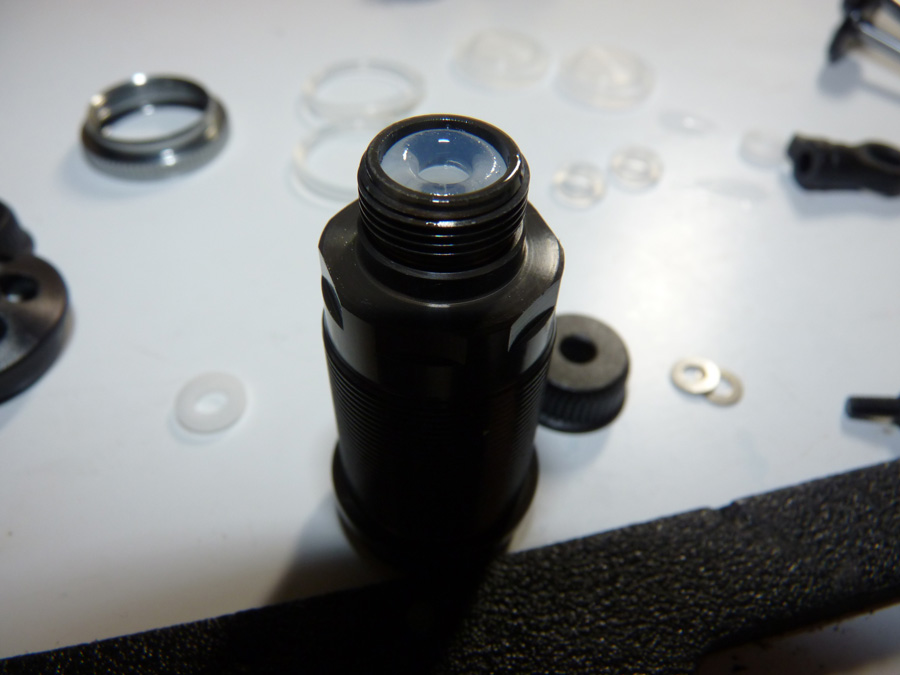
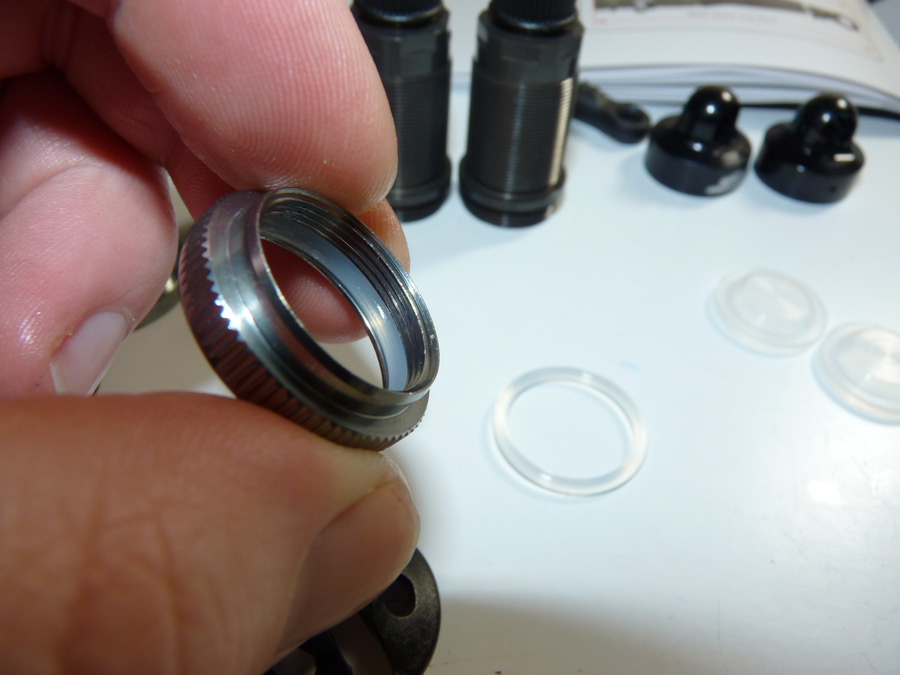
Then install the larger O-Rings in the shock adjustment collar (this will prevent it from threading up or down while the car is bouncing around on the track).
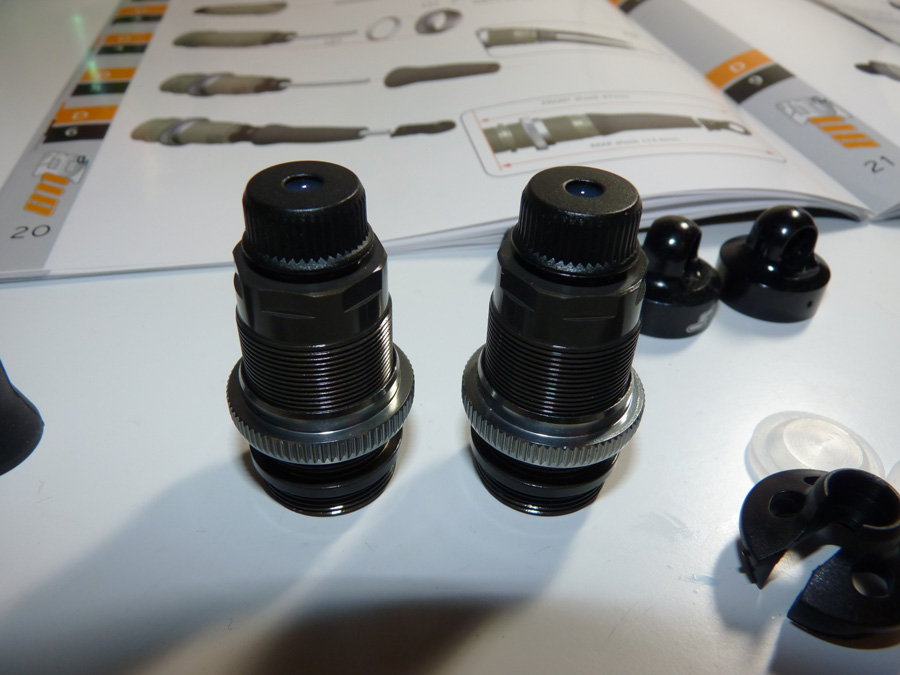
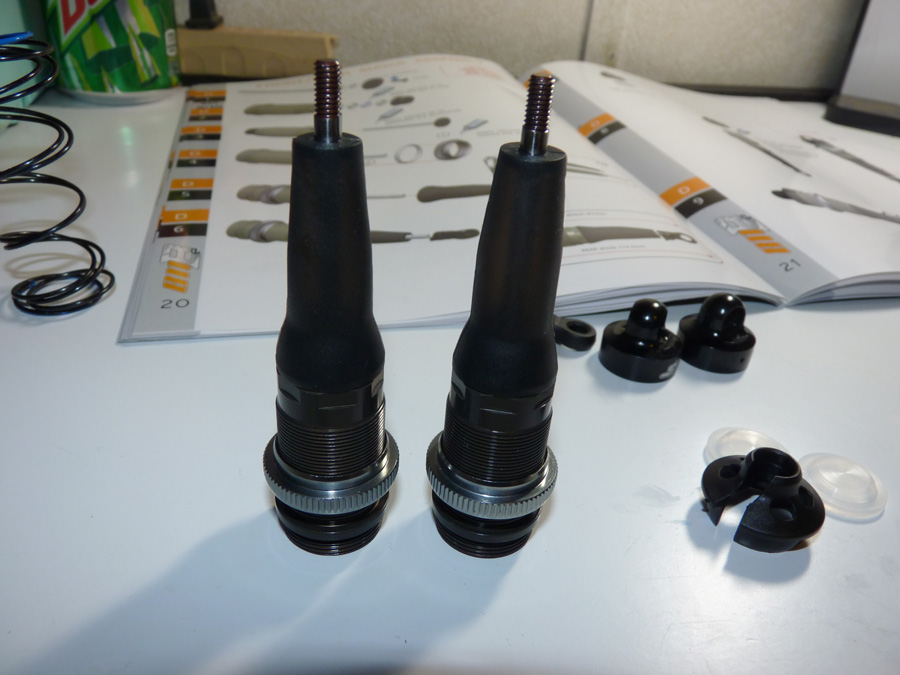
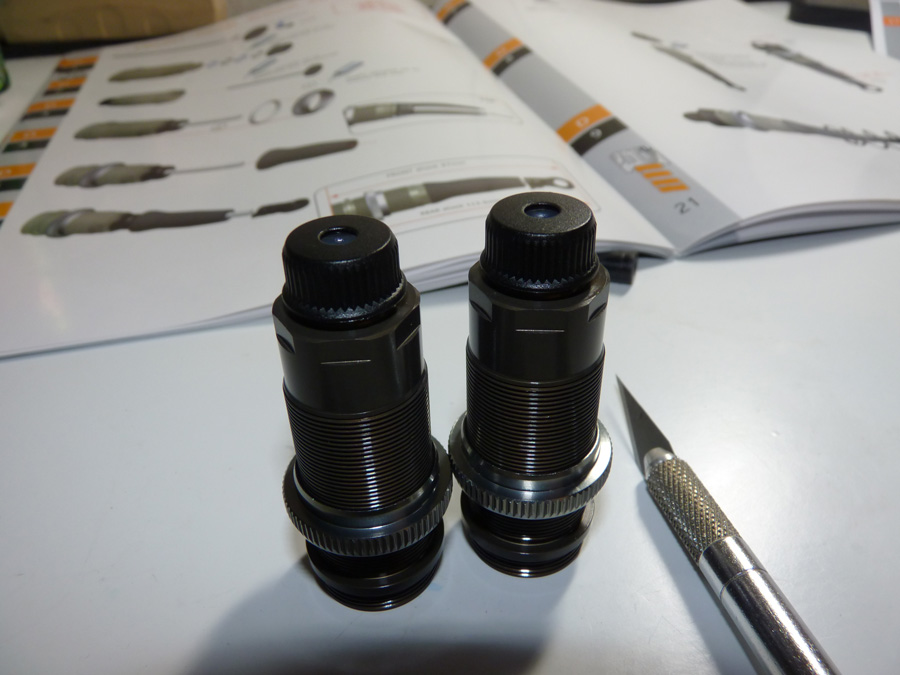
Next we install the lower shock caps and the adjustment collars onto the main shock bodies.
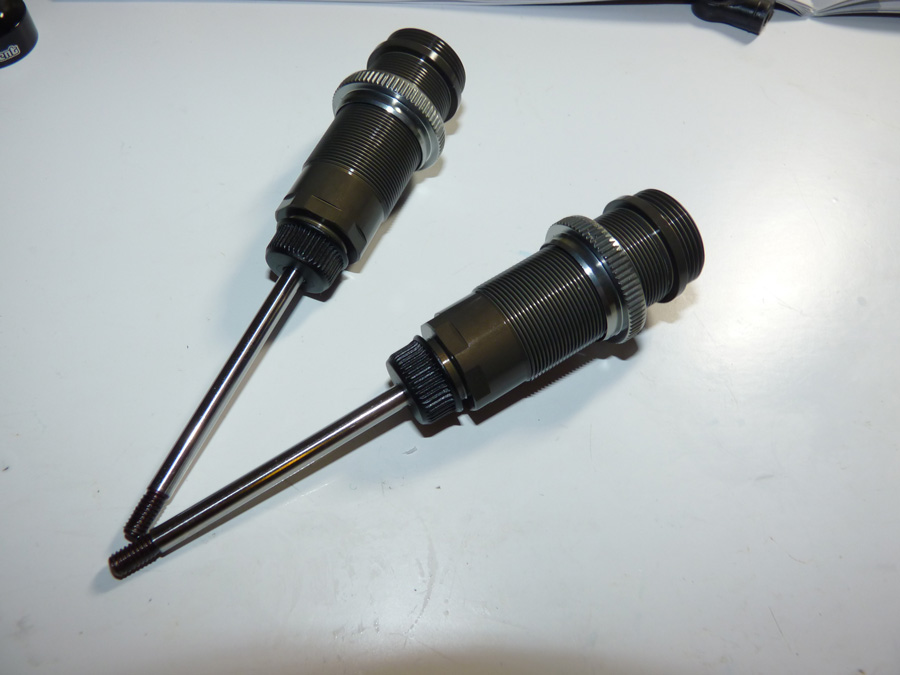
Insert the shafts with pistons. Be sure not to slice an O-Ring with the threads on the shafts. A dab of shock oil on the threads will lube them enough to slide through the O-Rings gently.
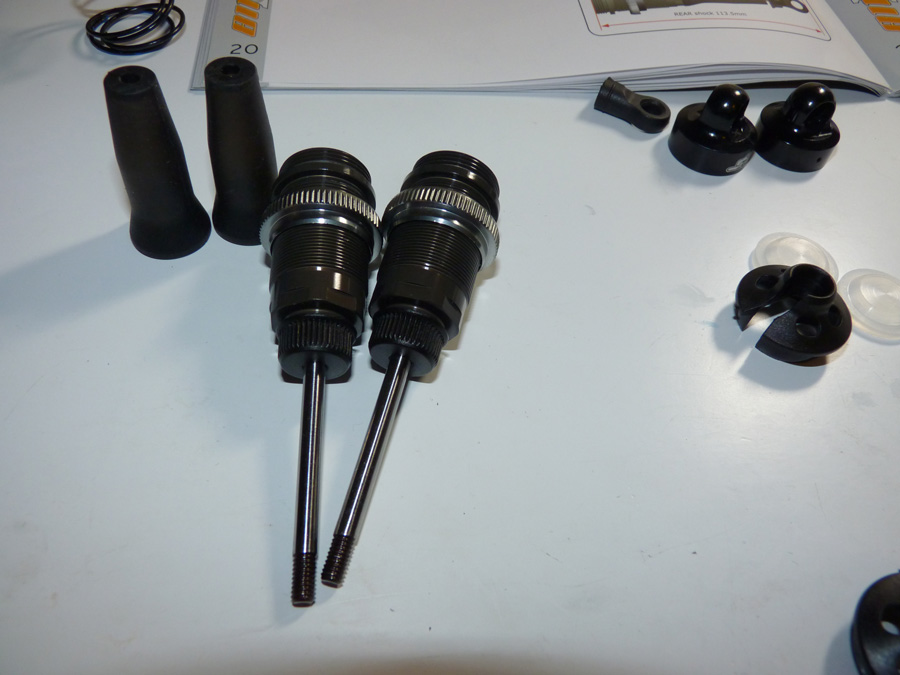
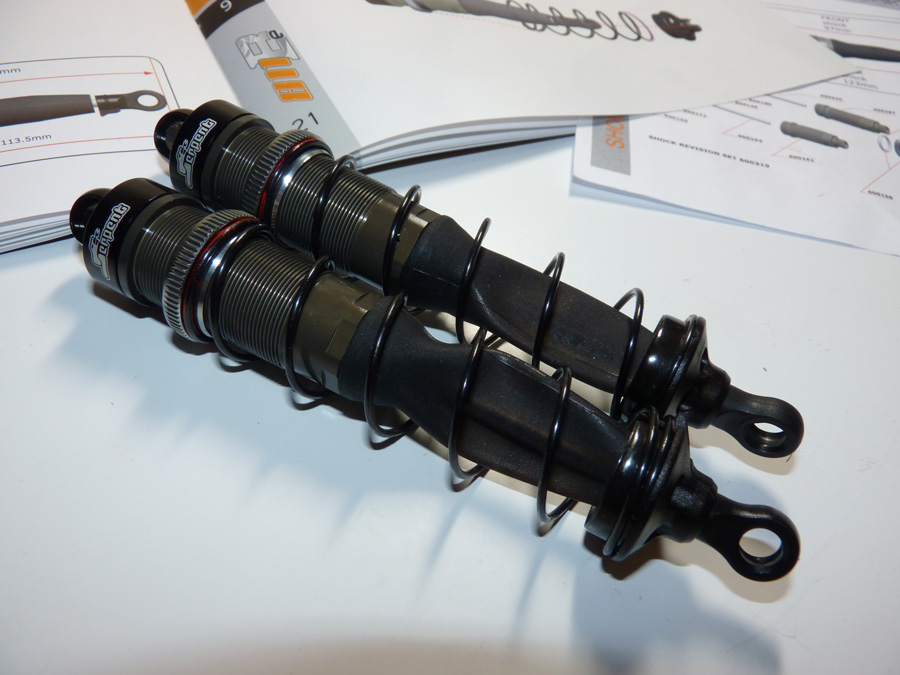
Now we install the rubber shock boots.
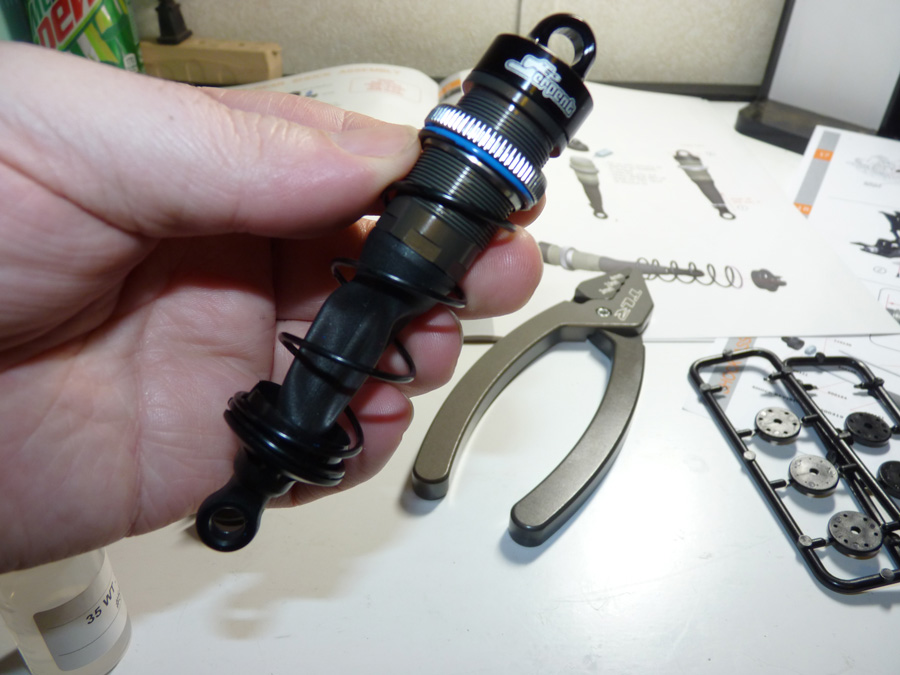
Then we install the lower rod end, spring, and spring retainer. Followed by filling the shock and tightening the cap. Now we have a finished shock.
Repeat for the other shock.
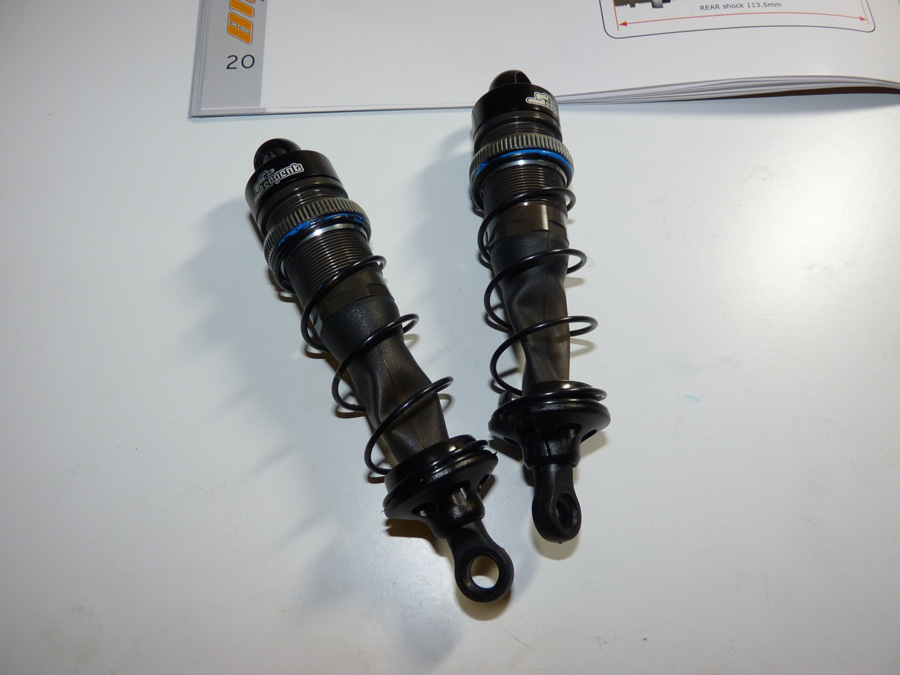
Then do the same for the rear.
Rear shocks complete.
Let’s install the front shocks now. I’ve already installed the standoffs for the top of the shocks.
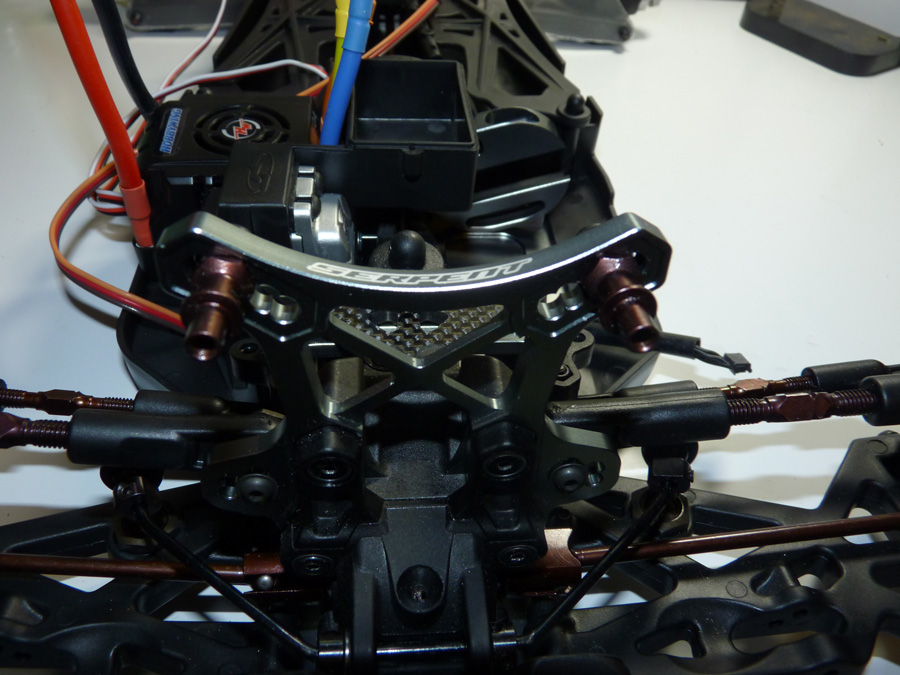
A bushing is used in the cap, and it’s simply secured with a screw into the stand off.
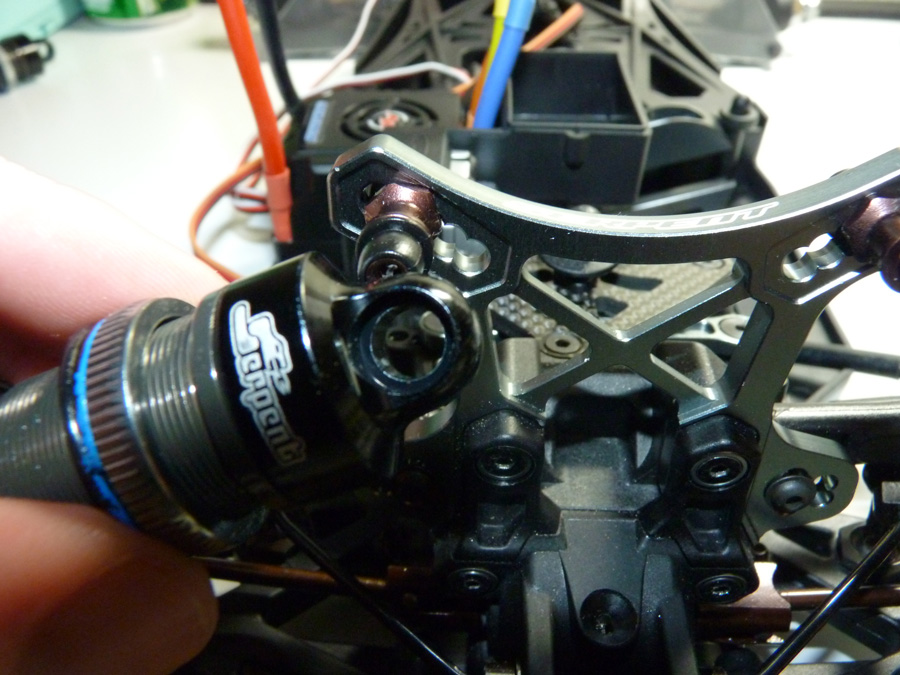
Tops mounted up.
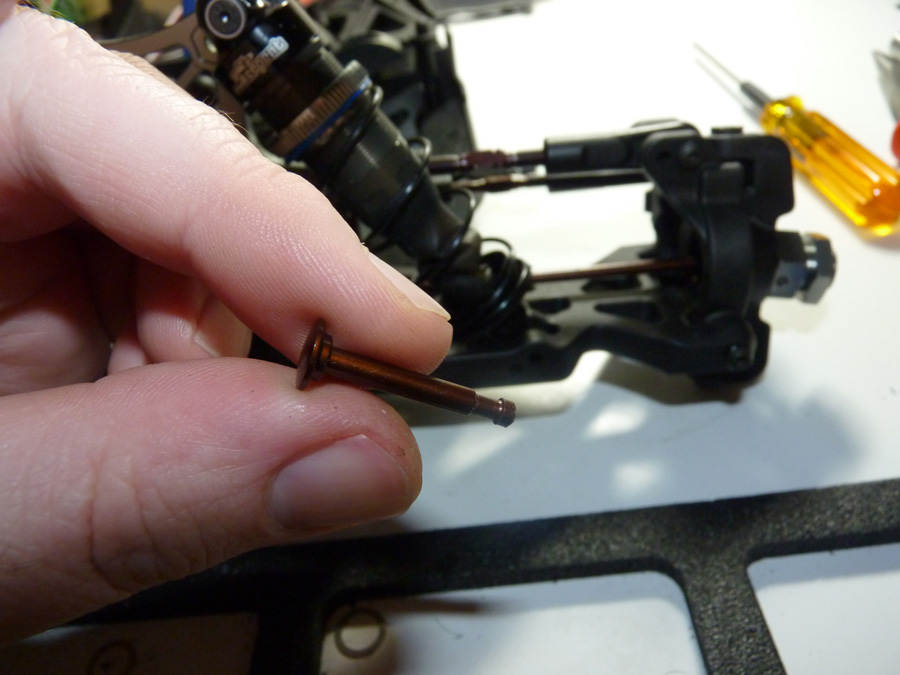
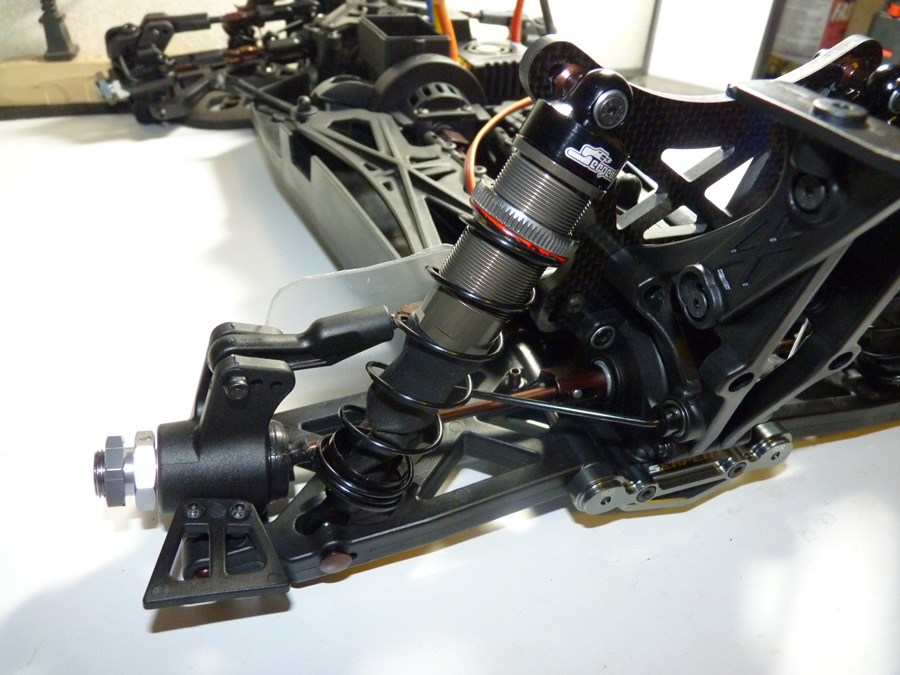
The lower part of the shocks mount with a pin. This slides in from the front, and a set screw in the arm holds it in place.
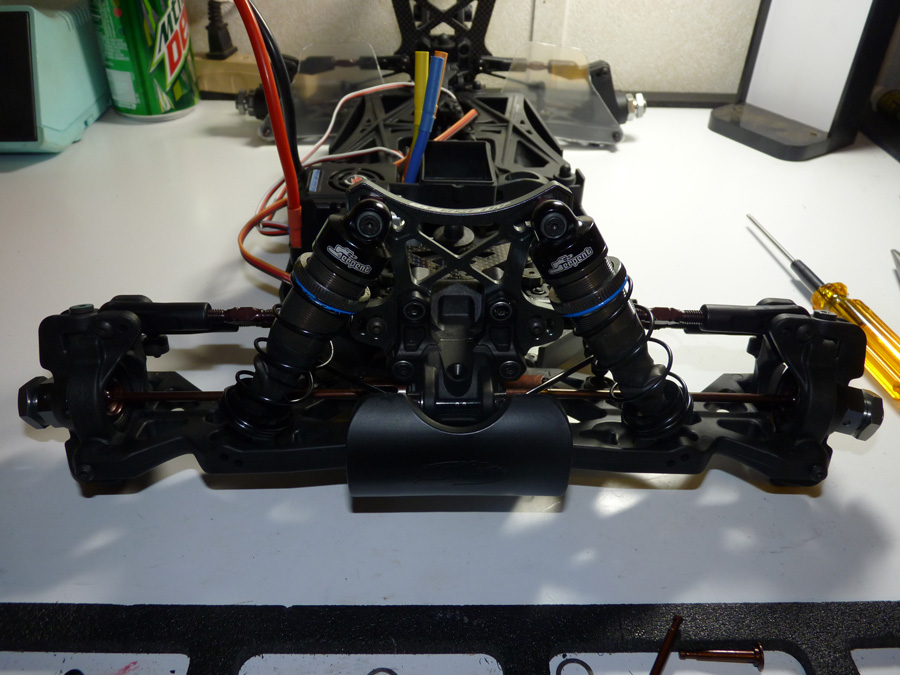
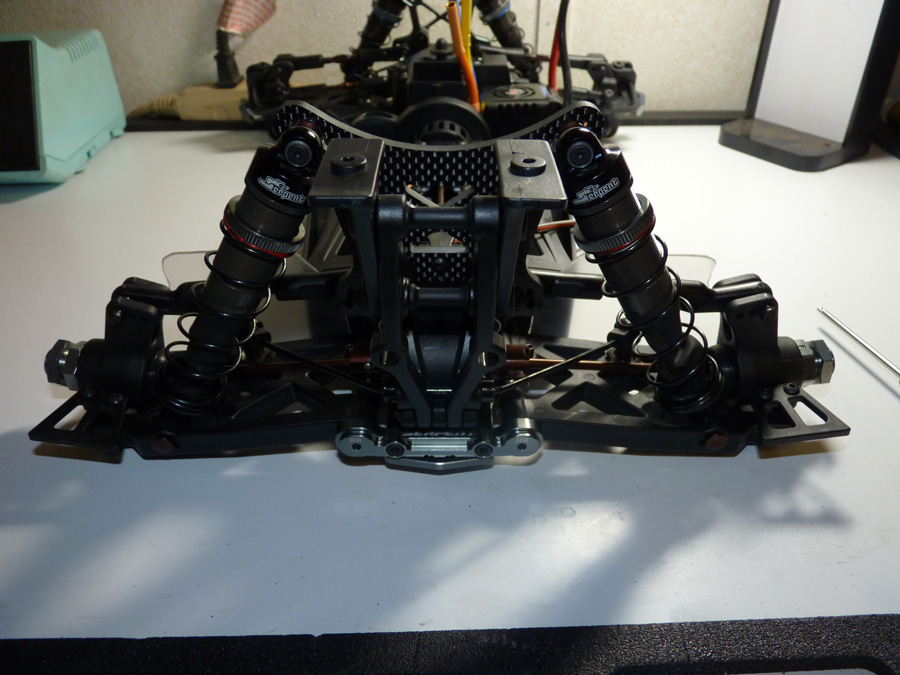
Front suspension is DONE!
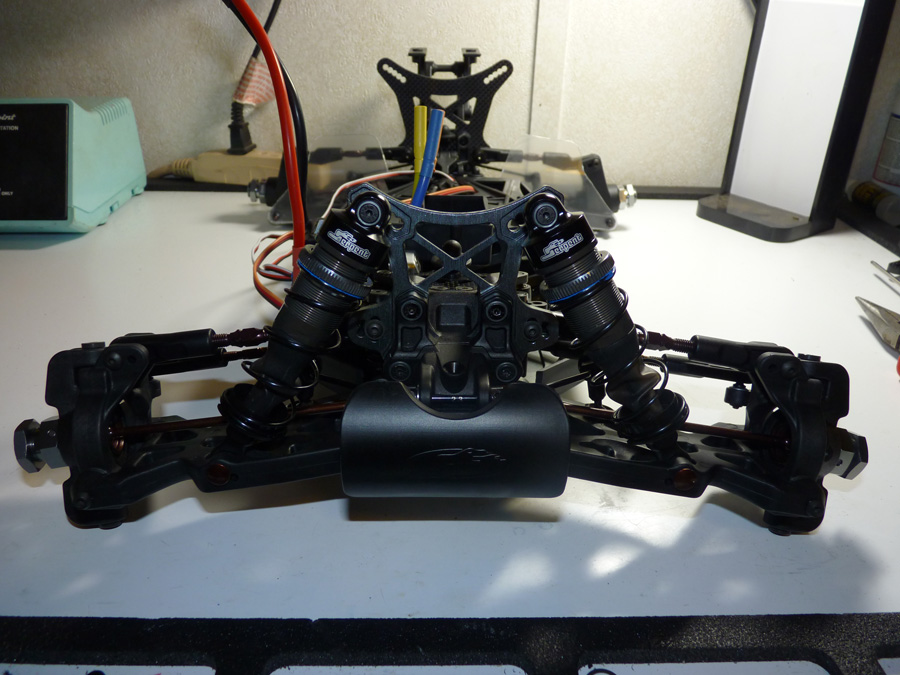
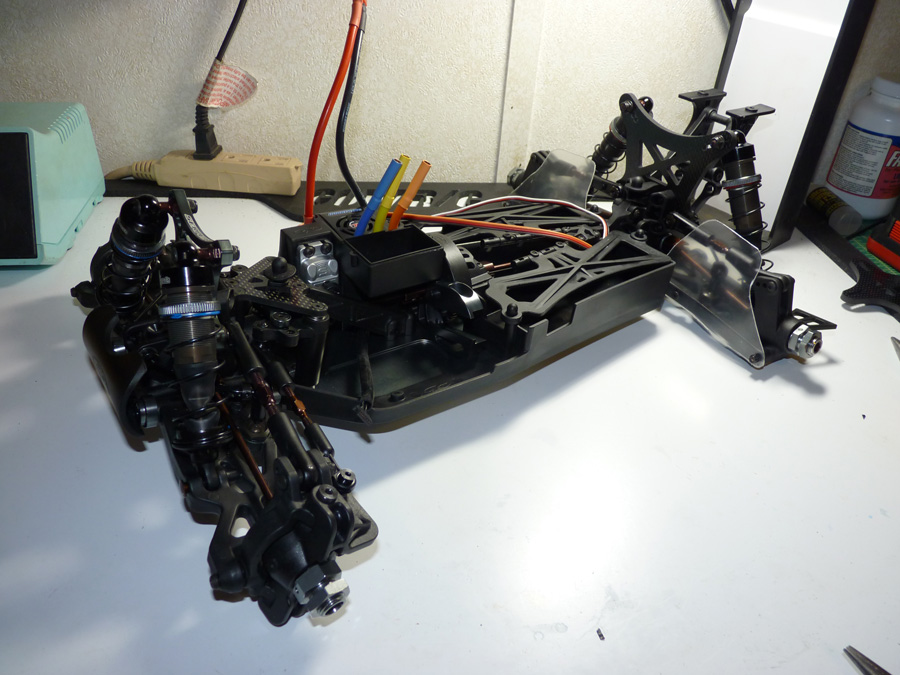
Pretty much the same thing for the rear shocks.
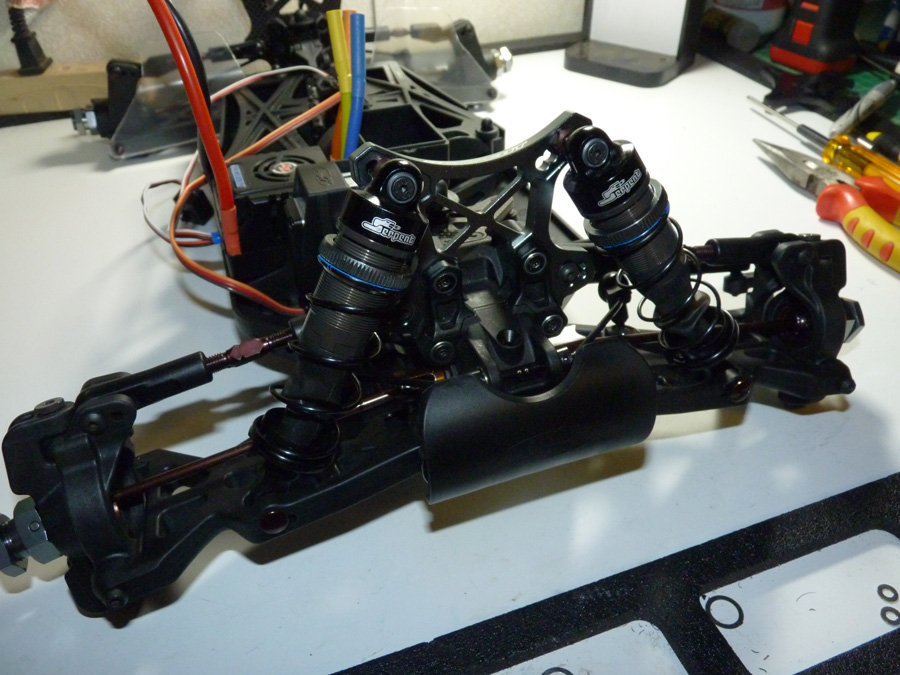
Shocks are all mounted up.
 Posted in
  Tags:
Tags: