

 May 23rd, 2013
  Kevin
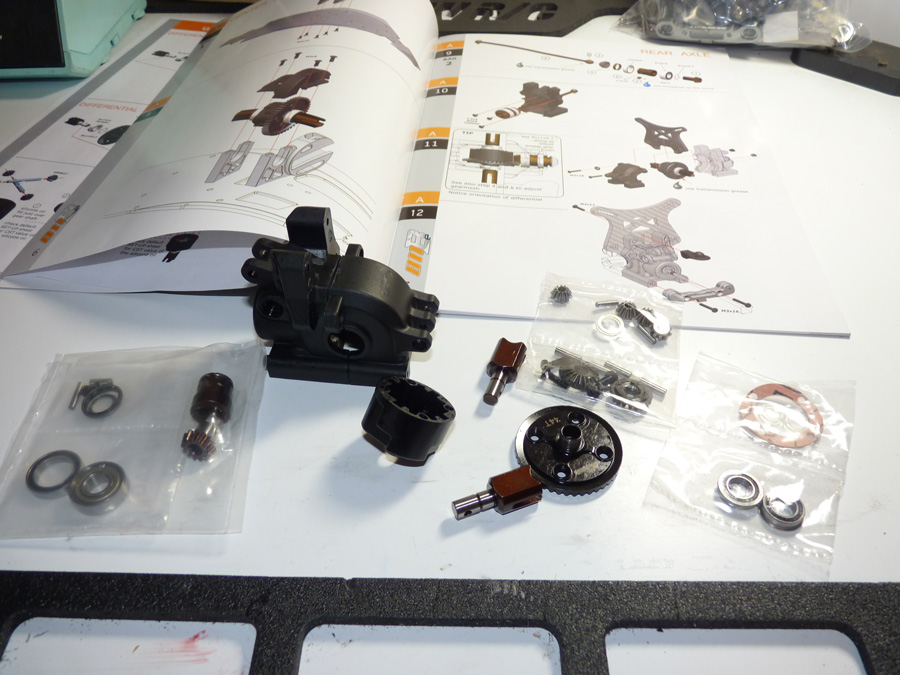
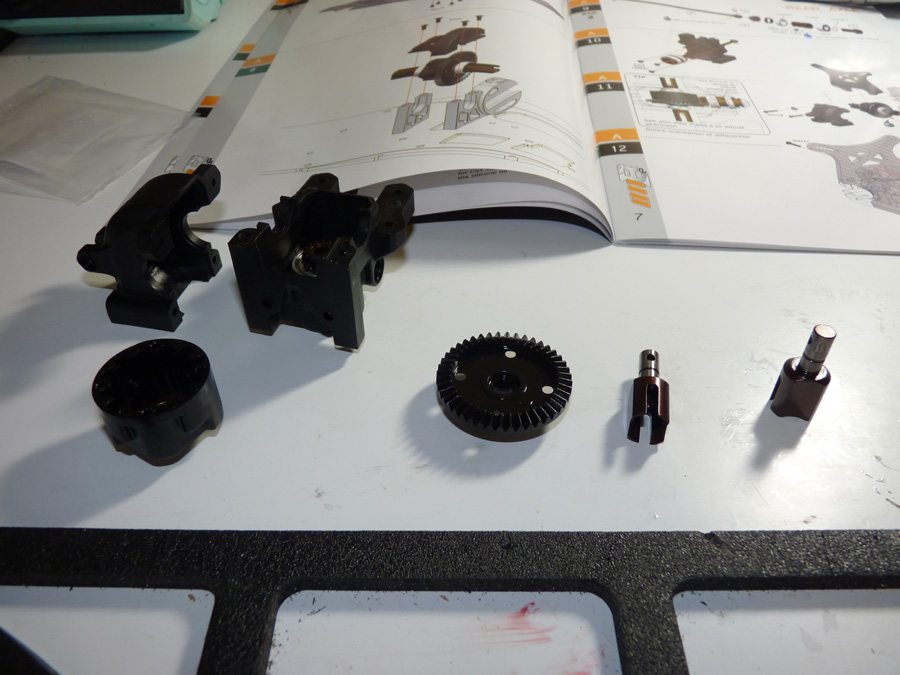
Kevin Now it’s time for the rear differential. I found these to be less fun, as I was introduced to the concept of “shimming”. Having not been in the 1/8 side much, I’ve never really needed to “shim a diff” before. I was given some tips before starting the build and it intimidated me a little. It turns out the manual is actually pretty accurate with the shim counts. I’ll elaborate more when we get there. Here are the parts for the rear differential. Note, that I went ahead and grabbed the diff case and some other parts ahead of time so that I could properly shim it.
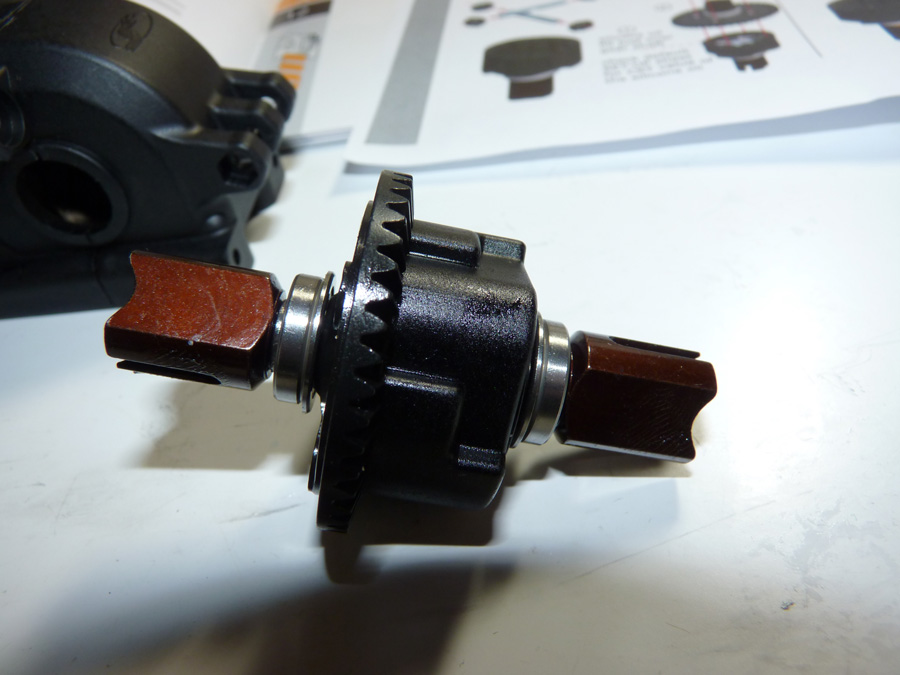
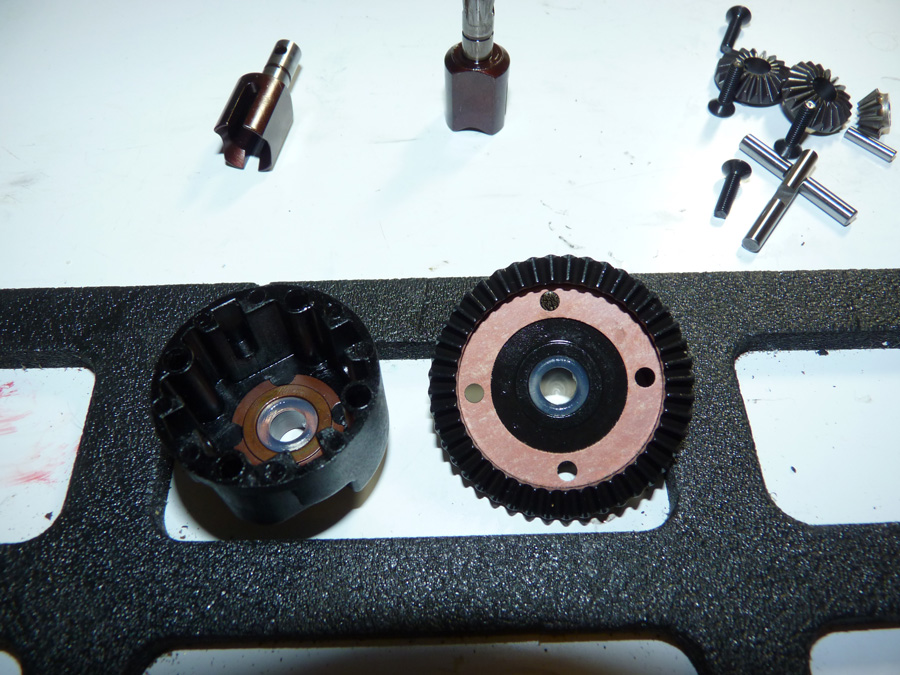
The first thing to figure out shimming, is to build the diff dry. Make sure that the gasket is inbetween the ring gear and the diff housing or the width of your diff will be inaccurate. You don’t really need all the internals in there yet, at this point we’re just mocking it up. To add/remove shims the outdrives need to come out, and if the diffs were fully assembled, this would mean removing the pin behind the bevel gear inside and just be a big mess.
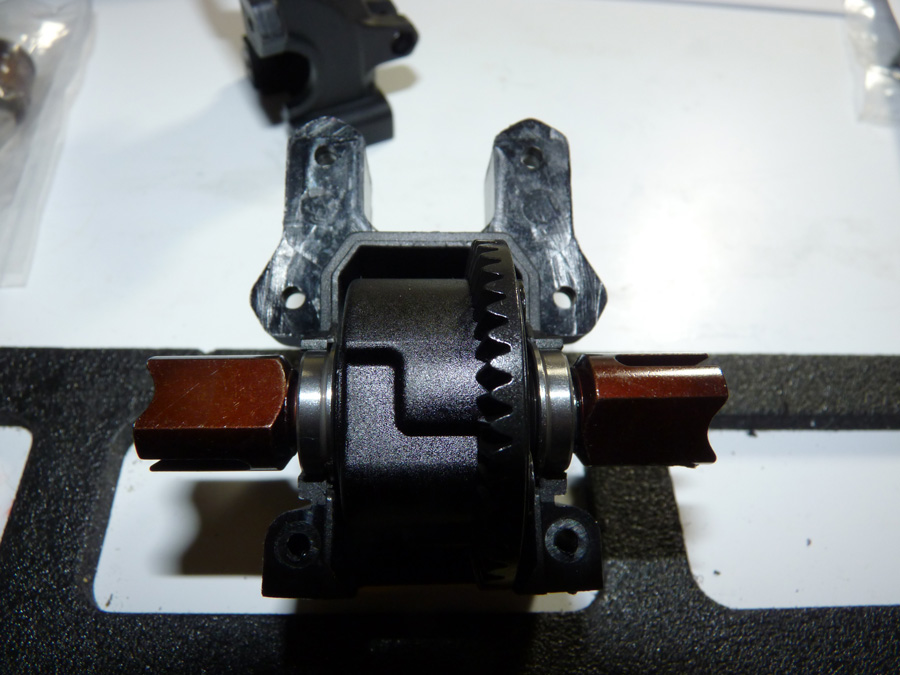
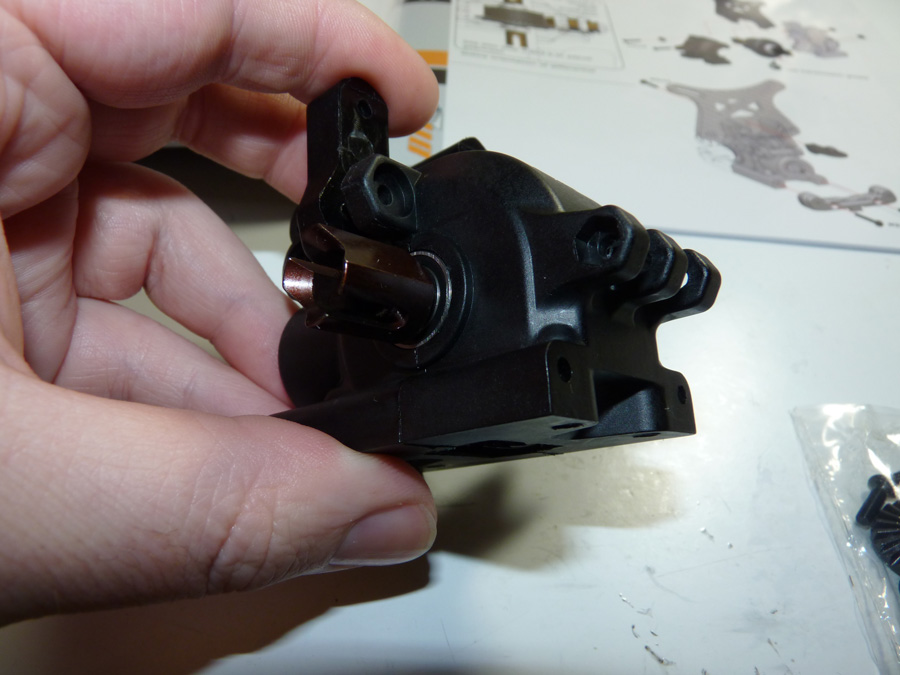
Insert the complete mocked up diff into the diff case half. The manual instructs you to install one shim on each side. This wound up being perfect for my kit (in the rear), but may not be the case for yours if the tolerances vary from diff case to diff case. The purpose of shimming, is to take away any side to side shucking of the diff/bearings in the diff case.
Here is a shim. It is placed between the diff housing/gear and the outdrive bearings. If for some reason the 2 included shims are not enough to space the diff away from the bearings, Serpent also includes other shims with a larger diameter that allow you to shim the bearing from the diff case.
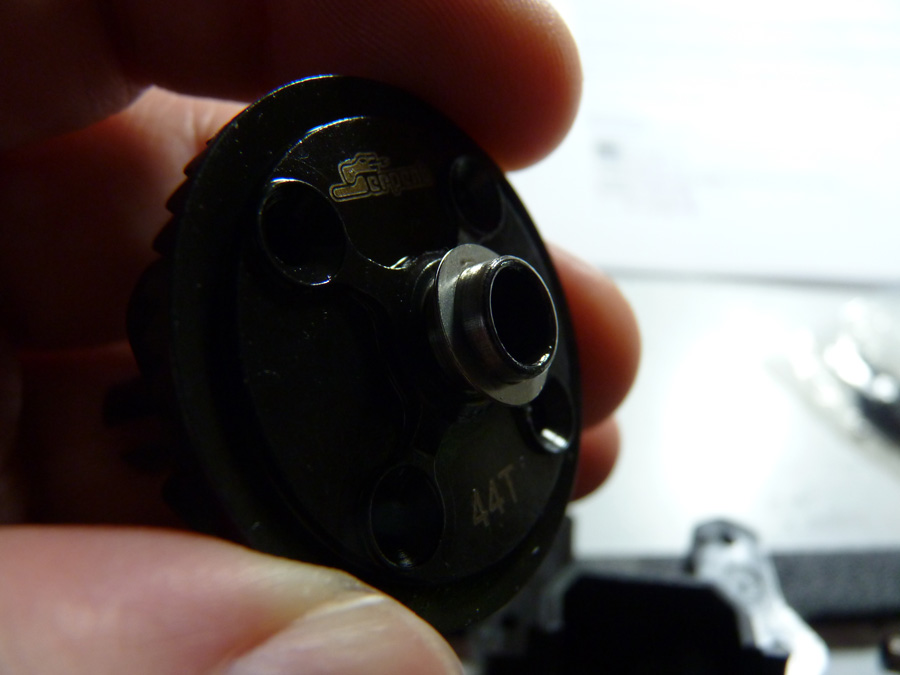
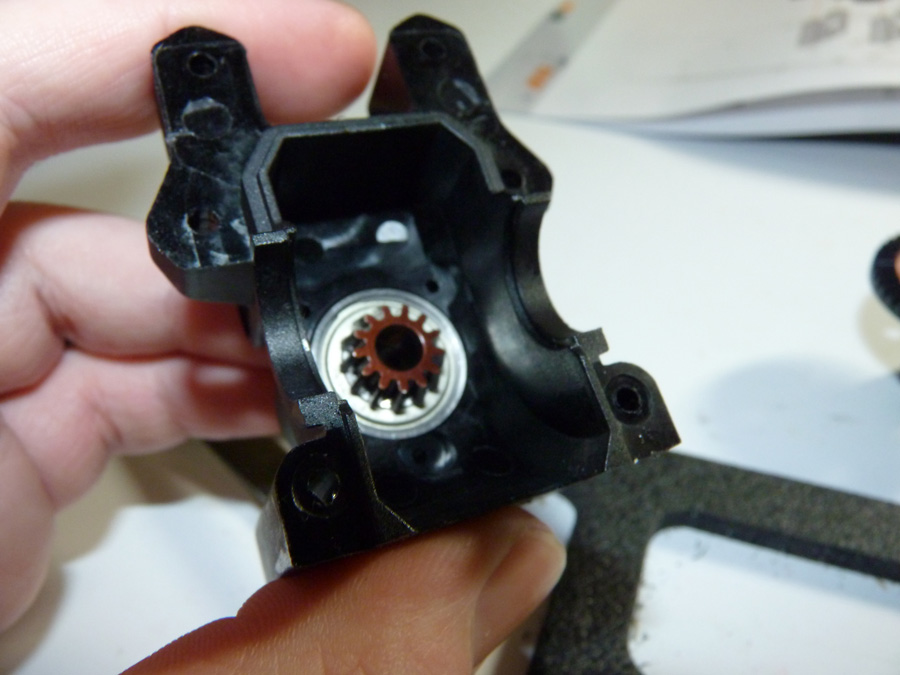
It’s kind of hard to show, but you can see the shim below between the ring gear and the bearing. All it does is tighten up any left to right movement of the gear in the case.
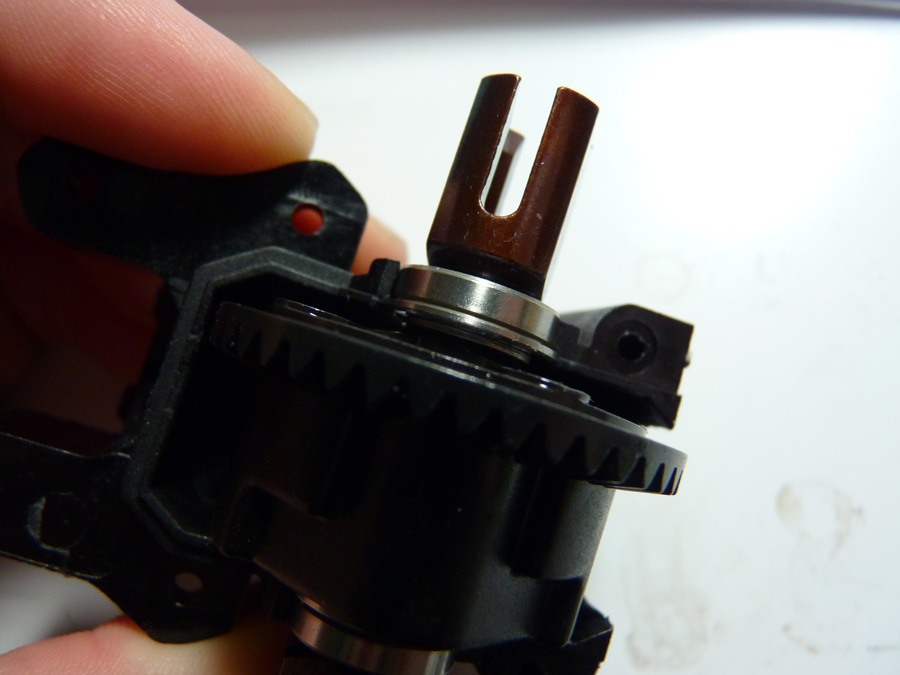

Next you will want to install the other half of the diff case to make sure you are still properly shimmed. It should still be easy to rotate the diff and have minimal left to right shucking.
Next we assemble the pinion gear assembly. This is the part that connects the center driveline to the rear diff.
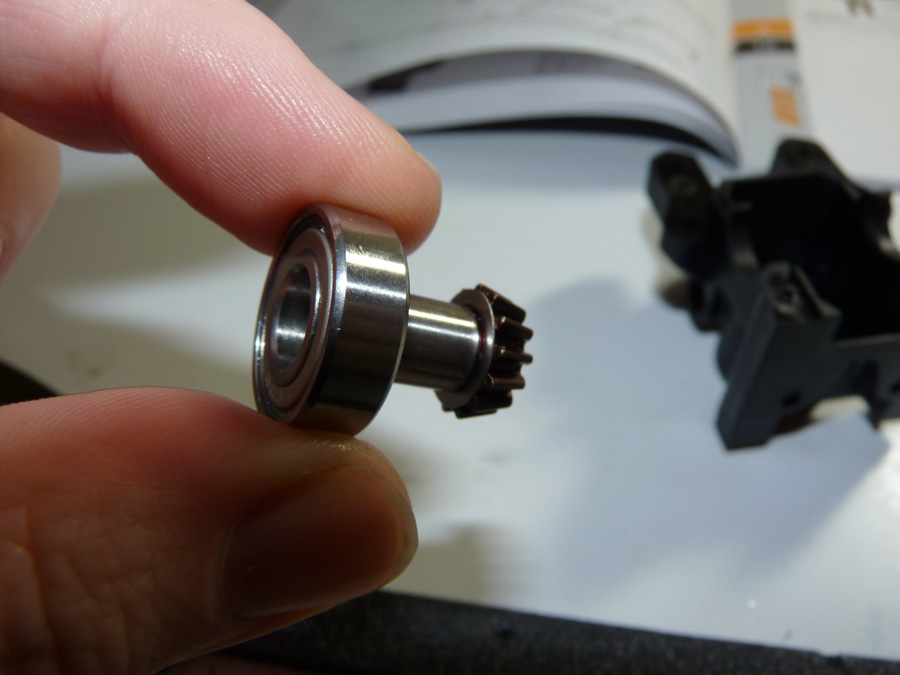
I only loosely built this up for the shimming process for now.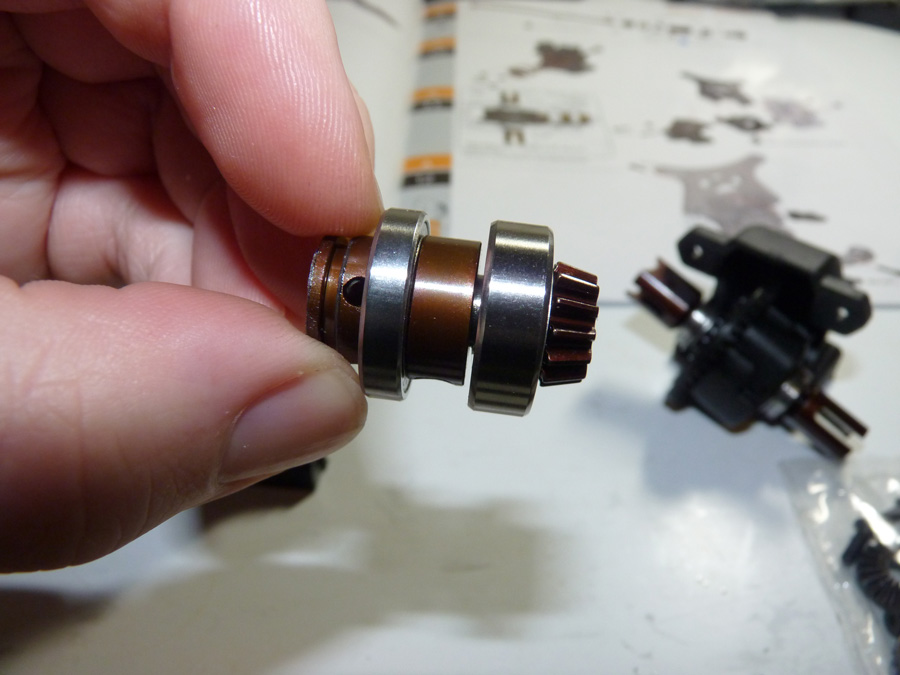
We’ll then install it into the diff case. The instructions say to install 1 shim between the pinion gear and the bearing, but never 2 or more, as it will bind with the differential gear. I went with the suggested single shim. Then we install the mocked up diff gear and check the mesh between the pinion and the ring gear. It should have minimal movement, but still rotate free. Mine was spot on with a single shim.
Now we take everything back apart, remembering how many shims were used where, and build the stuff for real this time.
The rear diff goes together the same as the center one did. Notice how this one has the correct O-Rings and they seat perfect.
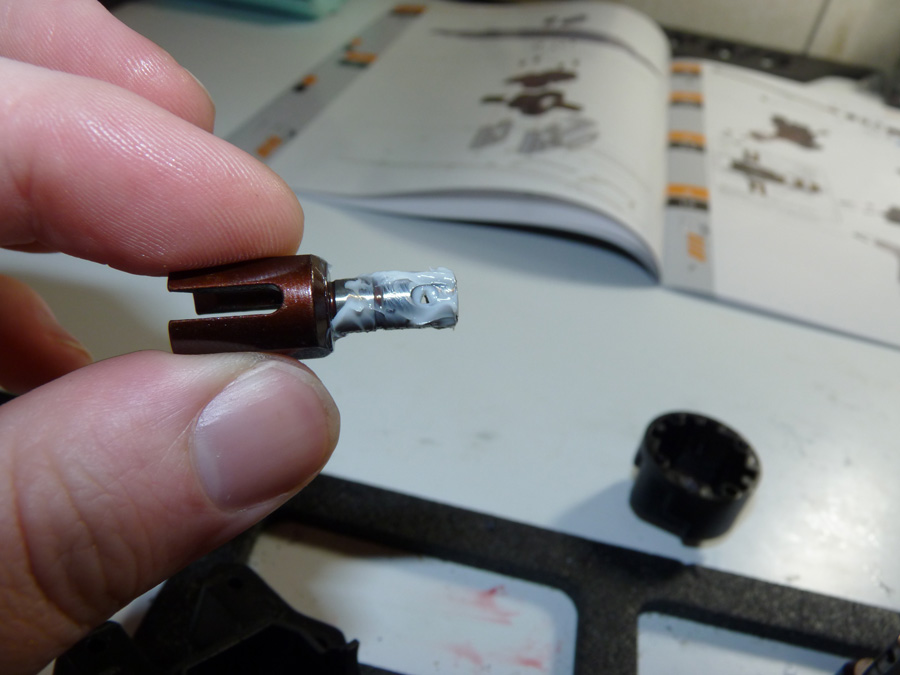
Remember to lube the output shaft with grease to prevent a cease up! (I may have went a bit overboard).
Keep assembling… 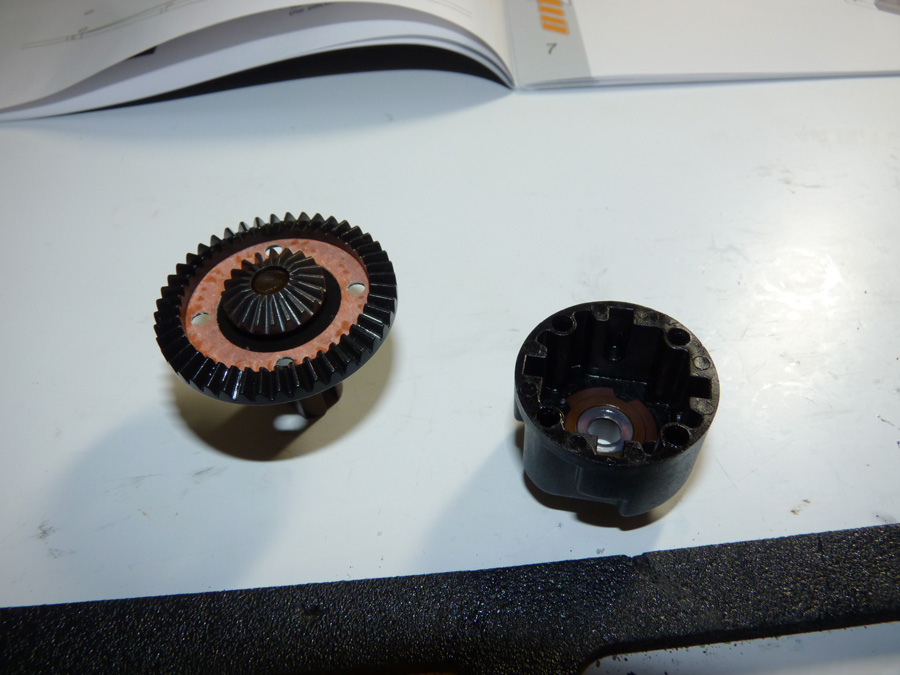
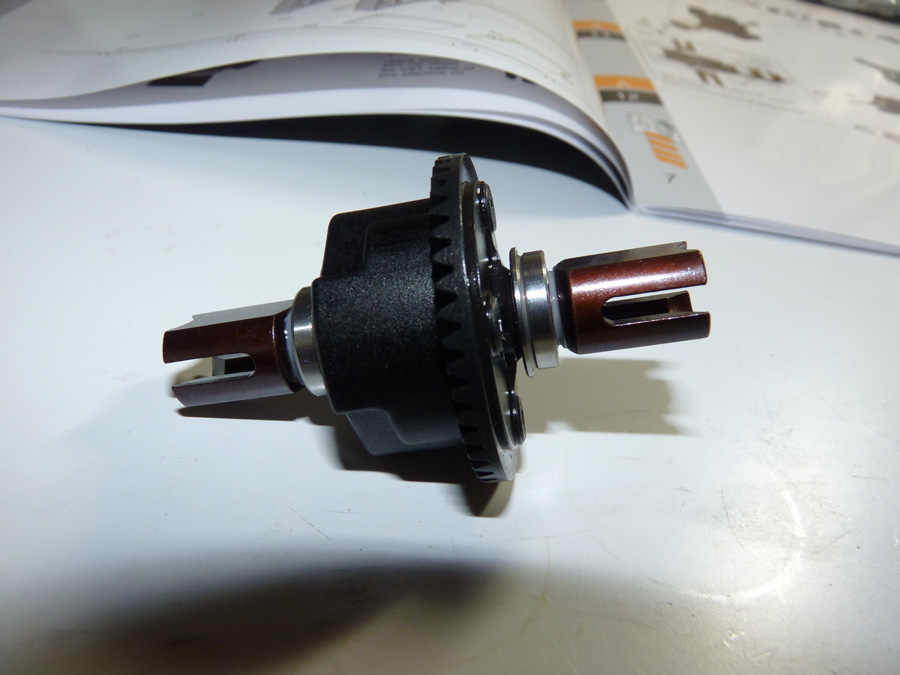
Then now we should have a completed, properly shimmed, rear differential.
 Posted in
  Tags:
Tags: