

 May 23rd, 2013
  Kevin
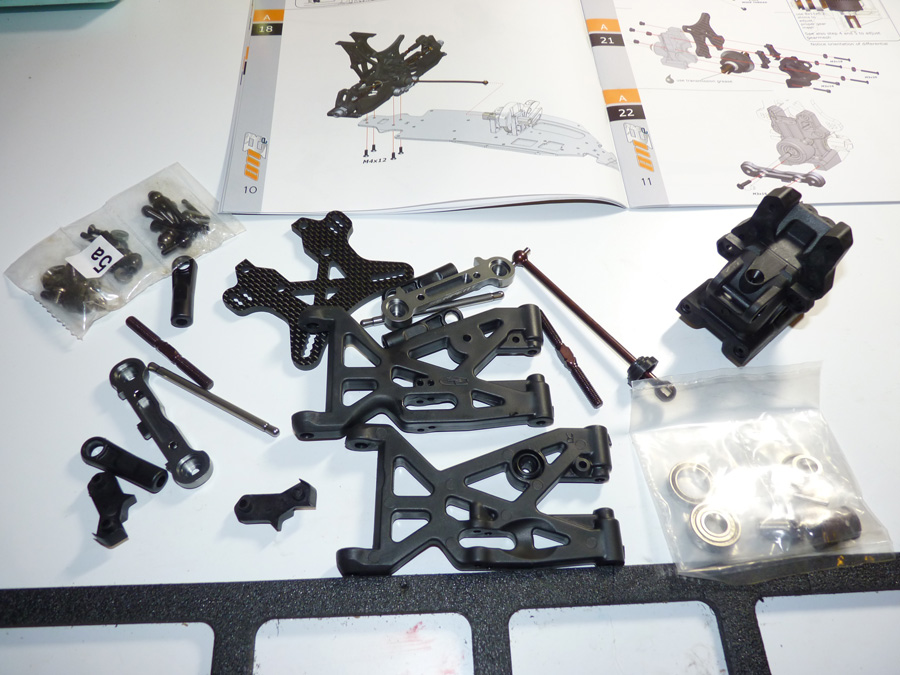
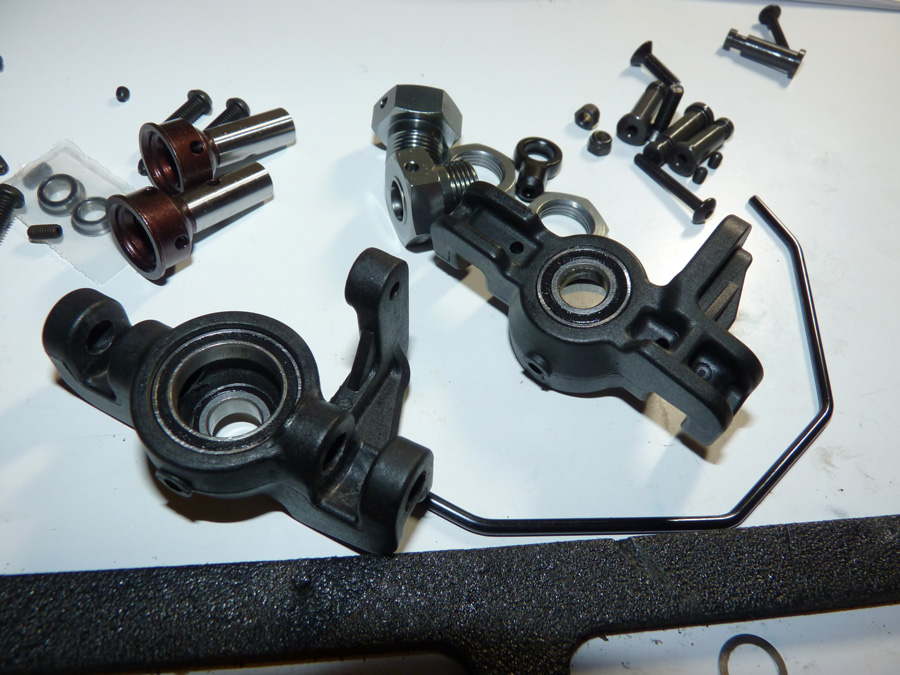
Kevin Now for the front end of the buggy. Again, all pretty straight forward so my descriptions will be minimal. Here are all the parts, diff case, arms, etc.
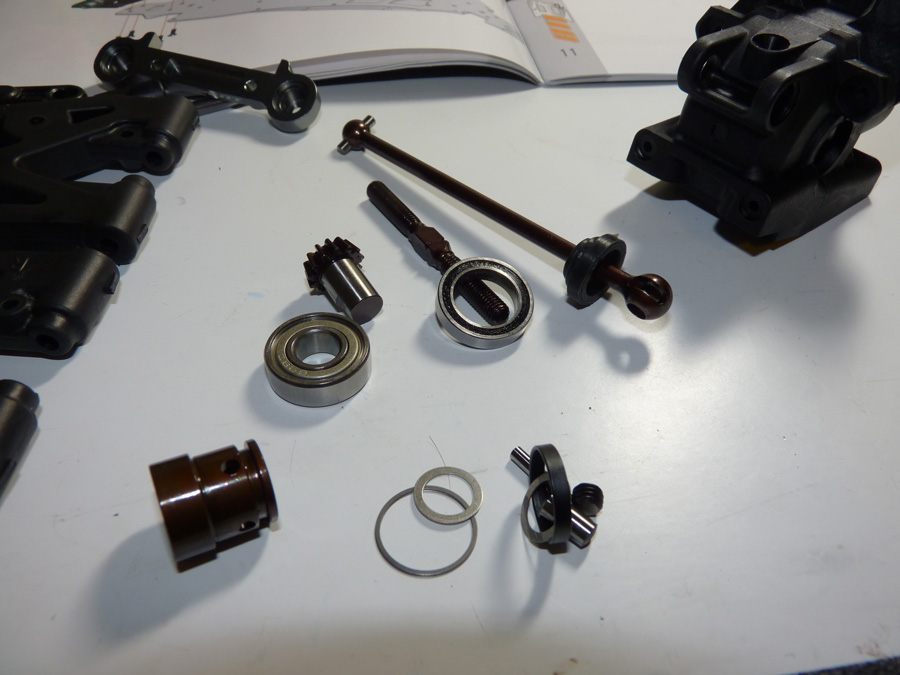
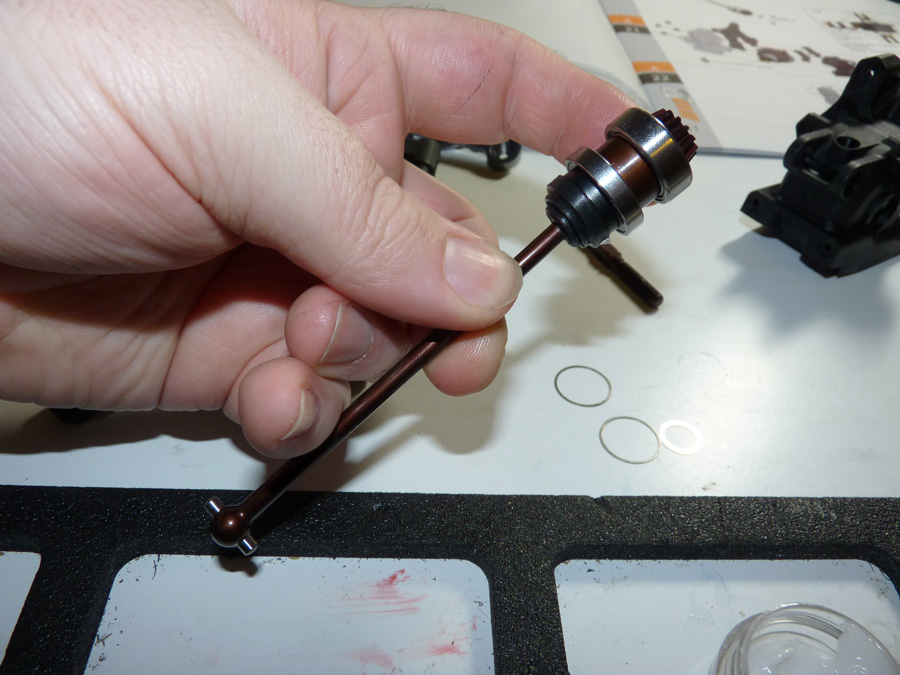
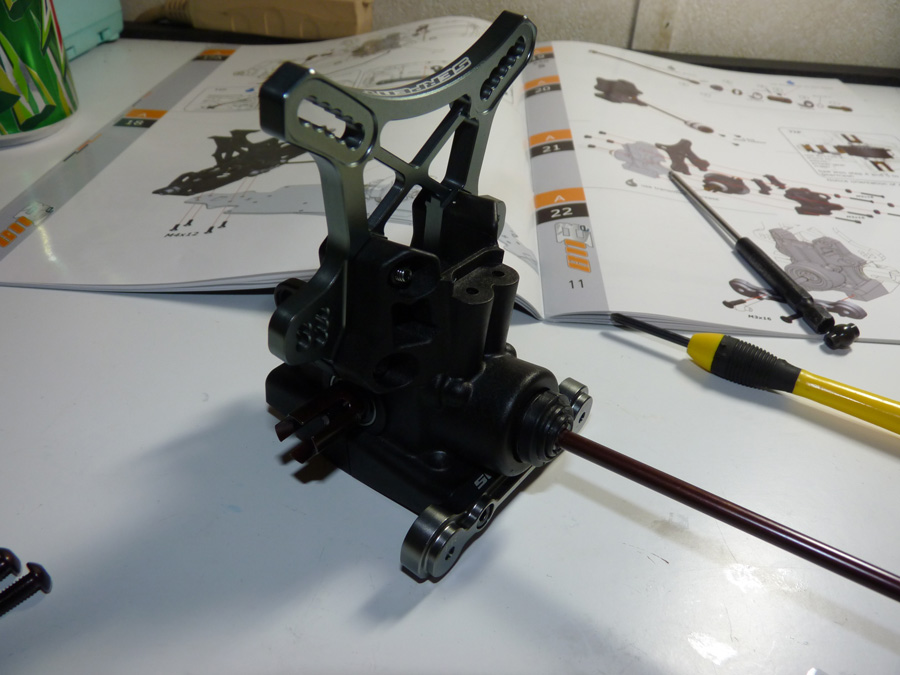
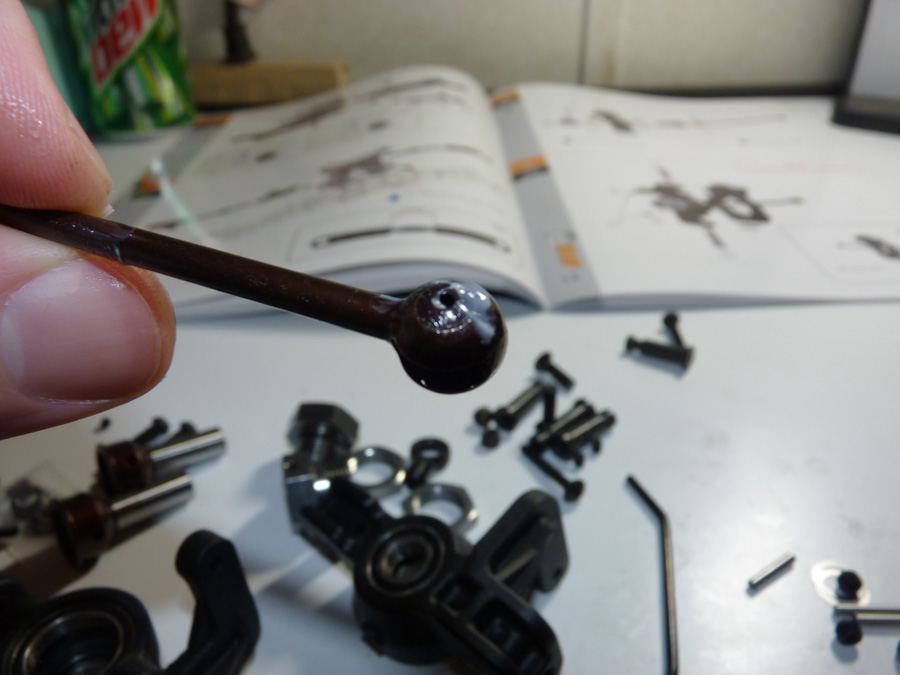
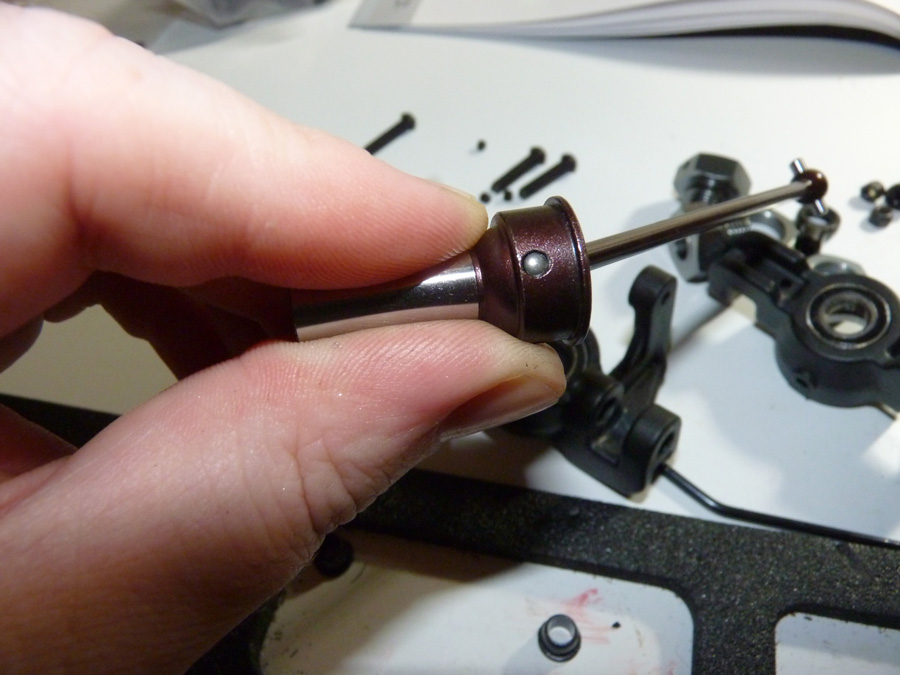
We’ll start with the center drive shaft / pinion assembly. Again, using the CowRC cleaner as before so there is good contact for the red lock tite. This is important.
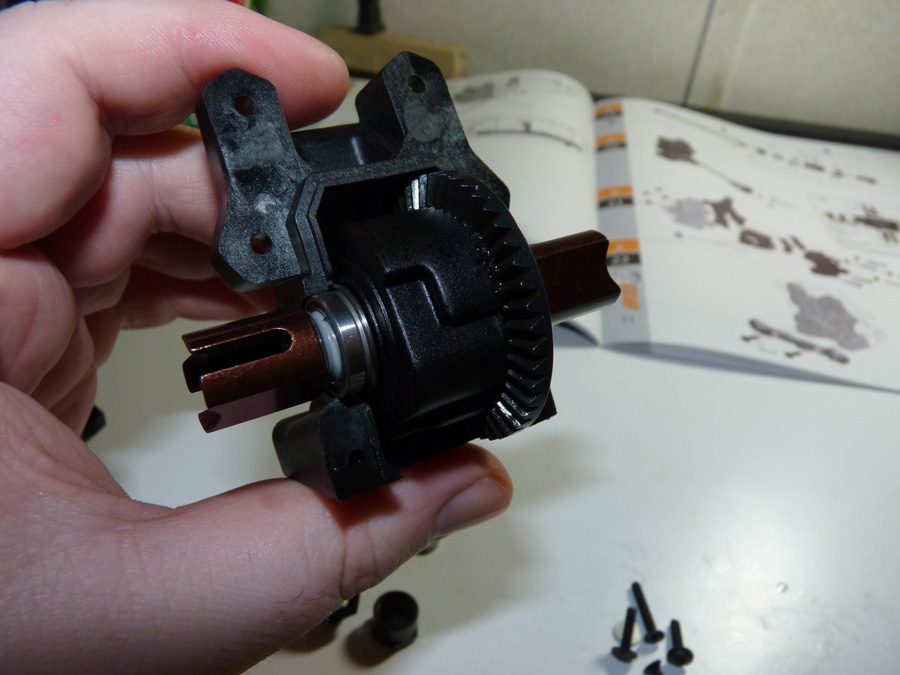
You already know from before how it goes together, so here it is assembled to save time.
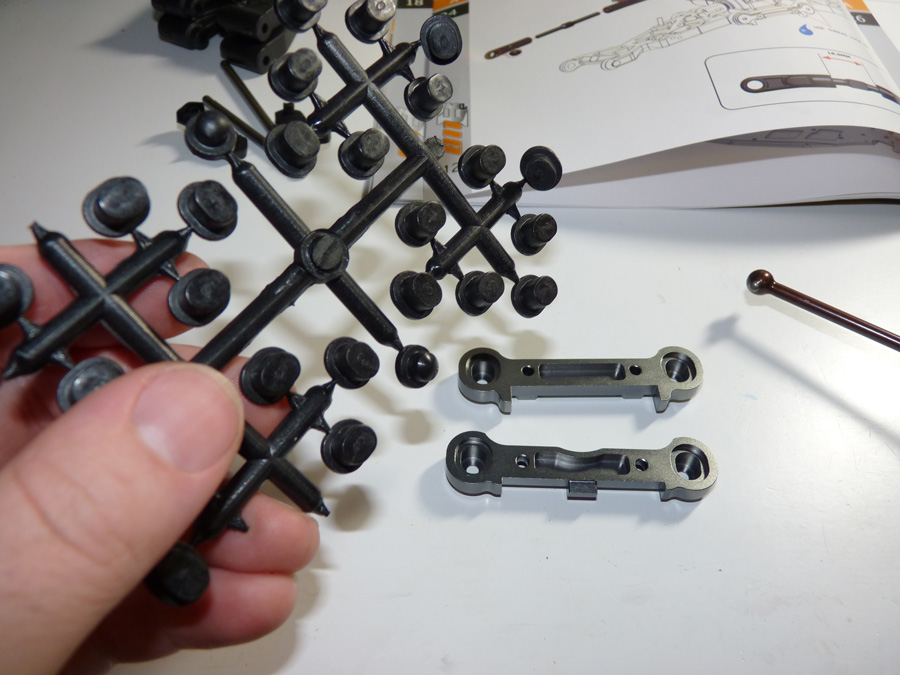
Then we knock out the front camber links.
Here are those plugs again. I plucked the ones I needed from the parts tree and inserted them. At this point I’m flying thru the little steps so I can make assembly quicker.
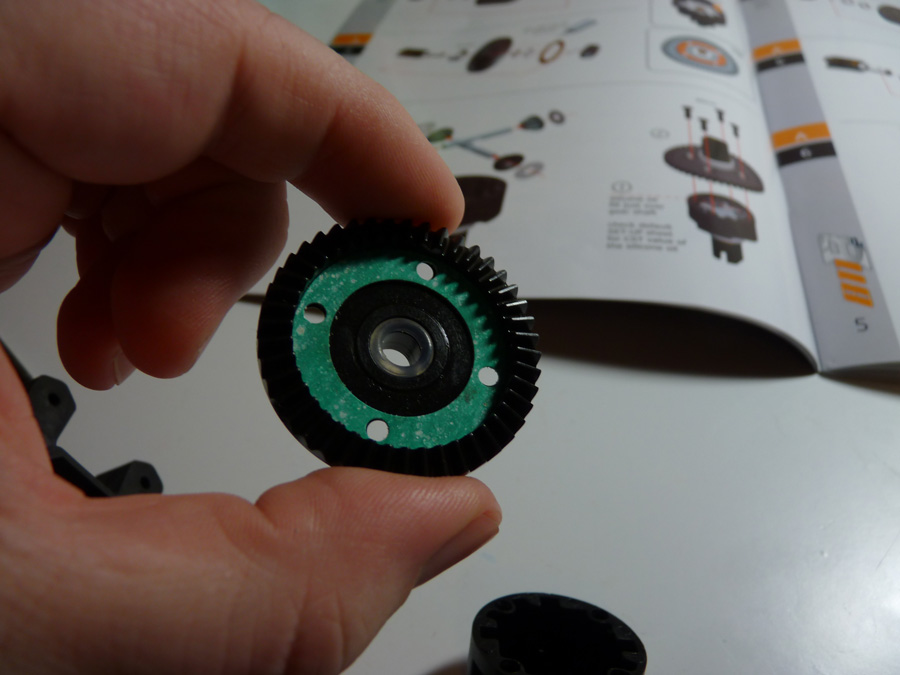
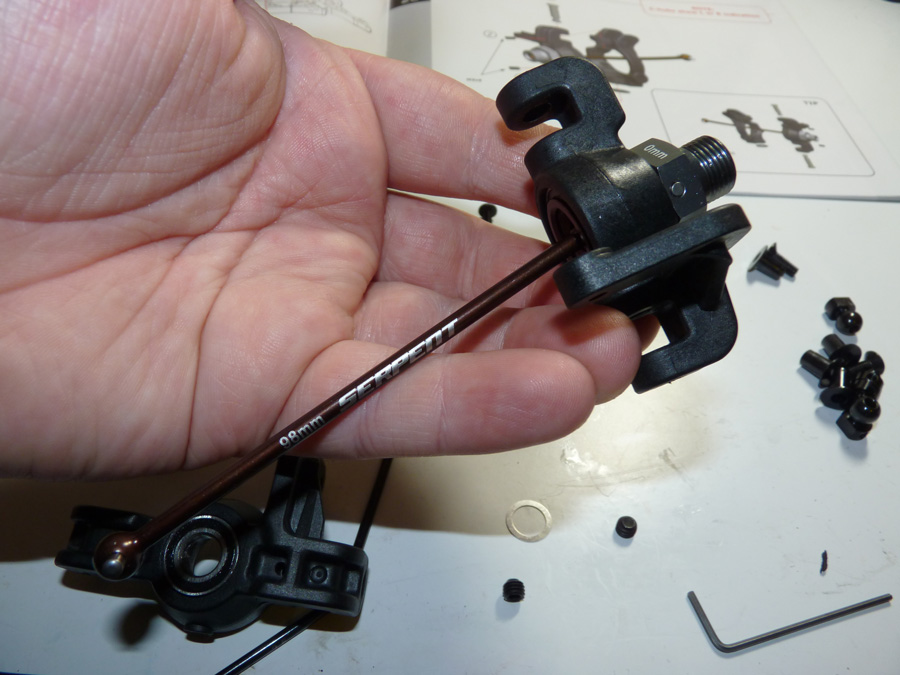
Next we build the front diff, (same as the rear so I don’t need to explain that either). One of the gaskets in my kit was broken. I overnighted some from Absolute Hobbyz. At this point I didn’t have time to contact Serpent in order to make the upcoming race. I used the part number in the addendum, so not sure why it’s a different color, but fit is perfect.
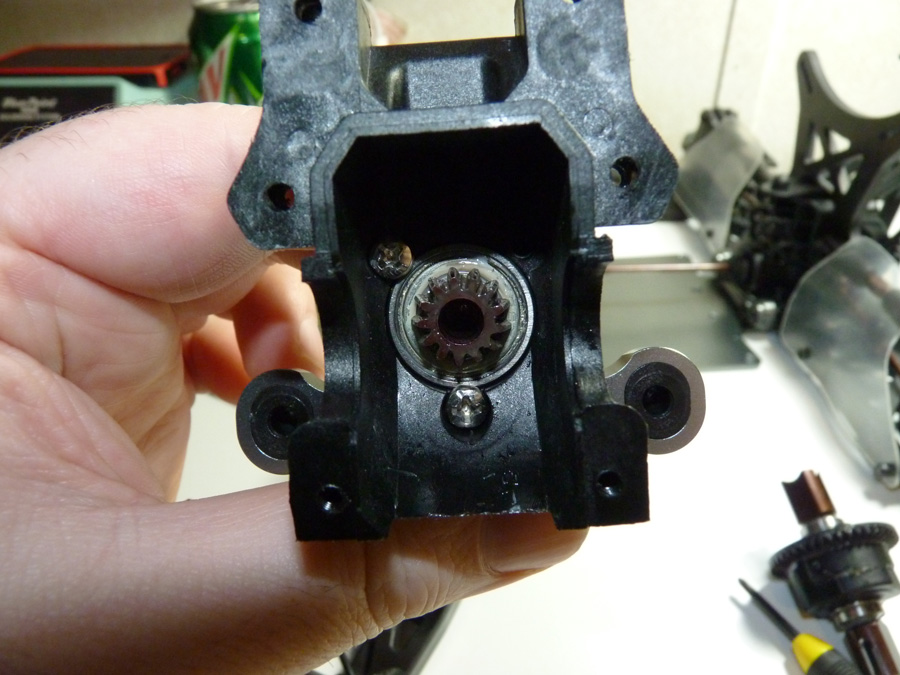
We then install the center shaft through the diff case.
Here are those screws again.
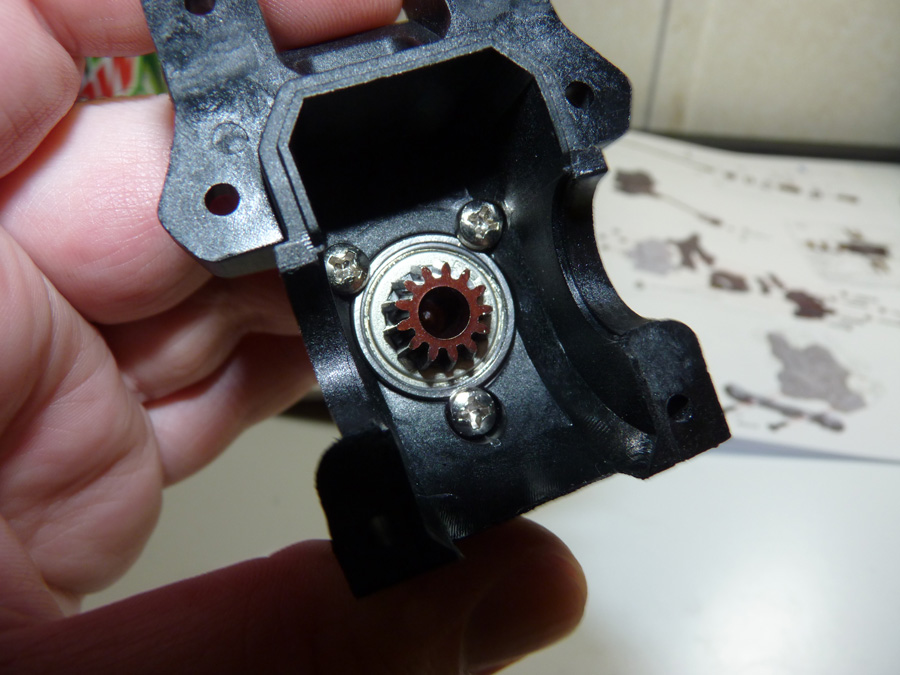
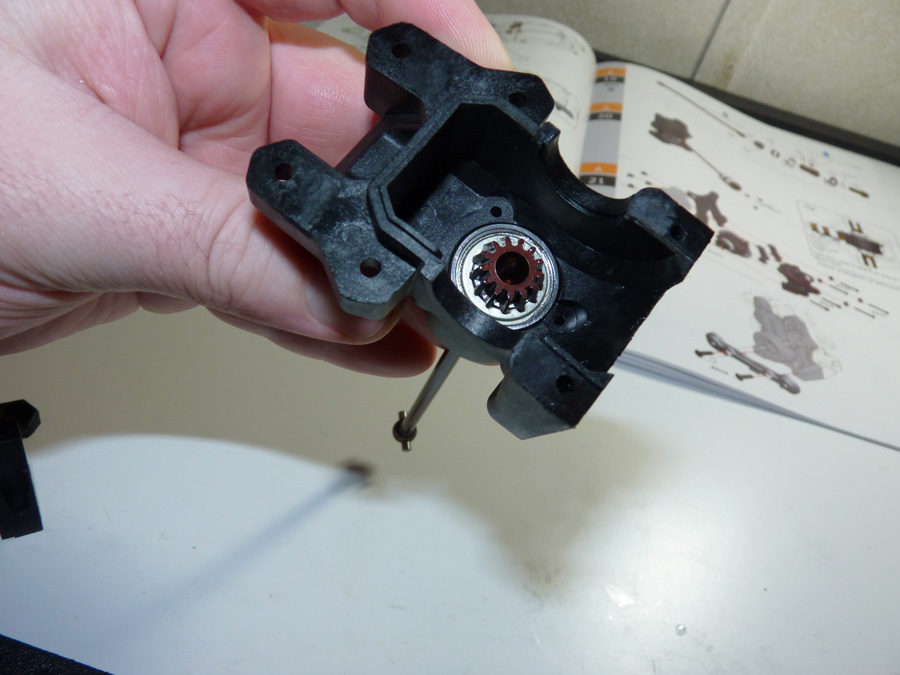
After assembling the car, I had to go back and remove the top right screw. It rubs the ring gear on the diff just enough to cause drag. I’m sure after a run or two it would free up, and break in.. but I’d rather not have a semi-binding drive train from the word go.
Here you can see how that gear lines up right where the screw head is.
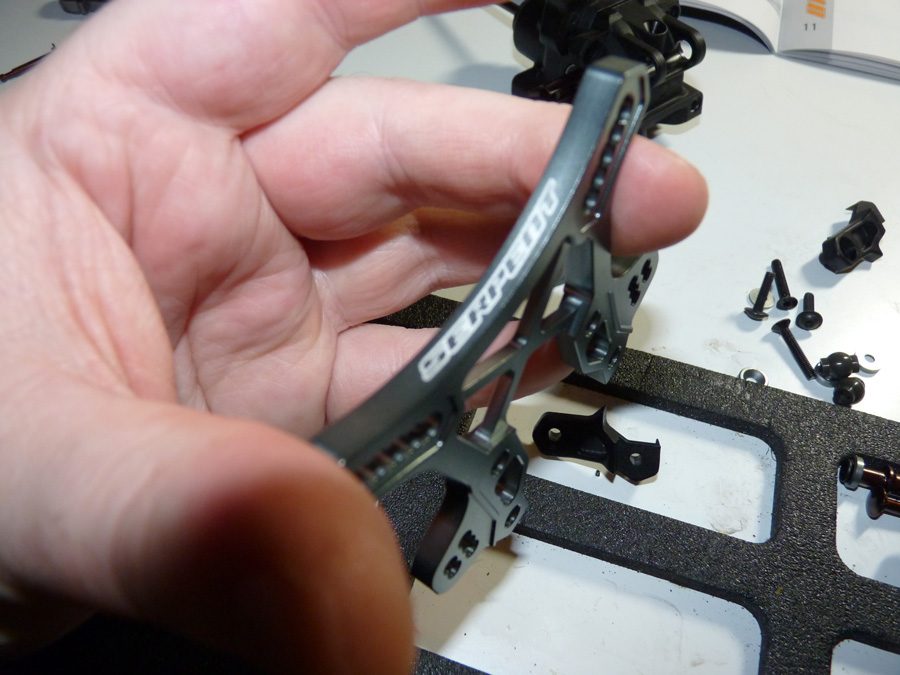
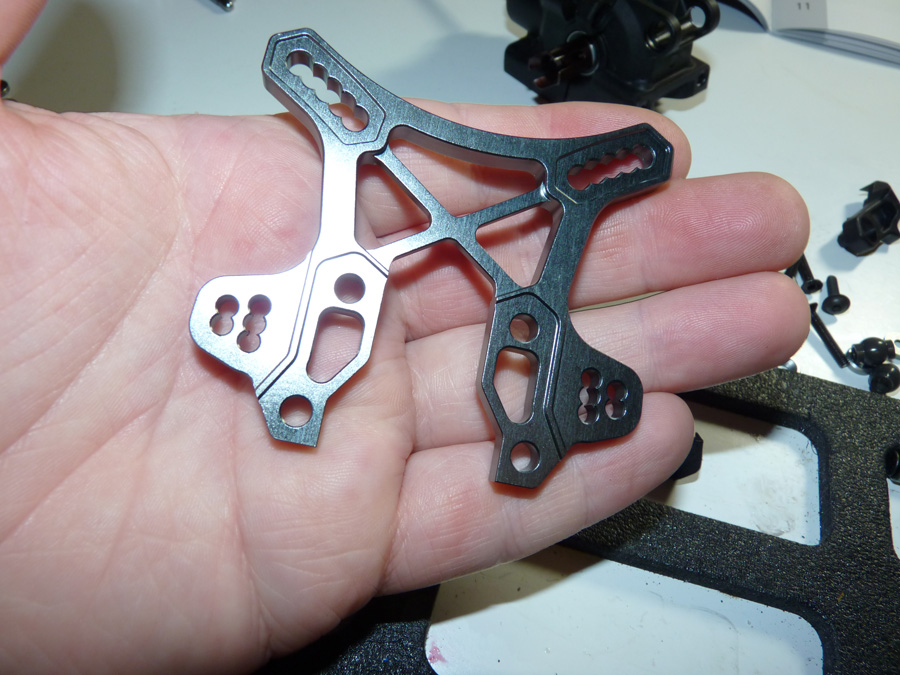
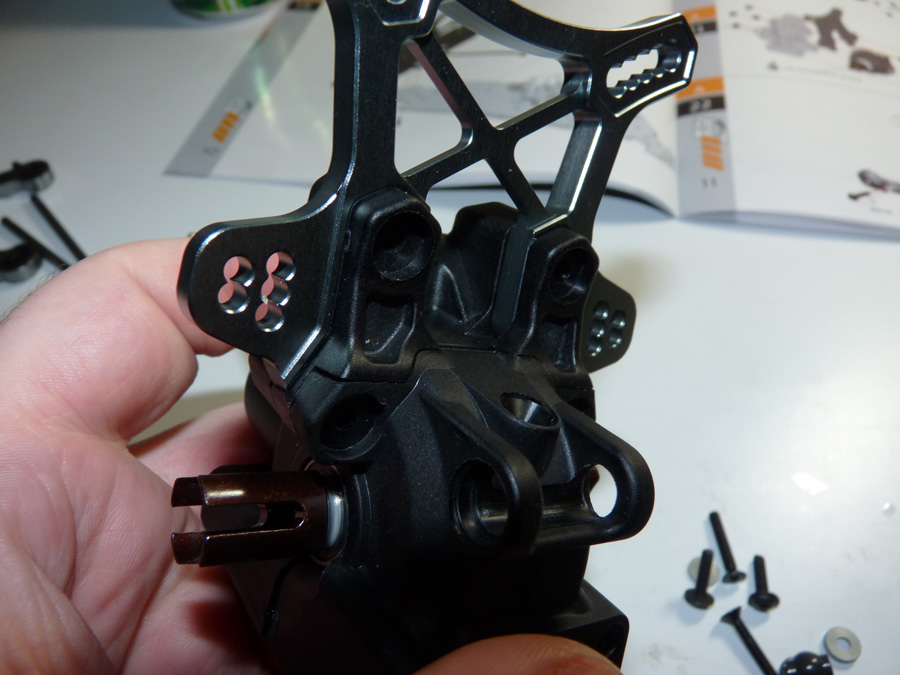
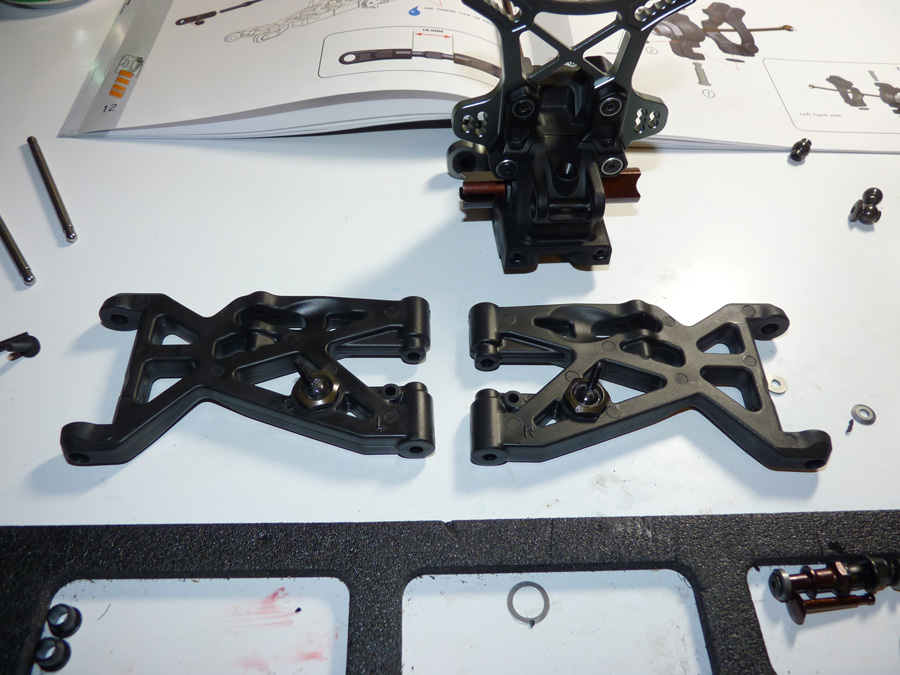
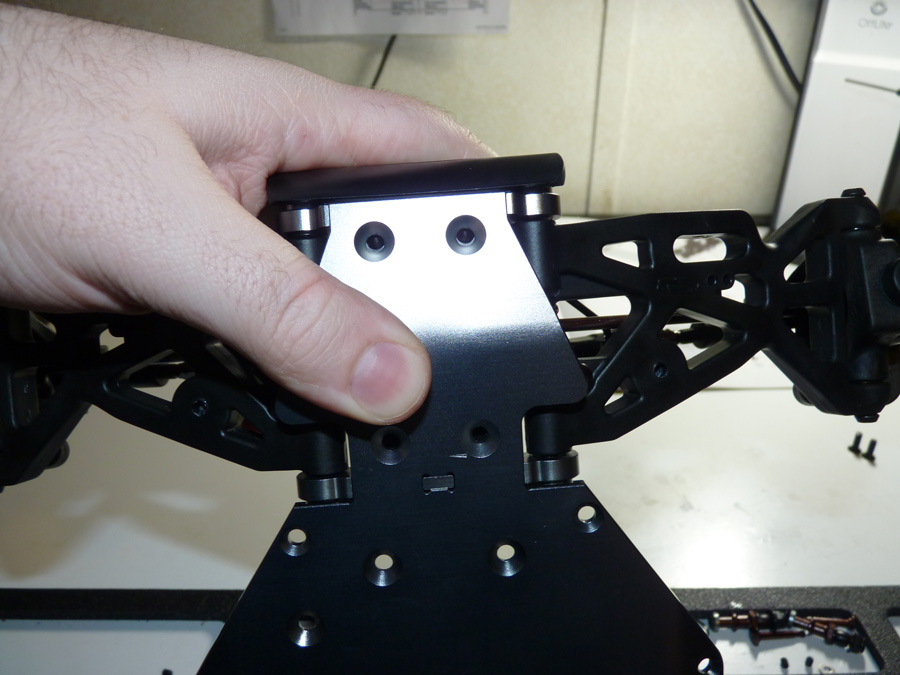
Now we’ll continue. I’m running the optional Aluminum front shock tower [600284] for durability’s sake. It was recommended to me, so I went with it. Stock it comes with a thick carbon fiber tower.
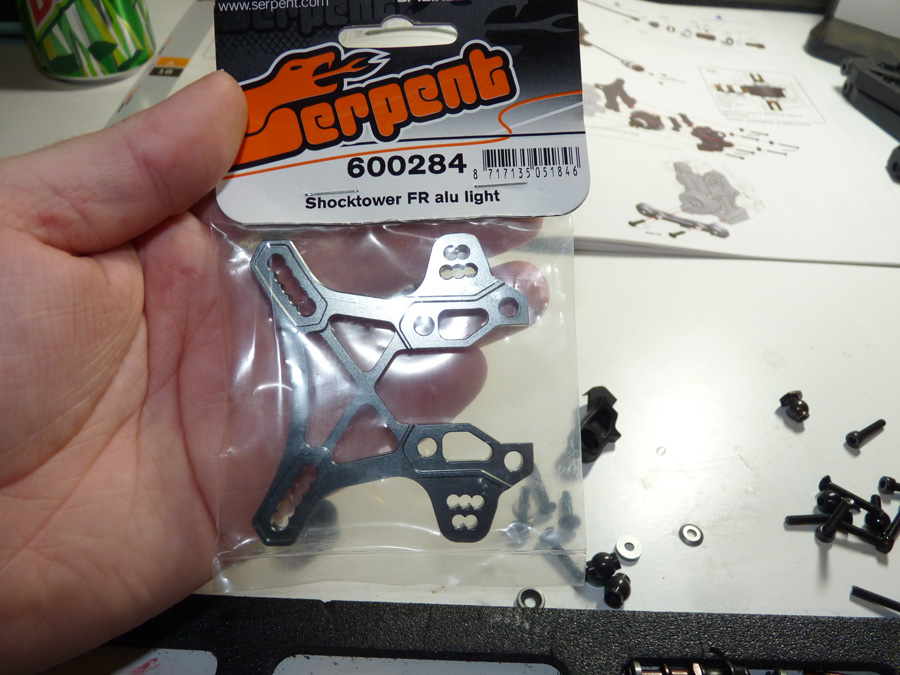
And Serpent once again impresses with the finish of these parts.. laser etching and whatnot are a step beyond the norm.
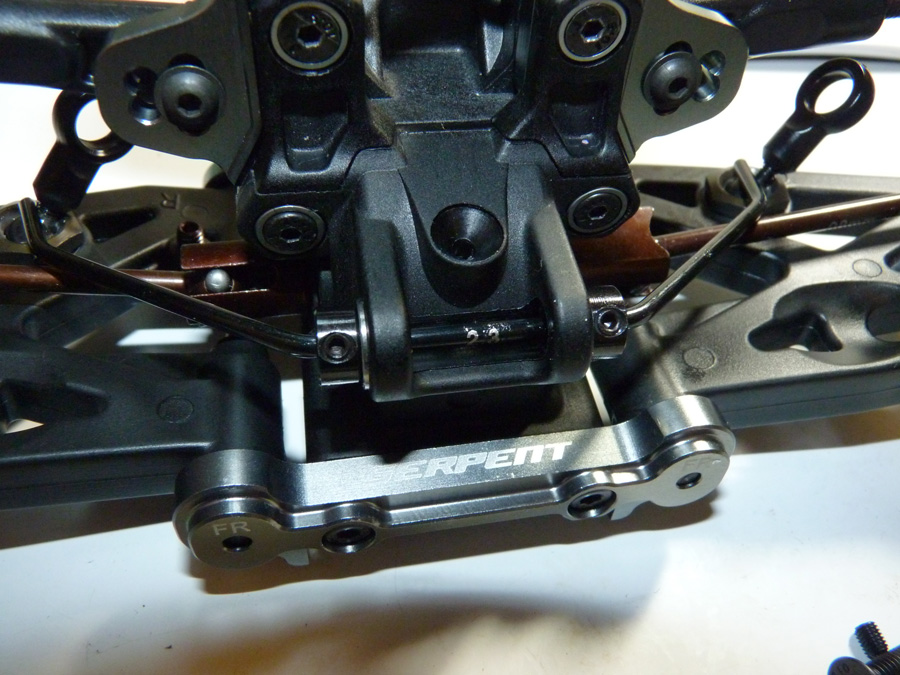
We then install these plastic pieces on the shock tower. They are used regardless if using the aluminum or carbon front tower.
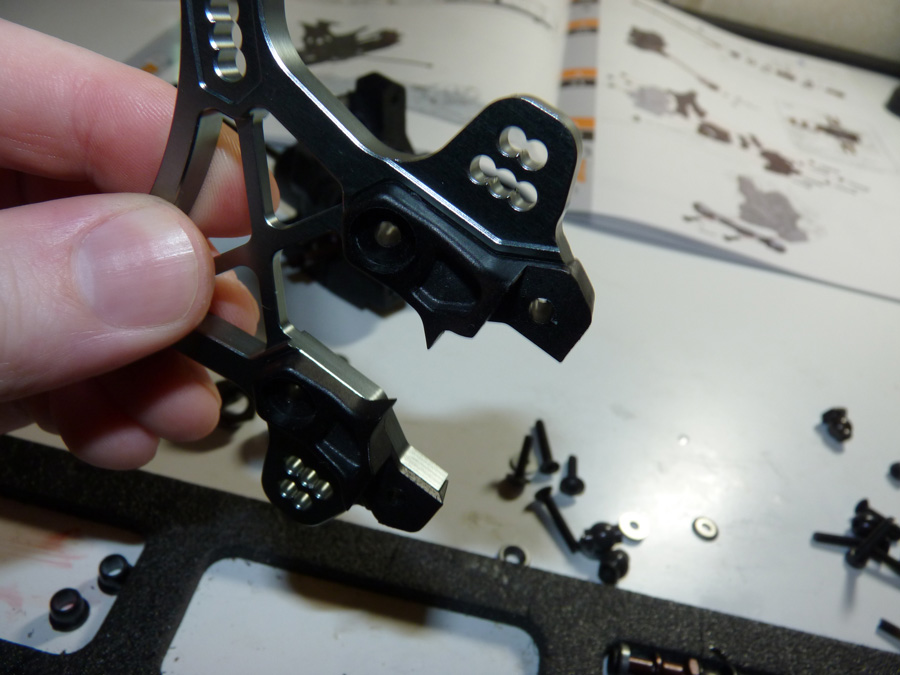
The tower then slides between the diff case halves just like in the rear end.
Tighten everything up.
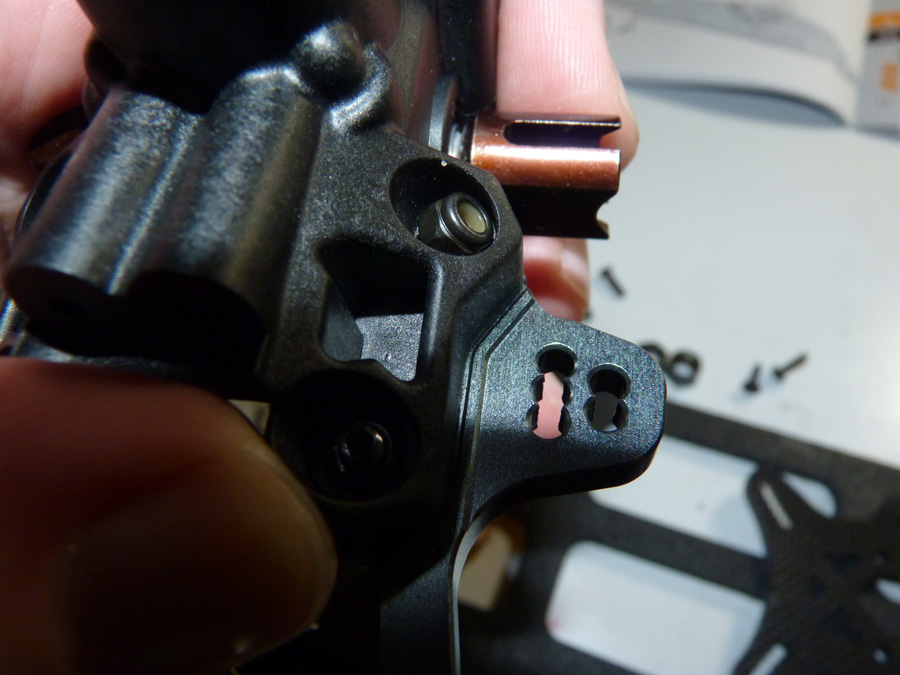
Diff assembly completed. The diff should spin with minimal effort. If it doesn’t, recheck your shims, remove the one screw on the bearing, and make sure you didn’t over tighten anything.
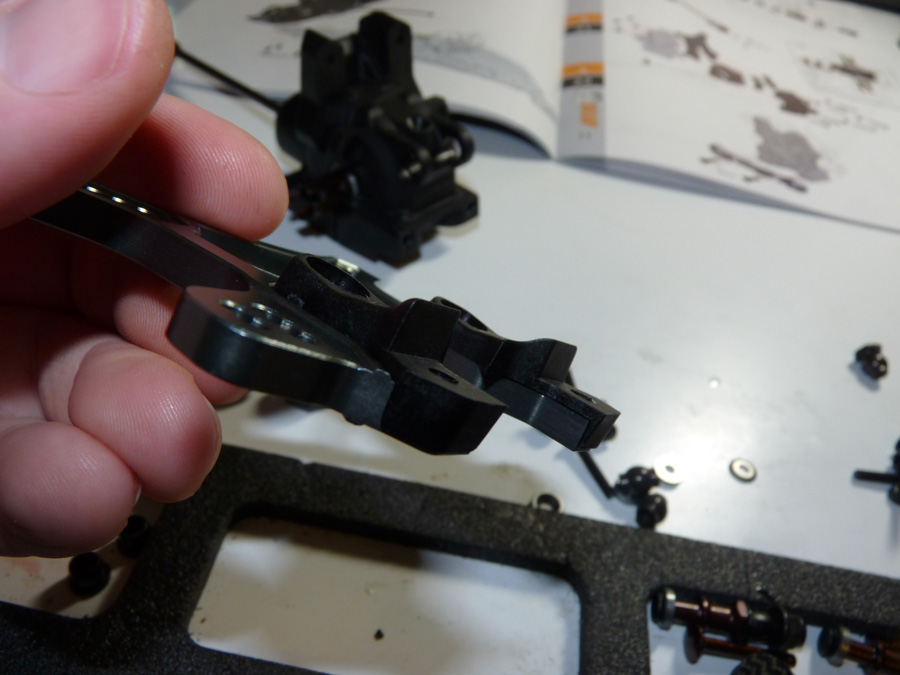
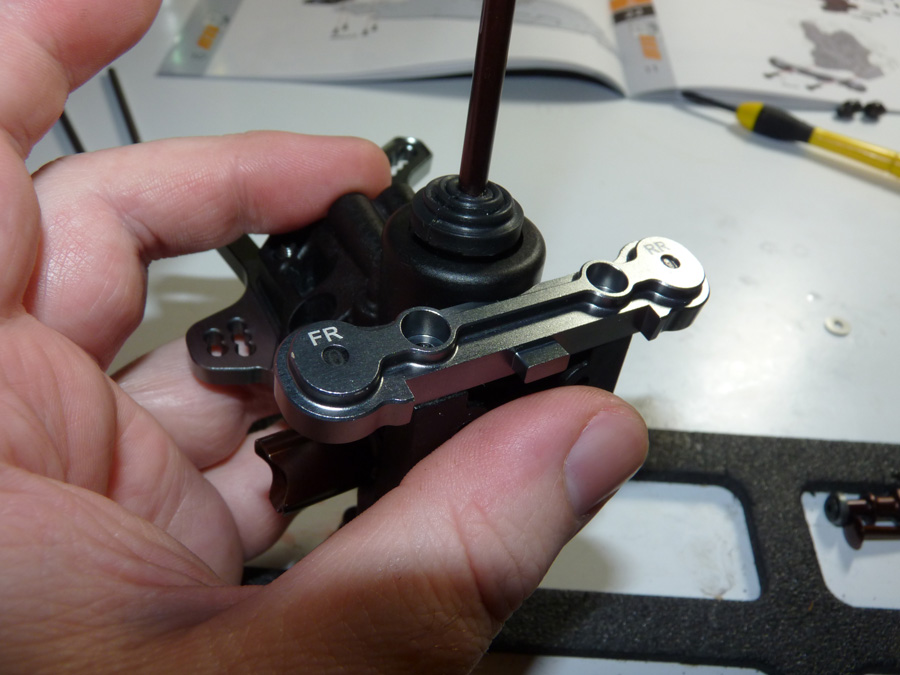
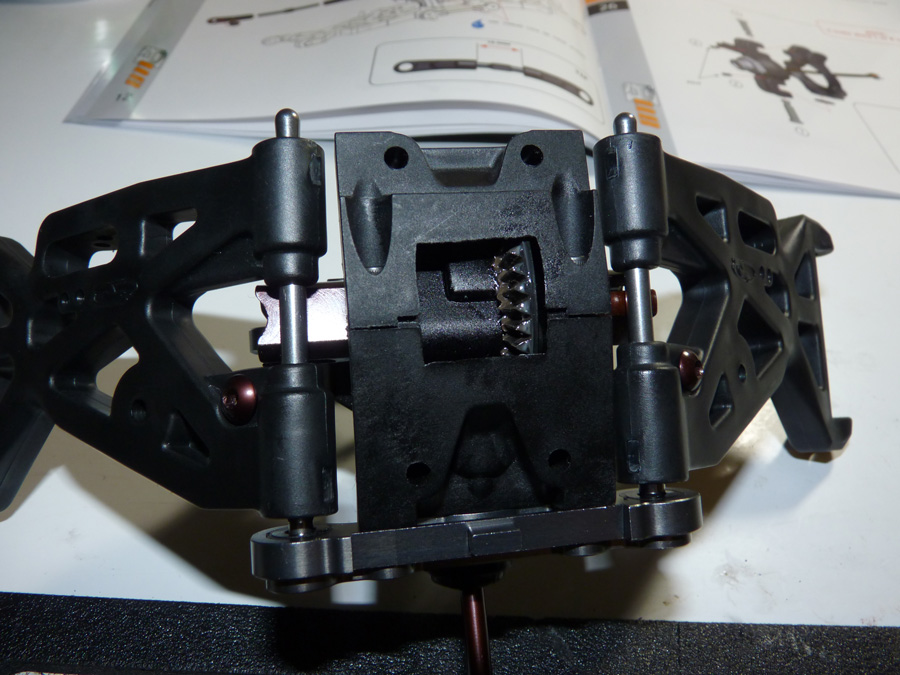
Once content with that, we’ll go ahead and mount up the hinge pin brackets we prepared with plugs earlier. Notice this one says FR on the left (for FRONT) and RR on the right for (REAR), as in front diff, rear side.
We’ll then repeat the same steps for the arms as the rear with the ball joint.
We’ll then fit them up with the hinge pins.
Attach the other pin holder and we’re good to go.
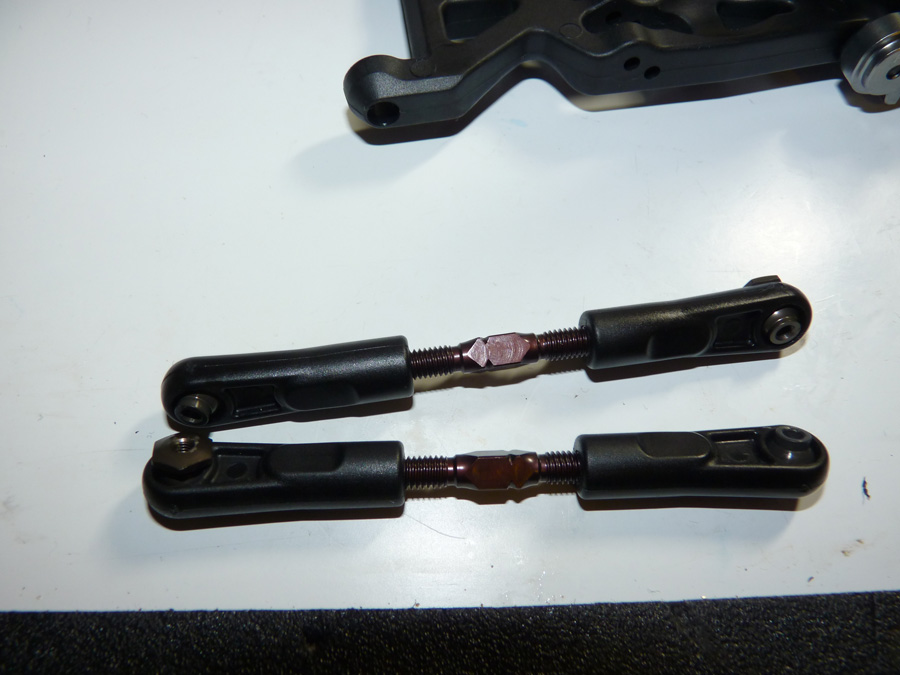
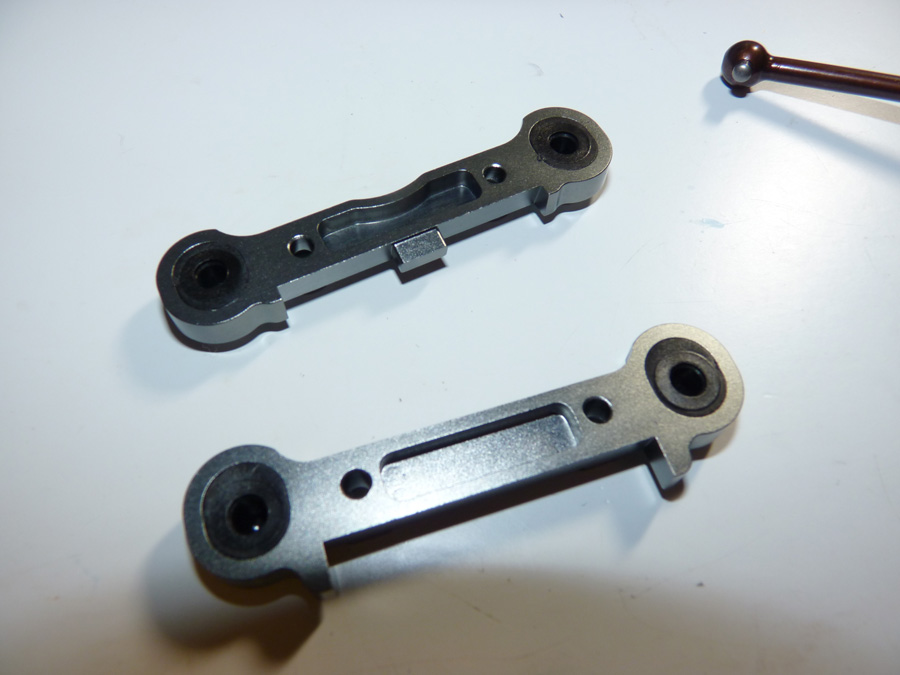
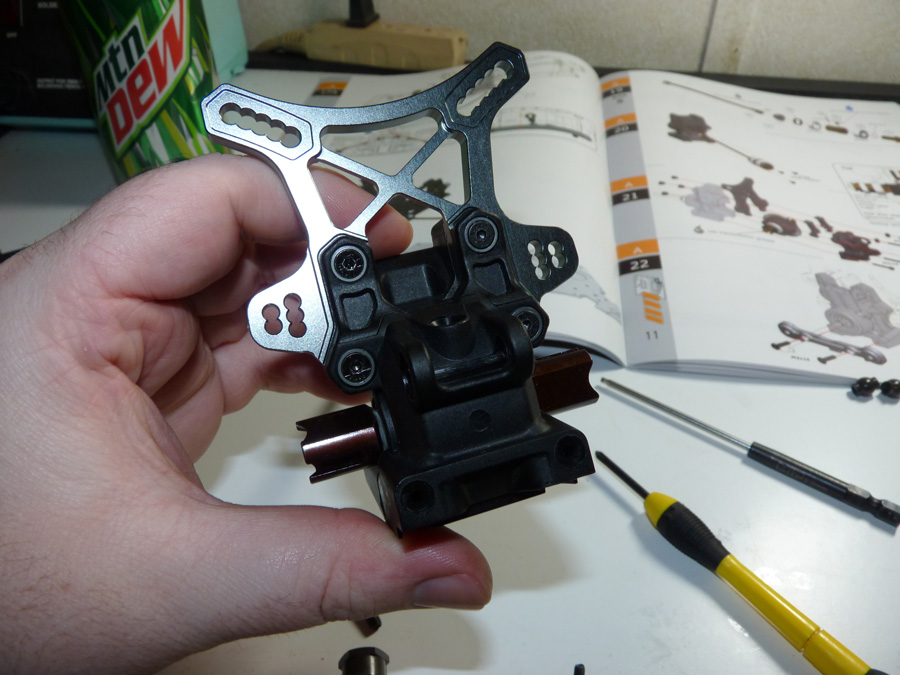
Camber links assembled.
We’ll mount them up the same as before as well.
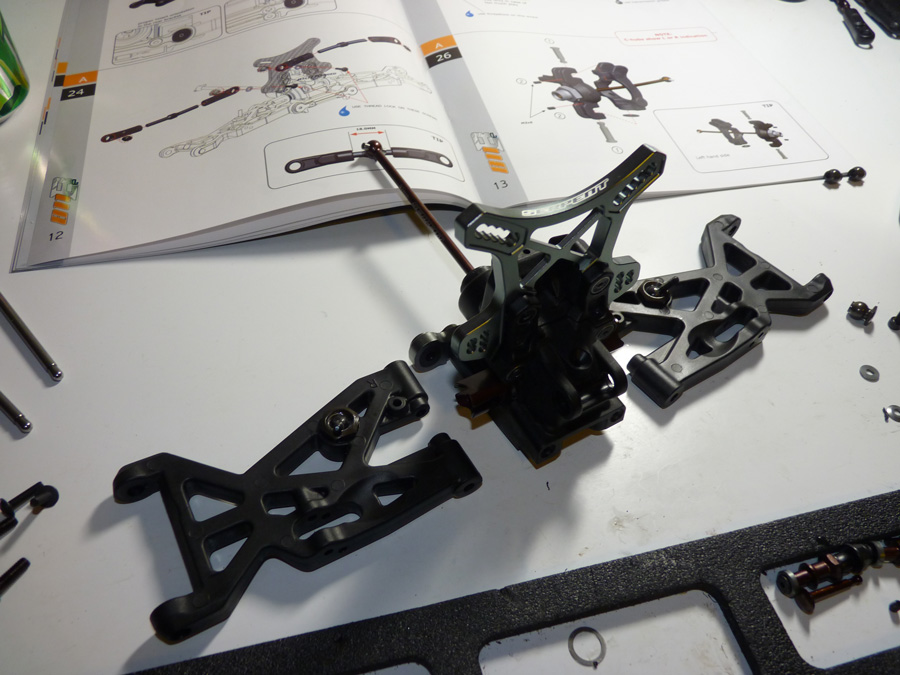
Here’s the rest of the front end. I’ll be running a different sway bar and C Hubs than is included in the kit (per my setup sheet).
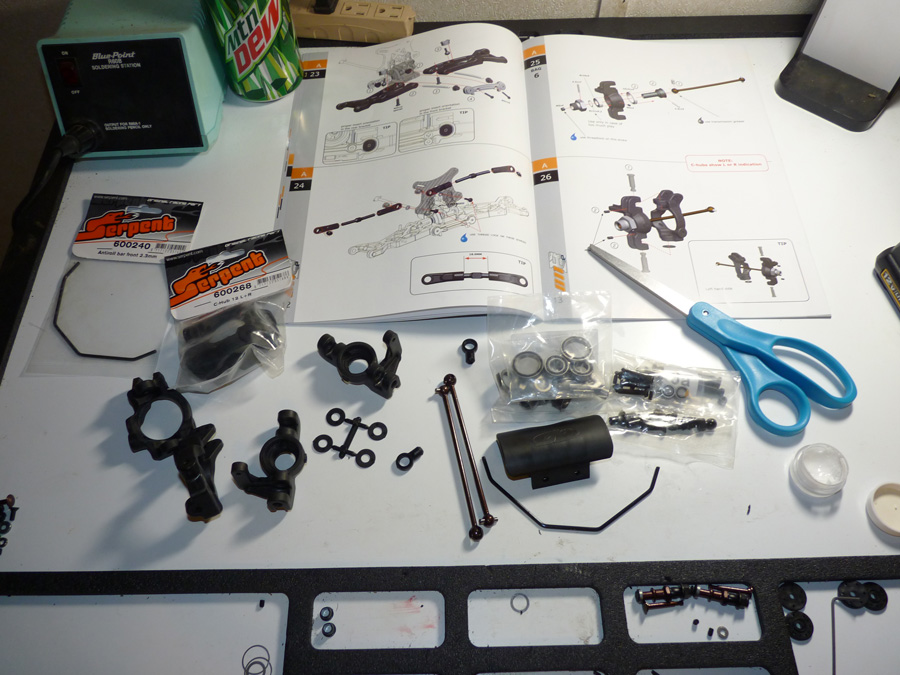
We’ll be using the 12 degree C hubs [600268].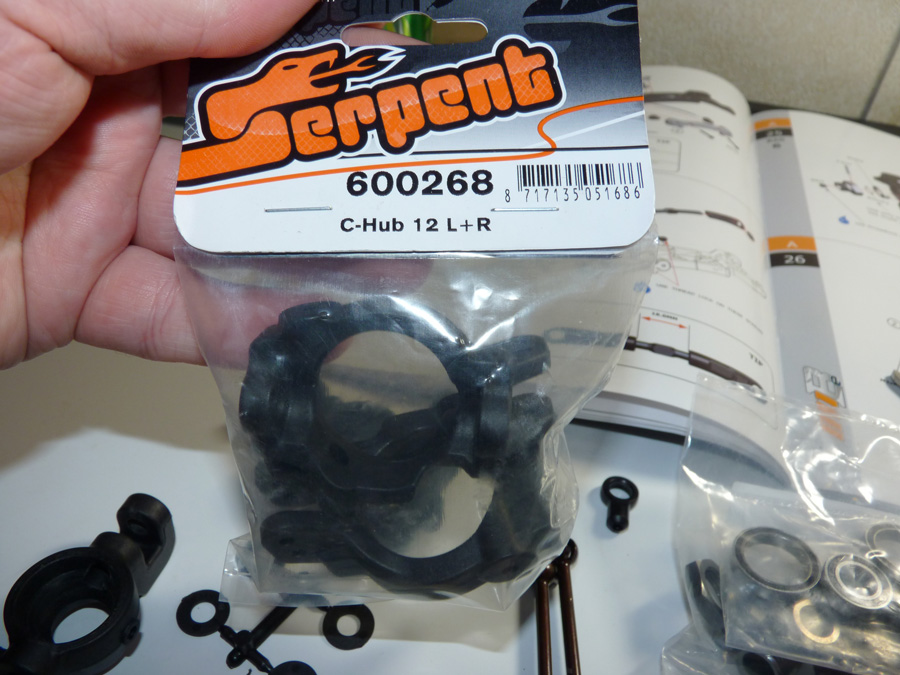
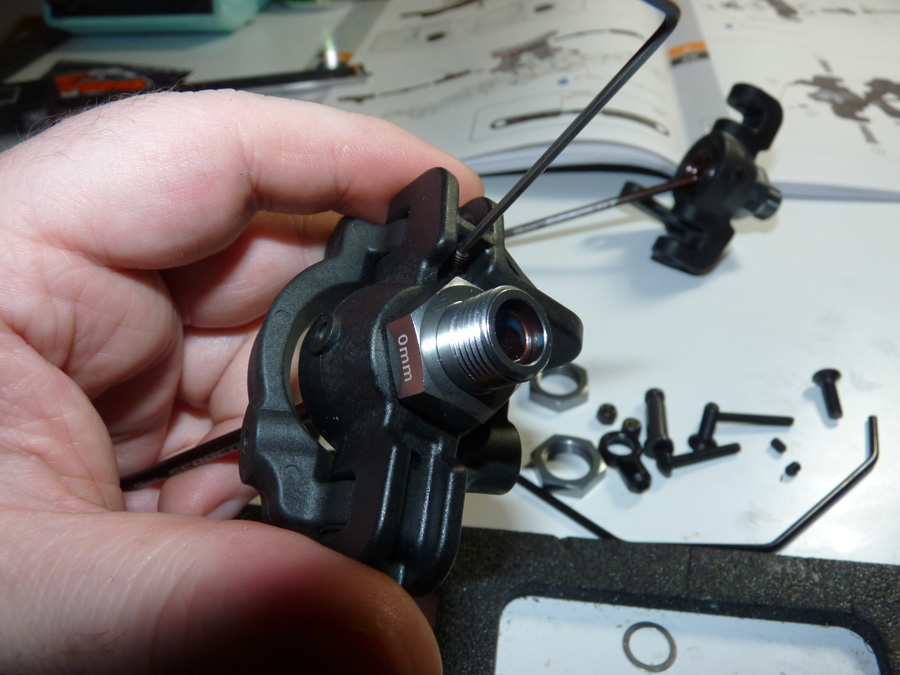
First we’ll get the bearings installed into the steering knuckles.
Then we’ll build up the axles.
Insert them into the steering knuckles and mount up the drive hubs.
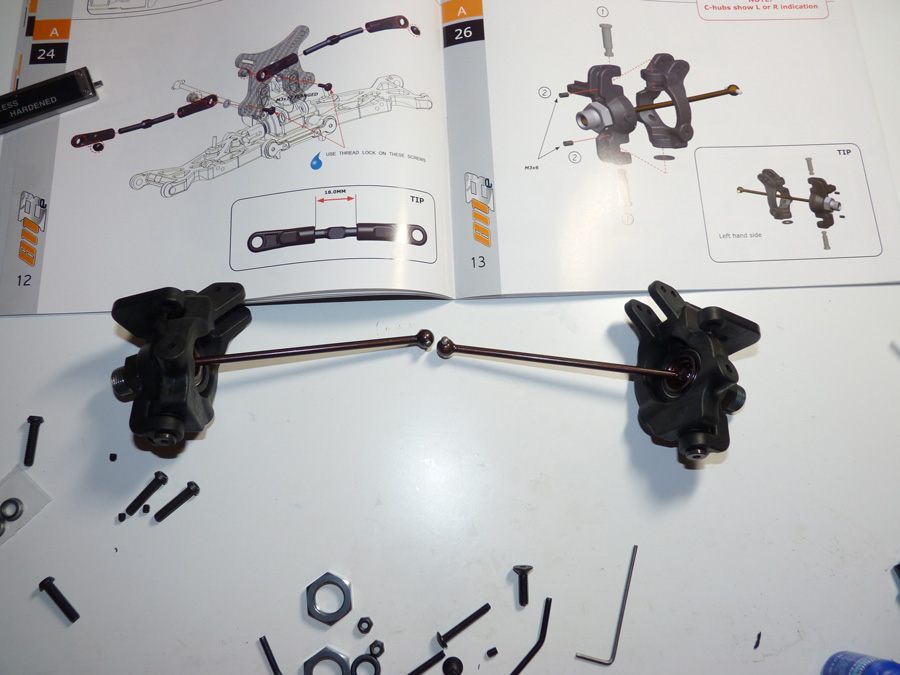
Getting there.. we have 2 complete assemblies now.

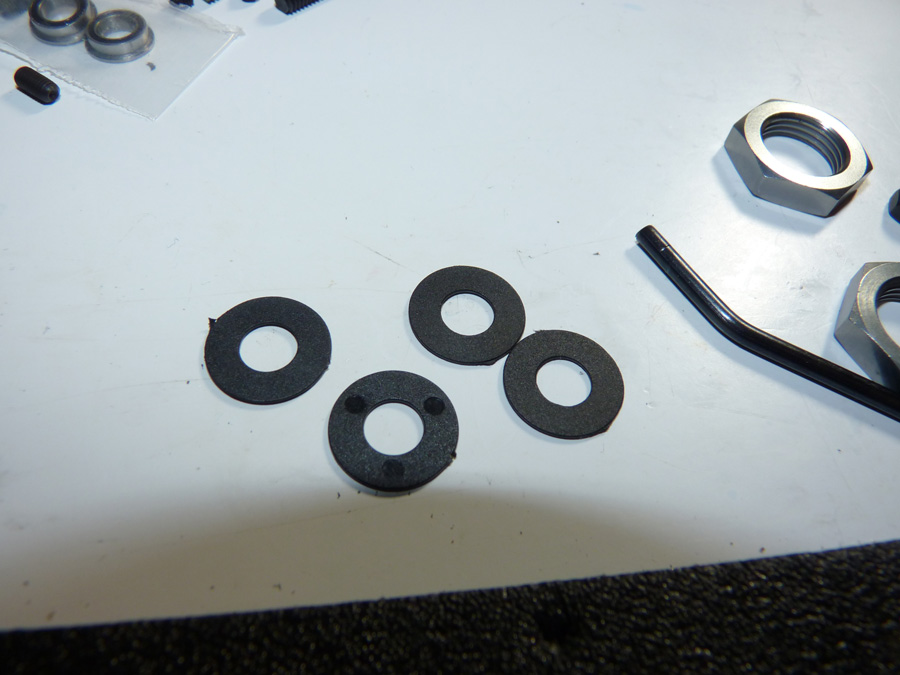
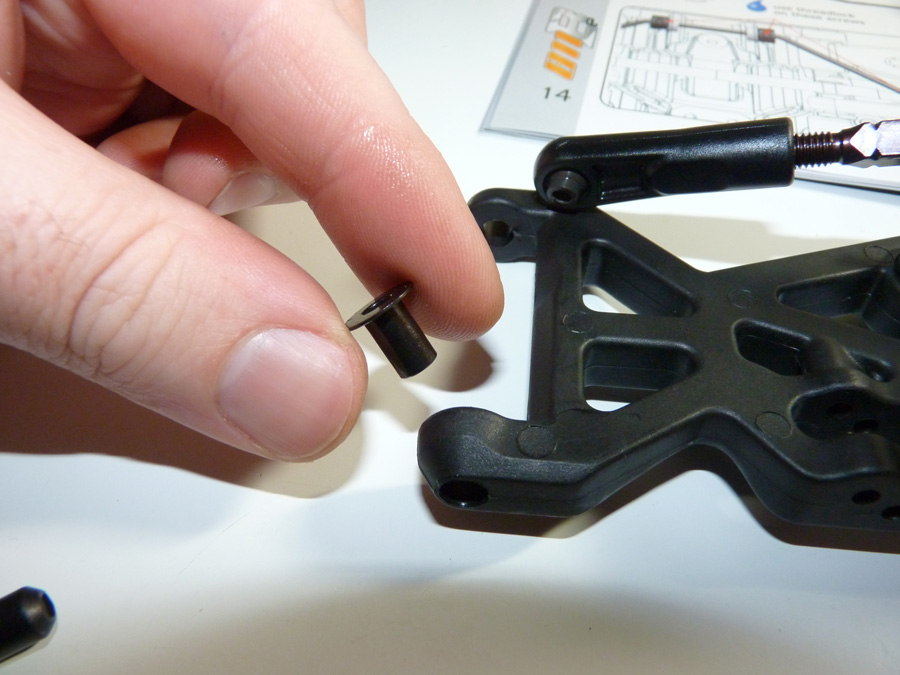
These are plastic shims that are used to adjust the height of the knuckle in the hub.
Here they are installed.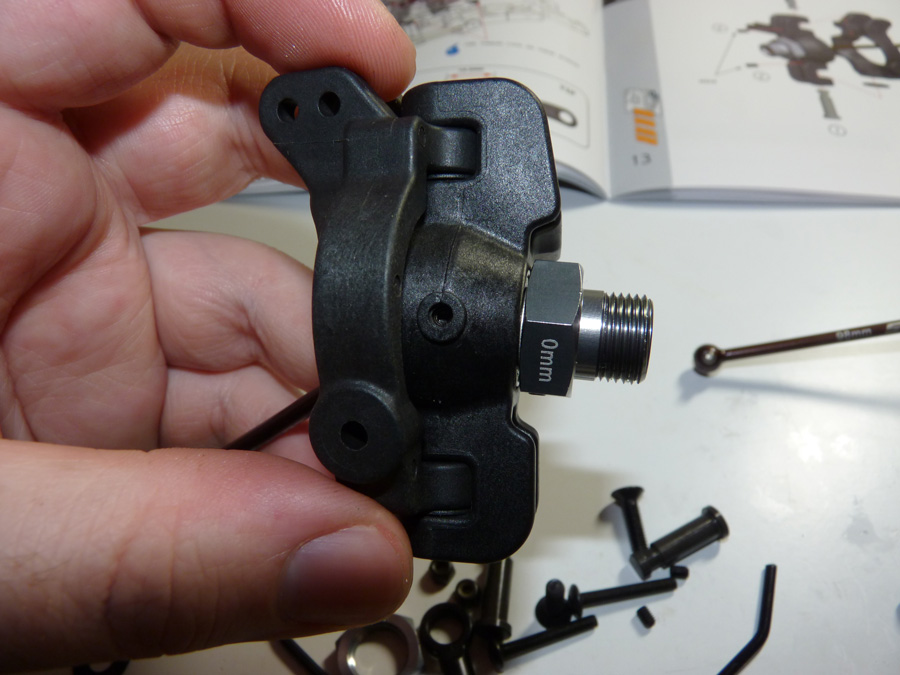
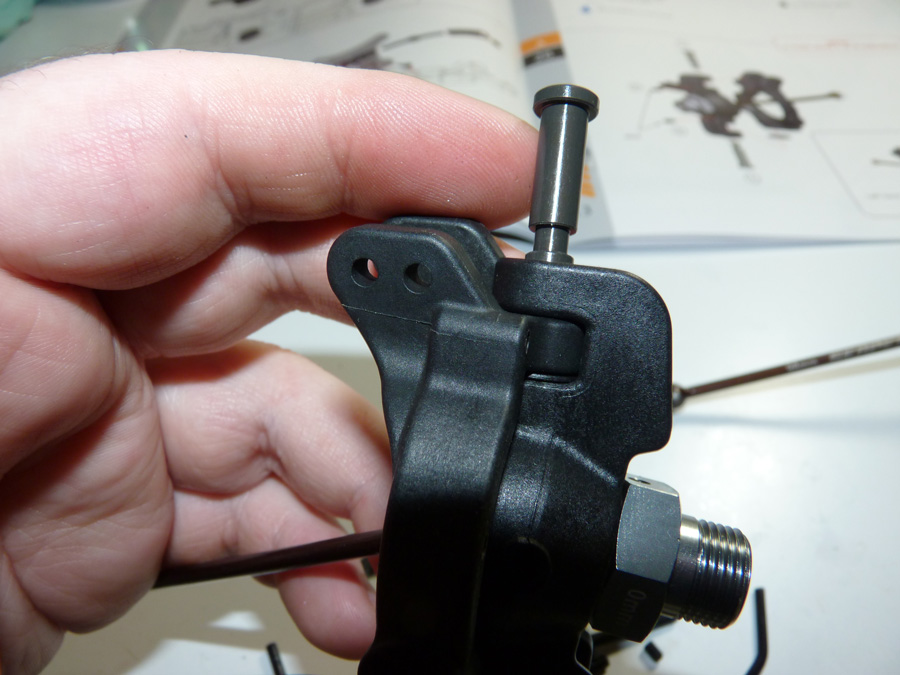
See this hole pictured below?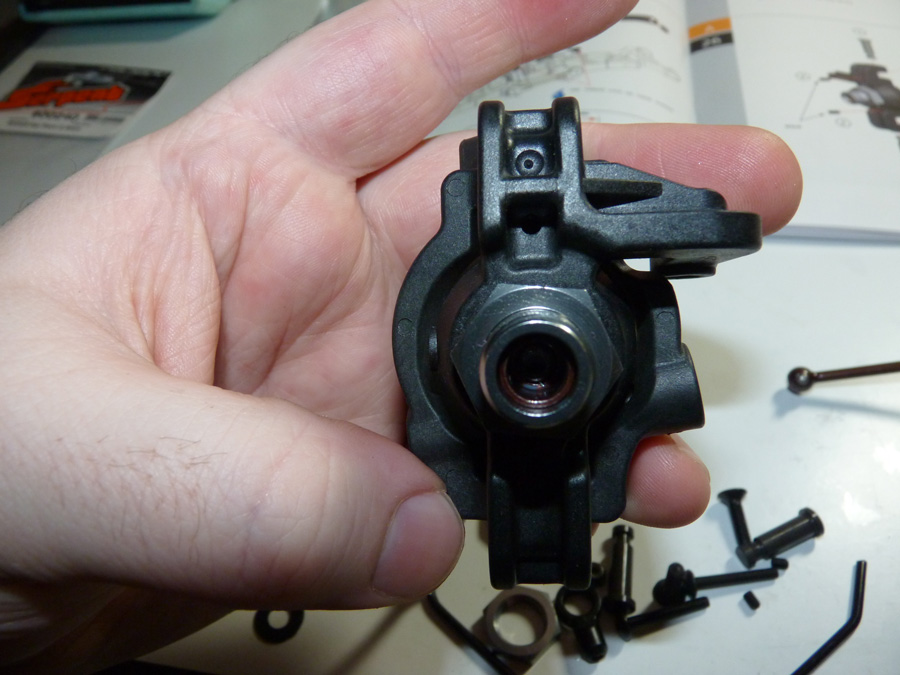
The buggy uses a unique kingpin setup. A set screw passes thru the steering knuckle and into the recess on the kingpin, securing it in place.
Now we have completed knuckle assemblies.
Time to install them onto the arms/suspension. Rather than a long pin through the whole hub like in the rear, the fronts pivot on a screw through a bushing on each end.
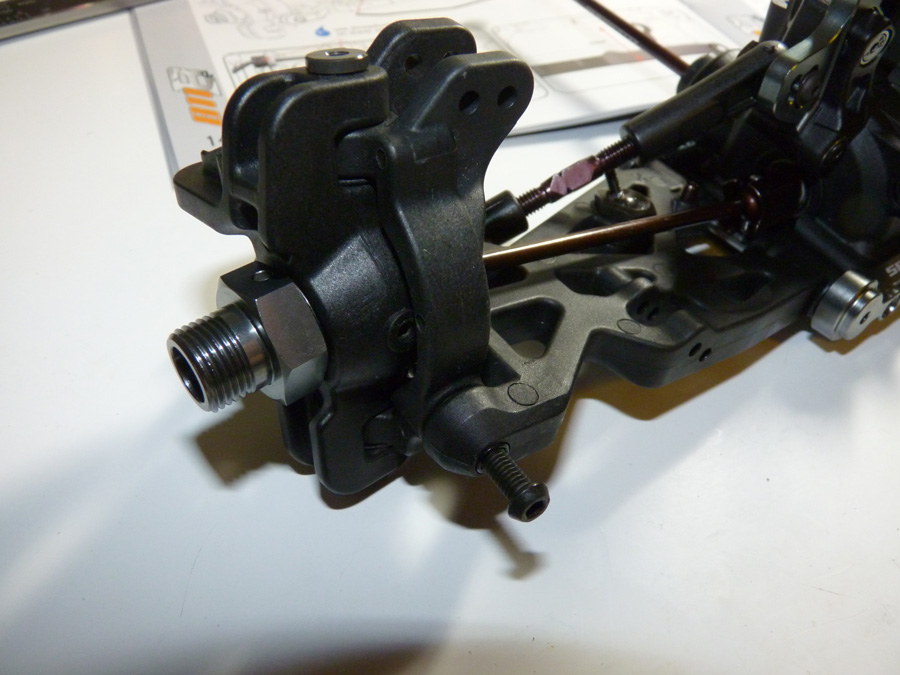
All mounted up.
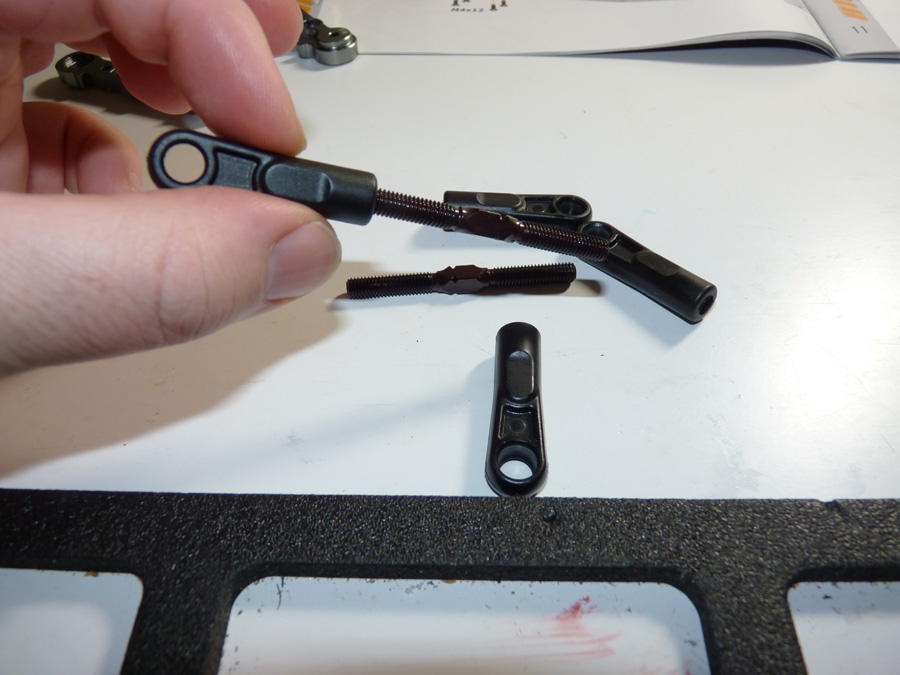
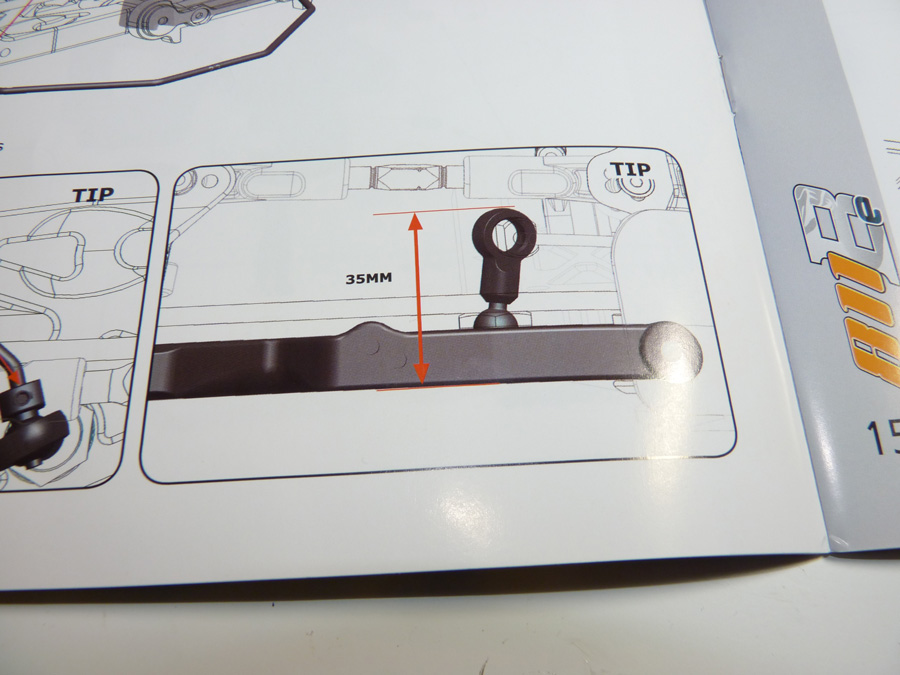
Next up, sway bar stuff. Screw the rod ends onto the pivot ball on the arms.
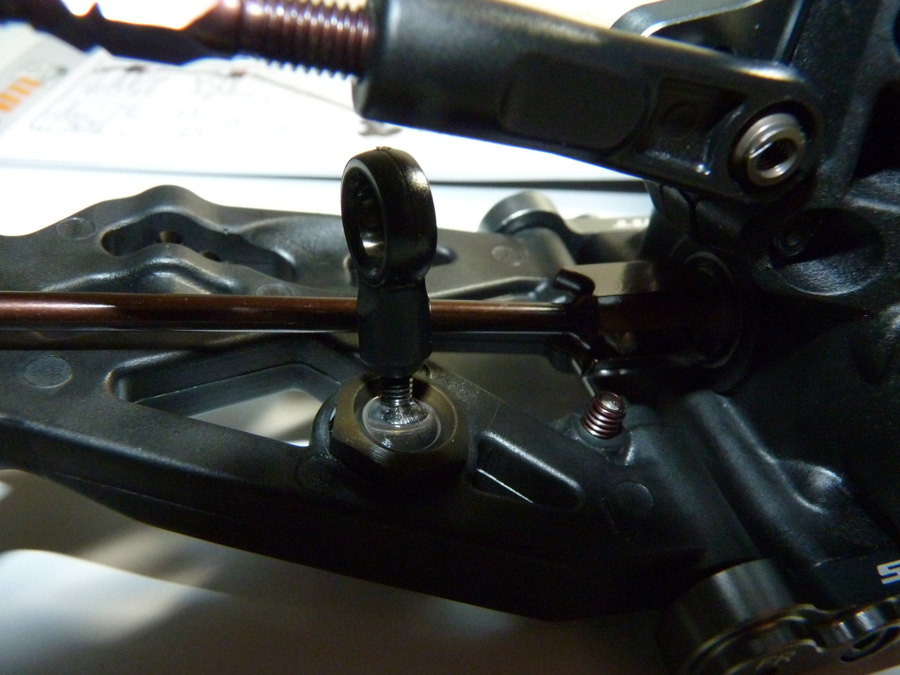
A rough guide is provided in the manual as to how far to screw it in. I should note that the ball has a hex on the bottom, allowing you to hold the ball firmly in place while you secure the rod end.
Here’s the optional sway bar I’m running.. the 2.3mm [600240].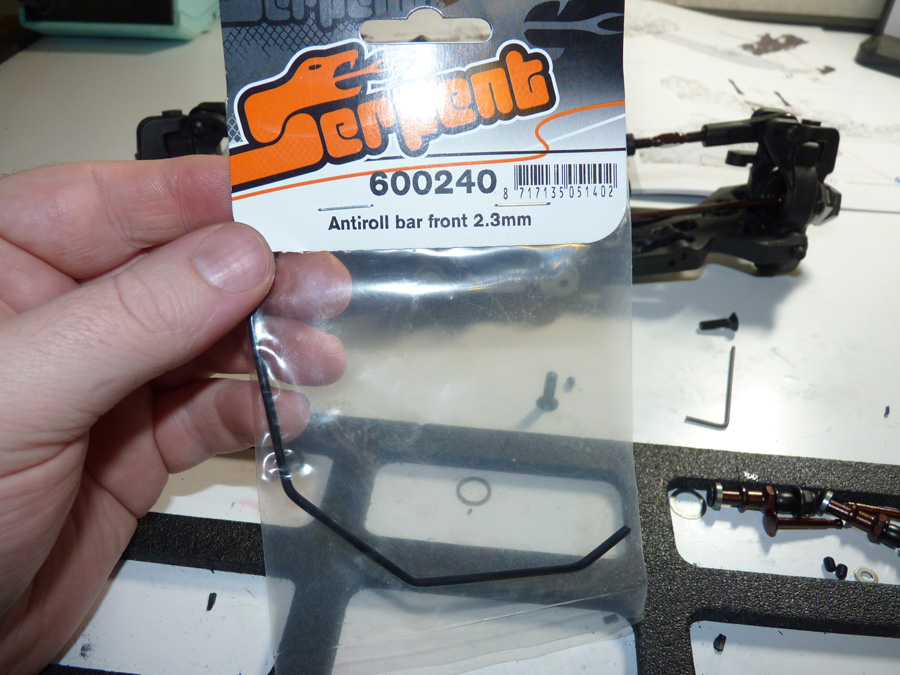
Like the rear, the front also enjoys riding on bearings. 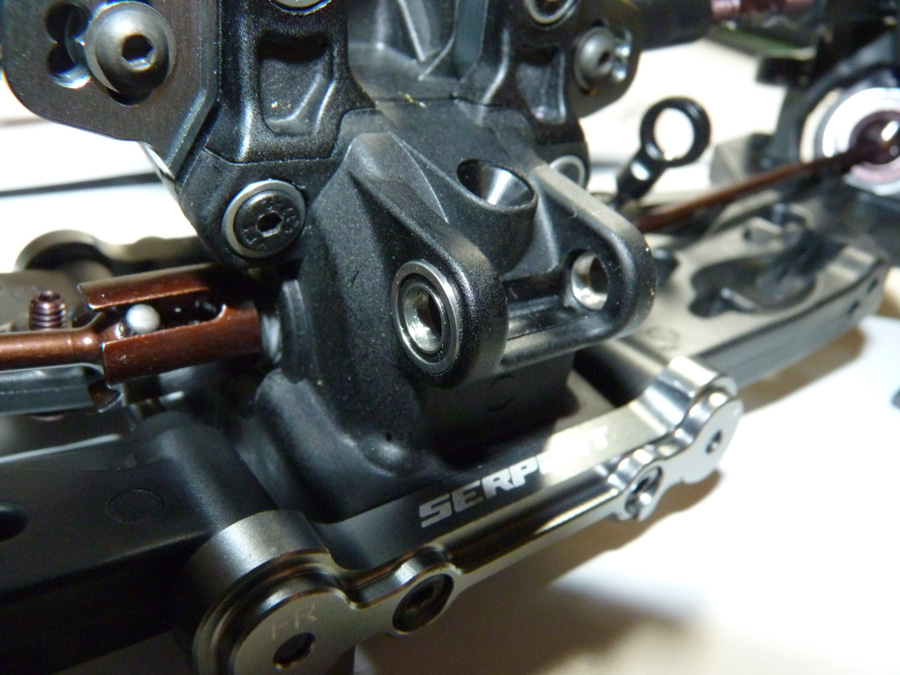
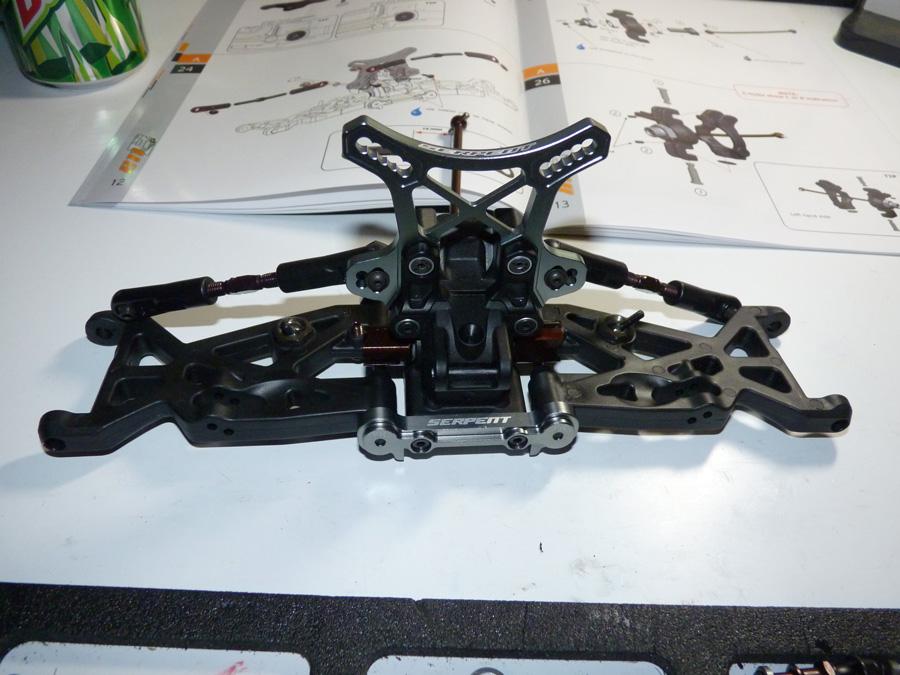
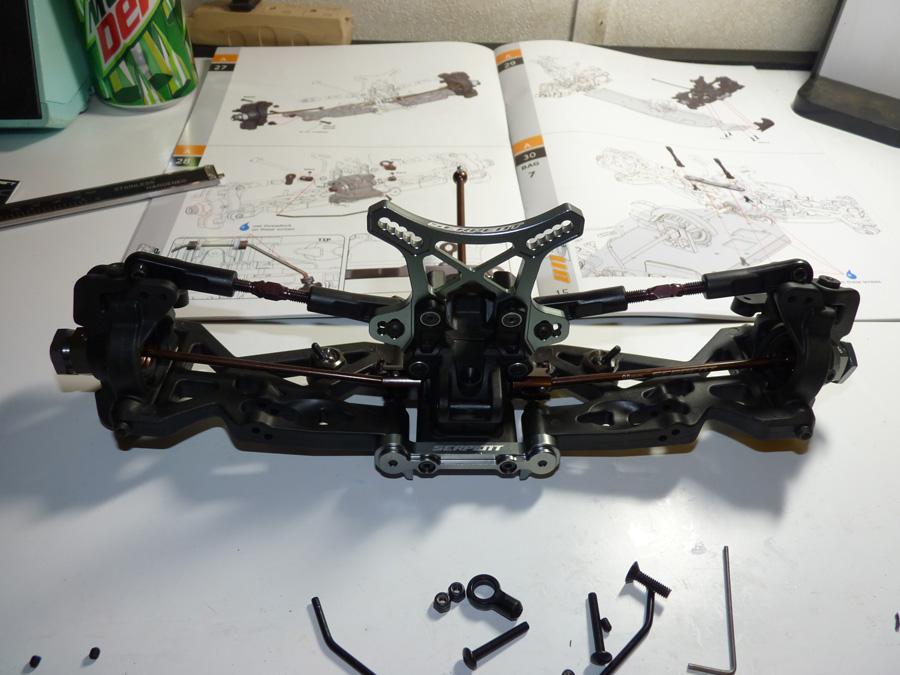
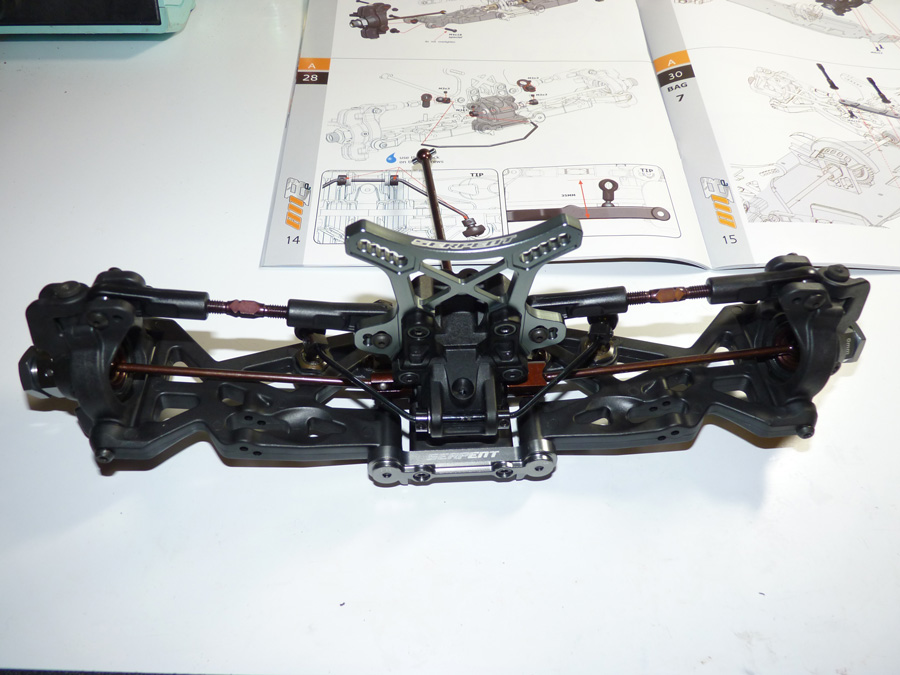
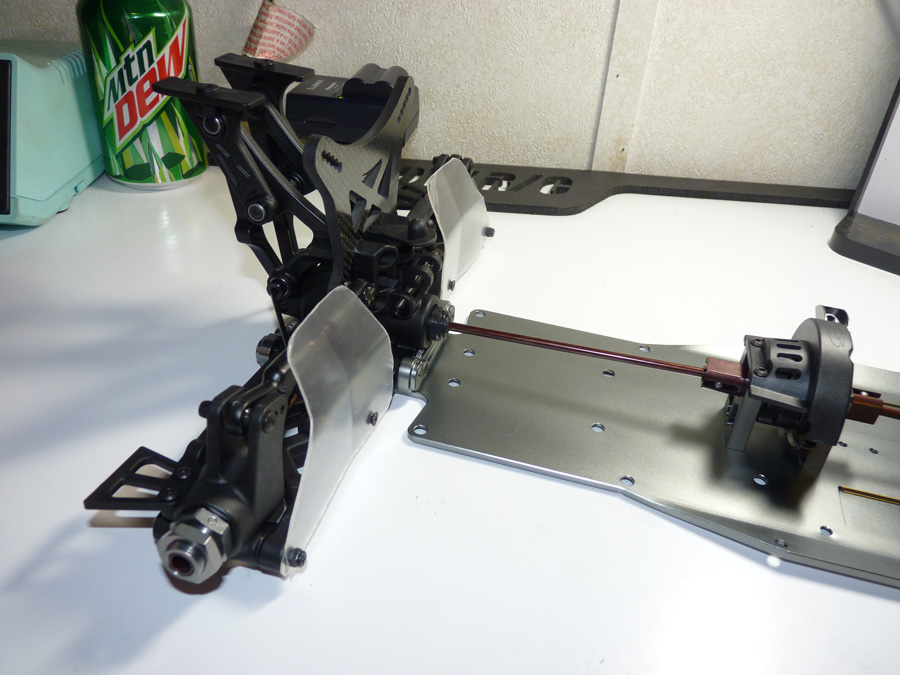
Fully assembled front clip of the car.
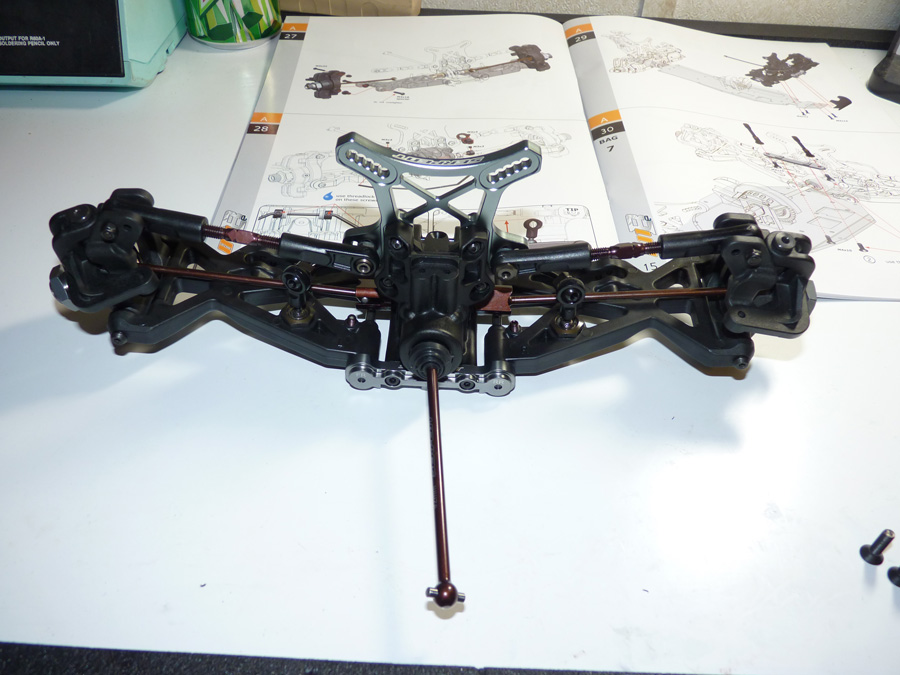
Time to mount it up!
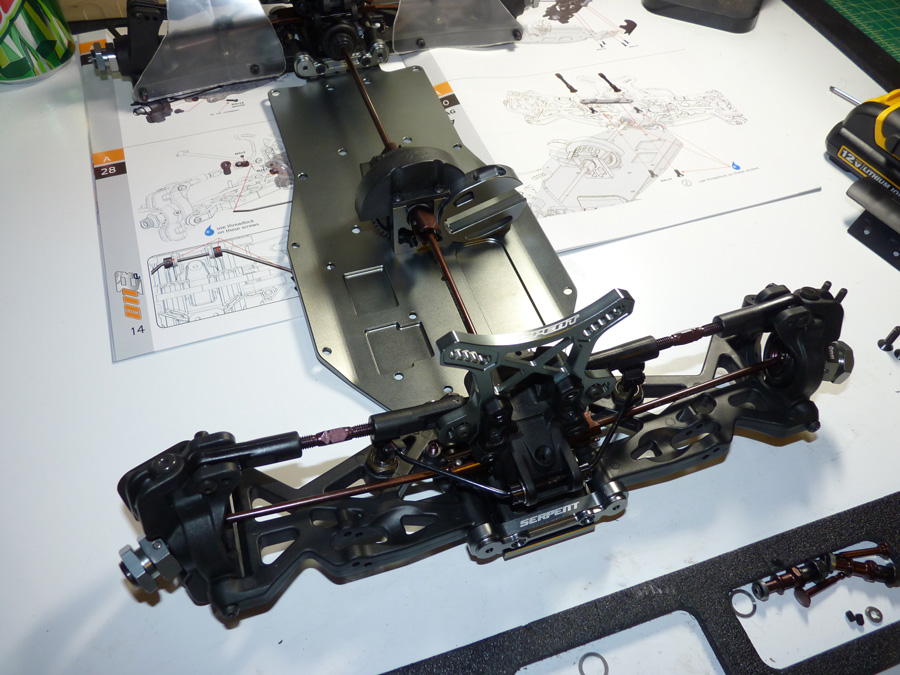
At this point, the front bumper gets wedged in there as well.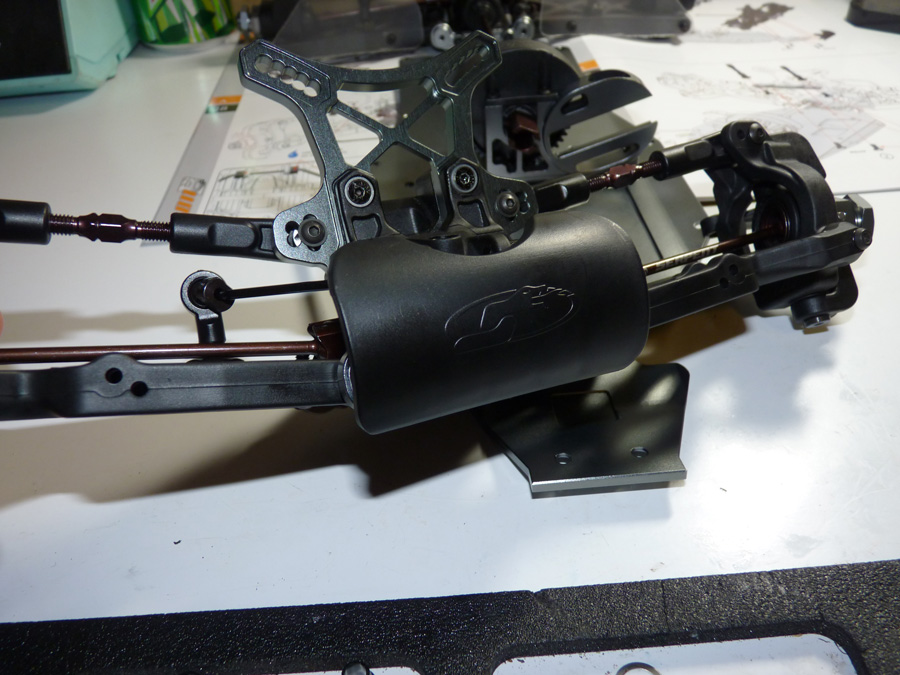
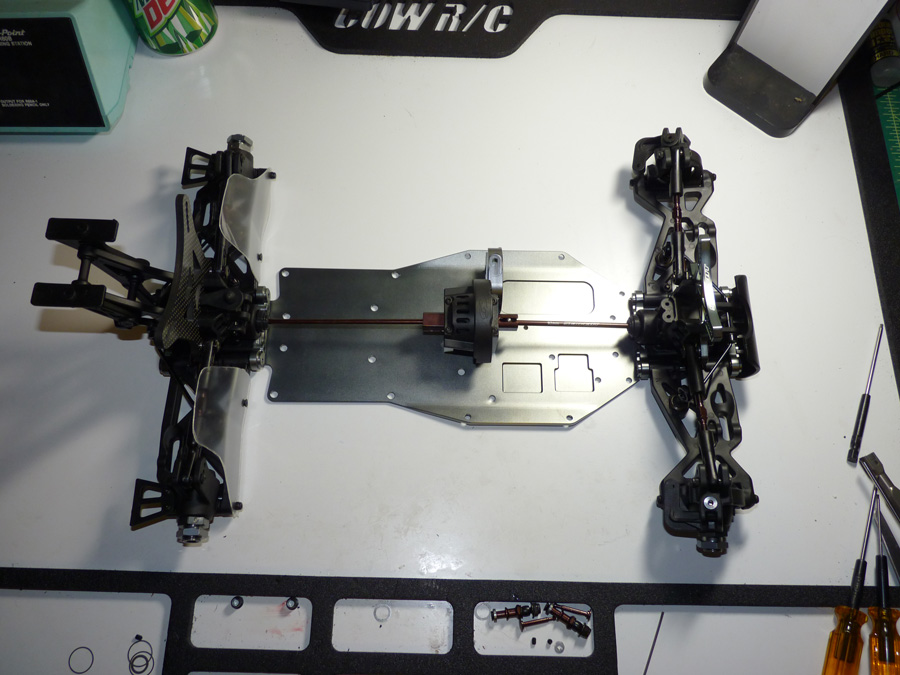
With the front mounted up, we now have a completed driveline!

 Posted in
  Tags:
Tags: