

 May 23rd, 2013
  Kevin
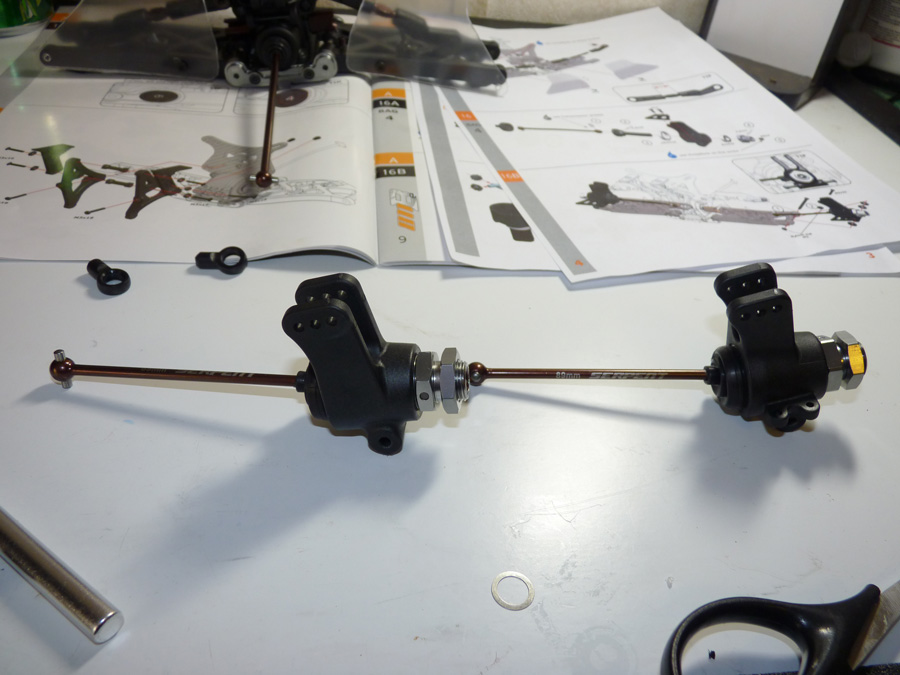
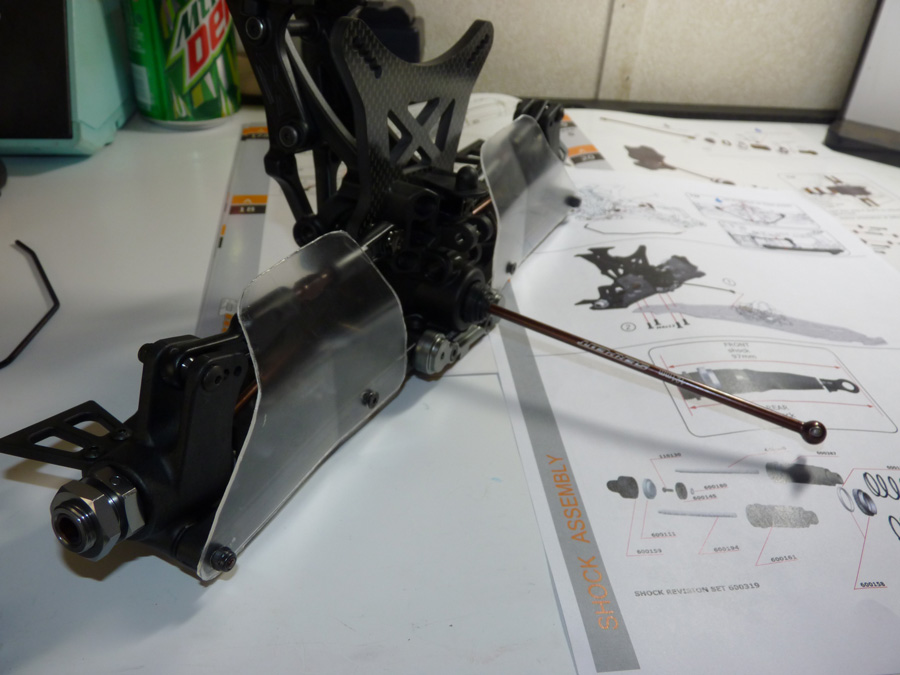
Kevin Now we’ll continue with the rest of the rear end.
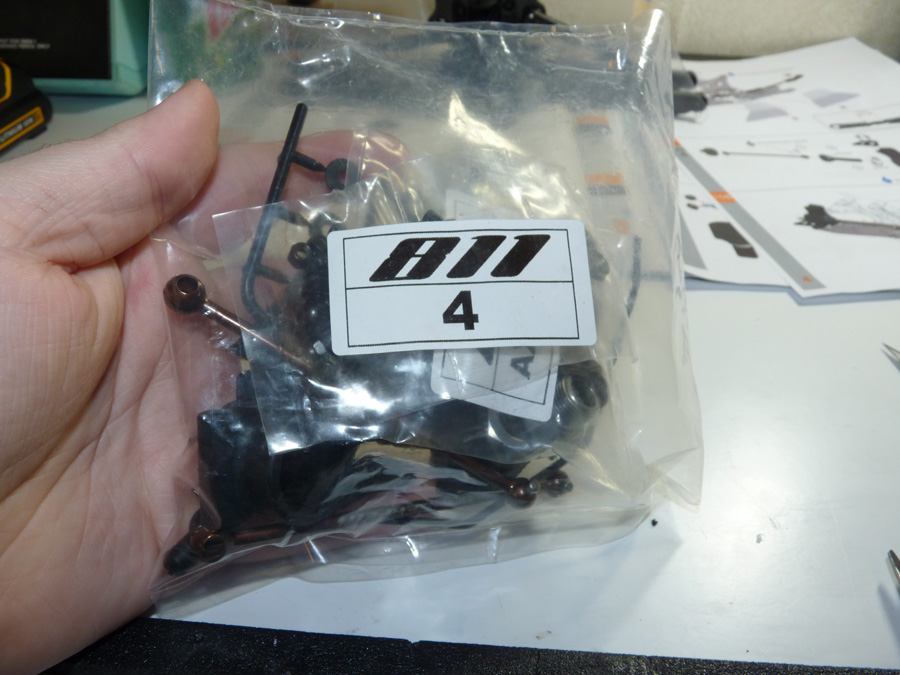
This includes the rear hubs, CVD’s, sway bar, etc.
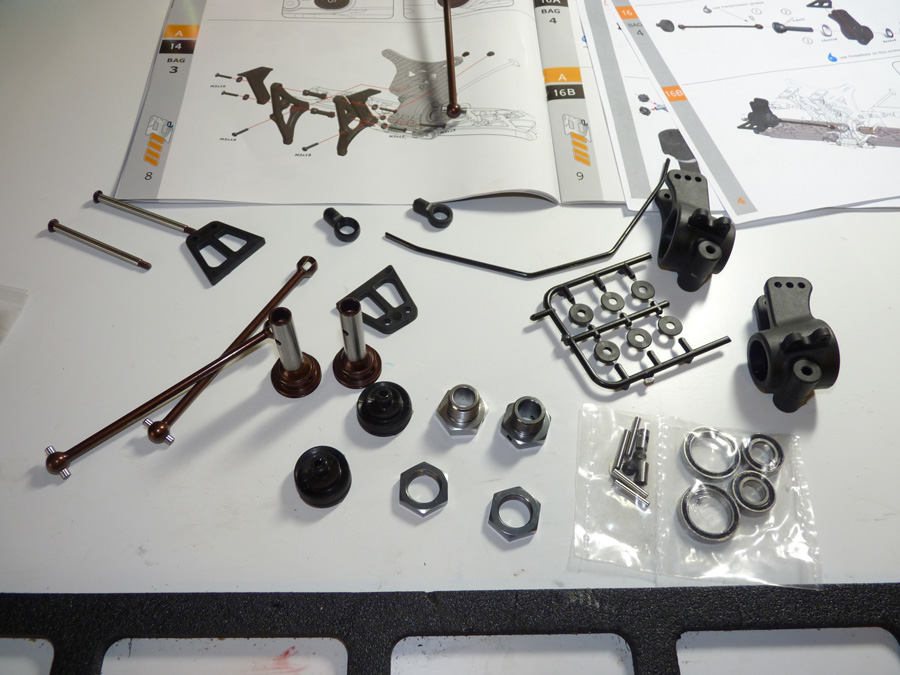
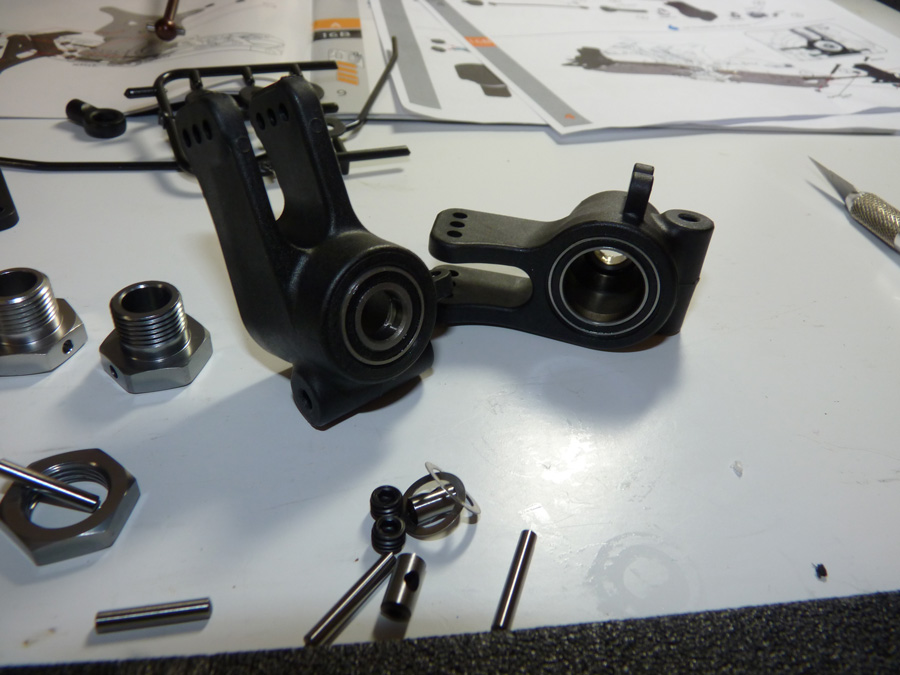
Here are the hubs. They are pretty beefy and should withstand some abuse.
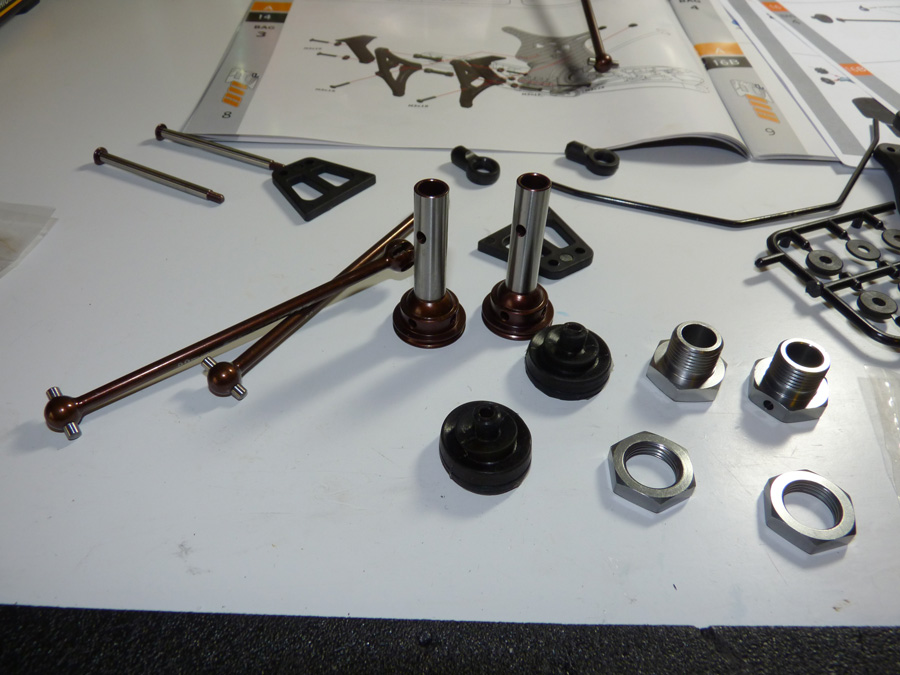
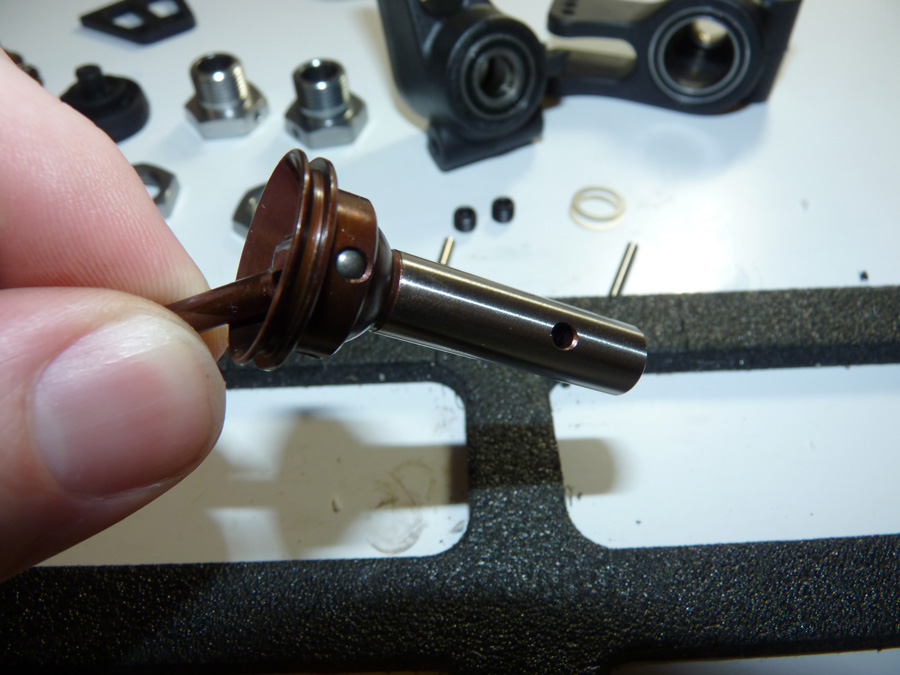
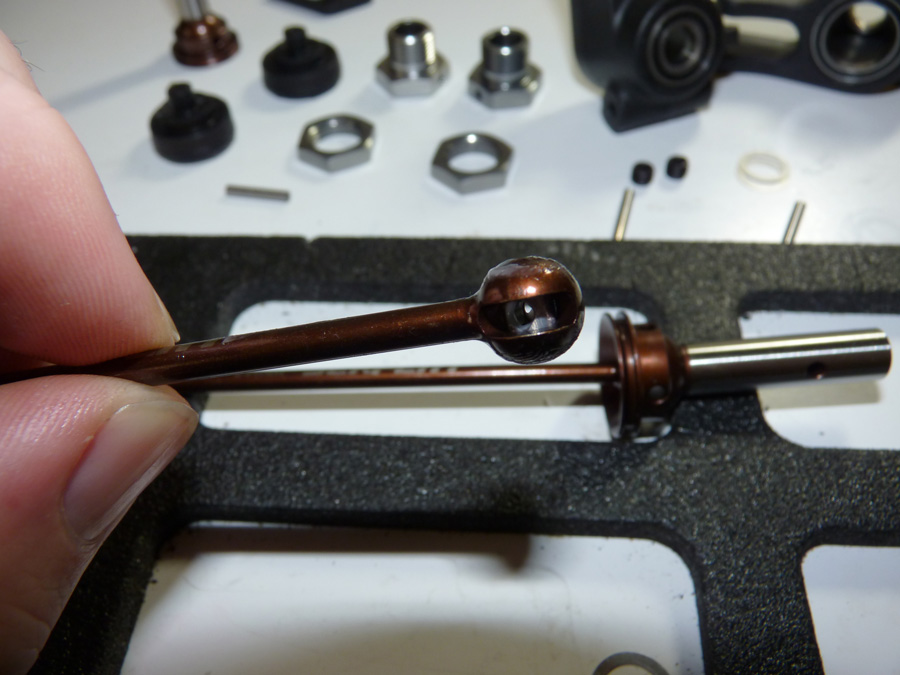
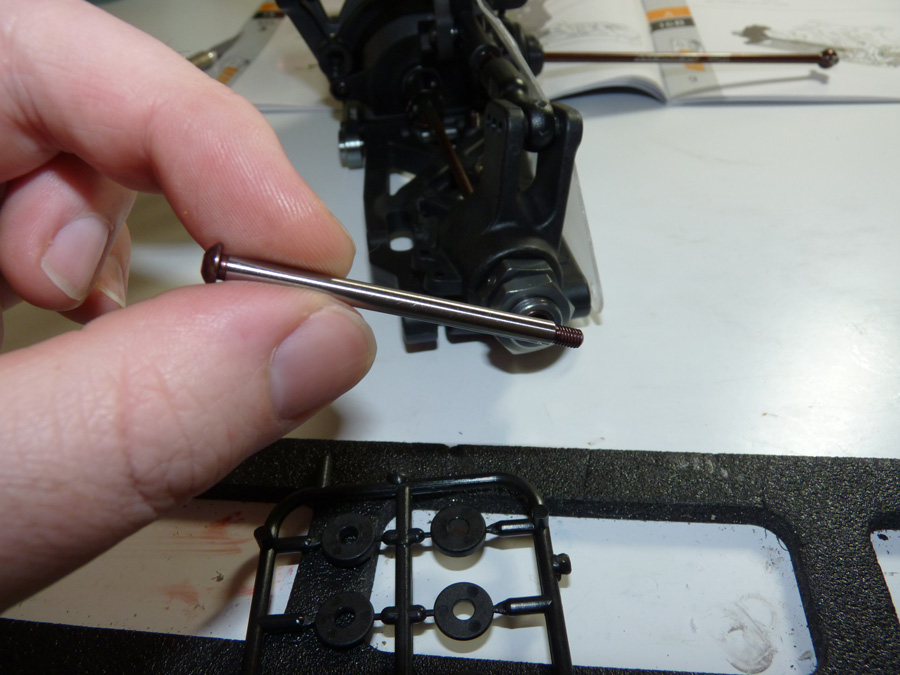
Next we have the axles. They assemble like any other CVA I’ve ever built. They have 2 sets of holes for the pin. I believe that means if the one set of holes gets worn out that we can use the other one and potentially make the stub axle last twice as long before replacement.
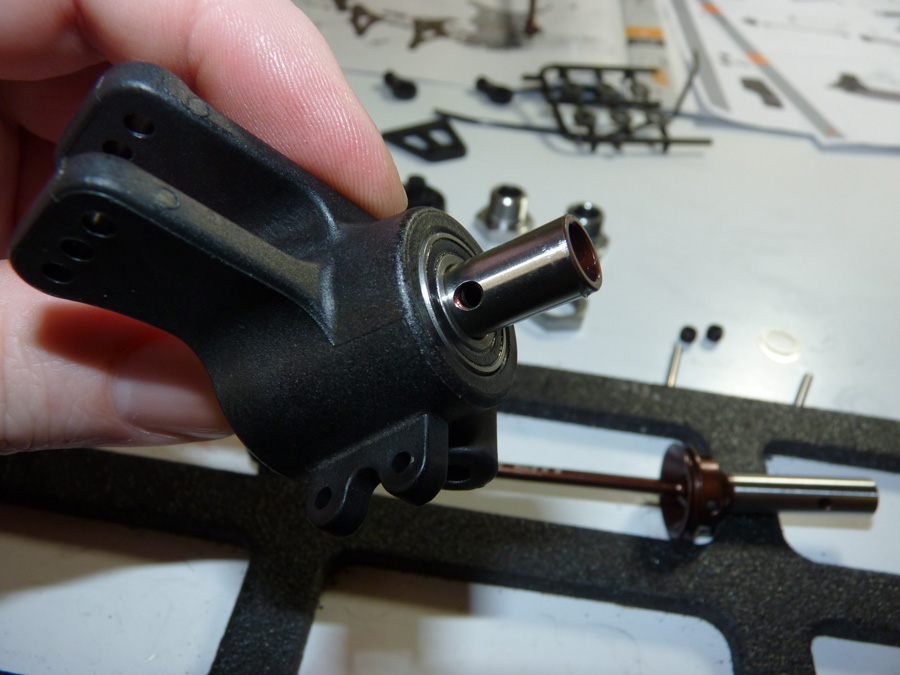
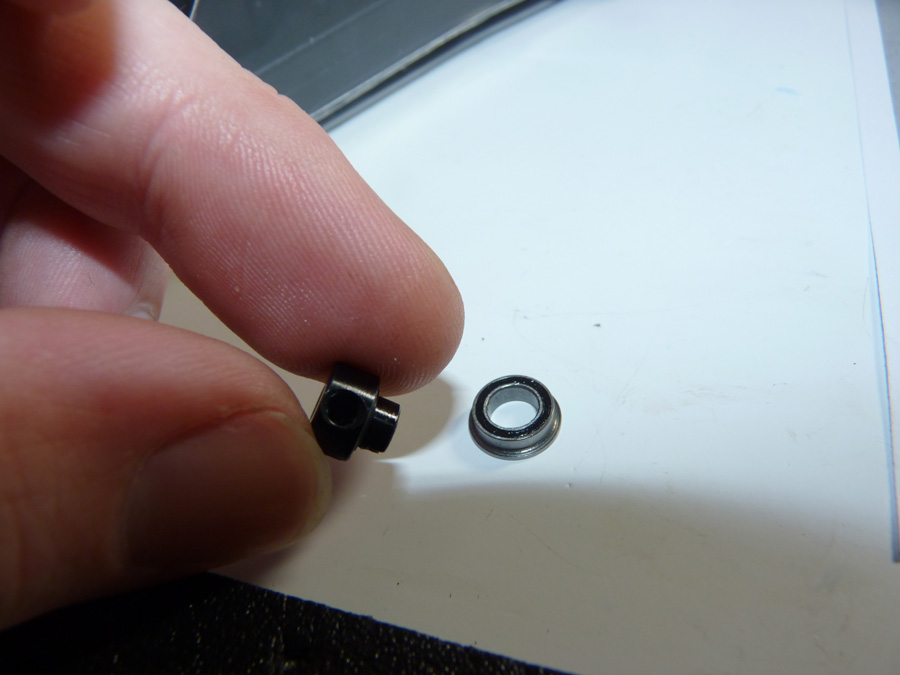
Next we insert the axle into the hub. The inner bearing acts as the pin retainer.
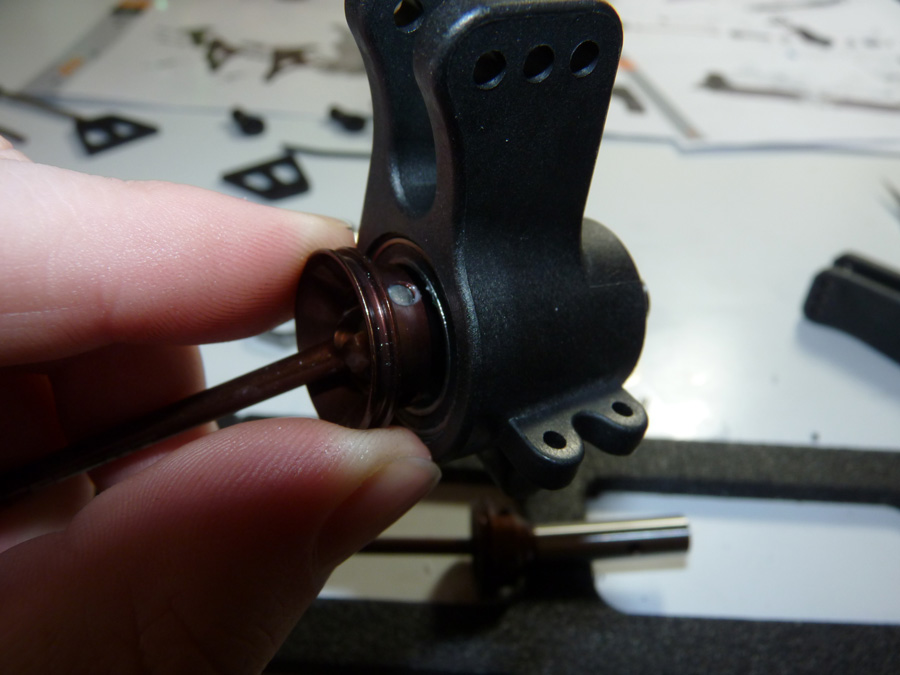
Again, super nice fit and finish on all of these parts so far.
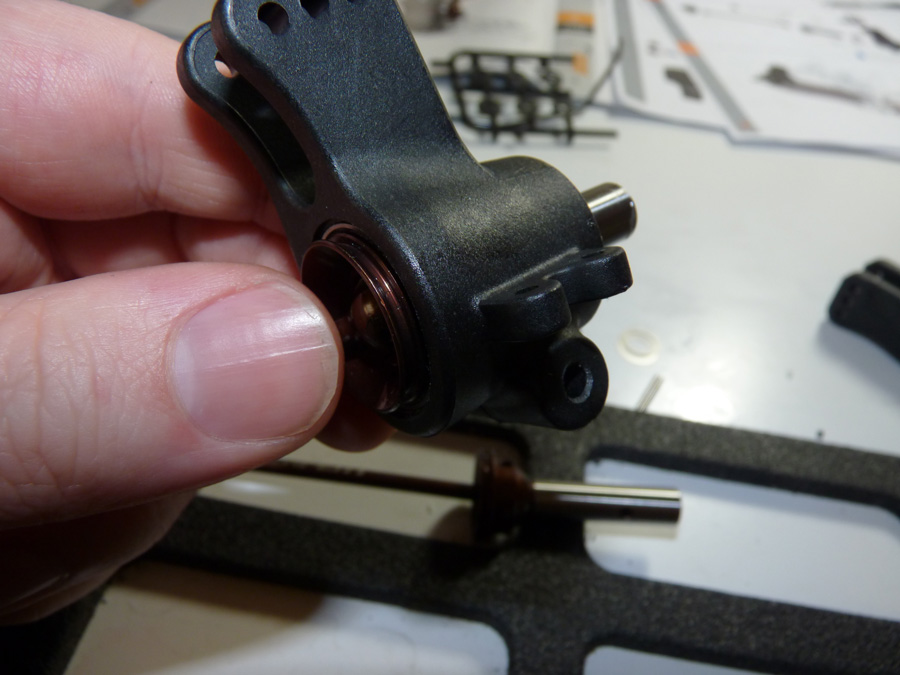
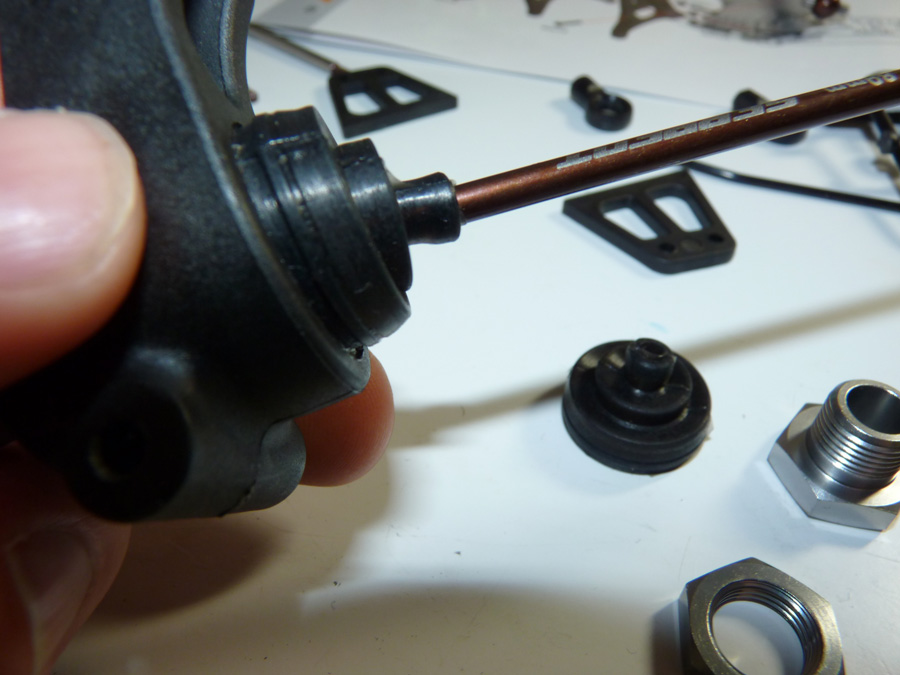
Remember the boots!
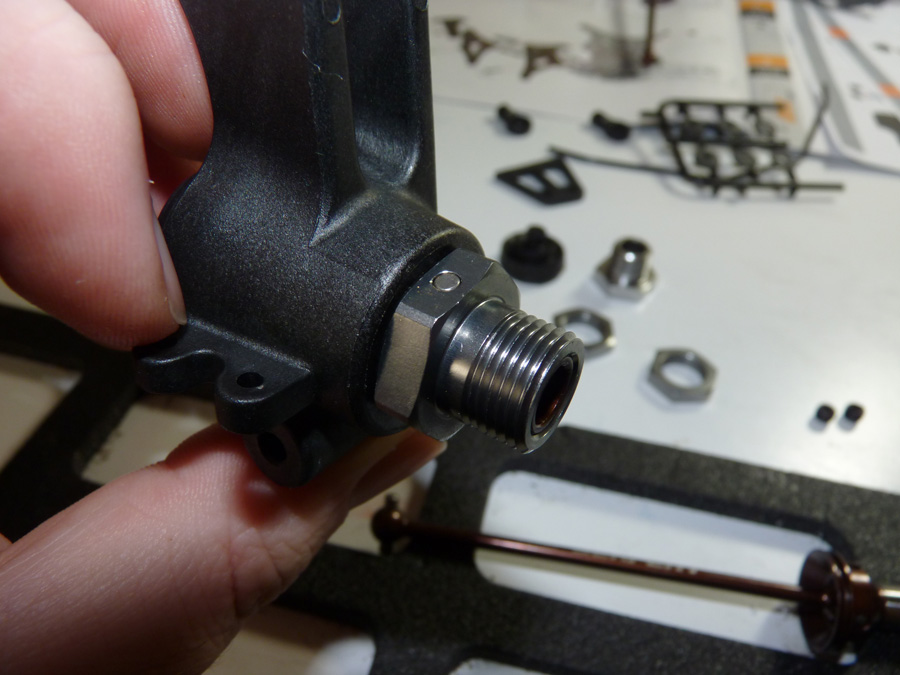
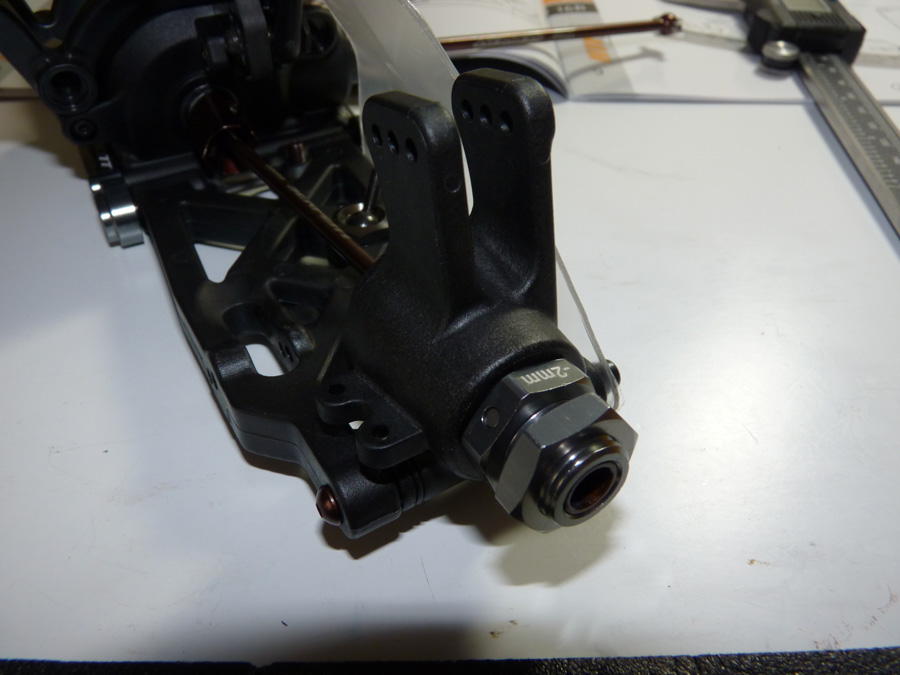
Now we slide the 17mm hex hub over the stub axle and insert the drive pin. A set screw goes into the end of the axle to secure the pin in place.
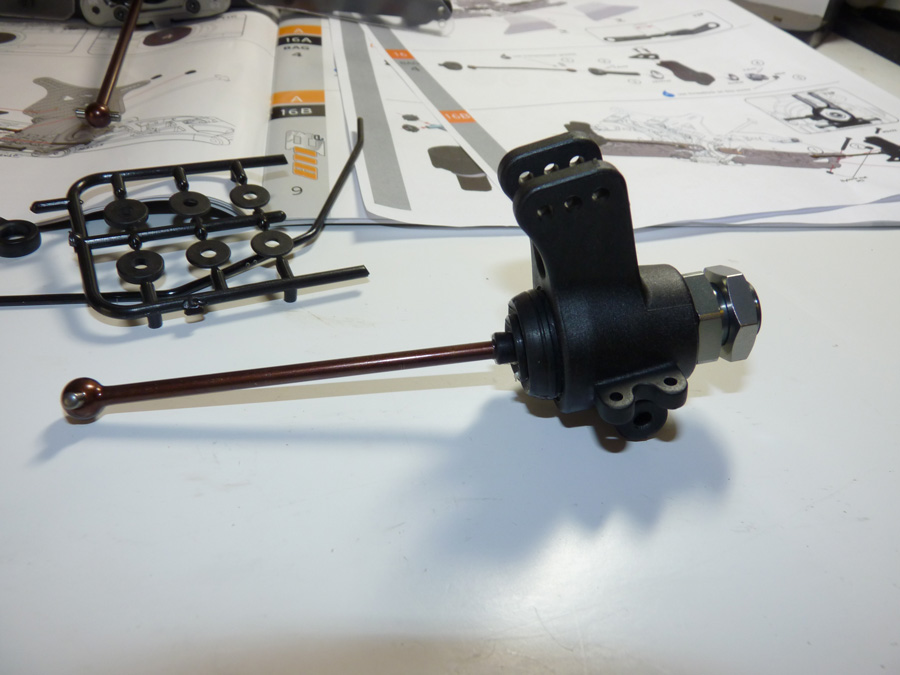
One side done. Repeat for the other side.
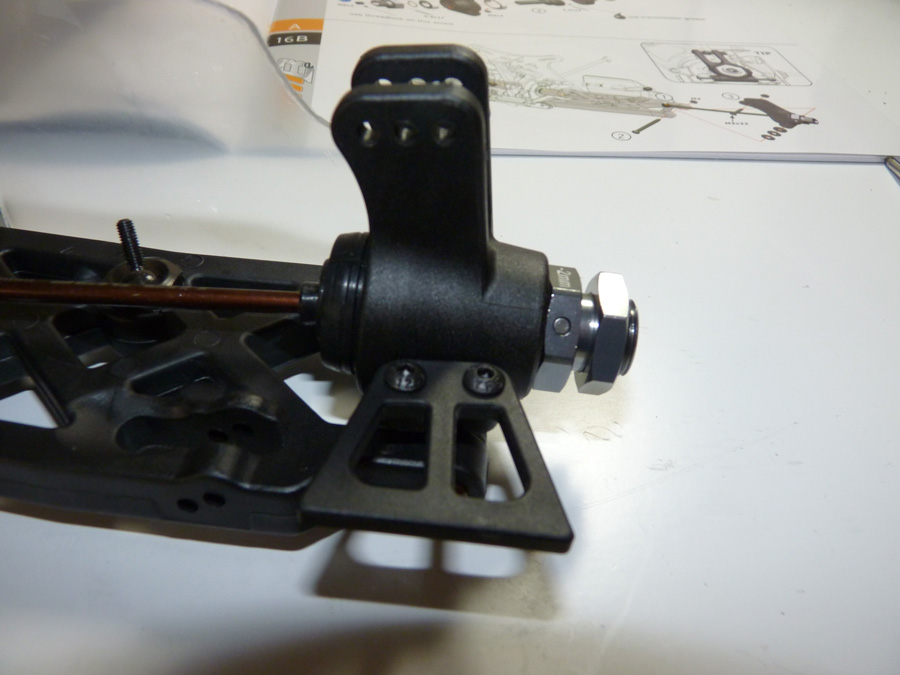
Let’s attach these suckers. The outer hinge pin has a hex end on one side, and is threaded for a locknut on the other. I’d have liked to have seen something a little more sophisticated for this, but it’s better than e-clips I guess.
Note that there are shims between the arm and the hub that adjust wheelbase. I’m running mine a little on the short side to match the setup sheet I’m going from. I also installed them backwards. The manual calls for the screw side to be on the front, but I figured running it this way will prevent dirt from building up in the hex of the screw. Time will tell of it was a good move.
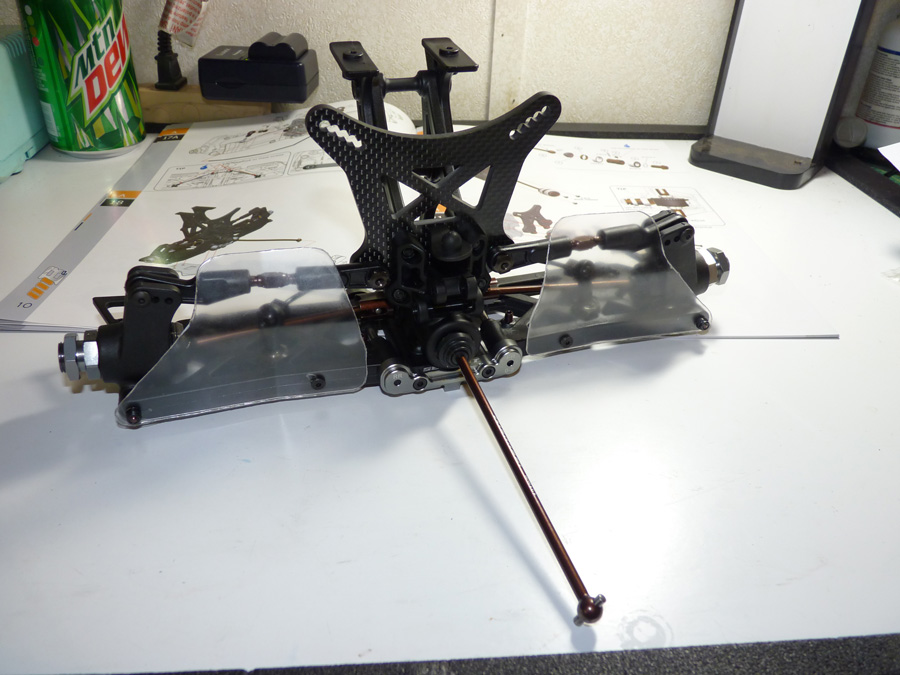
Next we have mud scrapers that attach to the back of the hubs. These supposedly make it hard for mud to build up in the wheels and will help clear some of the debris in the back of the wheel.
Starting to look like a rear end.
Now for the sway bar. This is the first time I’ve ever had a car where the sway bar pivoted on bearings?!
They get inserted into the lower portion of the wing mount. 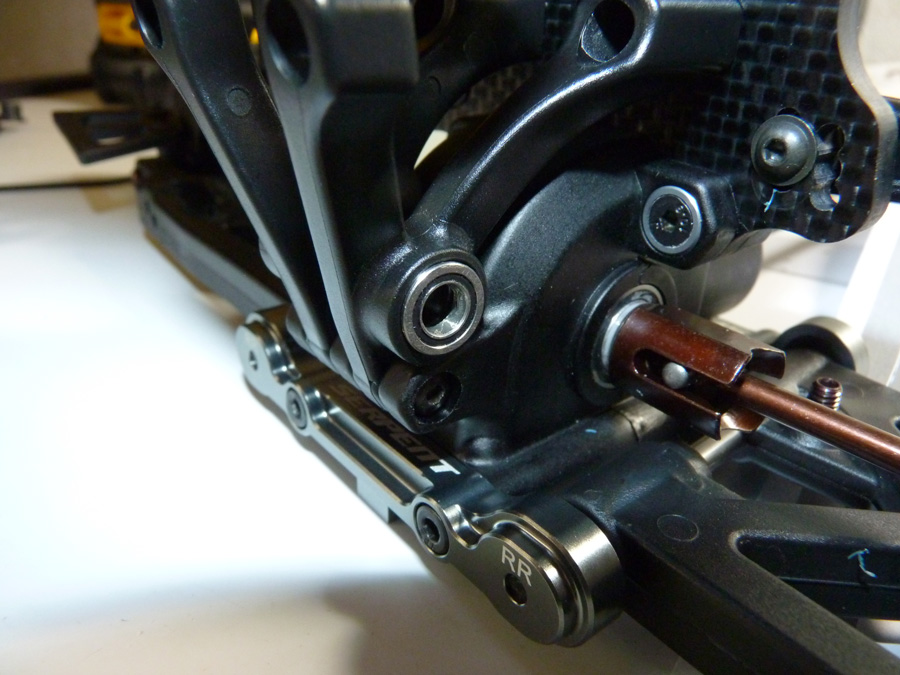
Then slide the sway bar through. It’s a little awkward, the adjustment collars cannot be tightened to do this. Once you get it centered, you can tighten them down. Notice you can read the thickness marking on the sway bar between the wing mount! How awesome is that?
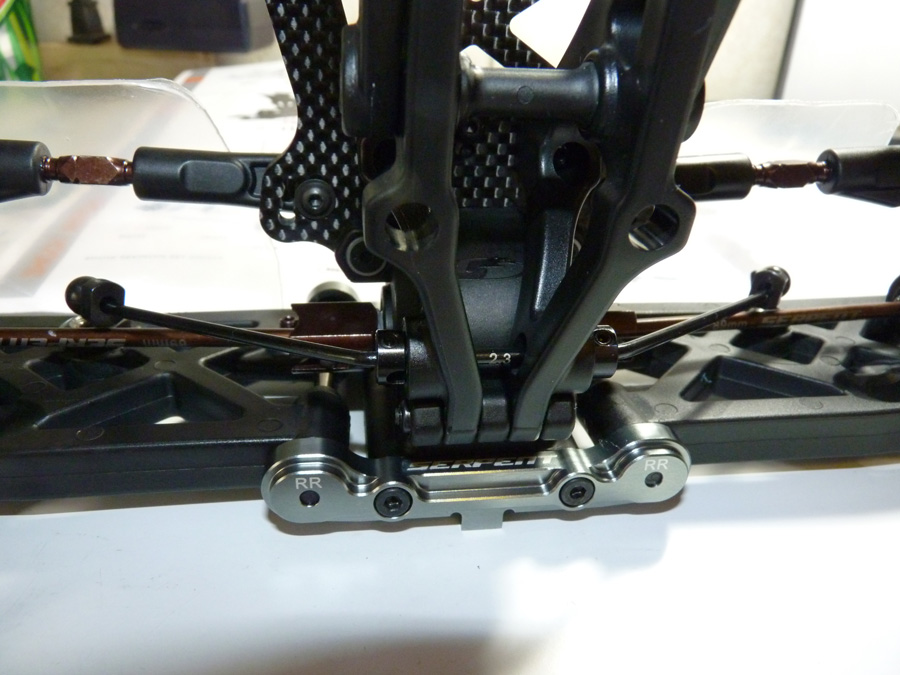
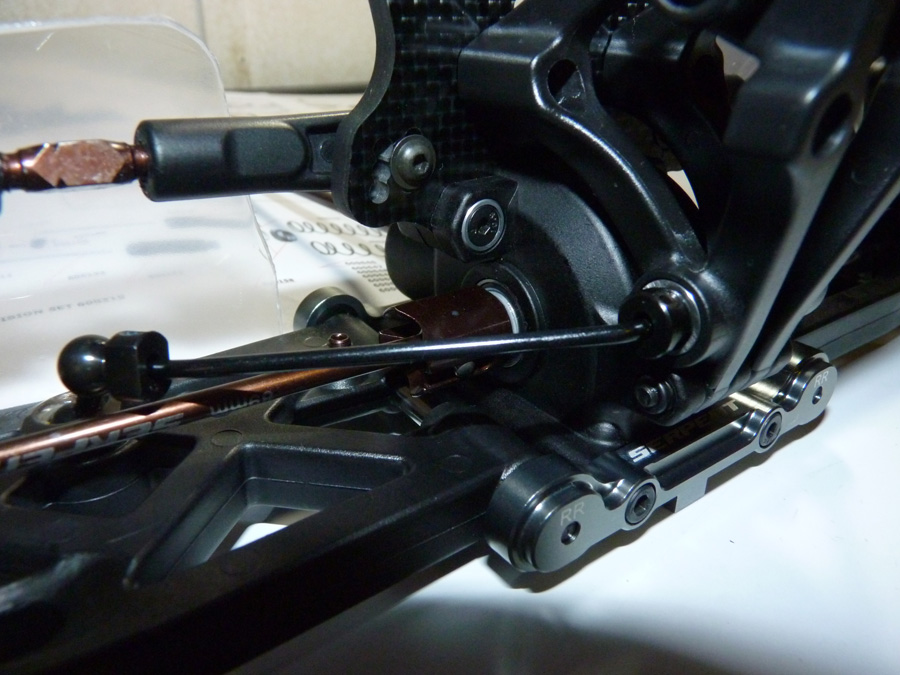
Then we just thread the ball ends onto the studs we installed in the arm, and pop them onto the sway bar ends.
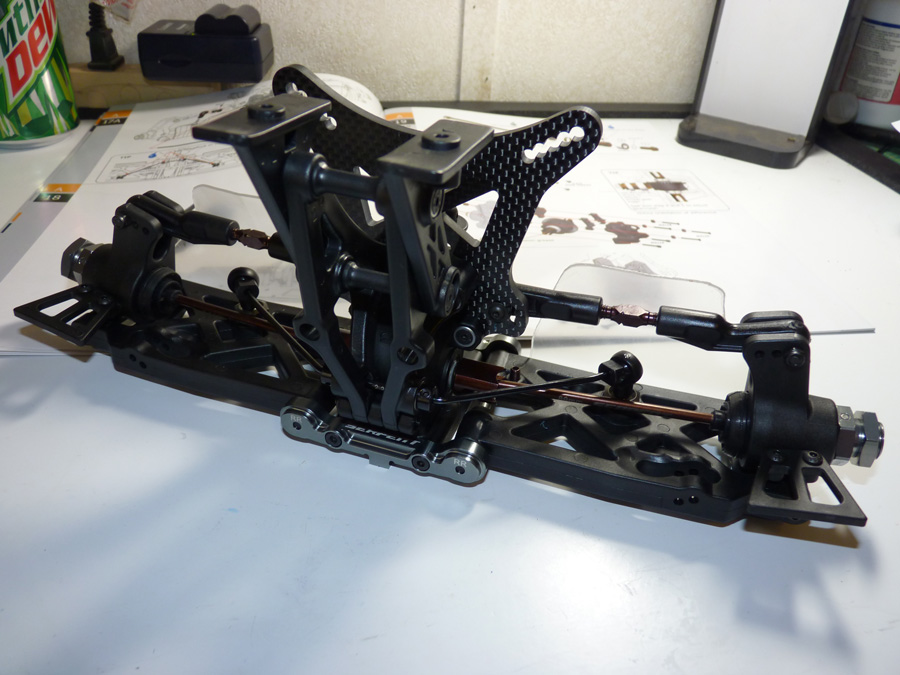
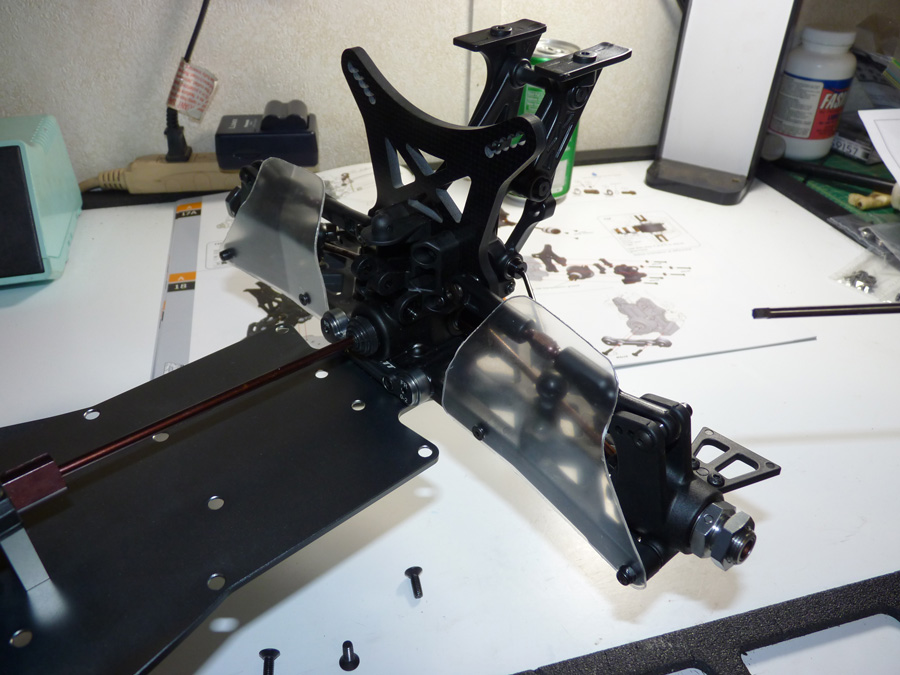
At this point we’re about ready to mount the rear clip to the chassis.
4 screws later it’s attached.
 Posted in
  Tags:
Tags: