

 May 23rd, 2013
  Kevin
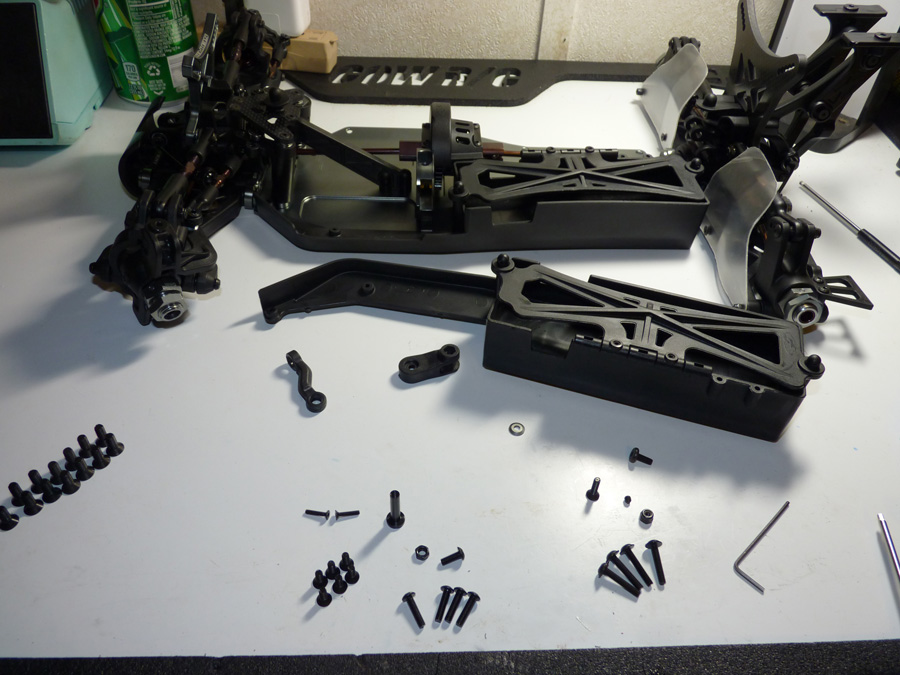
Kevin Next we have the all-in-one chassis guards/battery boxes. They run the entire length of the chassis from front to rear.
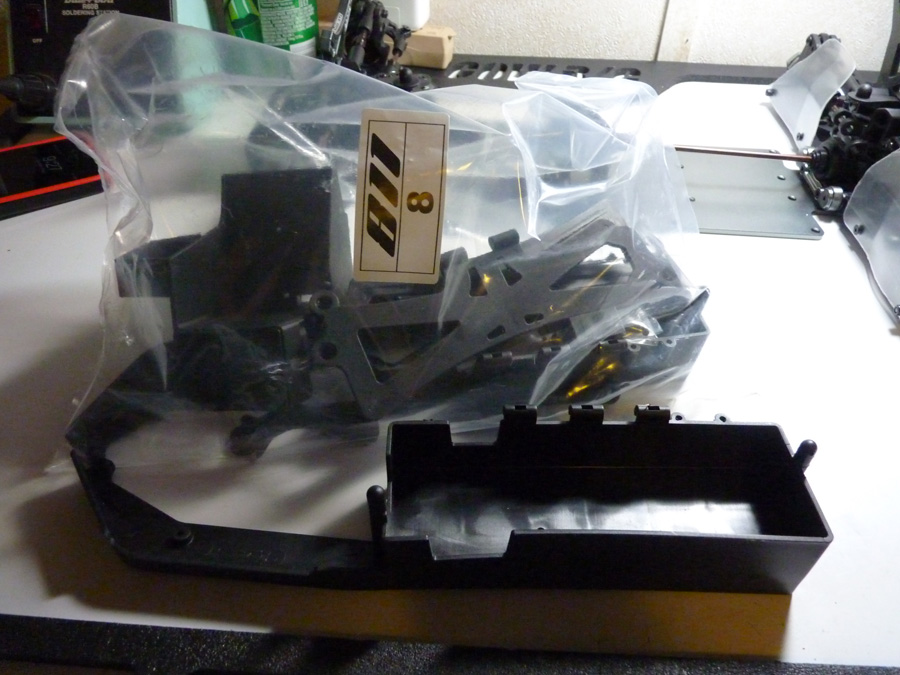
The battery boxes have a hinged door on them. They help hold the lipos securely in place in the buggy.
Here you can also see the esc mount/ receiver box/ servo mount.
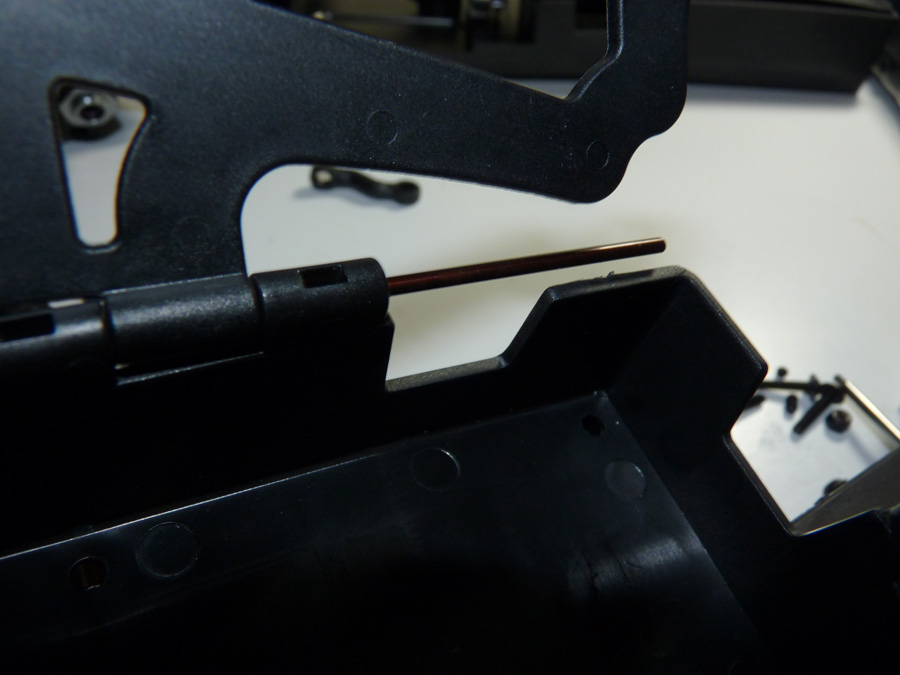
First we’ll mount the doors to the battery boxes.
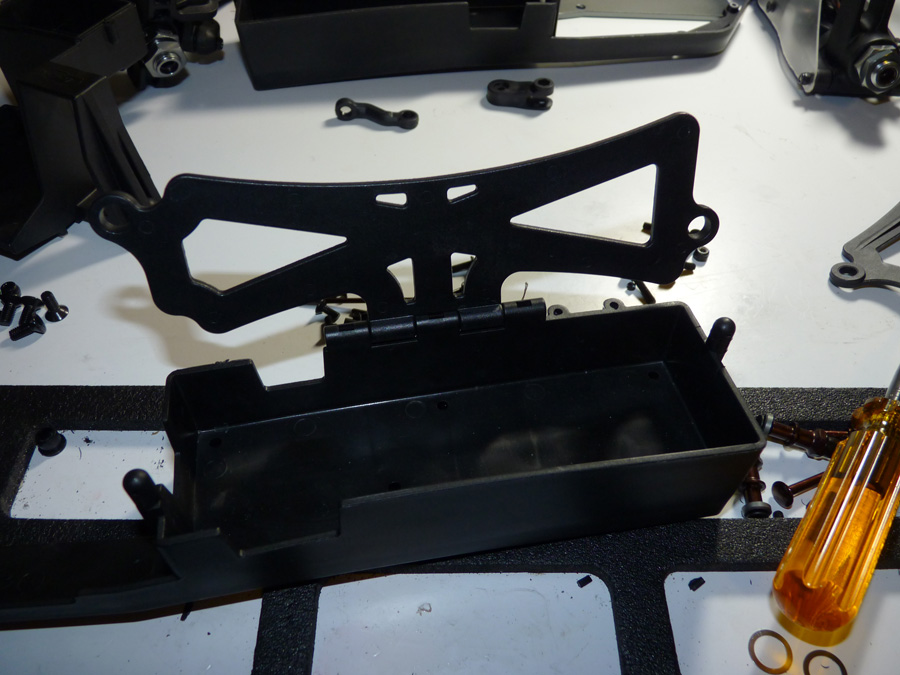
A pin slides into the hinge like on a door and is held there with set screws.
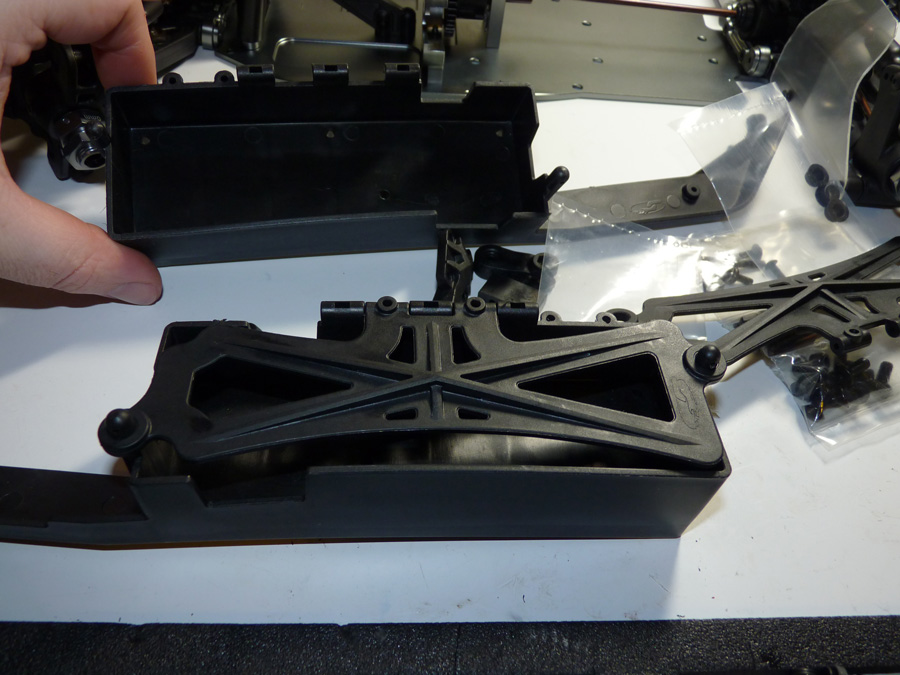
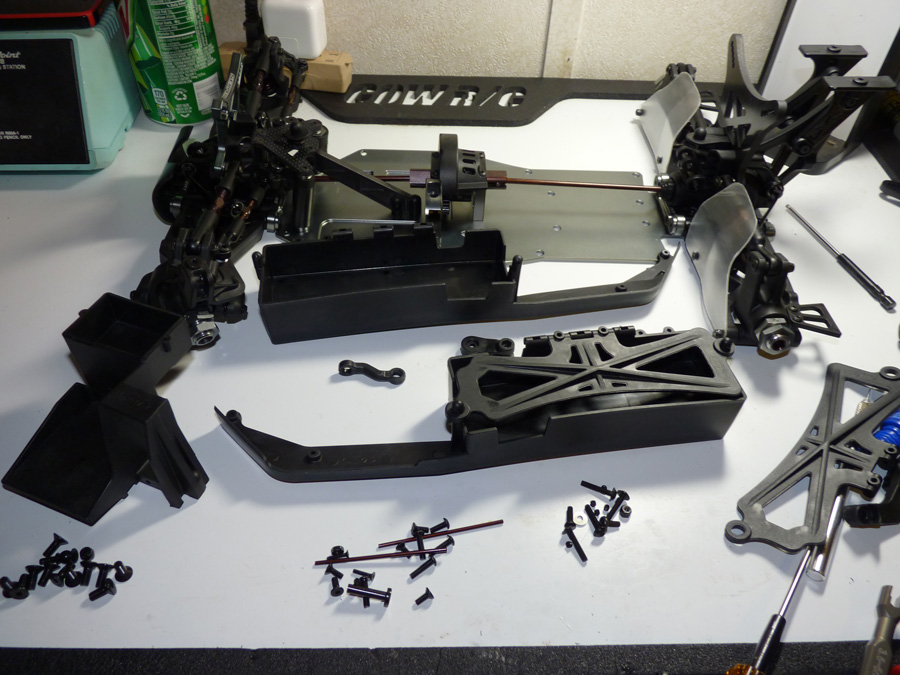
Now it’s time to mount them to the chassis.
Here you can see the holes going along the sides of the chassis that the boxes mount to.
Battery boxes installed.
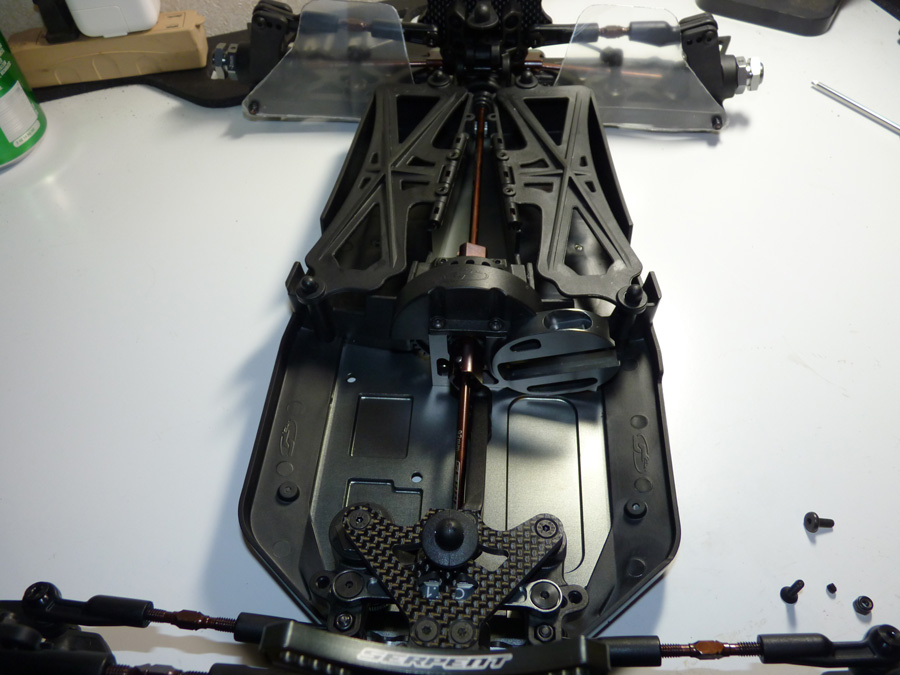
Now that we have a basic almost-roller, it’s time to install some of the electronics. We’ll start with the Savox SA-1283SG servo.
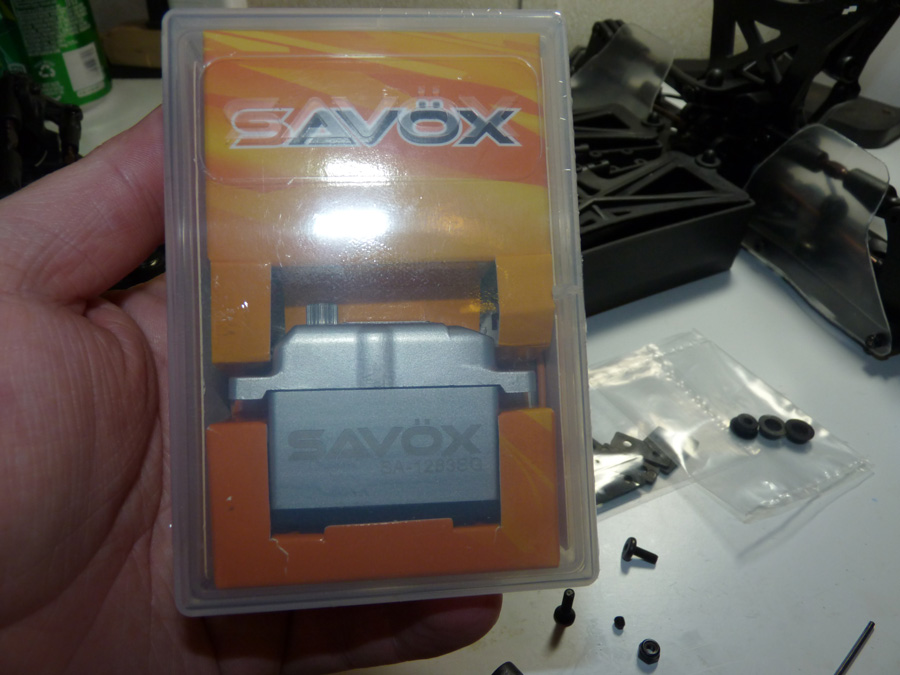
Unleashing the power!
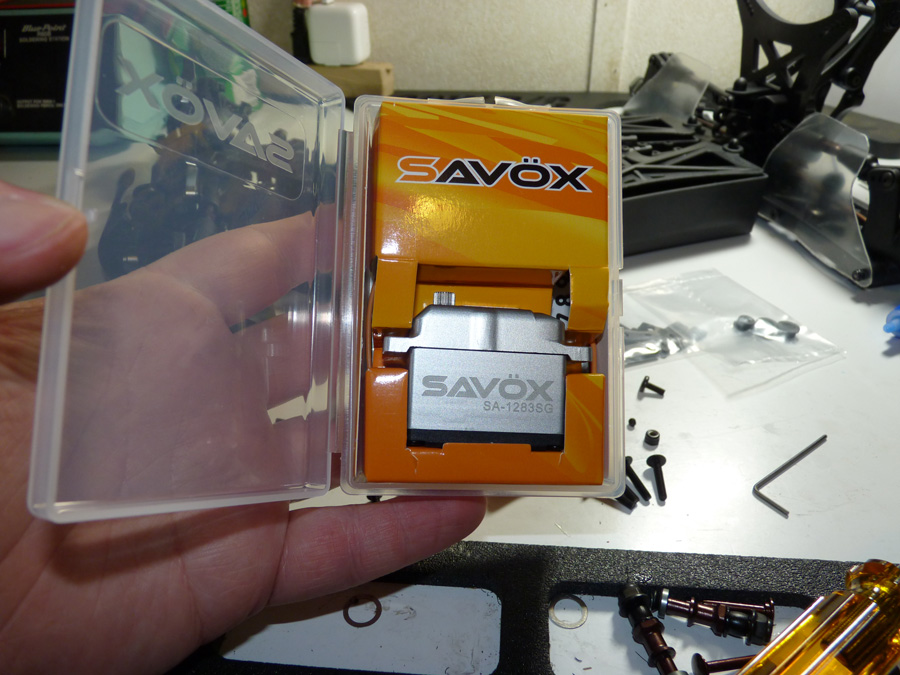
This is the only servo in my memory I can recount owning that has a full metal case.
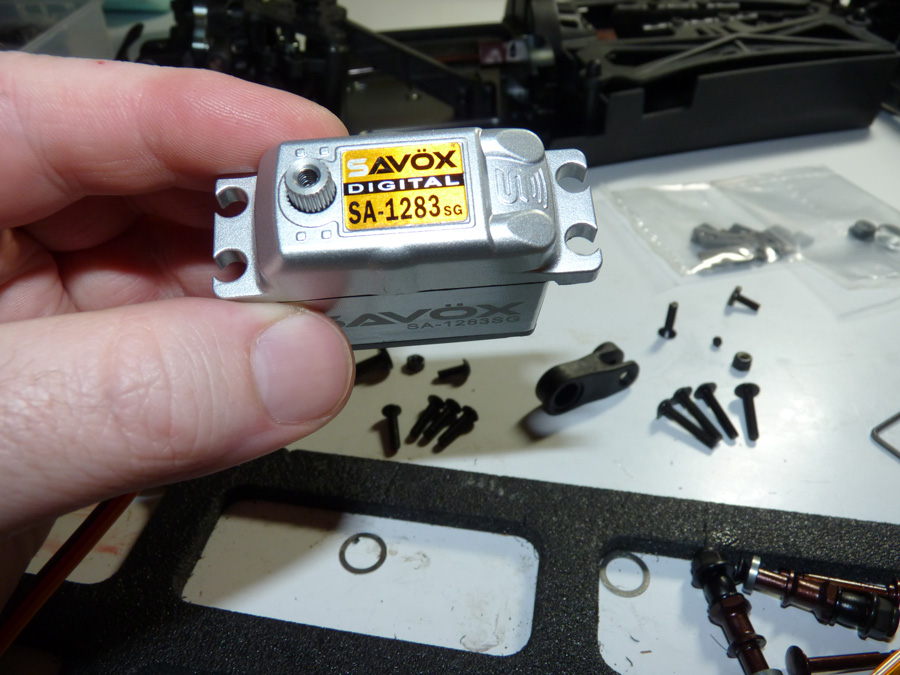
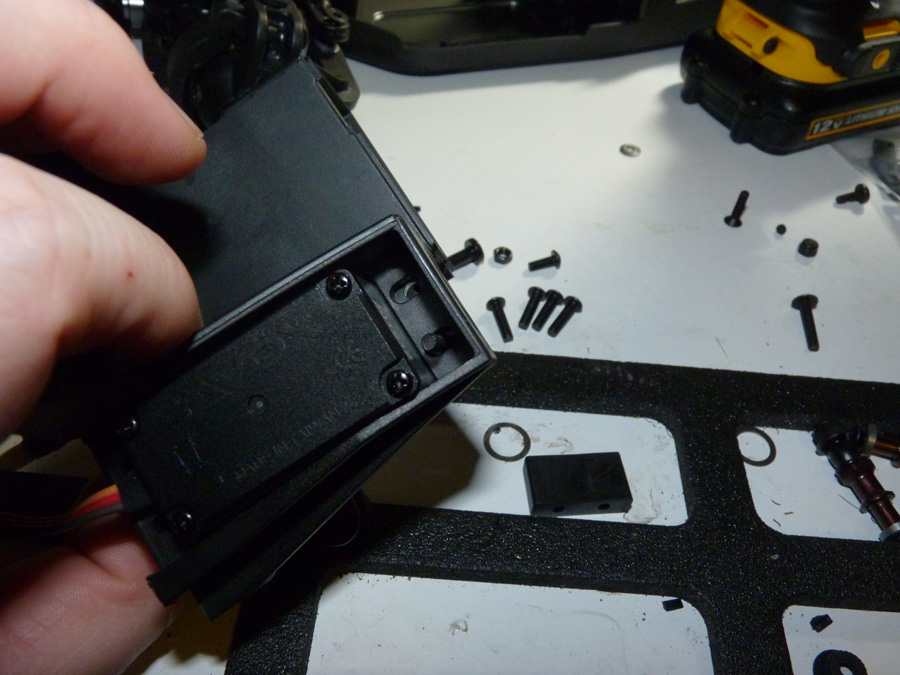
Next we’ll mount it to the servo mount/esc tray/receiver mount. The lower screws go into the mount.
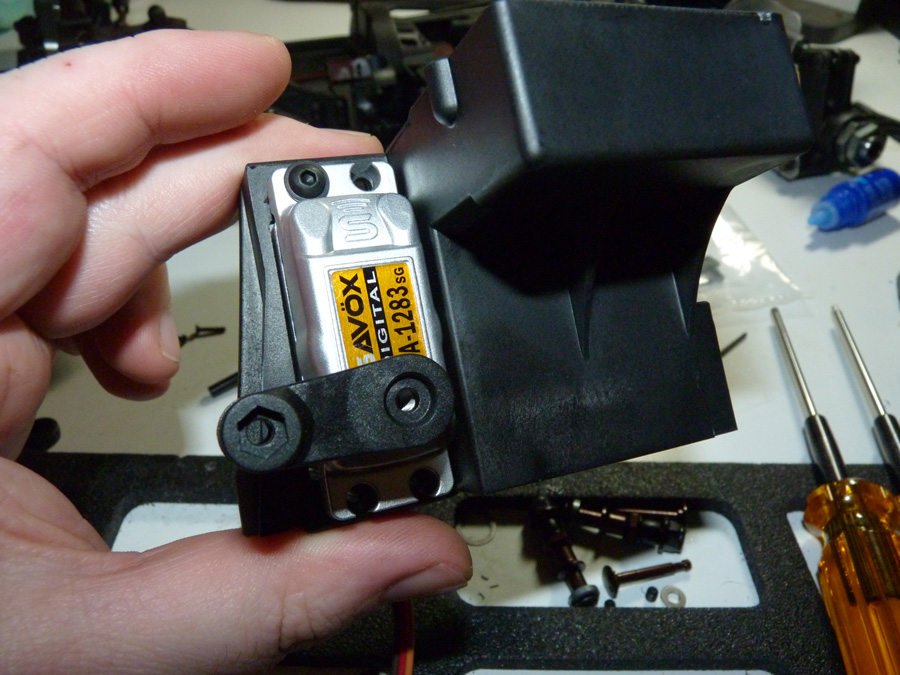
The upper screws go into a plastic block behind the mount (seen on the CowRC mat).
Secure the servo.

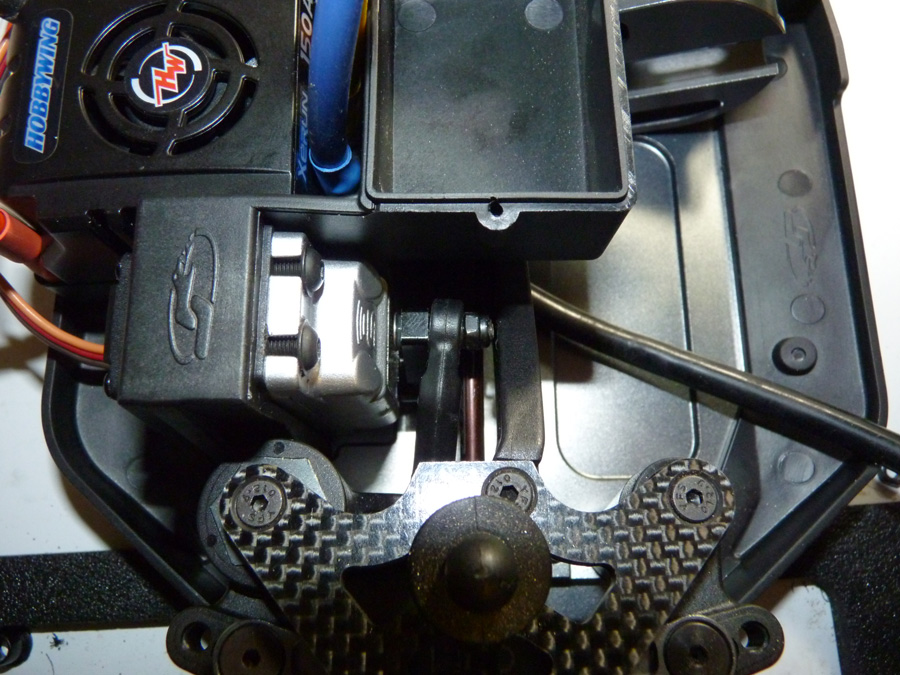
This is the unique drag link for the steering from servo to bellcrank. I hope it can handle 400oz of torque from the servo.
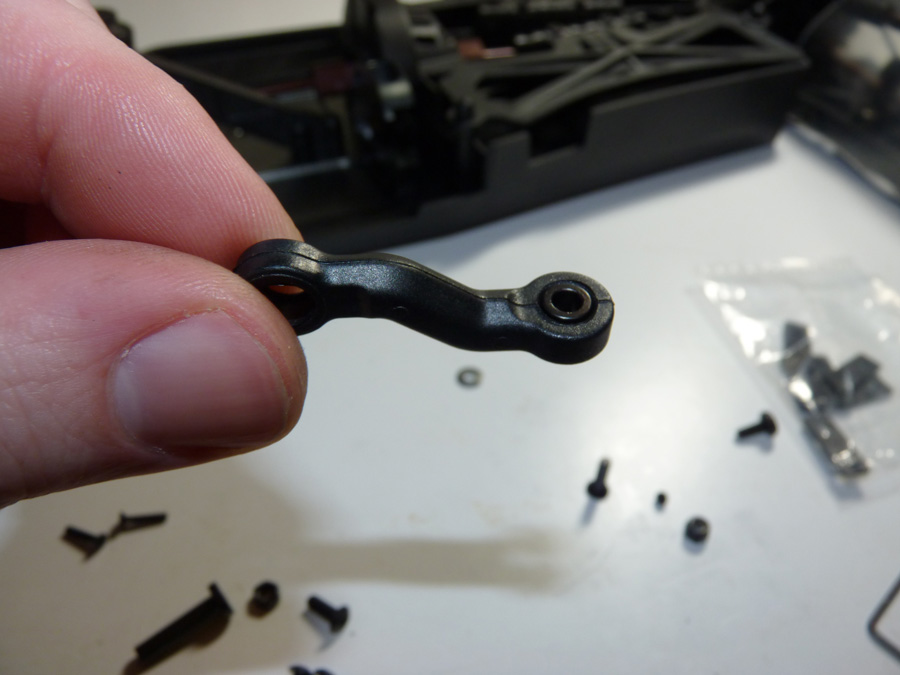
While trying to mount this up, I snapped the stock servo horn. Luckily I had this aluminum Racers Edge horn kicking around.
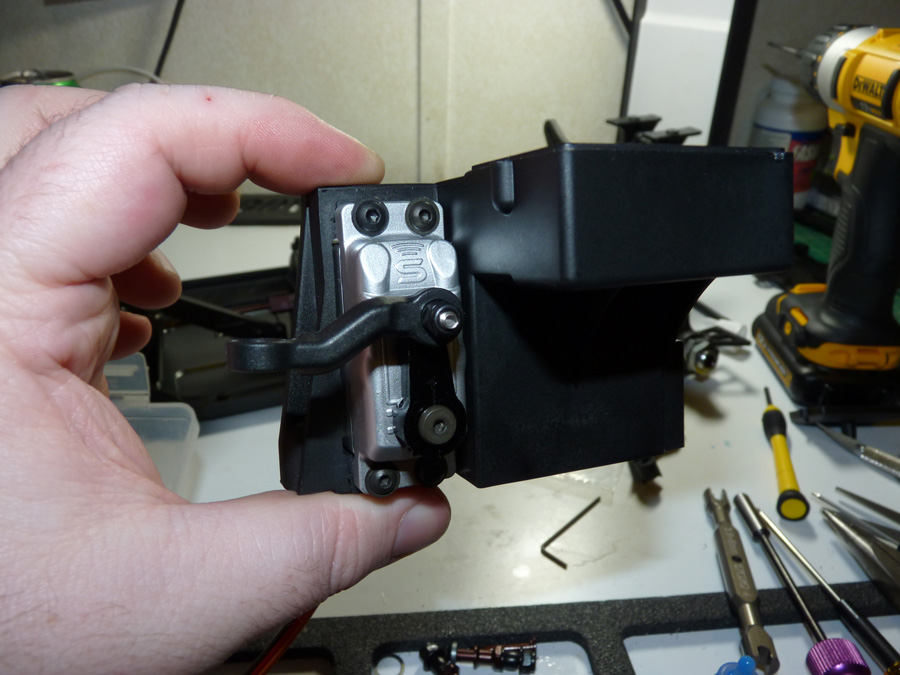
I installed the tray into the buggy and mocked it up to see if I had enough clearance.. I didn’t. I had to play with different screw/nut combinations to get something low enough profile that cleared the servo case (which I had to remove the case badge to gain extra clearance), and the front chassis brace.
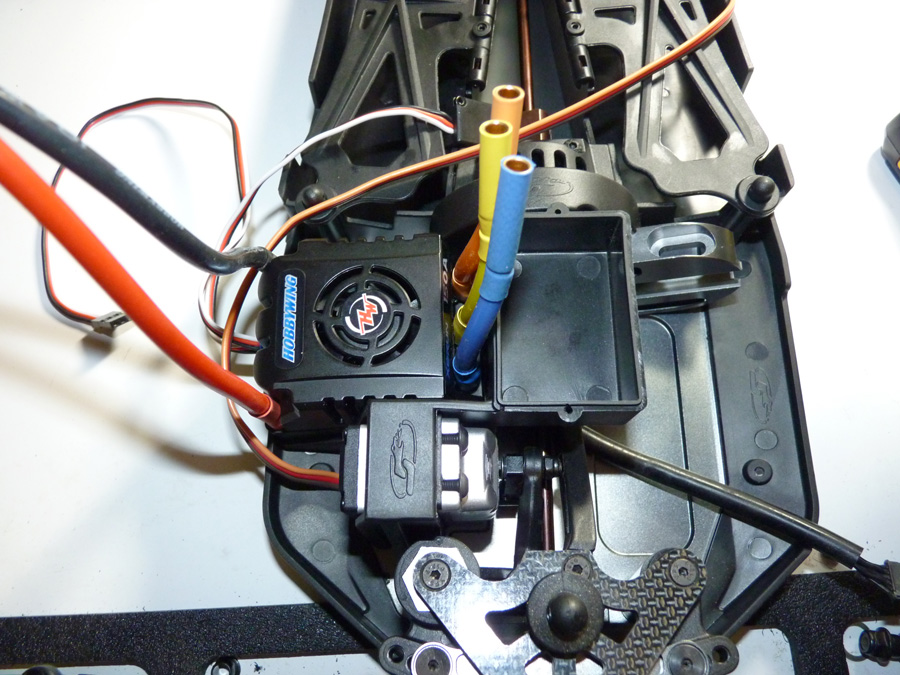
Continuing with tight tolerances, it’s time to install the esc. I’ll be running the Hobbywing 150A. An excellent speed control, but pretty much the size of an ocean liner.
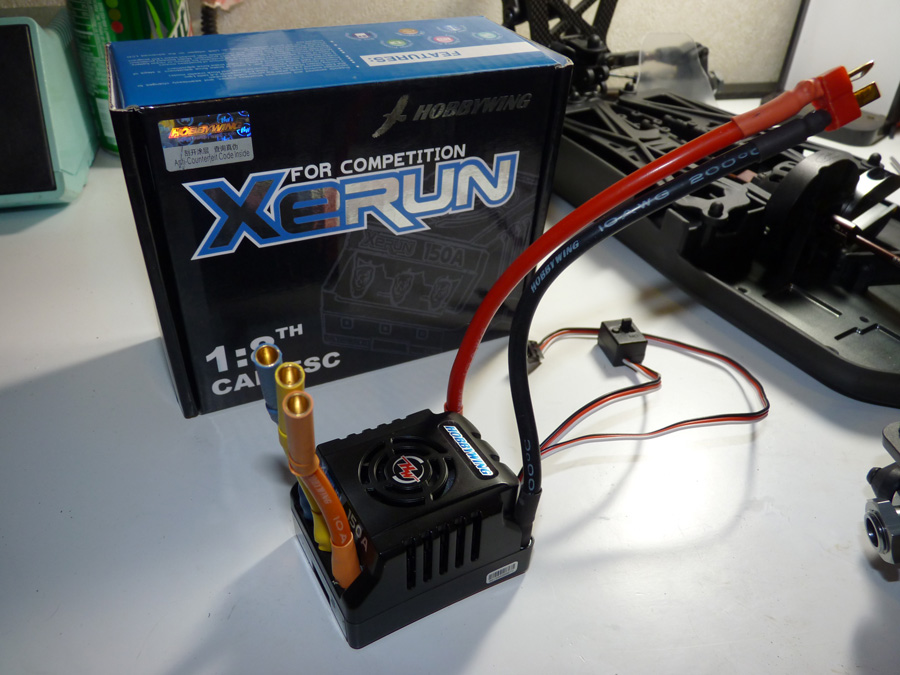
You really have to work to make the ESC fit in this car. It’s bigger than the ESC tray.
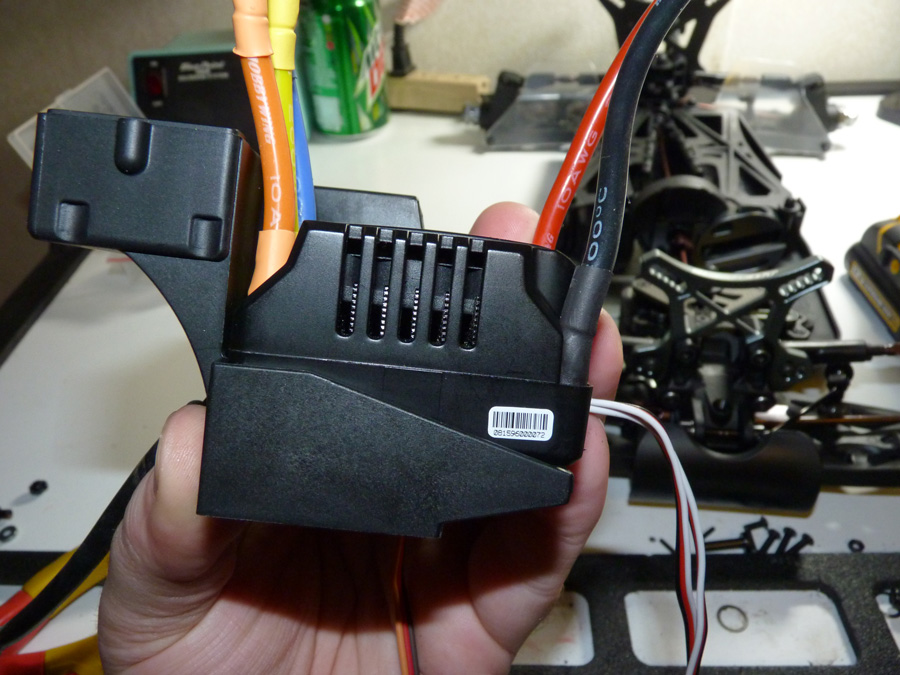
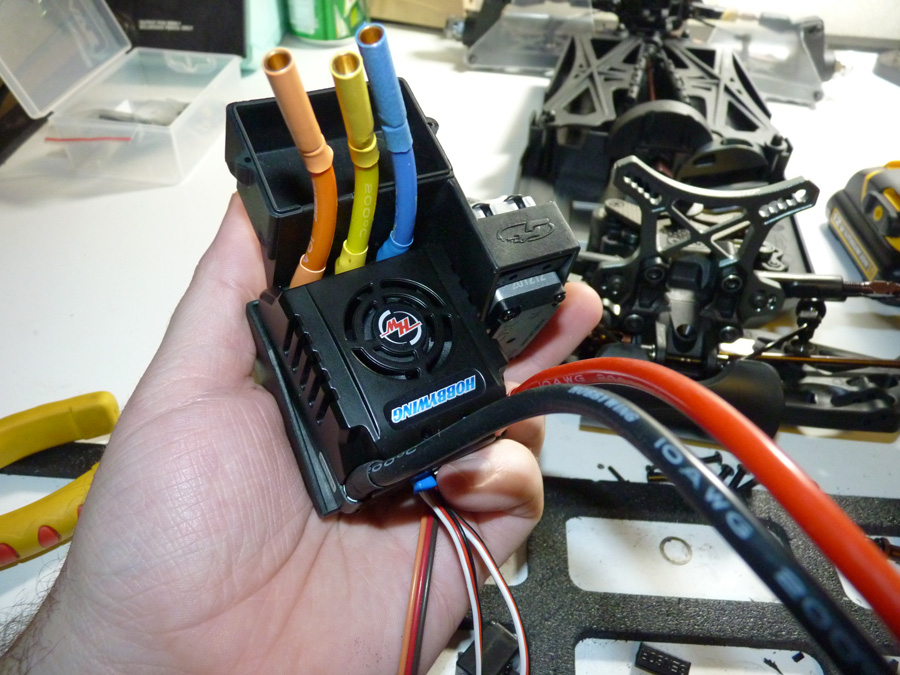
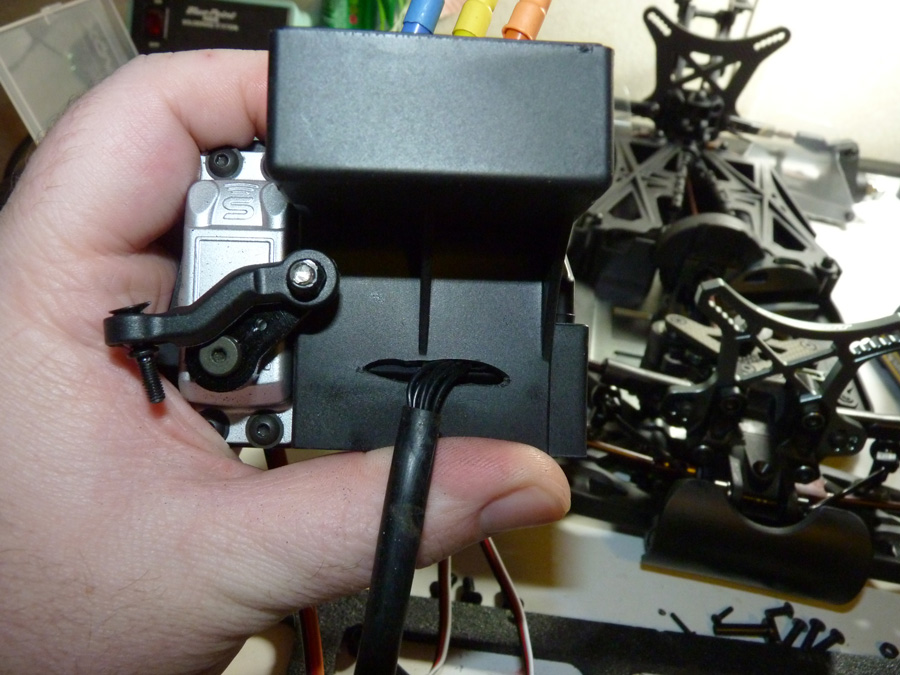
It doesn’t fit sideways. It’s either this way or with the motor wires/receiver wires/on-off switch facing the back of the esc plate.. I figured this way was best. The sensor port faces the back wall of the esc mount, so we’ll need to cut a hole (feel free to make yours less ugly than mine).
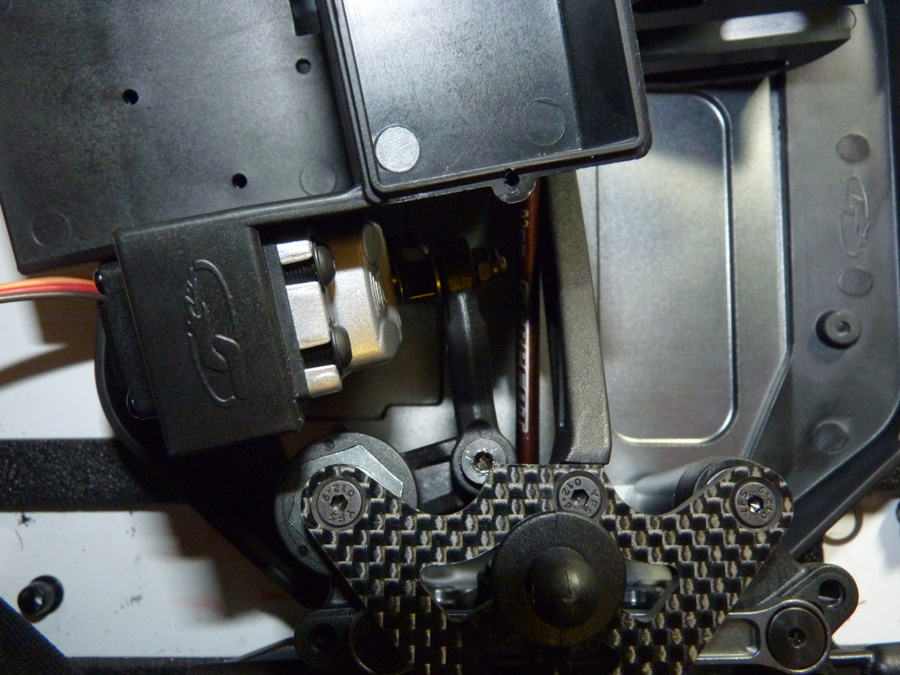
With a hole cut, we can run a sensor wire right to the back of the ESC.
Which of course exits under the drive shaft.
I then had to carefully hack some of the chassis guard so the corner of the ESC can sit flush with the plate. I did this with a hobby knife.
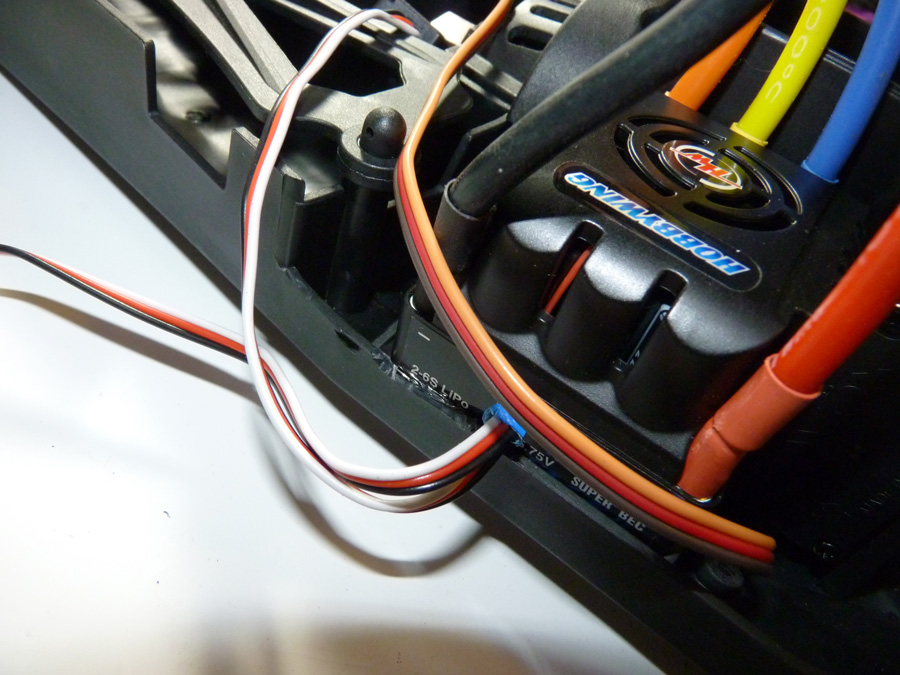
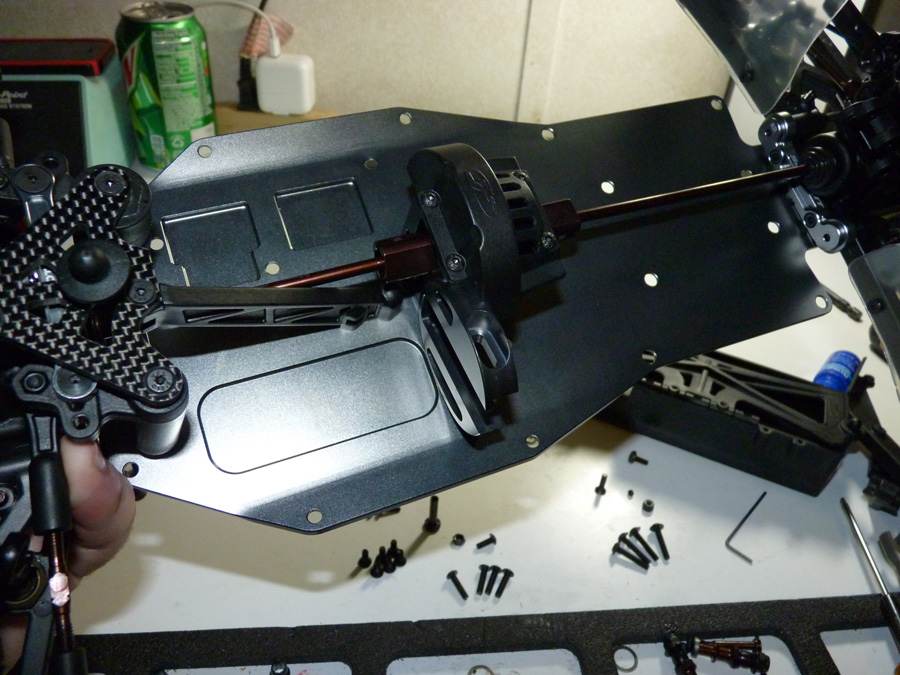
Here you can see the sensor wire run under the front drive shaft.
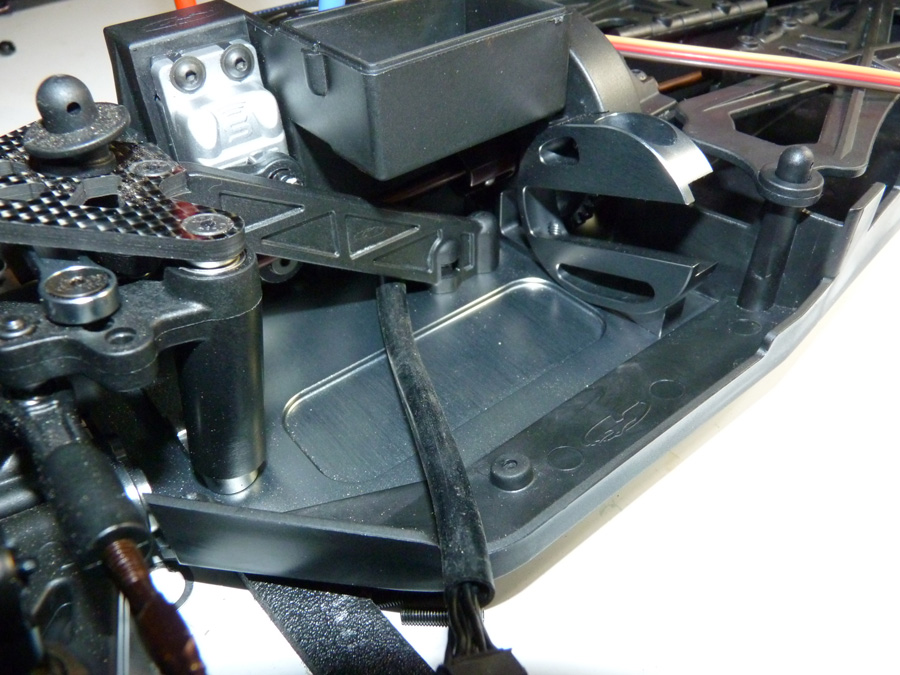
With the servo mount/esc plate mounted up finally, you can appreciate the ridiculously tight clearances. Not much room between that locknut and the chassis brace.
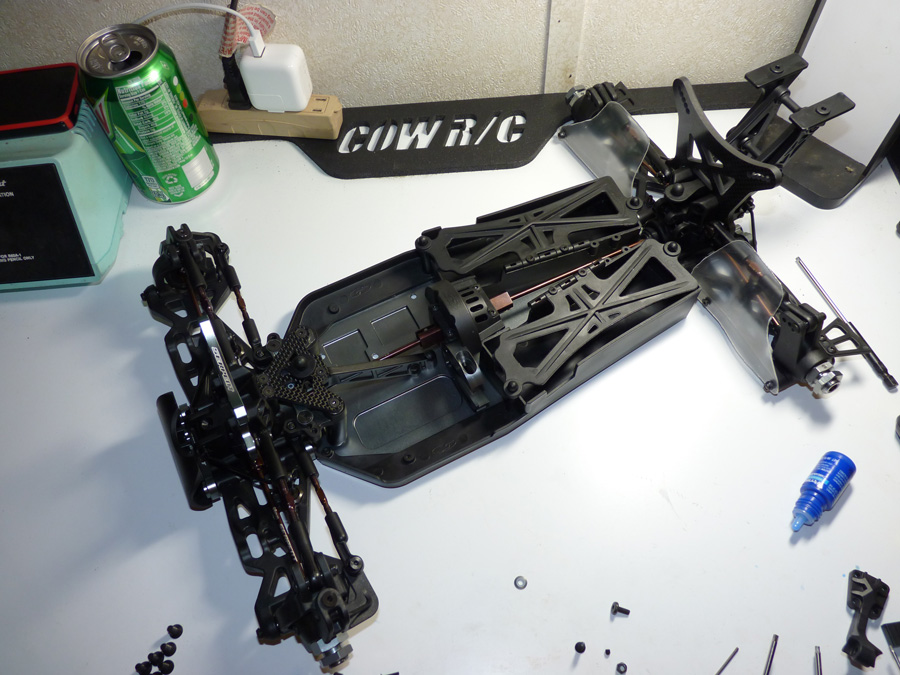
Next we have the rear chassis brace. This connects the battery boxes (which are attached to the chassis) to the rear diff.
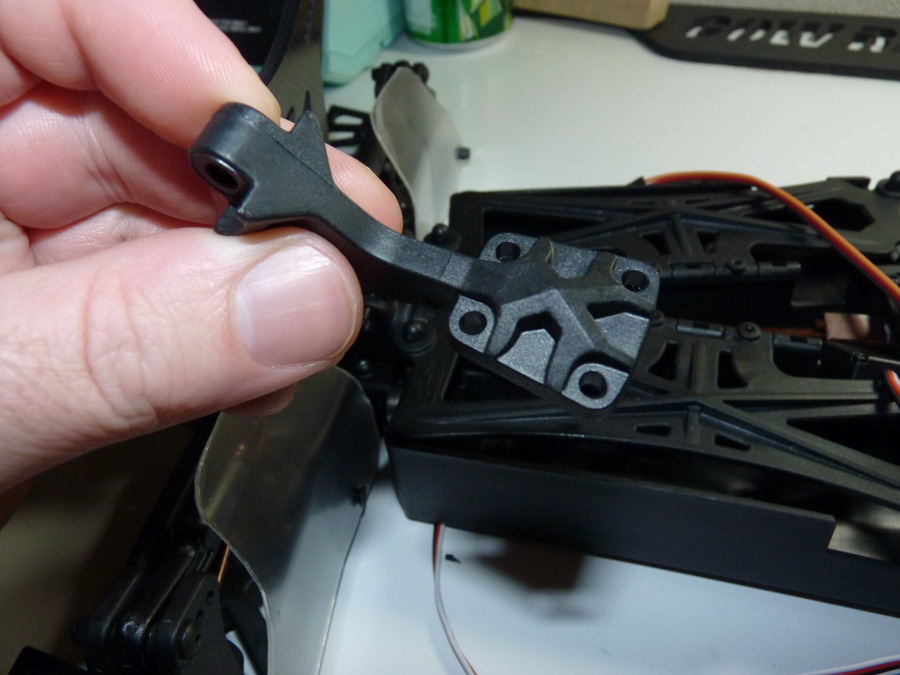
Easy.
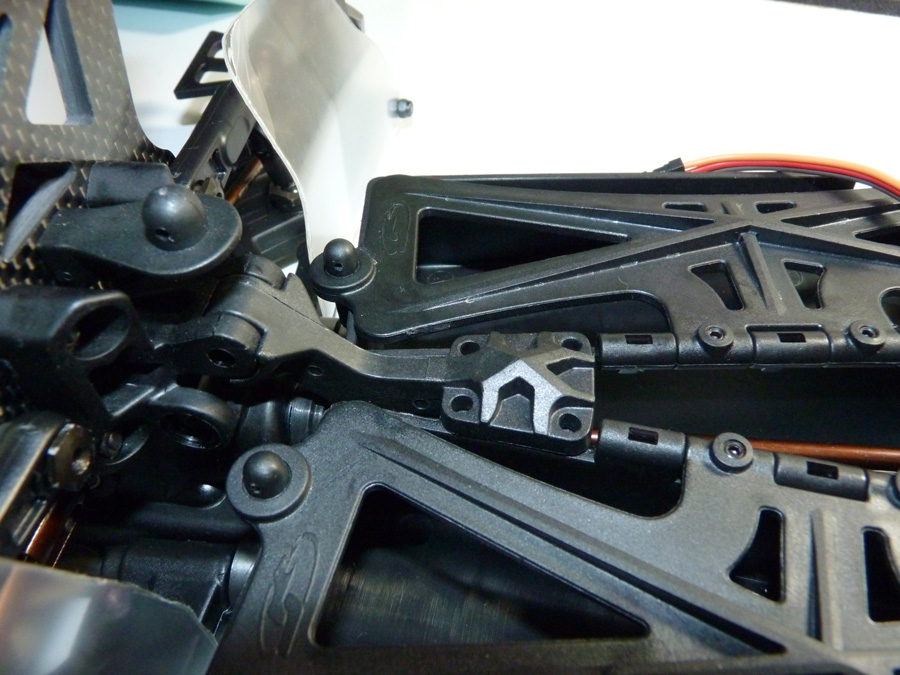
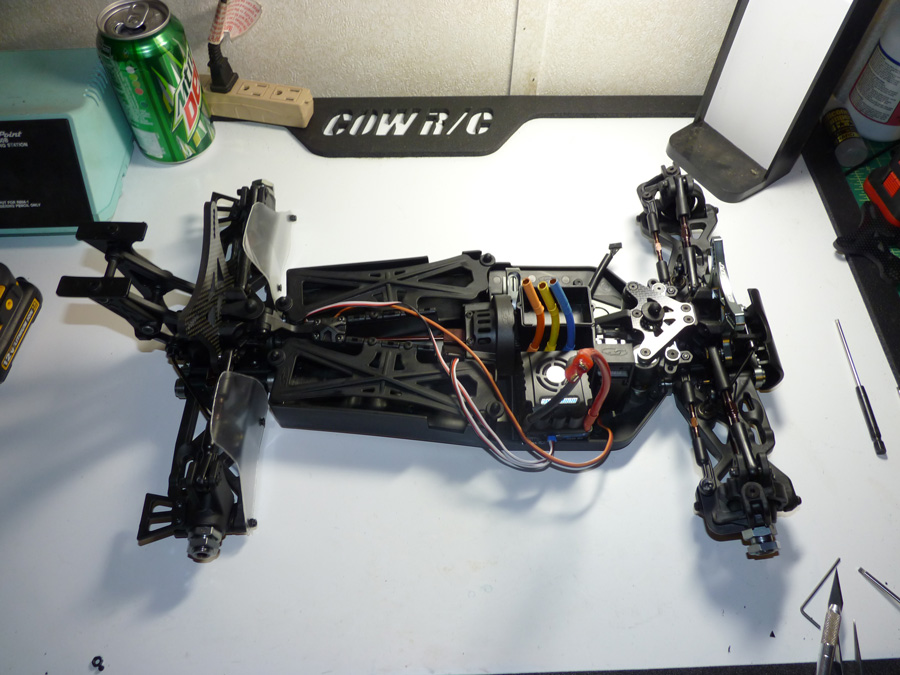
Lookin’ like a buggy. I think it’s time for some shocks??
 Posted in
  Tags:
Tags: