

 September 4th, 2013
  Geo
Geo 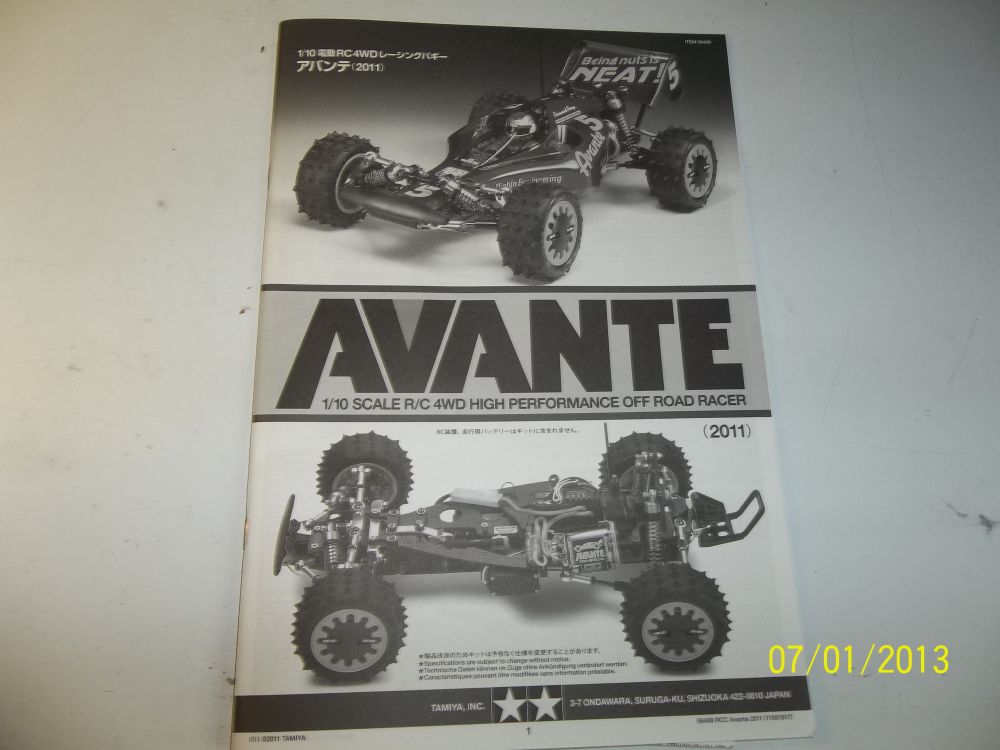
The instruction book. Tamiya has by far some of the best instructions out on the market.
Here we go, “LETS DO THIS!”
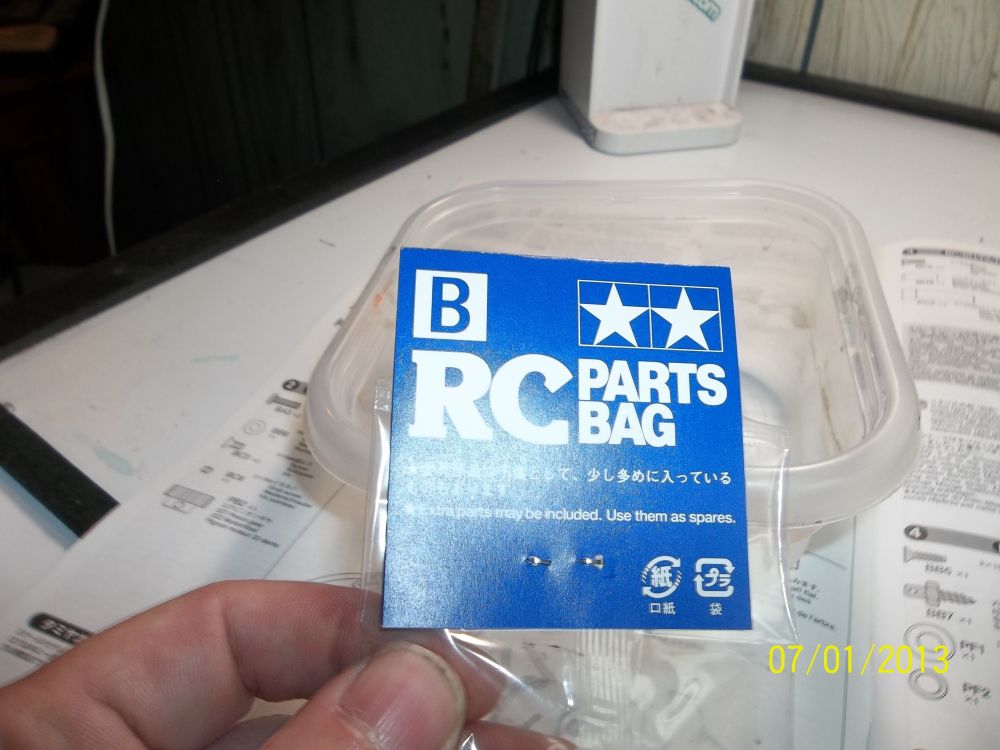
Almost every parts bag is marked with a letter and in this case its a “B”. Other bags are marked with other letters. Those letters will correspond to what screws will be used in the instructions per step. There were a few bags that were not marked.

Lots of screws in the “B” bag.
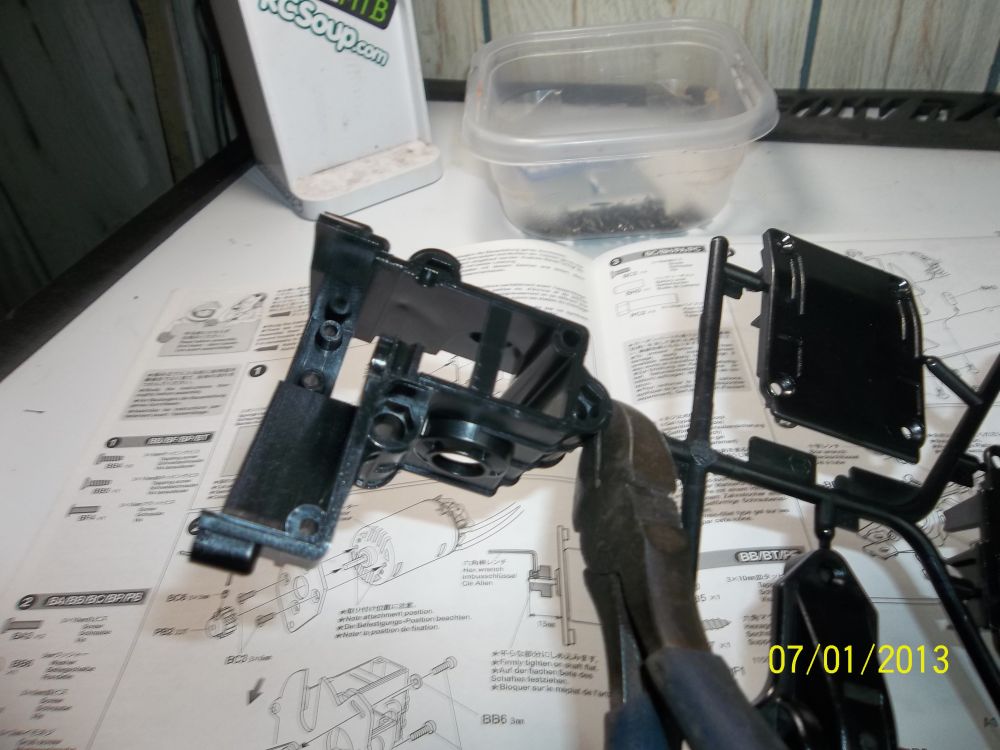
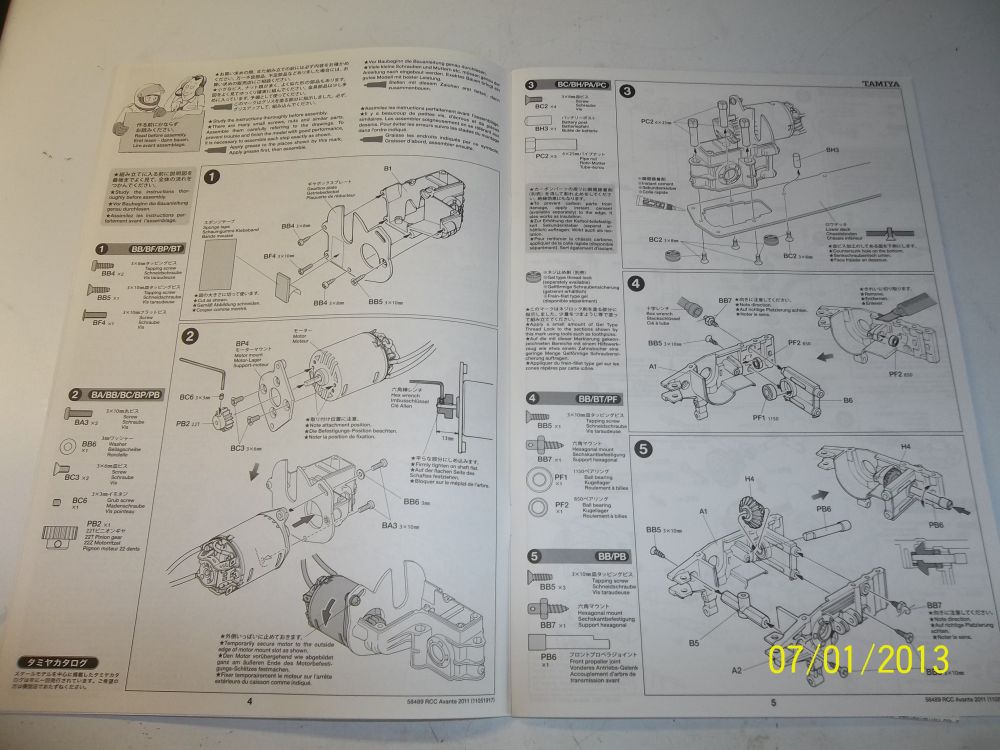
Up first we start with the rear gearbox. I used some side cutters to trim the plastic parts off from the trees. Each plastic tree part is also marked with letters and numbers for easy identification.

Here you can see the nice crisp pics of the actual screw size. This makes it easy to see if you are using the correct size screw. Just hold the screw up to the drawing and it should be the same size, if its not look for the correct one.
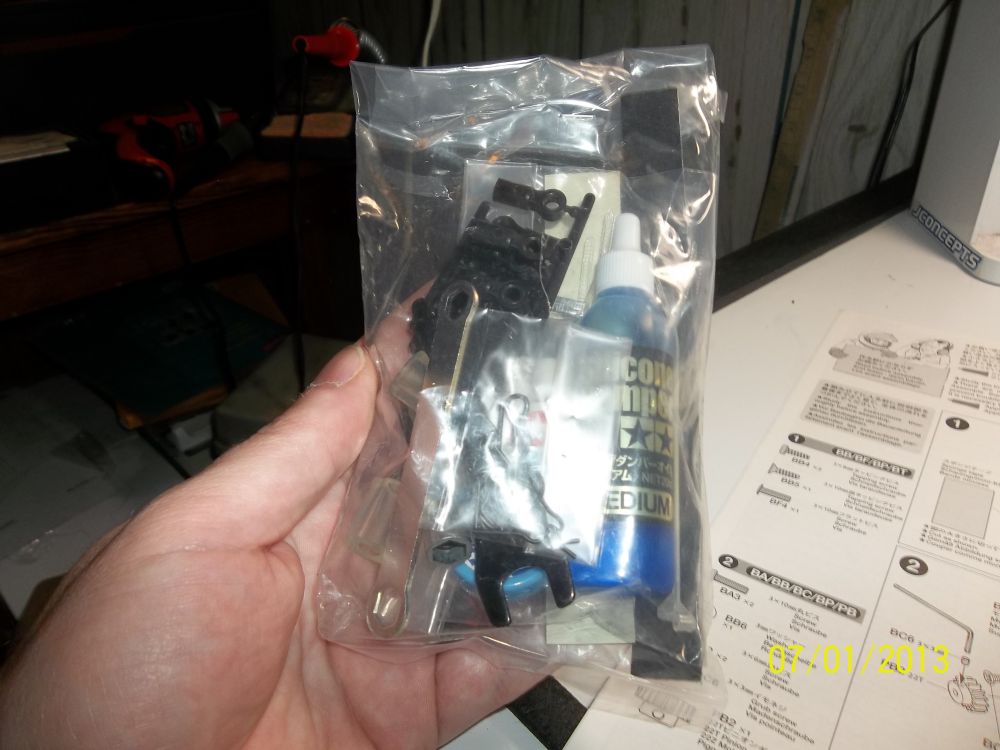 A bag of tools and lubes.
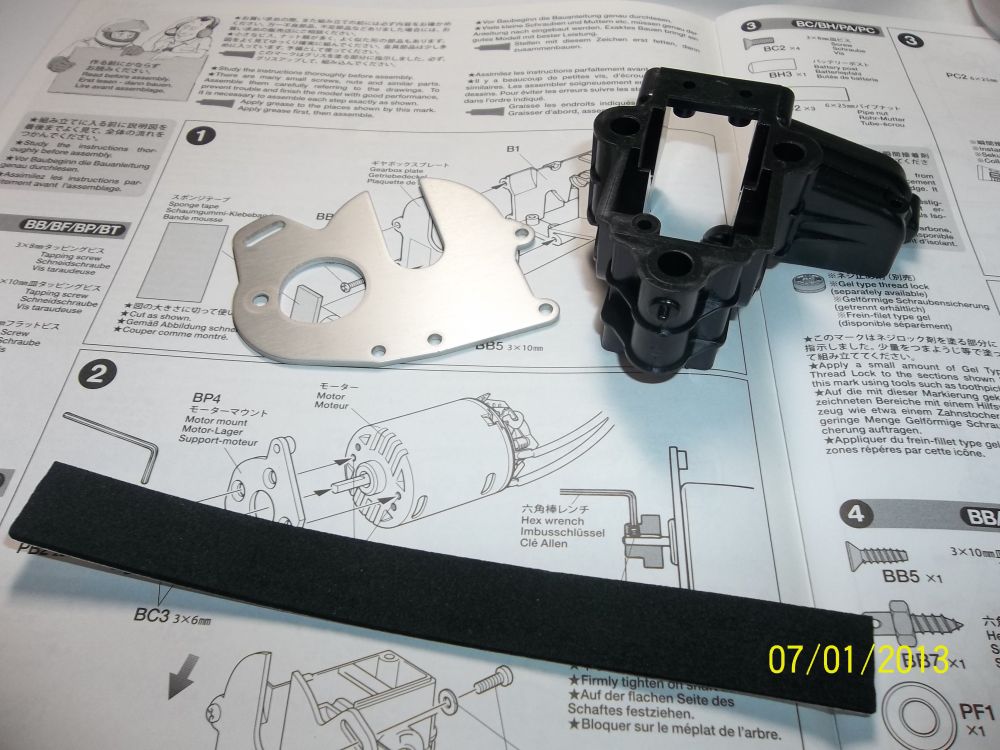
Parts being used for step 1.
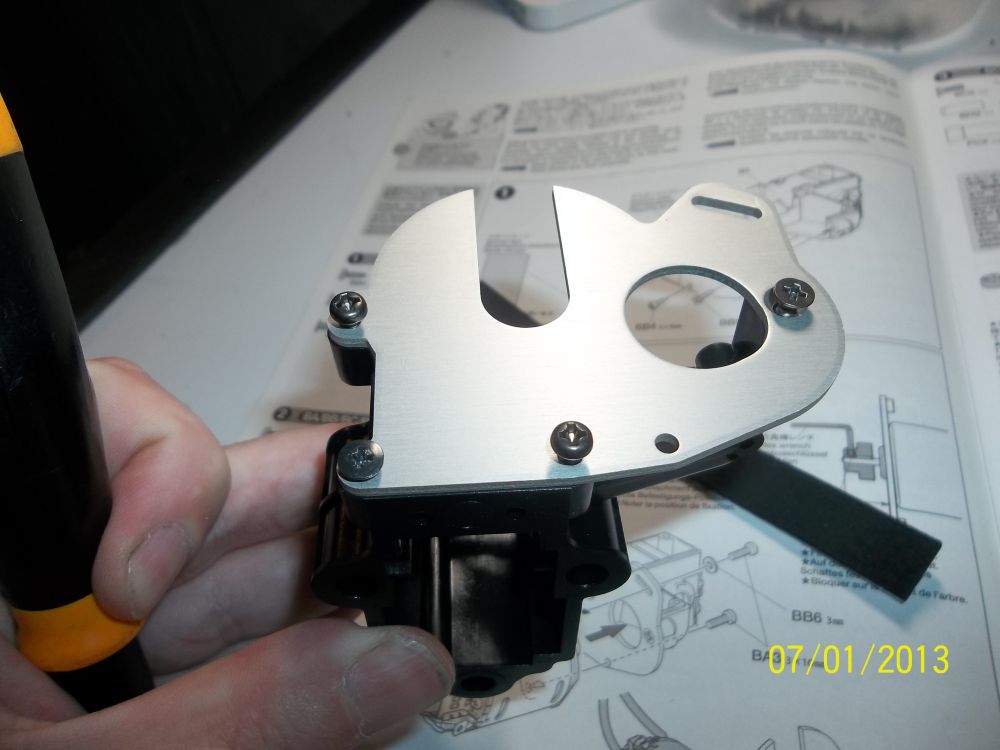
I screwed the motor plate onto the gearbox, easy enough.
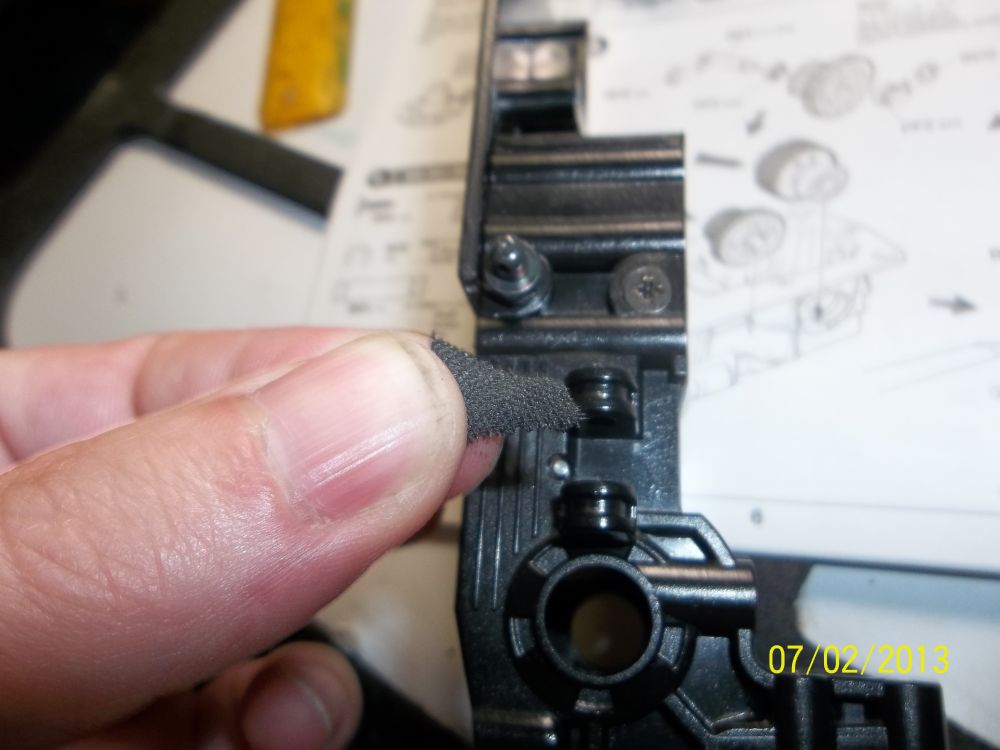
A little piece of foam tape. This will be used later when the kit is built to cushion the battery.
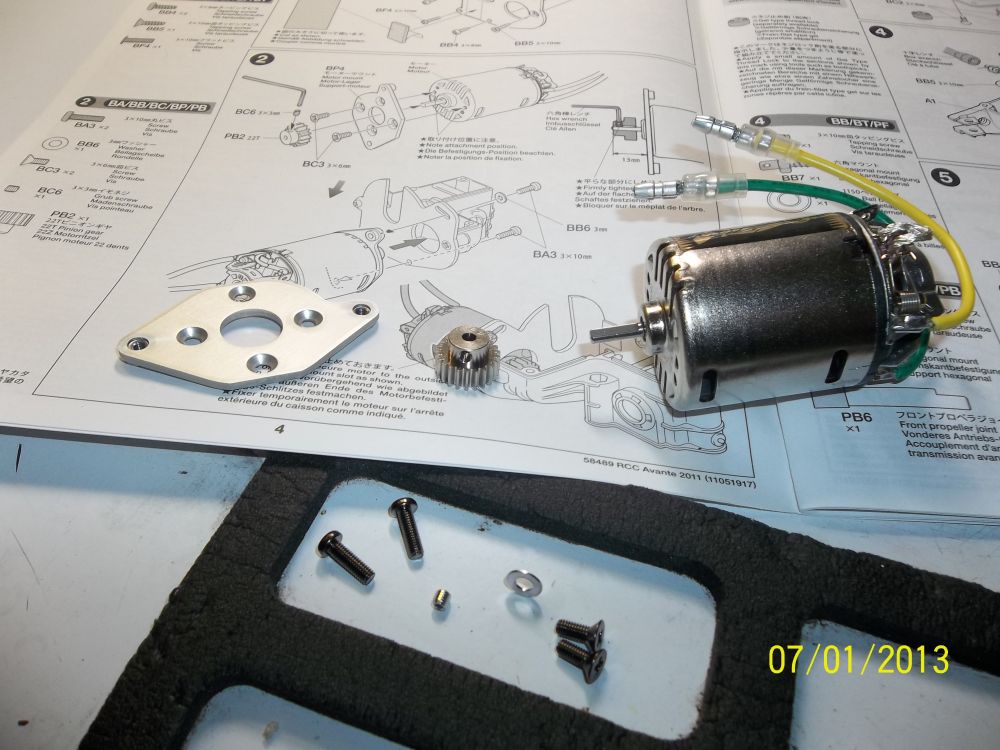
Here are the parts for the next step. A cam plate and a brushed motor and some screws. Wait…. did i just say brushed motor? Yes i did. Check out how well the CowRC Mat holds the screws in place. The mat is magnetic and is a must for rc builds.
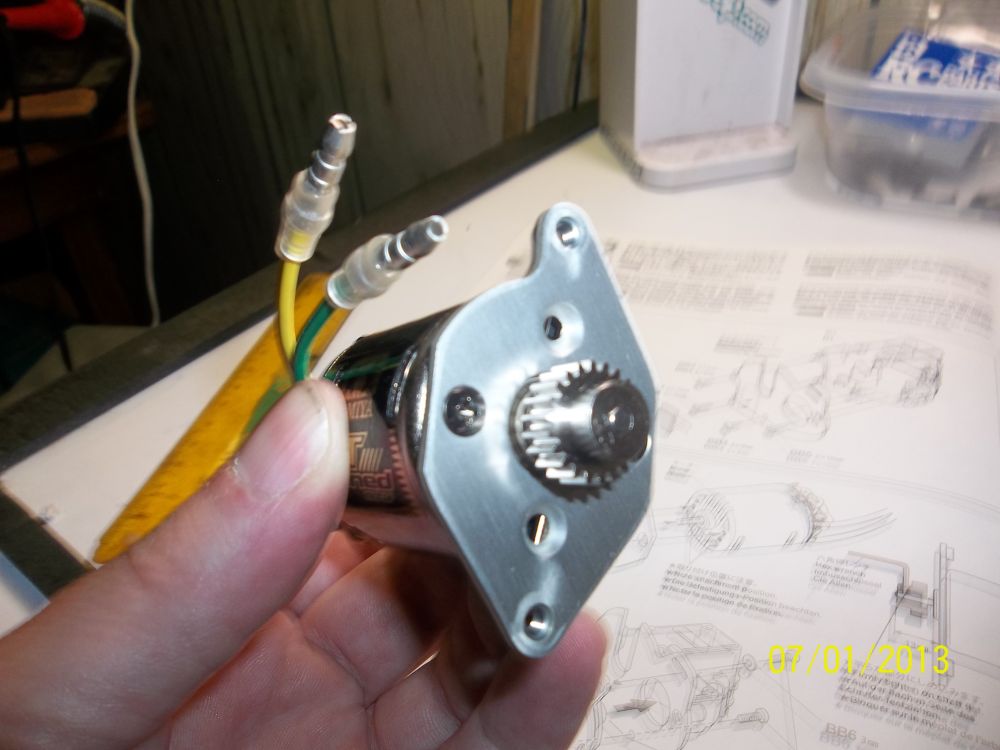
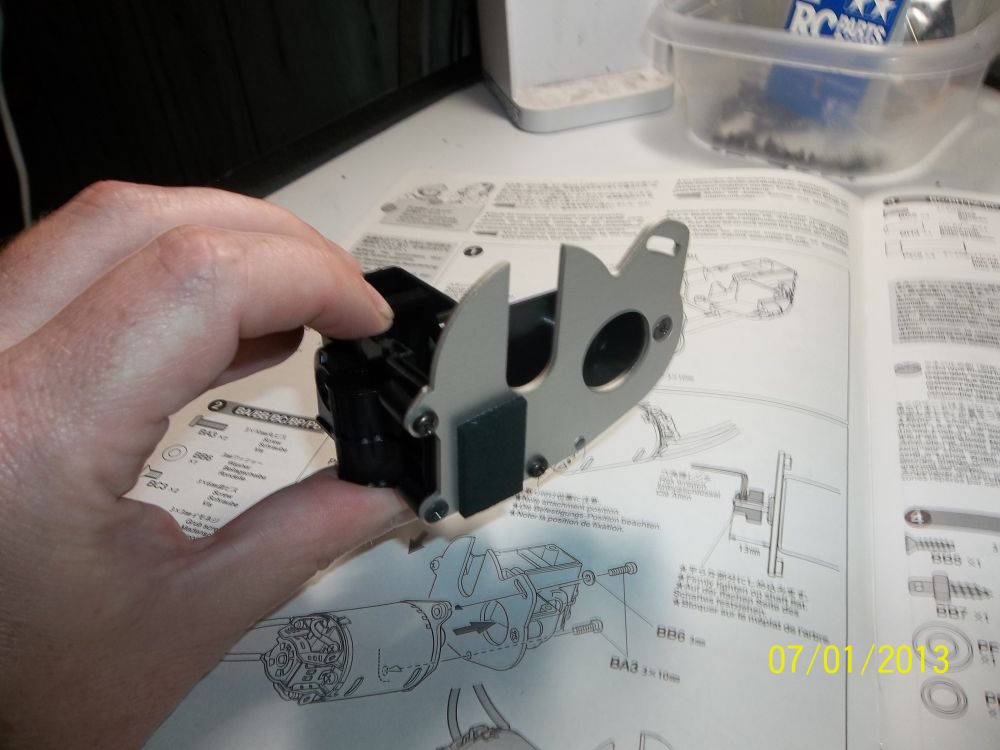
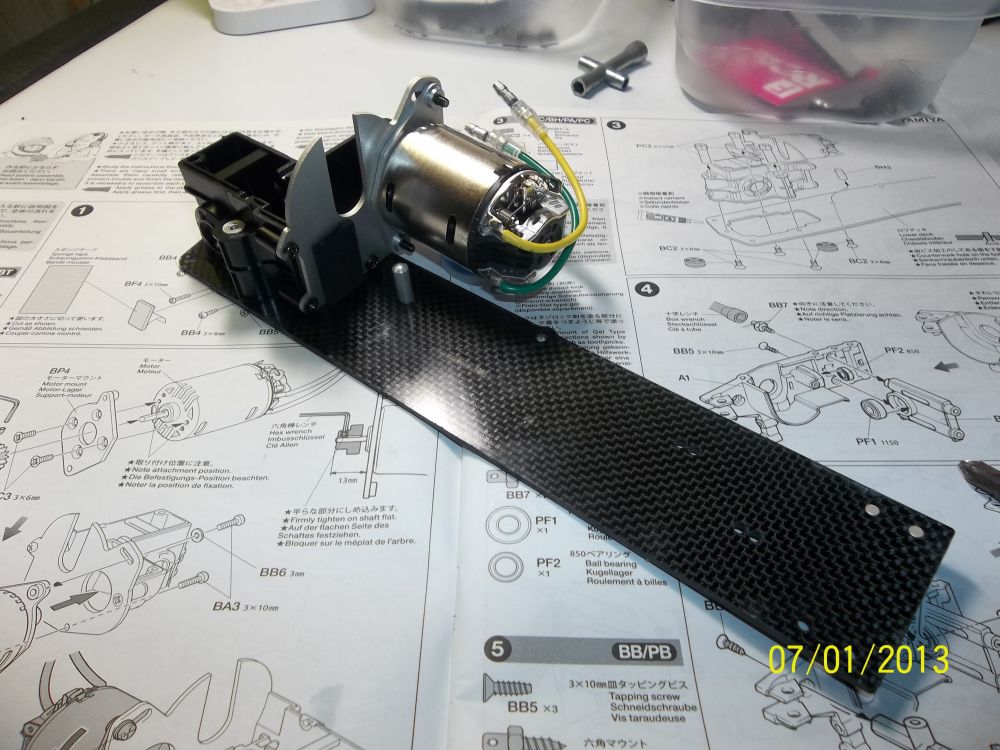
Motor and pinion installed on cam plate/motor plate.
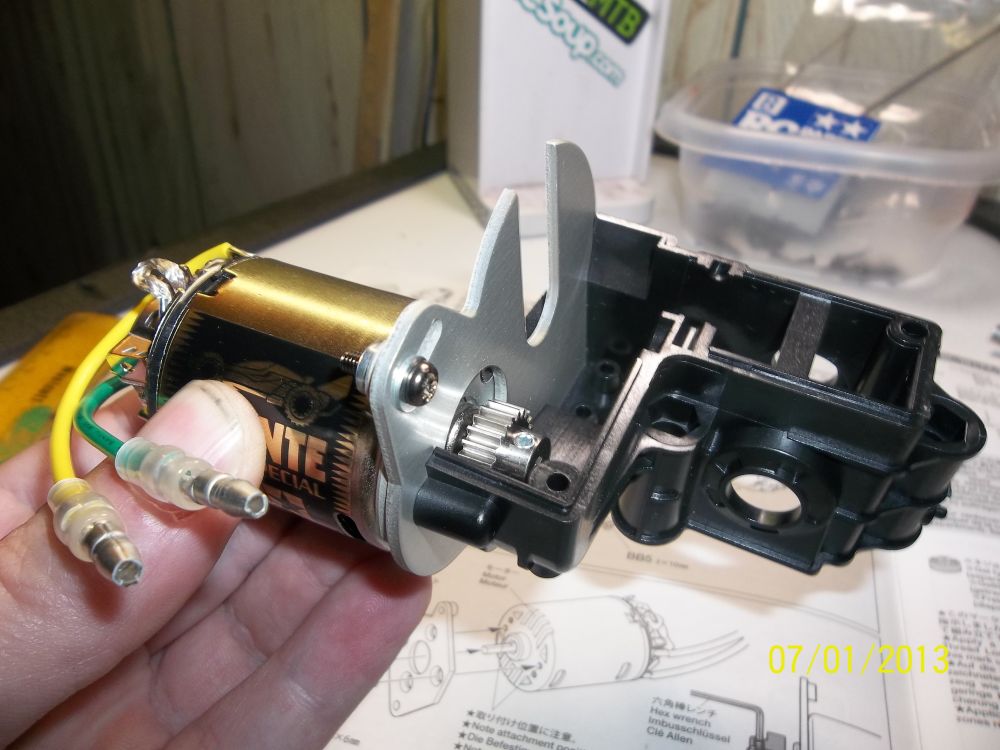
Now we attach that assembly to the gearbox.
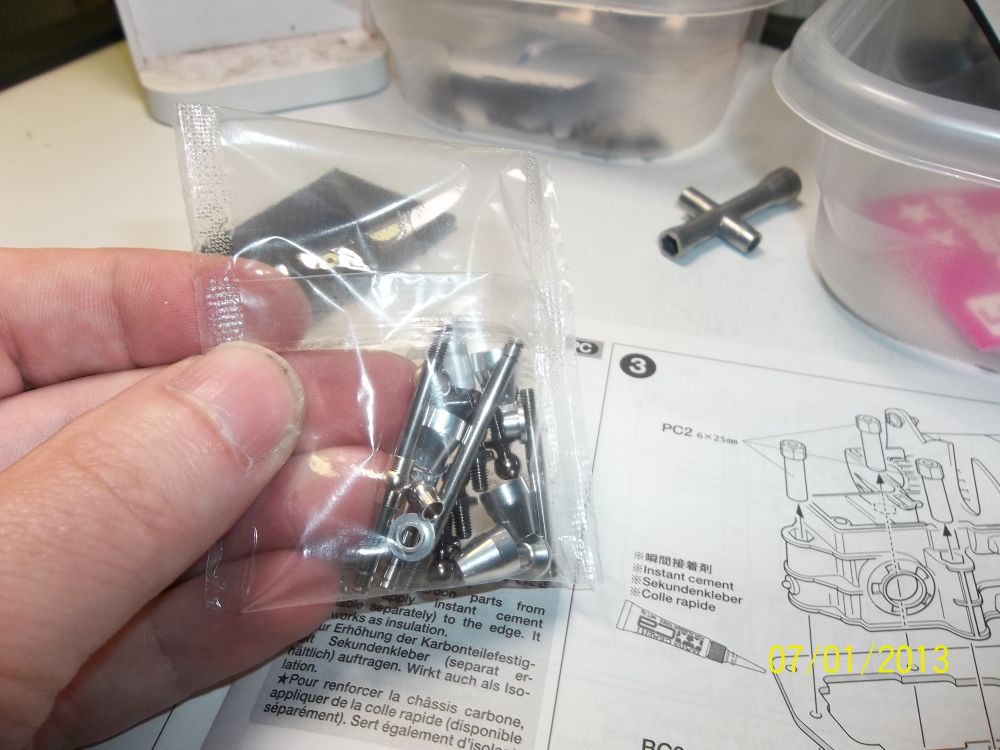
Here is one of those unmarked bags. Just look at the instructions and match up the piece in the pic. It is easy enough, you just might have to search a little bit.
I was looking for this. It is a stop for the battery.
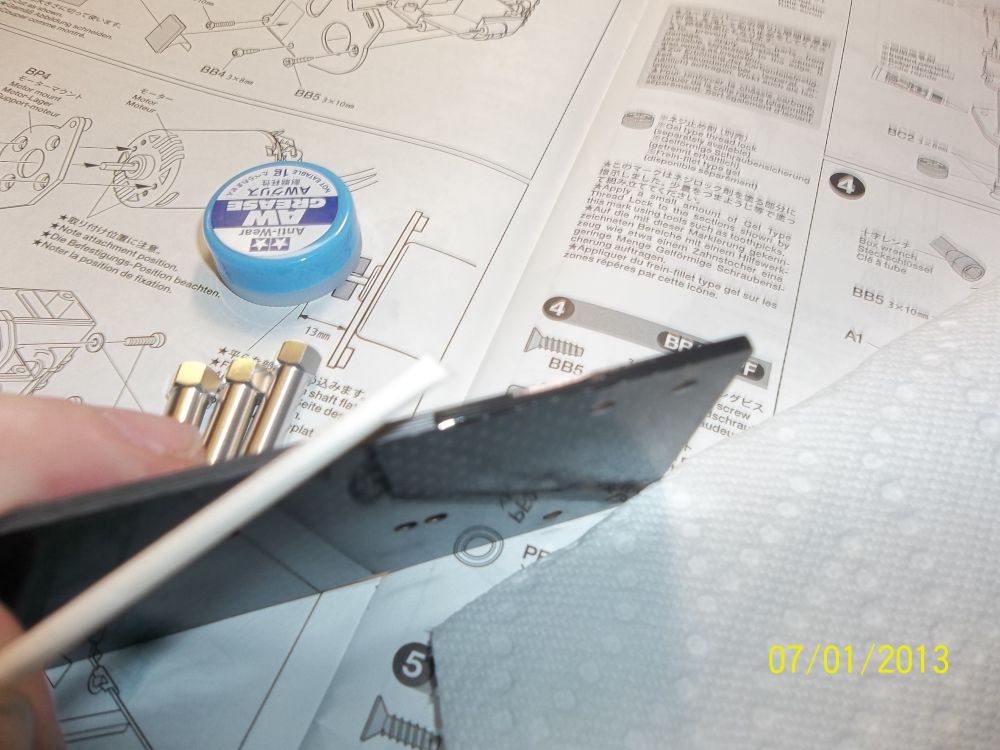
Here you see me doing an important step. You want to take some CA (super glue) and seal the edges of the graphite chassis. This will minimize the chances of the chassis de-laminating down the road. I used a Q-Tip with the fuzzy end cut off. Put a drop of CA on the shaft of the Q-Tip and then run it along the edge of the chassis. This method will lower the chances of you spilling glue on the chassis and you don’t want to mark up this awesome looking piece! Do this all the way around the entire chassis.Be careful not to touch the wet glue. Set it aside and let it dry.

All sealed. Here you also see the inserts for the gearbox as well as the battery stop for the next step.
Not looking like much yet is it?
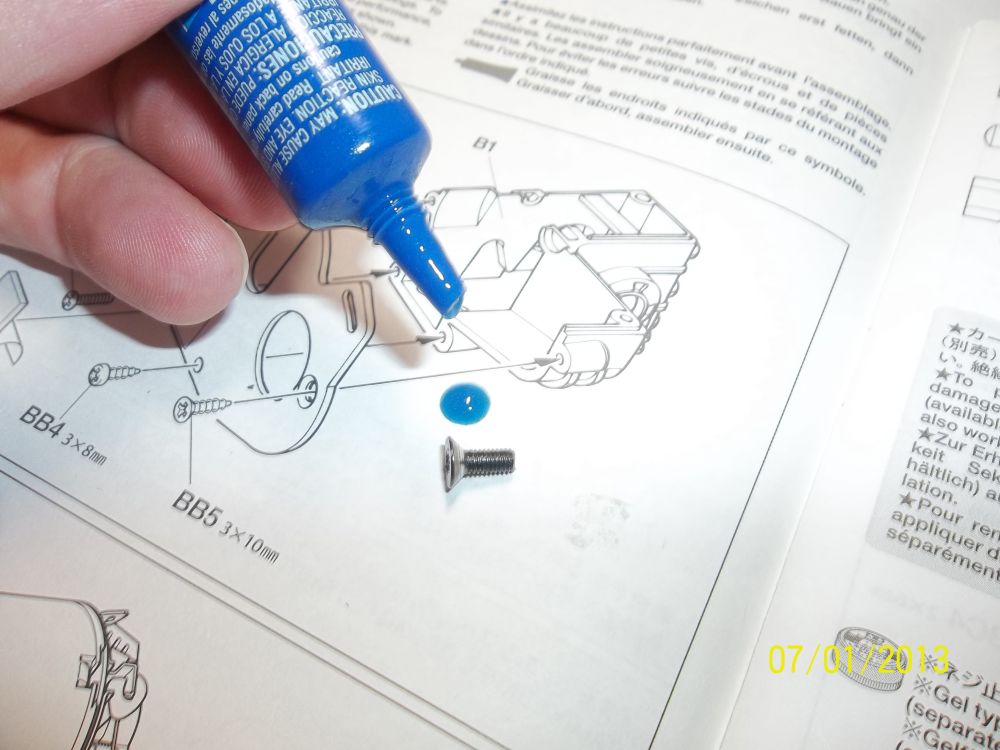
I found it odd but Tamiya didn’t include any loctite. So I used some of my blue loctite. I put it on all metal to metal parts. Don’t over do it.
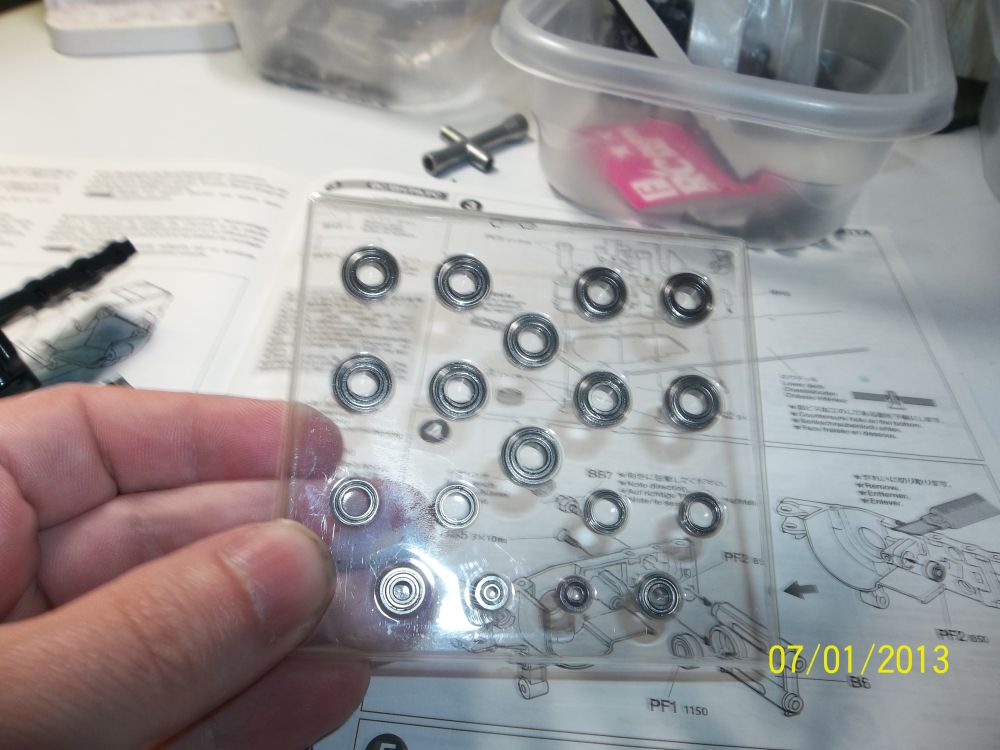
Check out this cool packaging the bearings come in. You can hold this right over the top of the pic in the instructions and pic out the correct bearing. I really liked this part. lol
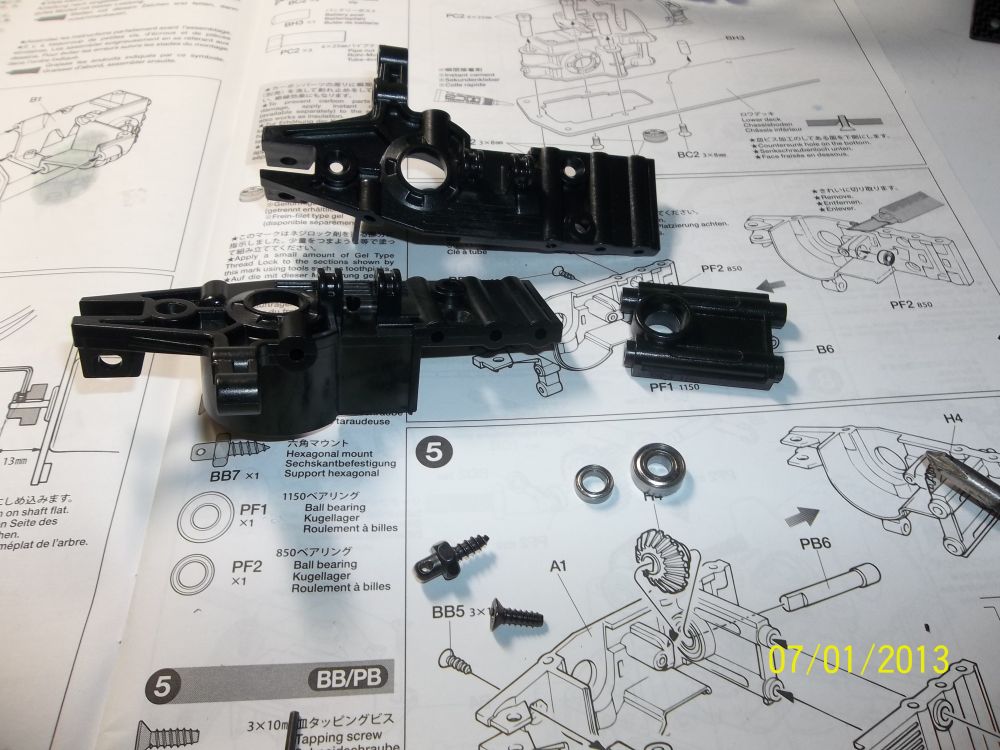 Now onto the front gearbox.
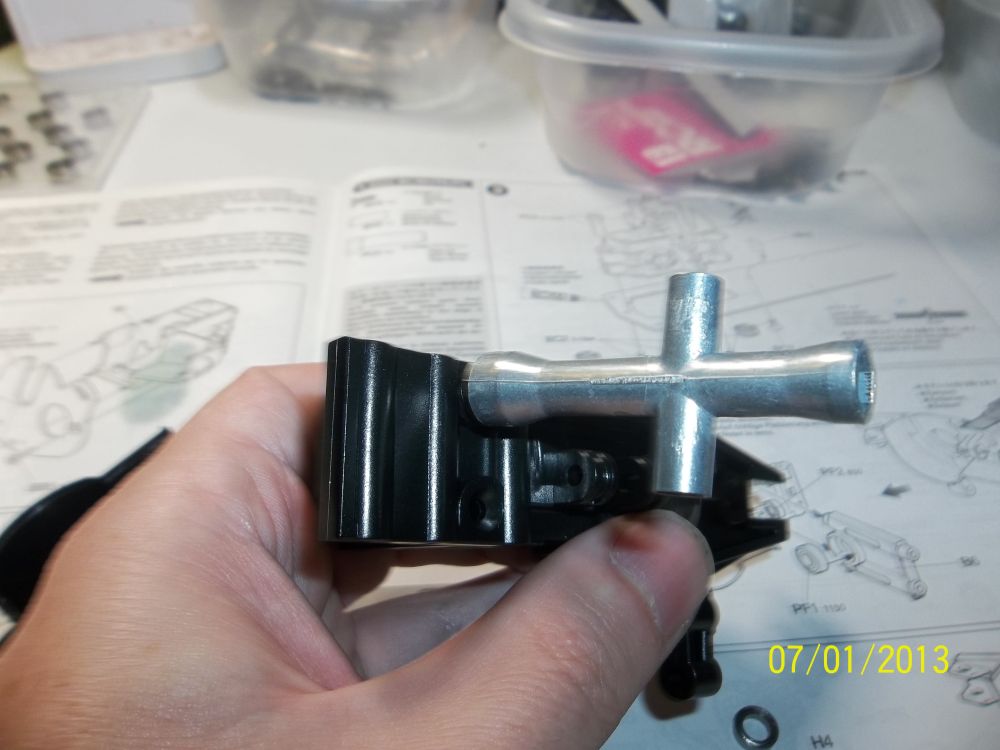
Screwing in one of the under tray mounts.
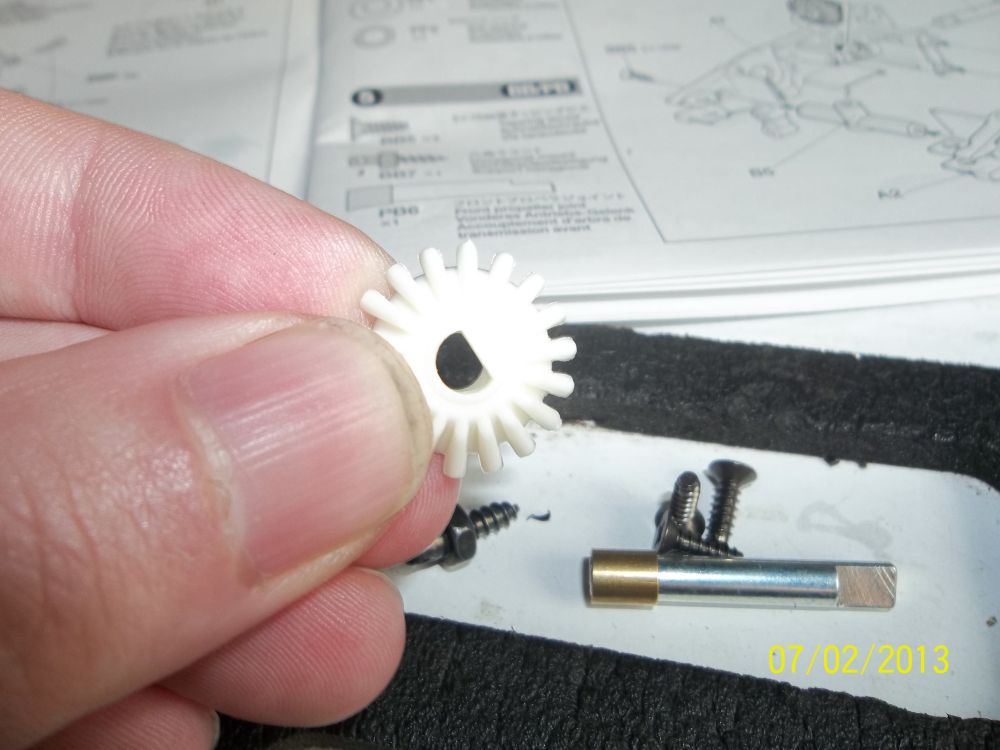
One of the gears to be used in the front gearbox. You can also see the hardware in the background.
Gear installed in one half of the gearbox.
Here we see the front gearbox screwed together.
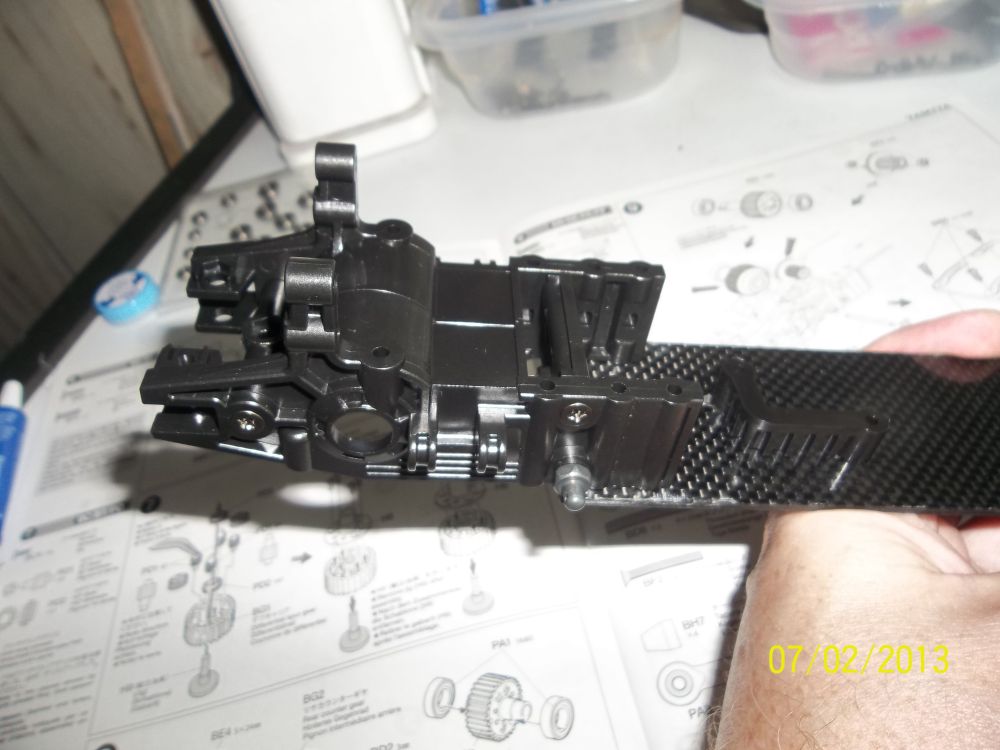
With some more screws we attach it to the nice looking chassis. The original Avante used a fiberglass chassis. The graphite is a nice addition.
Here we go, starting to look like something. You can also notice the front battery stop in the middle of the chassis in this pic.
OH boy!! Diff gears lol.
This is a little jig that Tamiya includes to build the front and rear diffs on. It comes in handy.
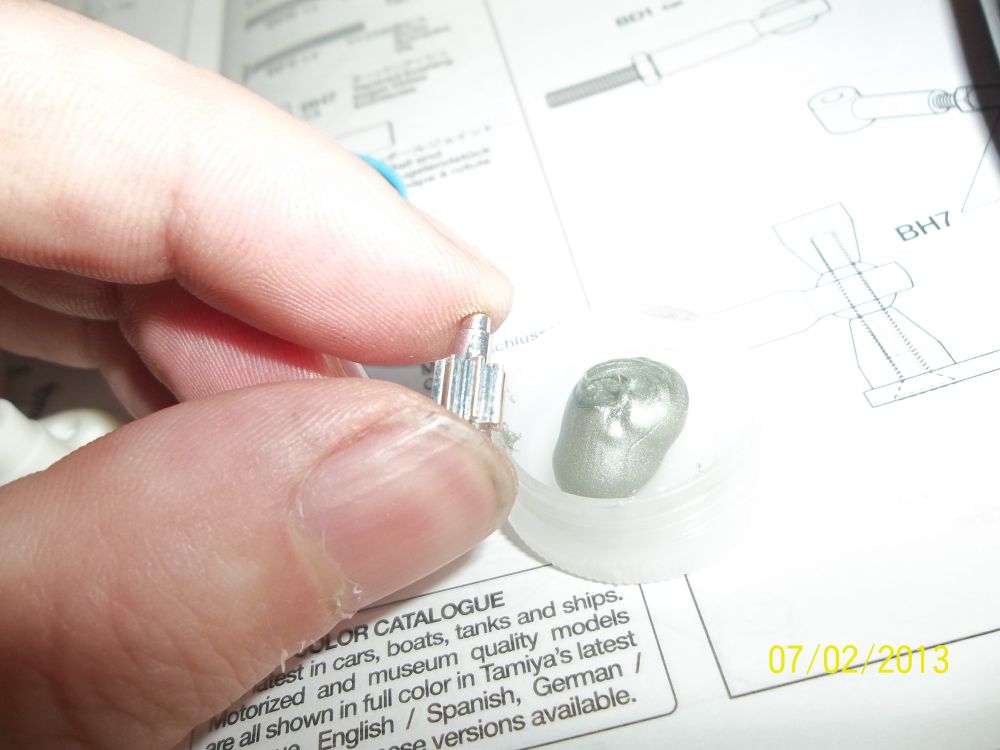
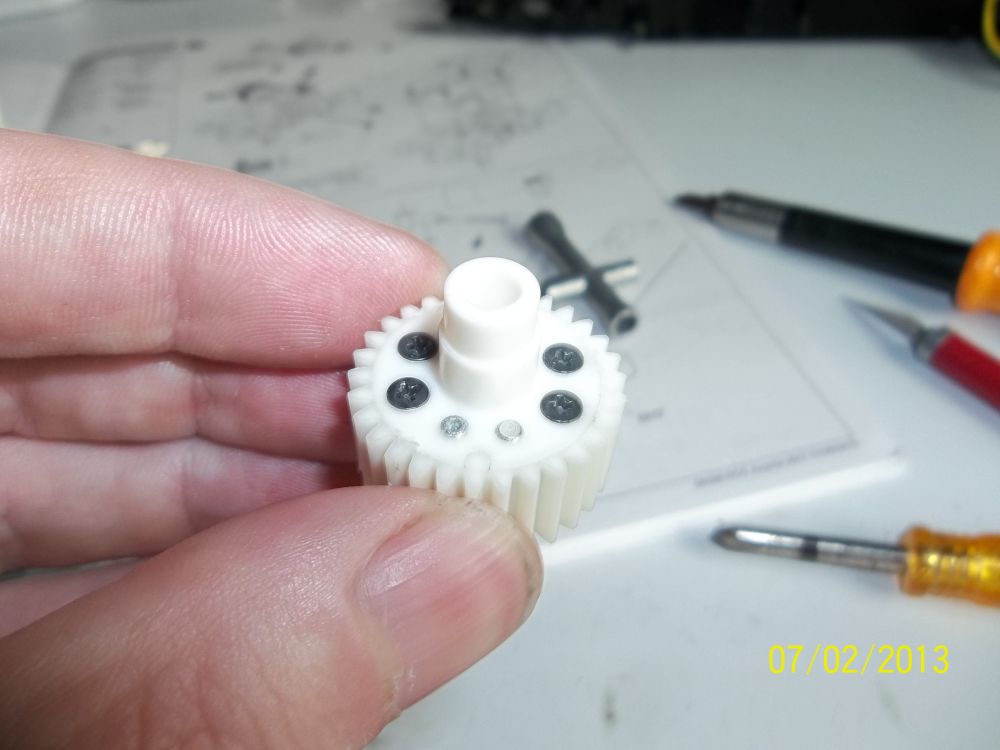
Here is a pic of one of the internal planetary gears. There are four of them and two sun gears (not shown). The grey/silver dab of putty is called “anti wear grease” and you need to apply this to the teeth of all the internal diff gears. By the way the gears are metal.
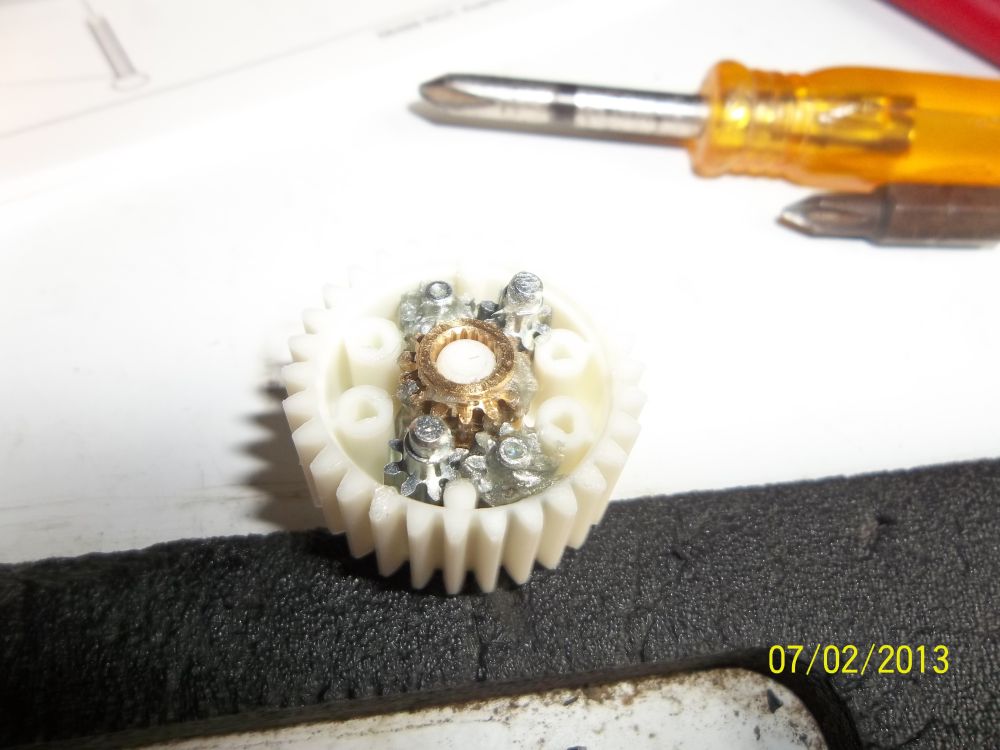
Here you can see all the gears inside the main diff gear with their coating of anti wear grease applied.

These are the sides of the diff gear and complete the whole unit.
All snugged up with the proper screws.
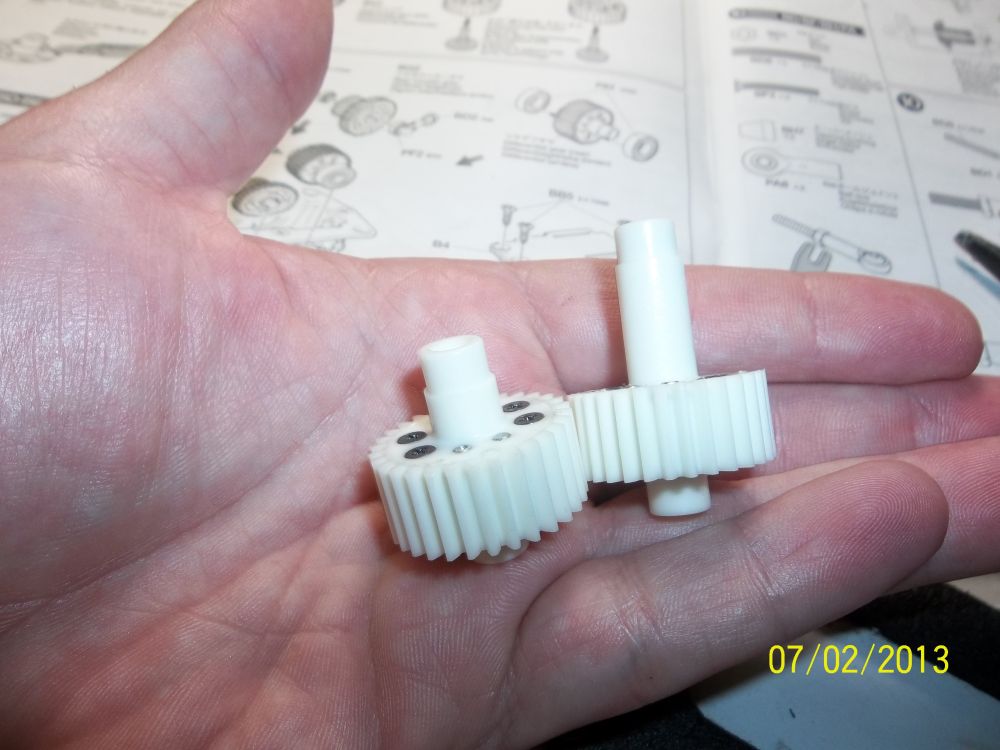
Front and and rear diffs. Notice the difference.
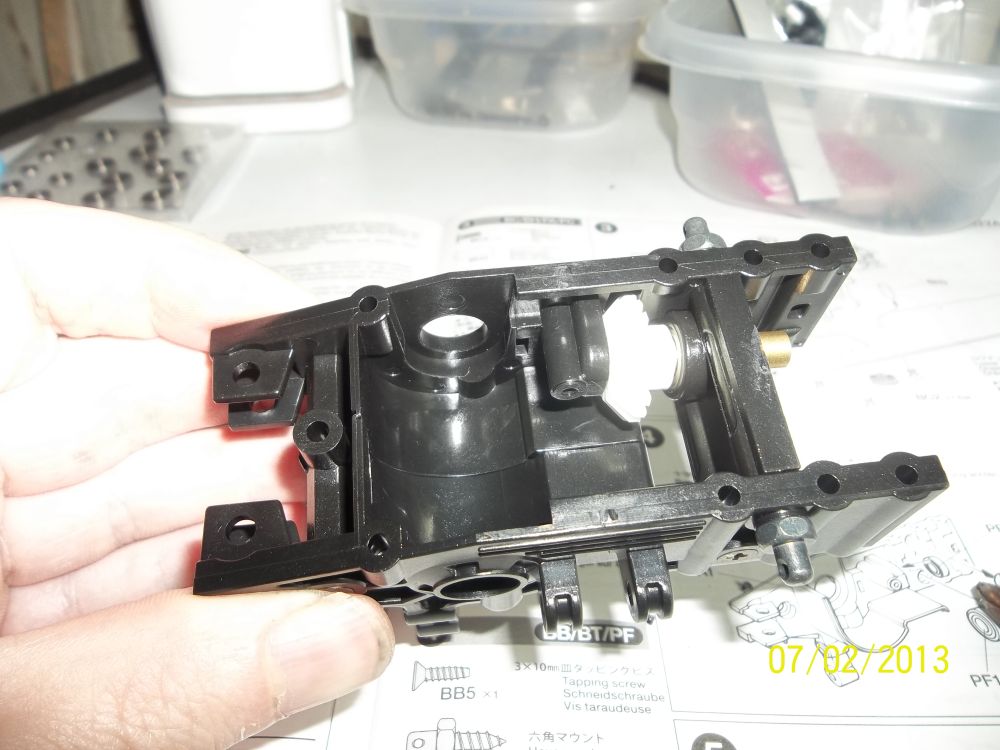
Now to start on the internals of the rear gearbox. Everything goes in from the bottom. I thought this was pretty cool. Makes getting to them later for maintenance easier.
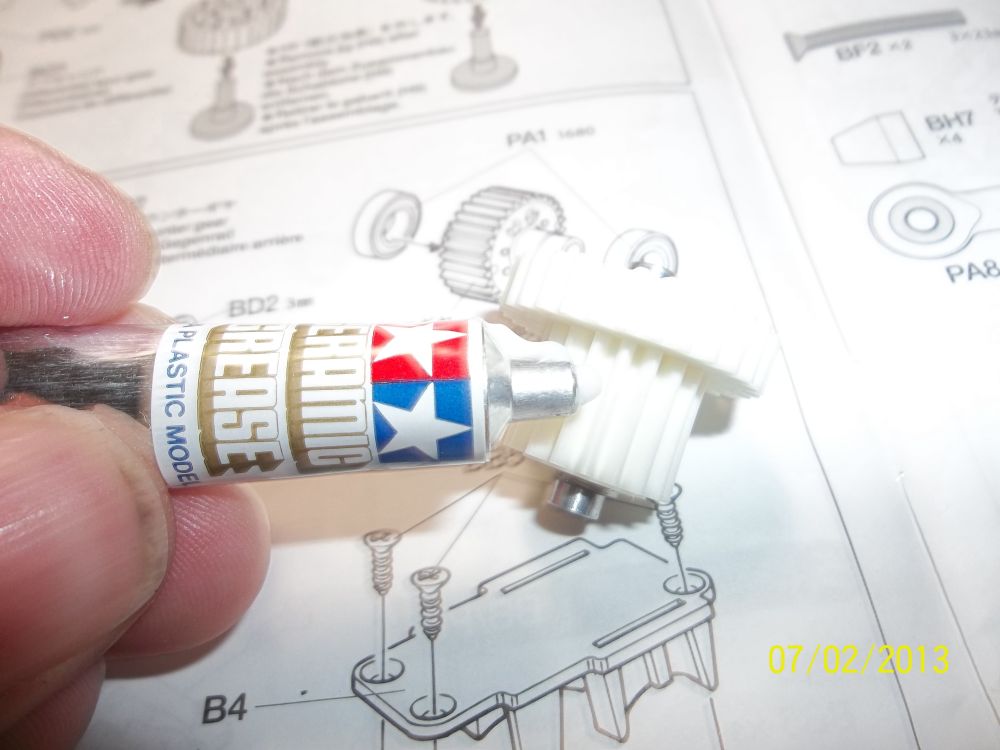
Ceramic grease, use this on all plastic gears.
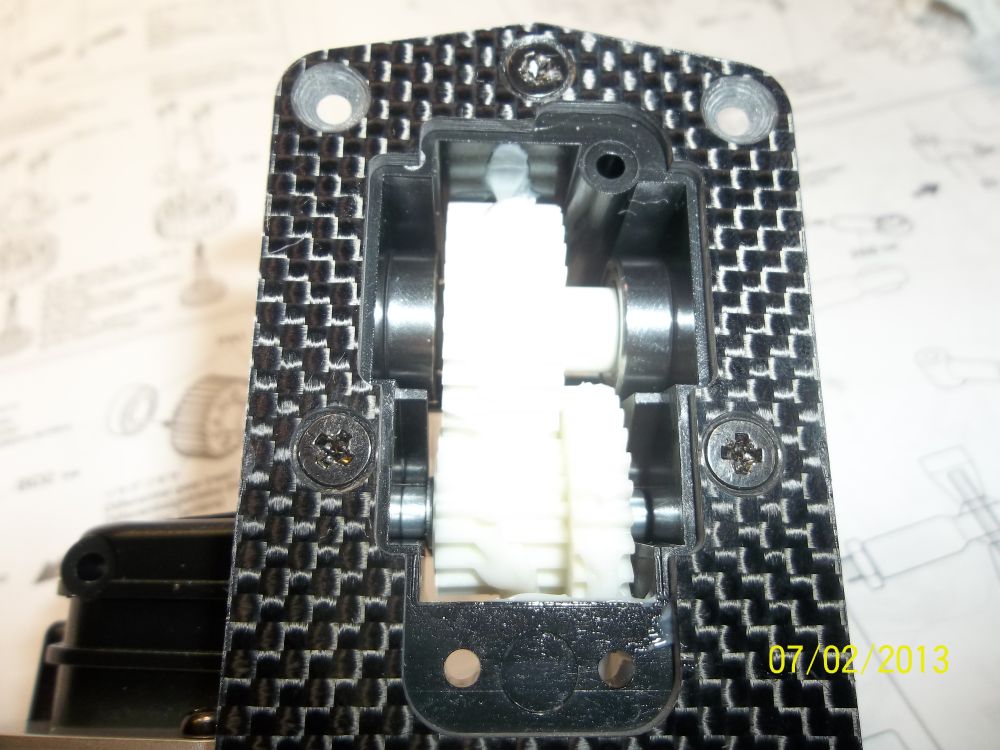
Although the flash of the camera blew out this pic.. you can see all the gears, bearings and shafts installed. Notice the ceramic grease on the gears.

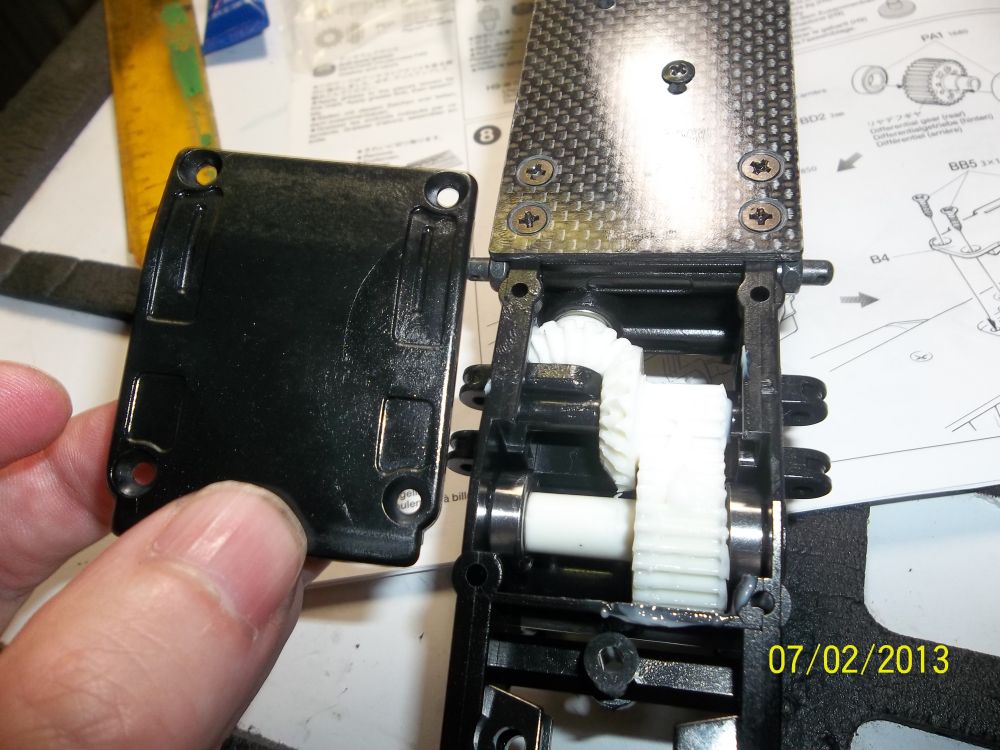
Here is the cover.
And a look from above. Pretty “NEAT” 😉
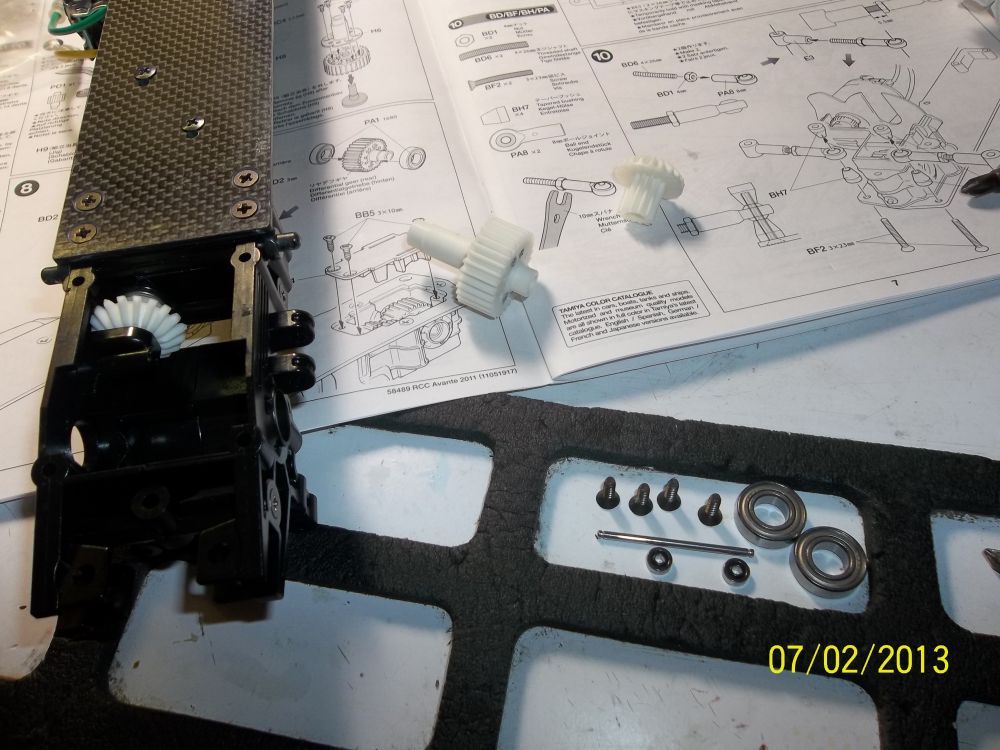
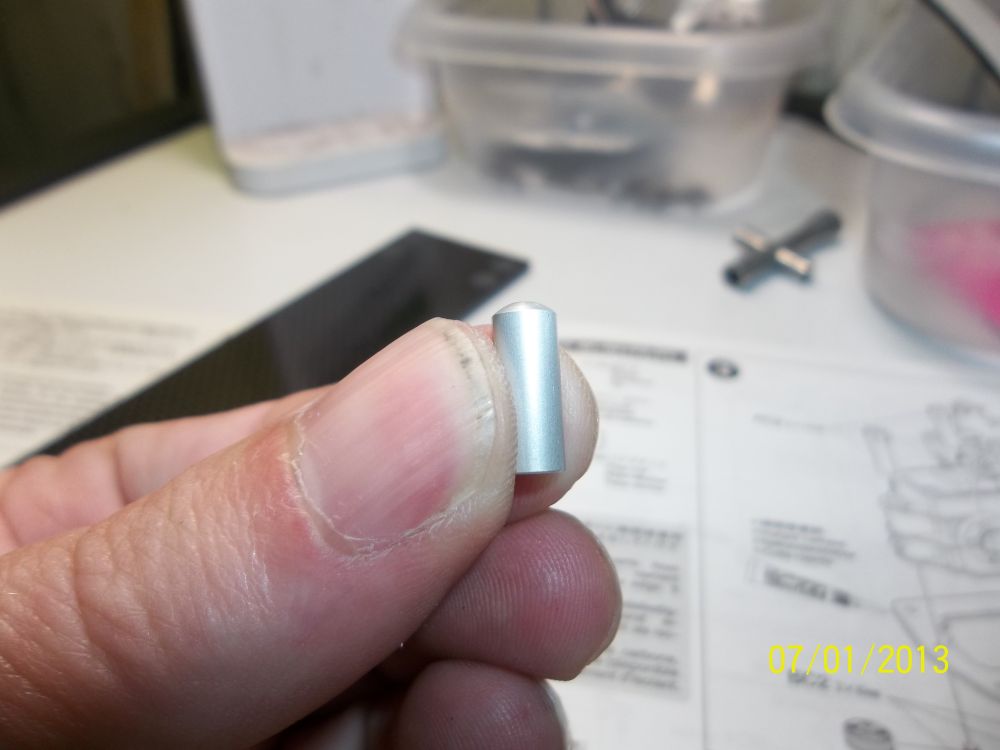
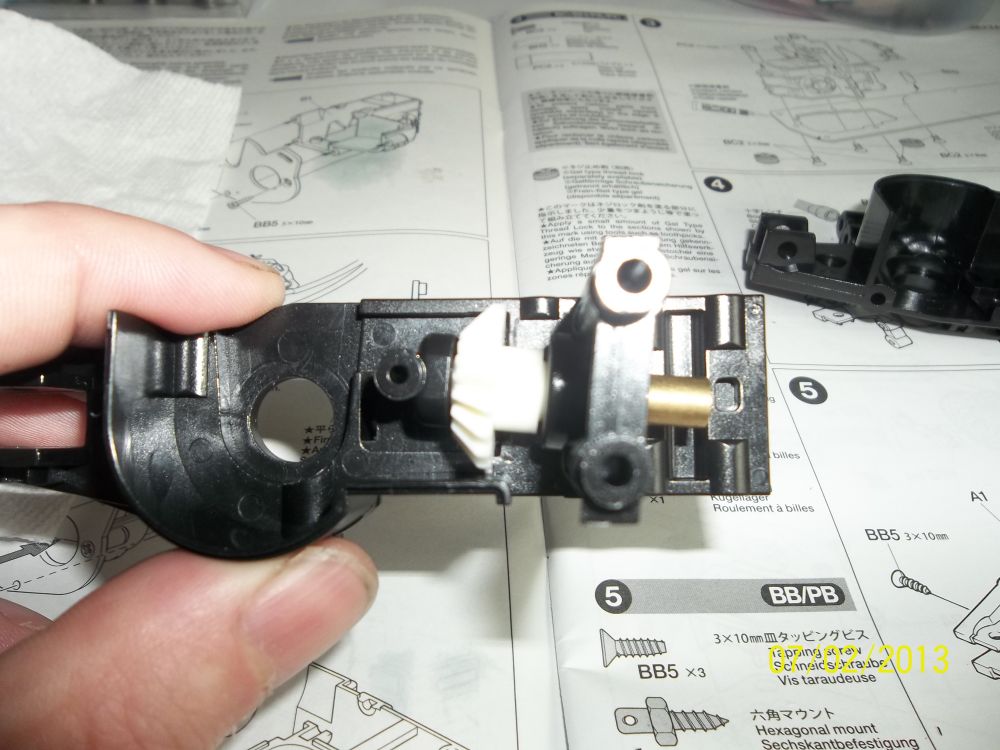
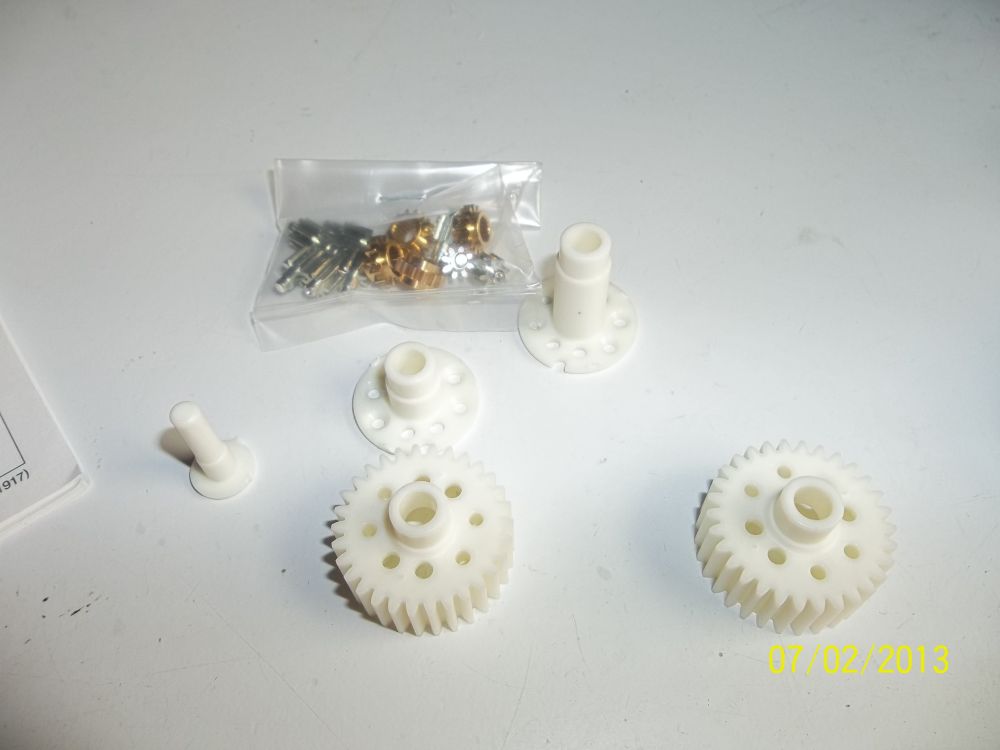
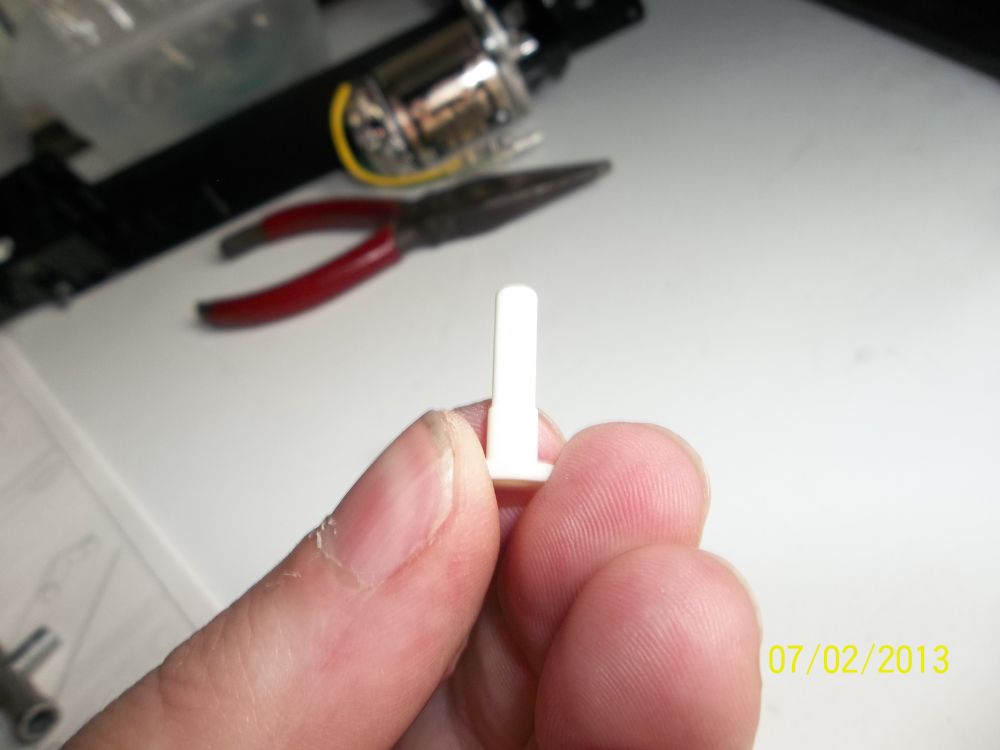
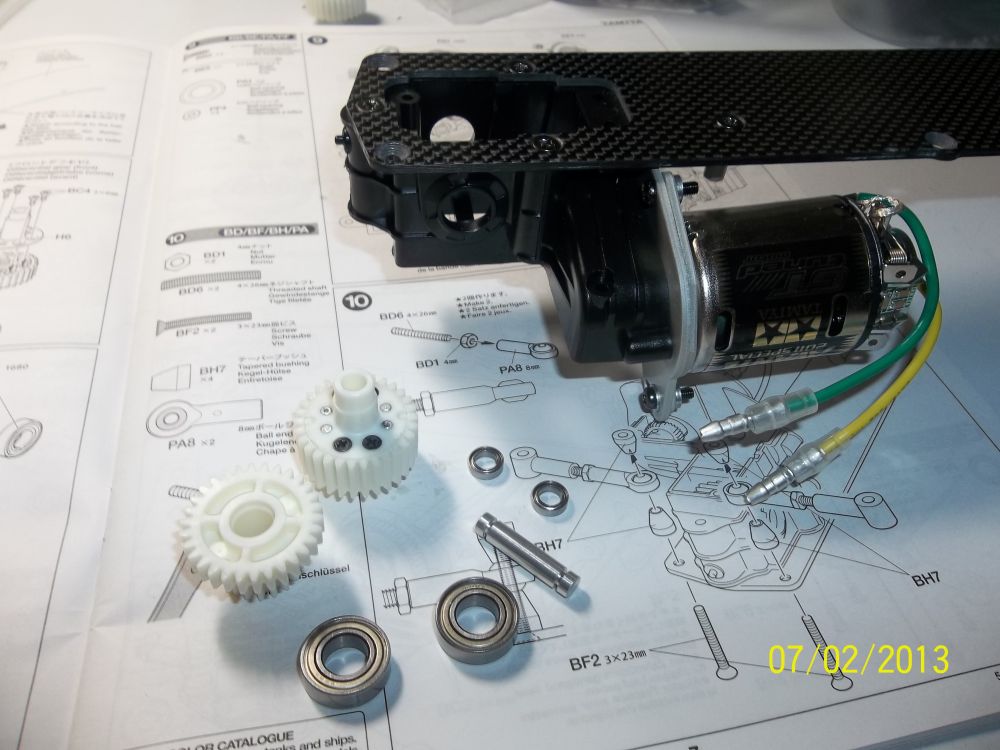
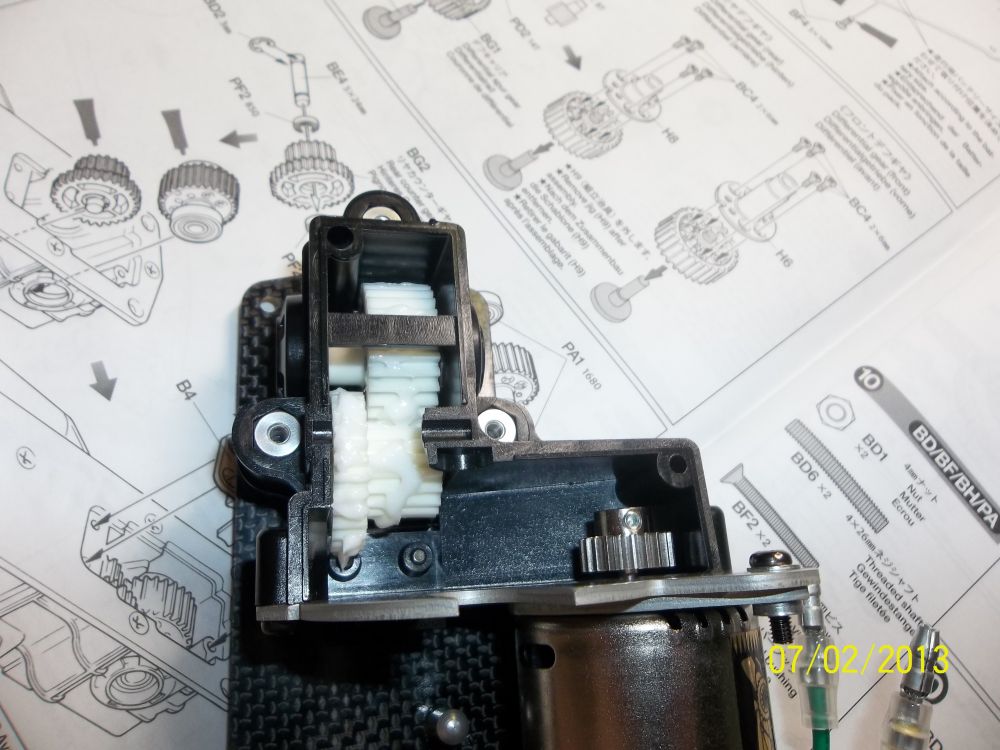
Now its time to install the gears and bearings in the front gearbox. Look how tiny that one shaft is and those two little bearings!
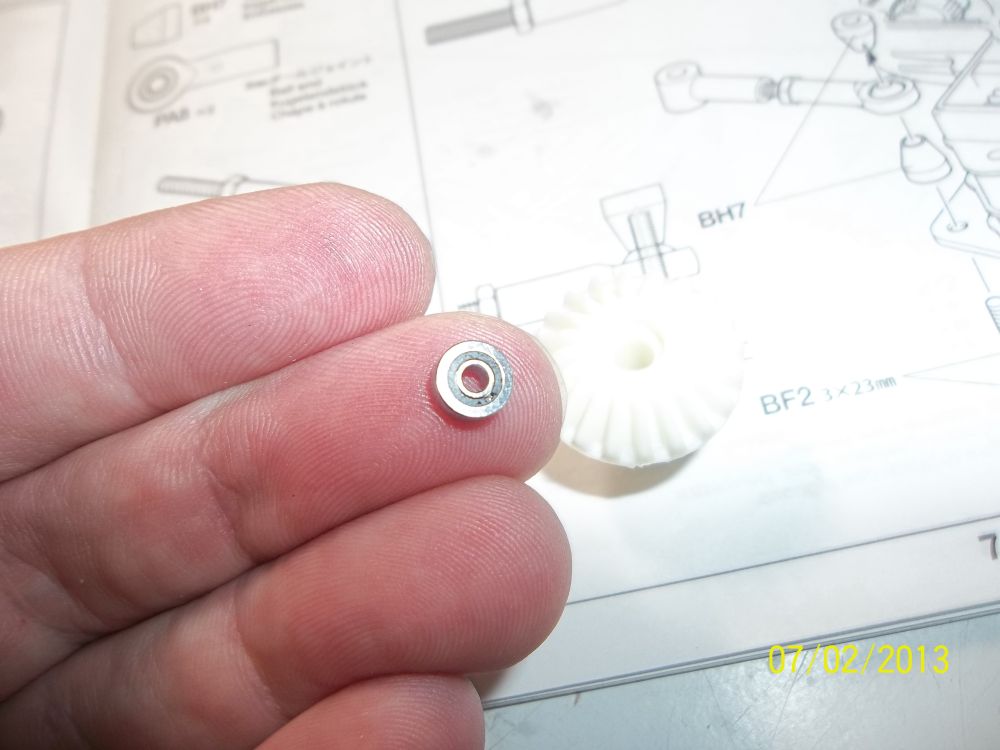 This is one of those bearings.
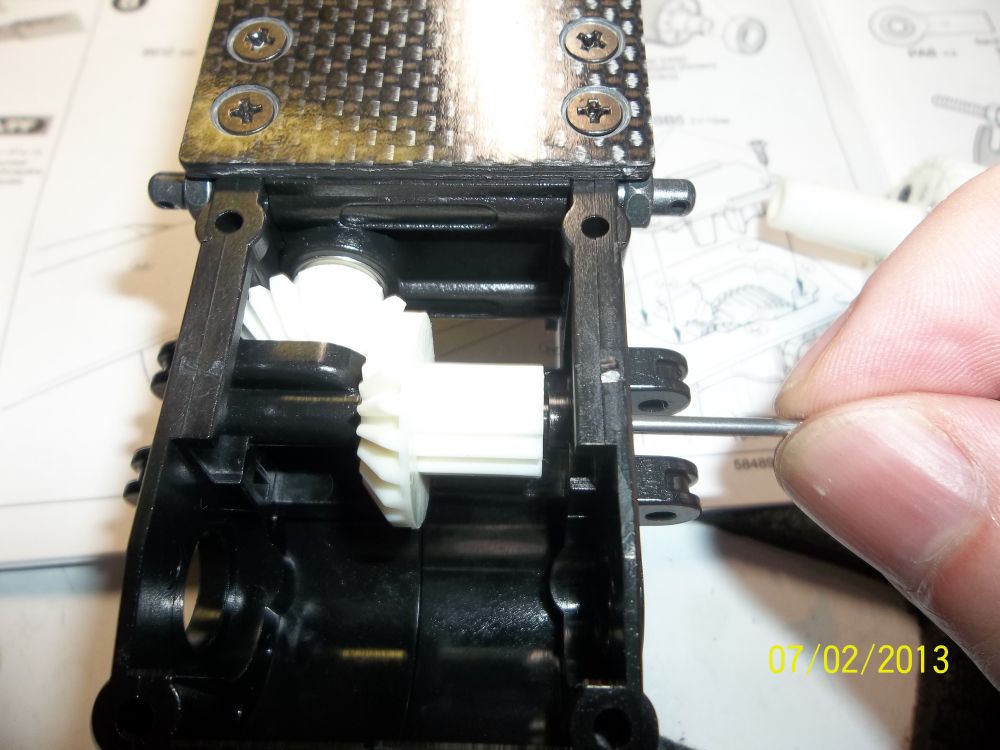
The shaft slides in from the side of the gearbox.
Use a piece of tape to cover the hole and to prevent the pin from sliding out. Later you can remove this tape.
 And now for the front gear cover.
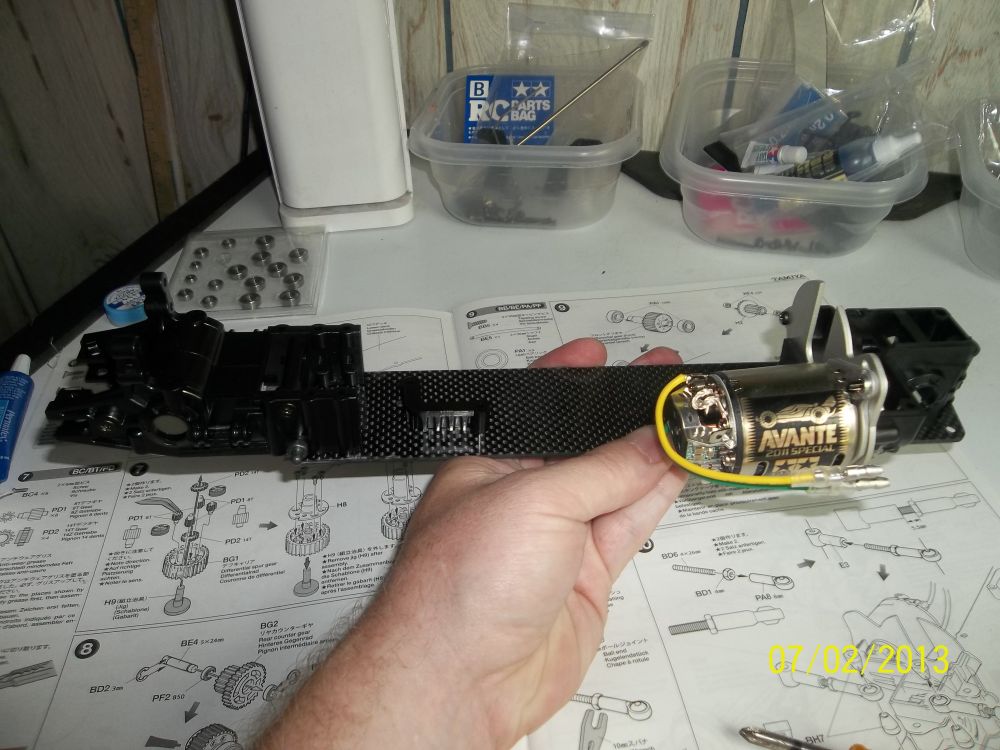
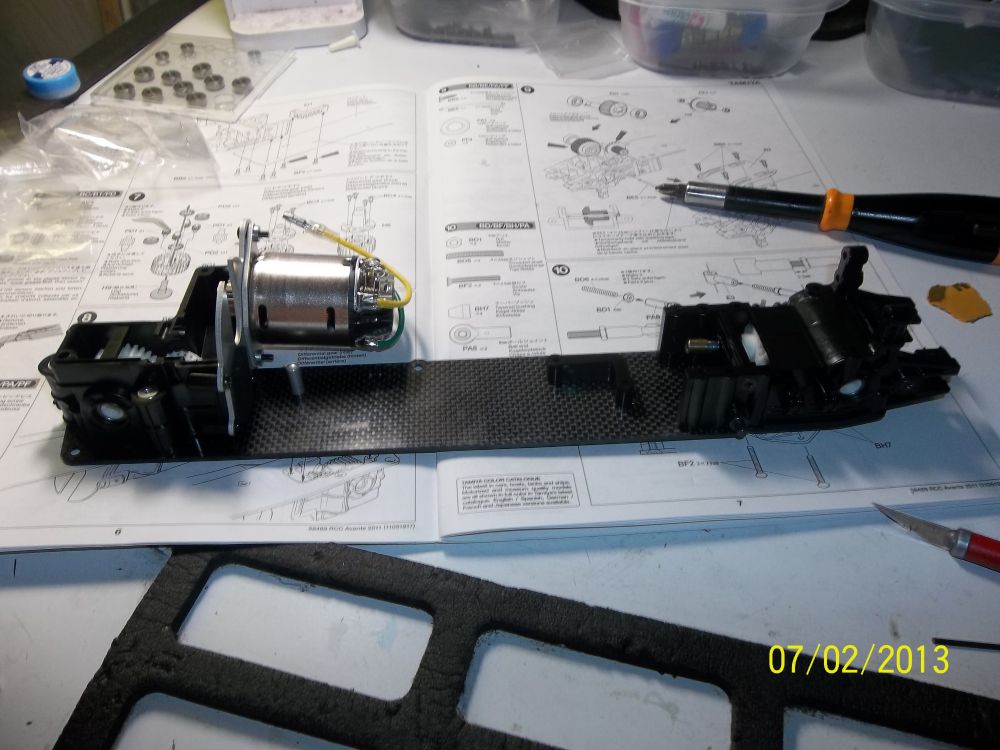 A shot of the chassis and gearboxes.
 Posted in
  Tags:
Tags:
Were you able to run this even though it was a re-release?