

 September 4th, 2013
  Geo
Geo
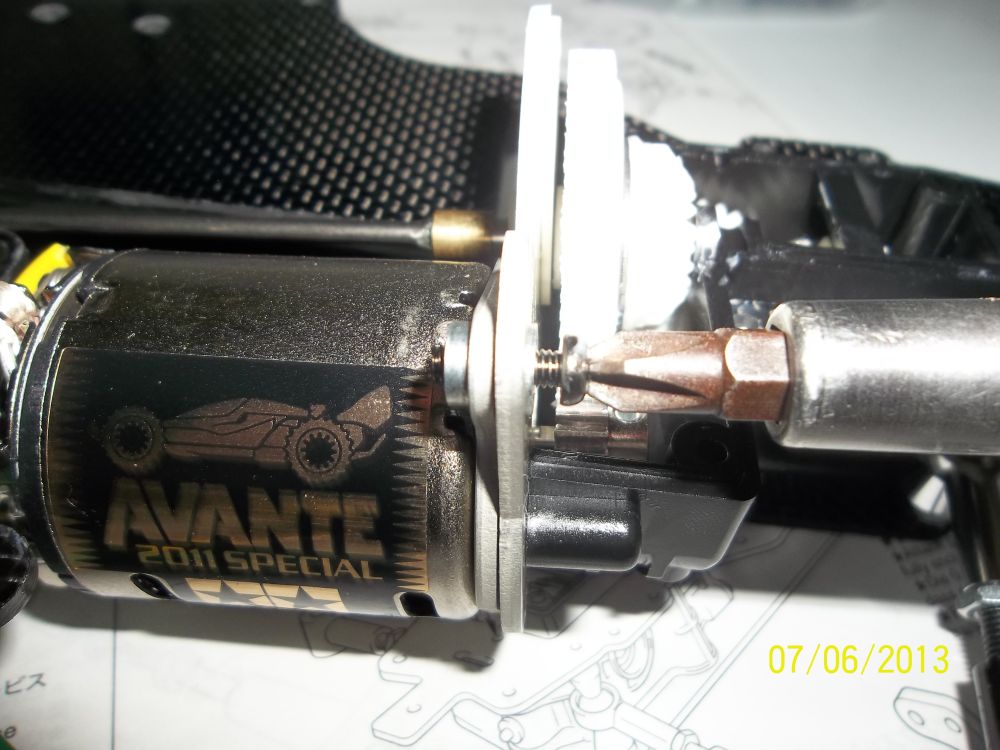
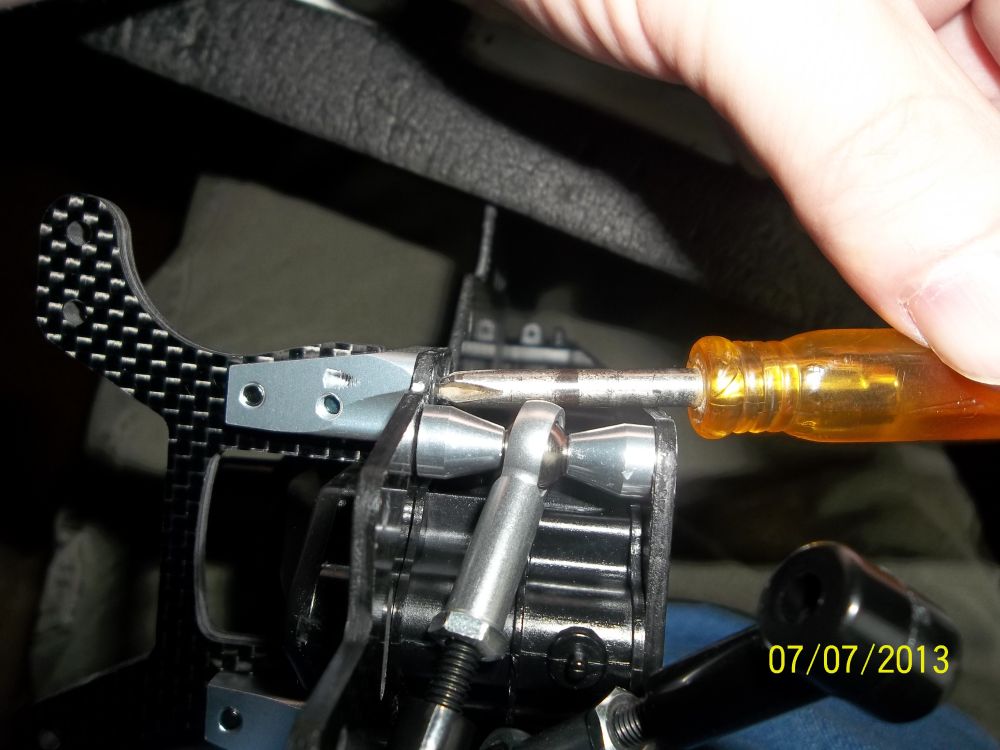
Here I decided to take out the stock Philips head screws that hold the motor cam in place and used some 3mm cap heads in their place. These screws will be easier to get at with a driver and you will be able to put enough torque on them to hold the cam in place.
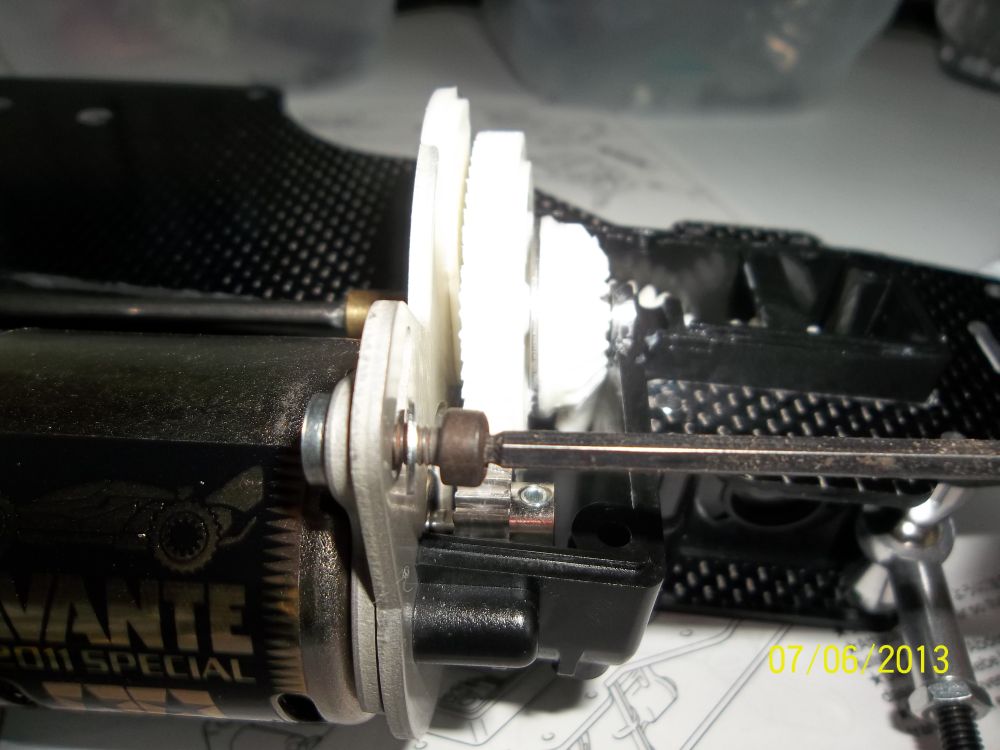 Cap head screw.
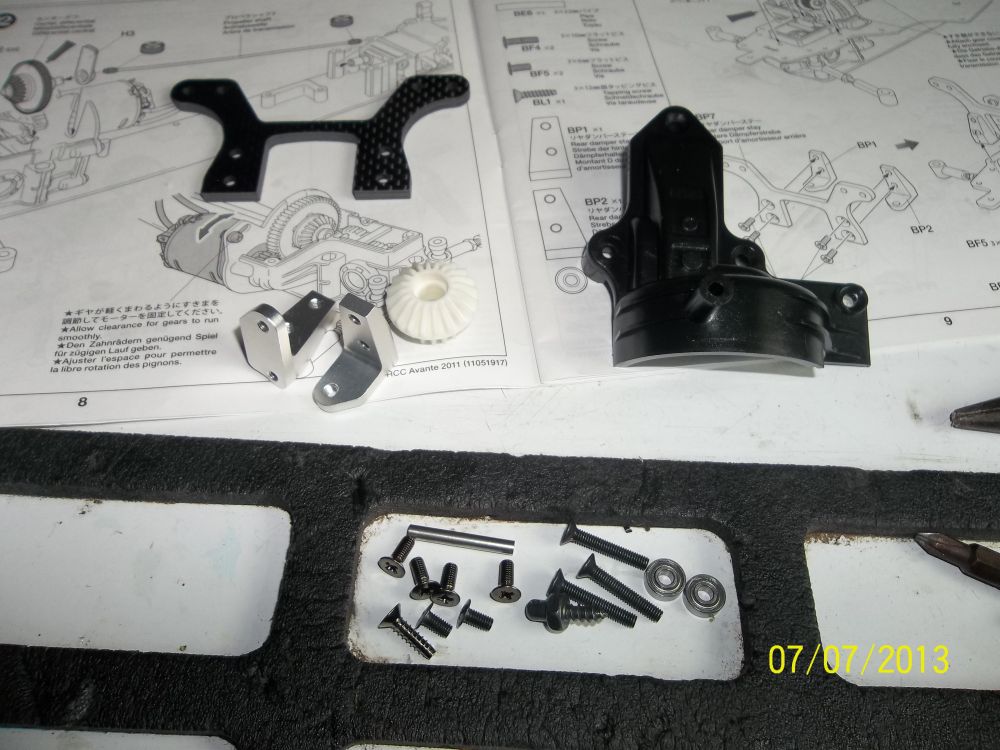
Parts to finish off the rear gearbox. We will also be putting on the rear shock tower.
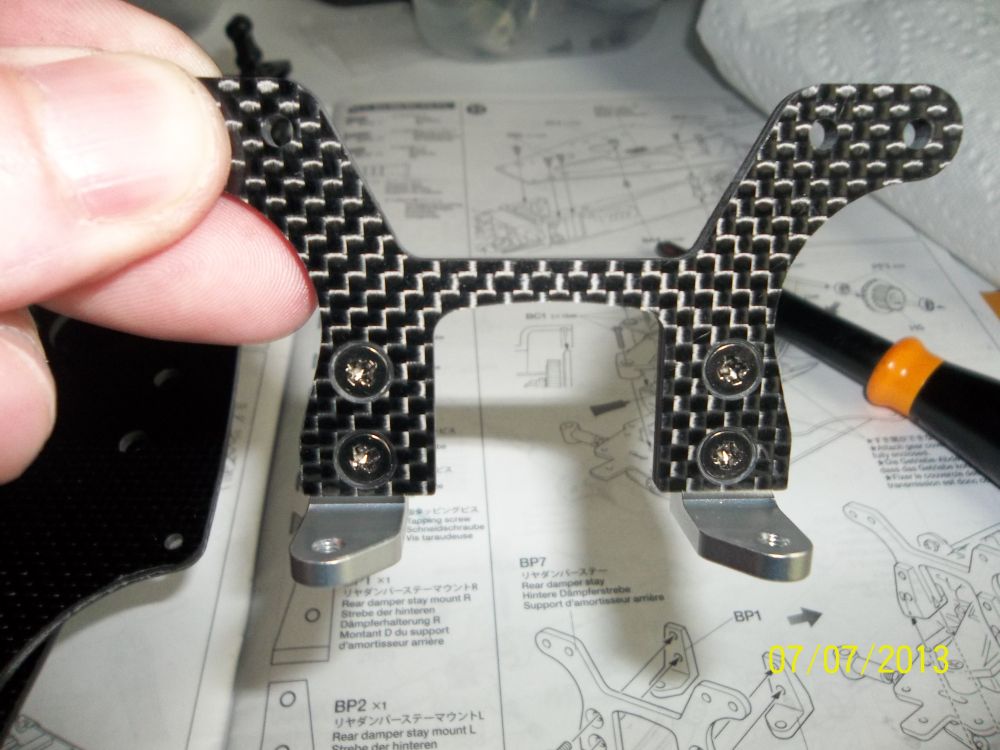
Rear graphite shock tower and aluminum stand offs. NEAT!
The tower attaches from bottom with machined countersunk Phillips screws.
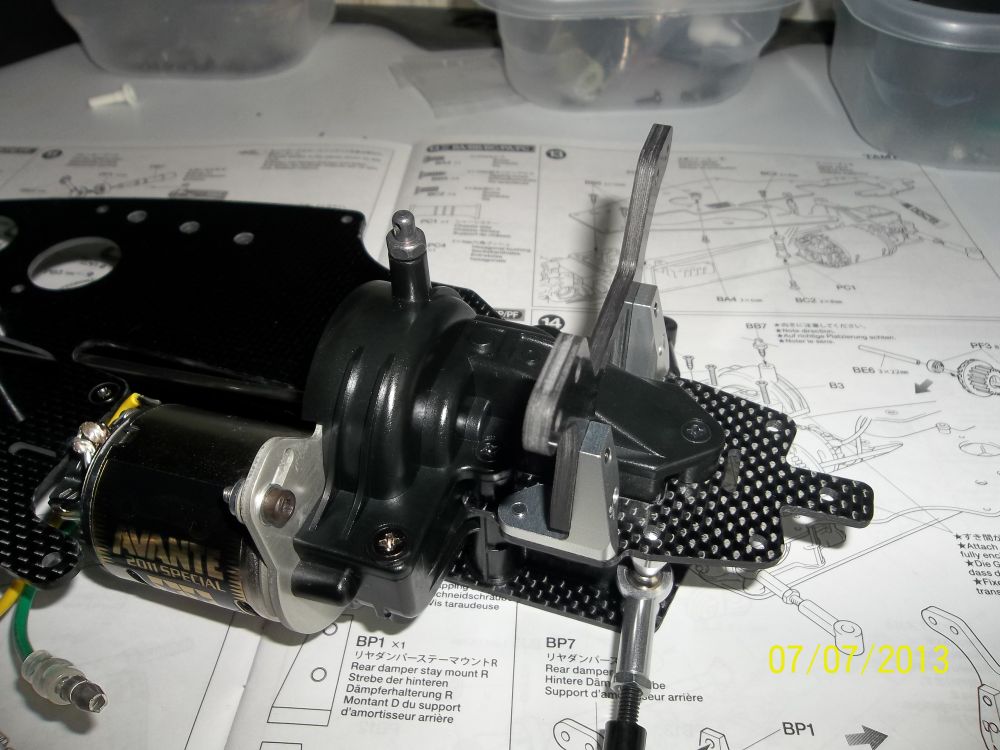
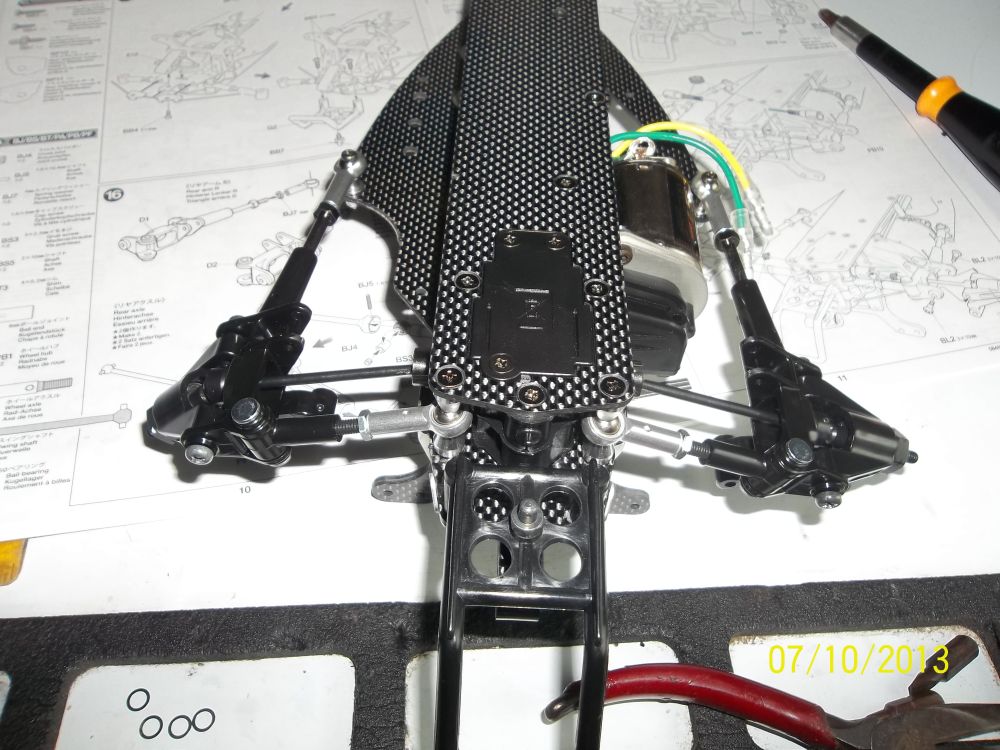
Upper gear cover and tower complete!
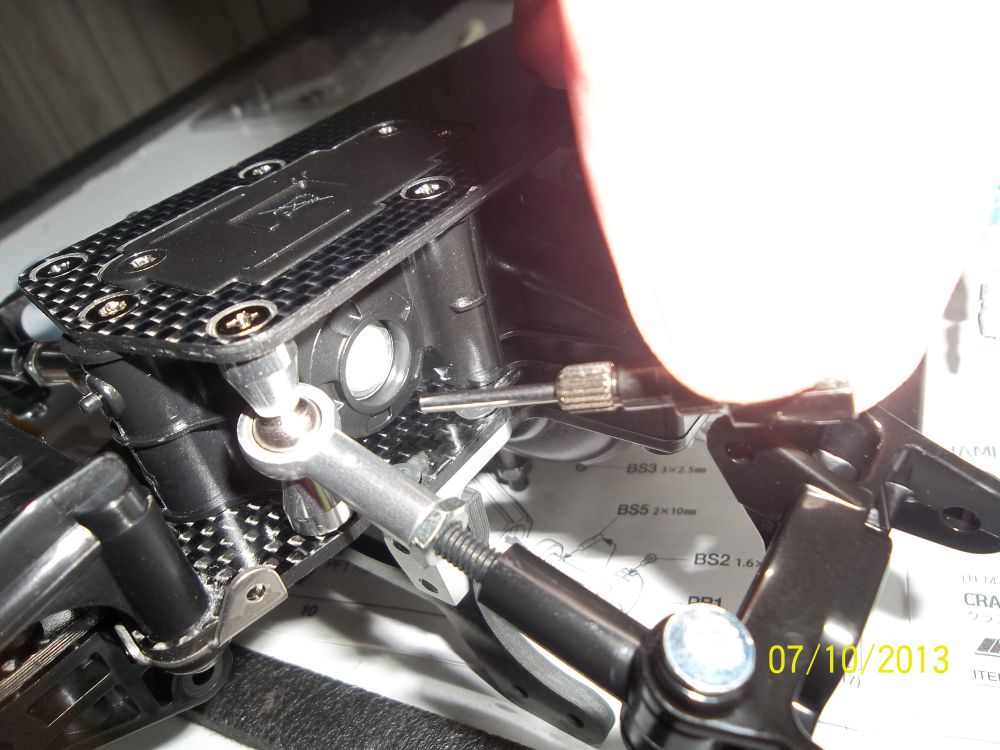
Time to mount the rear sway bar.
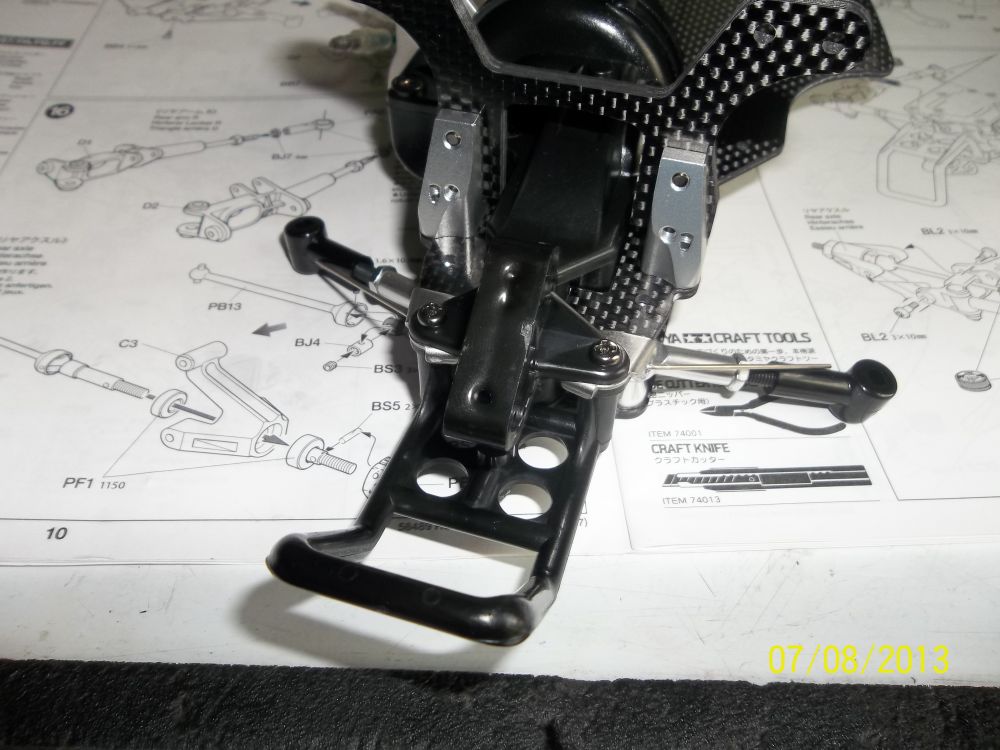
It attaches via this little plastic part.

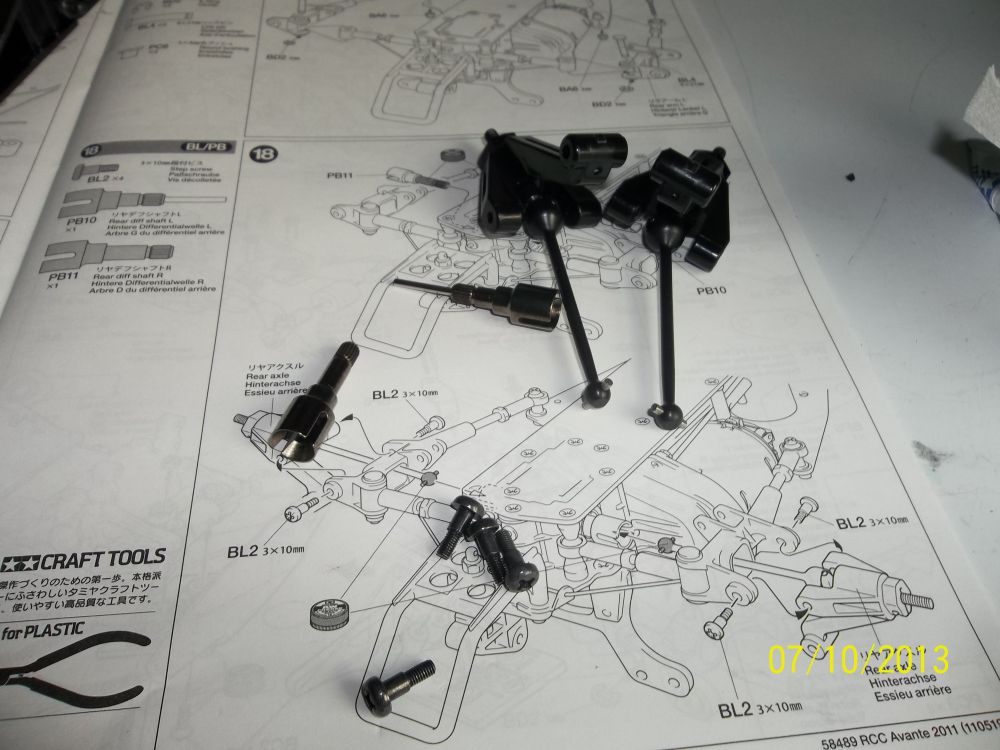
Oh man, a lot of parts for this next step. CVD’s, rear arms and all the hardware for it. Those hexes off to the right are aluminum lock on type… NEAT 🙂
The rear hubs with the assembled CVD’s and those nice aluminum hexes.
 Rear arms attached.
Now its time to take the rear hubs and outdrives and put them on the car. The shoulder screws here look to be teflon coated. I am not 100% sure so don’t quote me on that.
The outdrives just slide into the diff.
Make sure to use some anti wear grease on them.
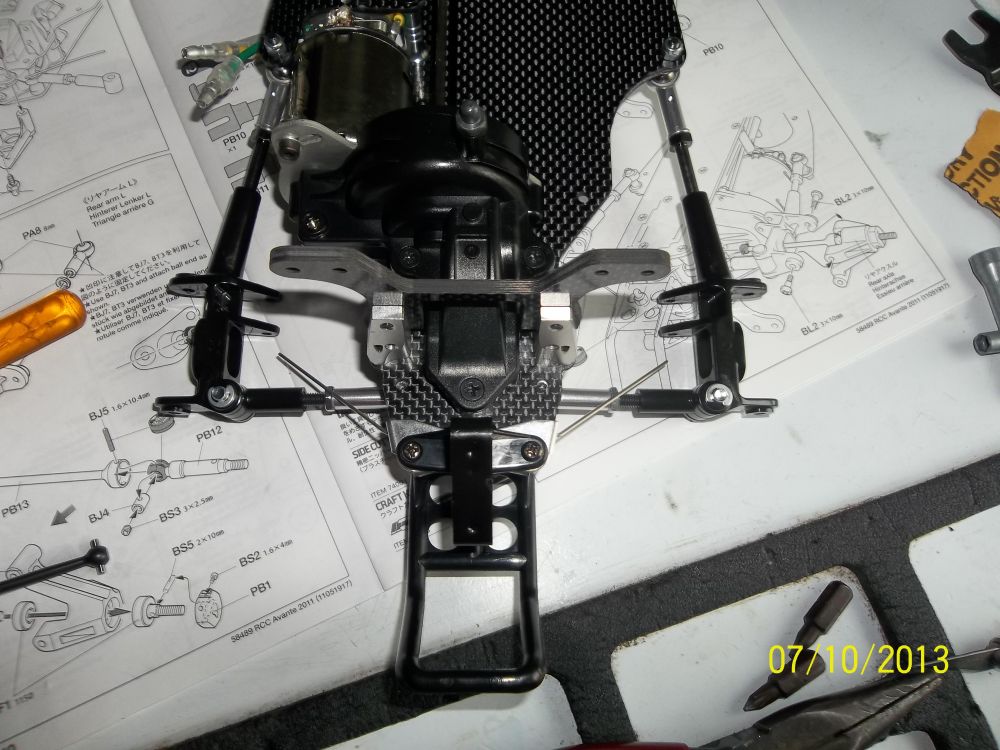
The rear end with the hubs and trailing arms as well as the CVD’s installed.
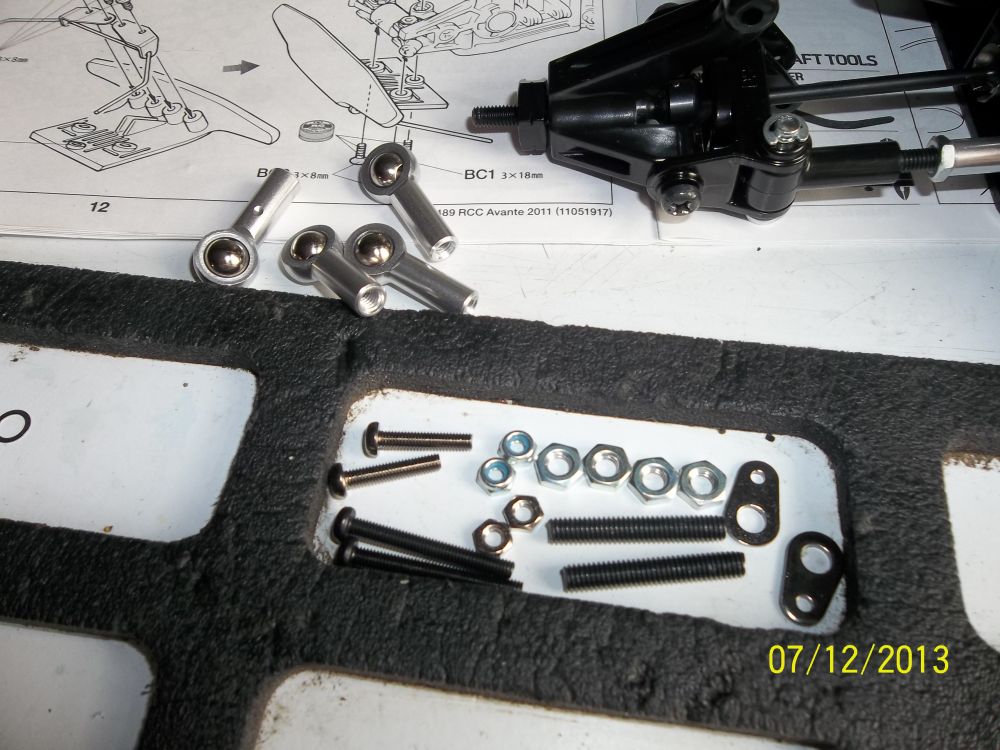
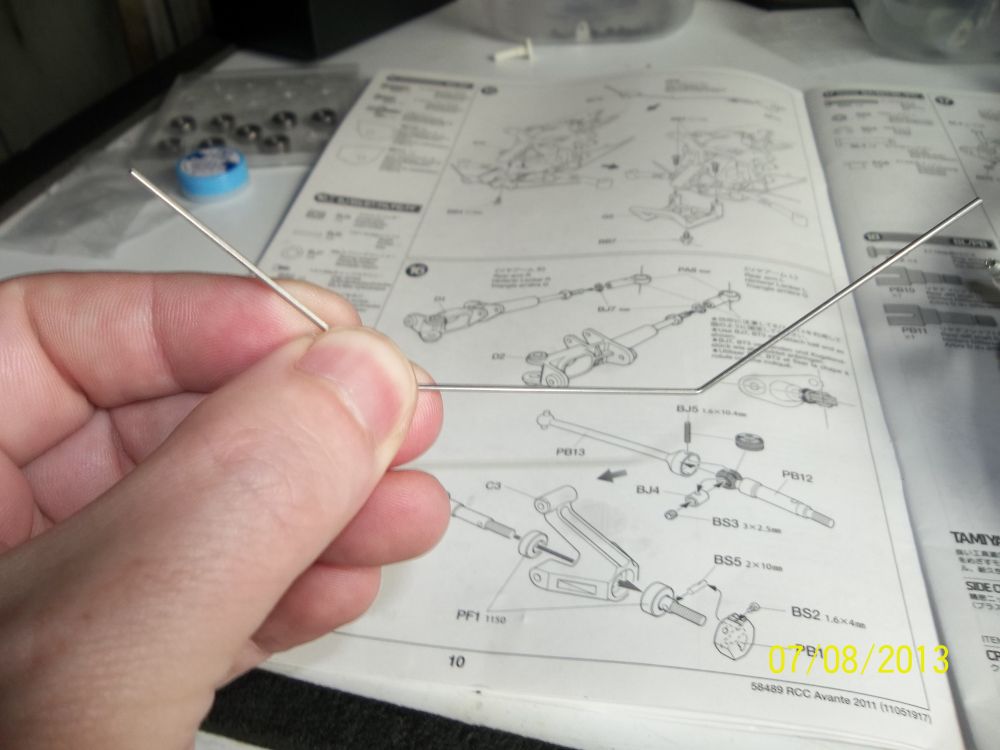
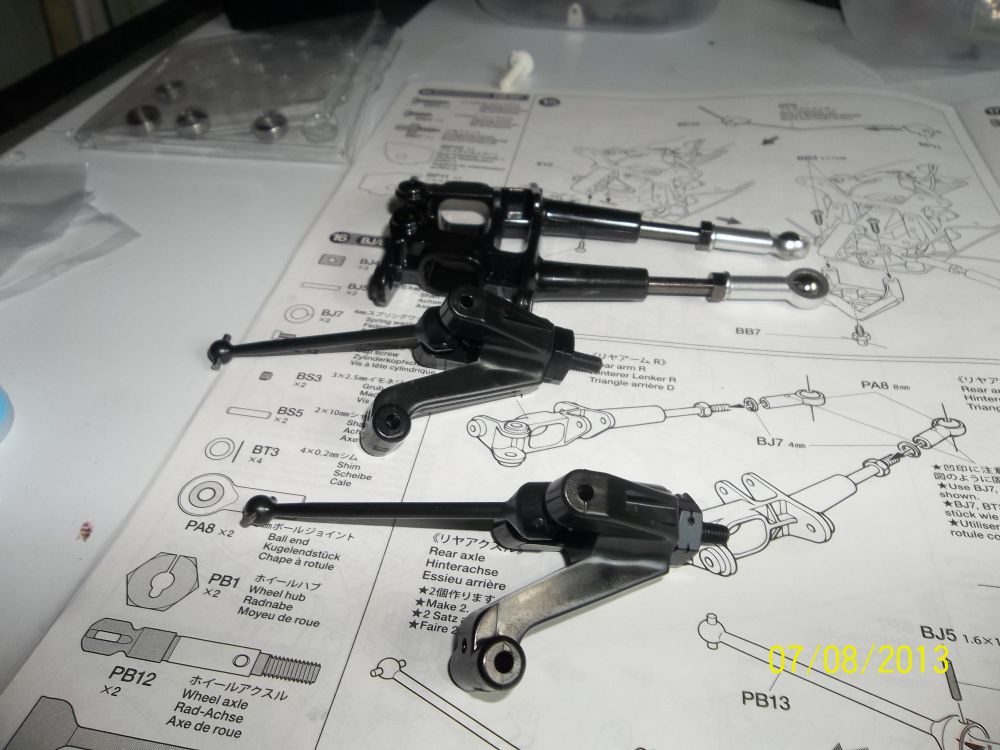
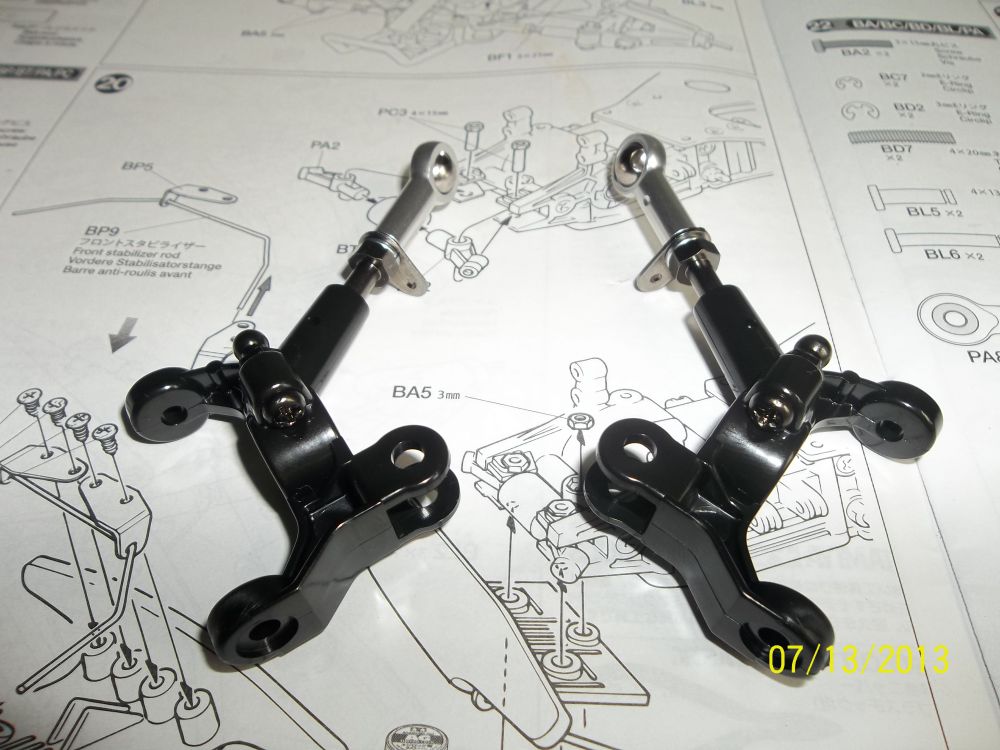
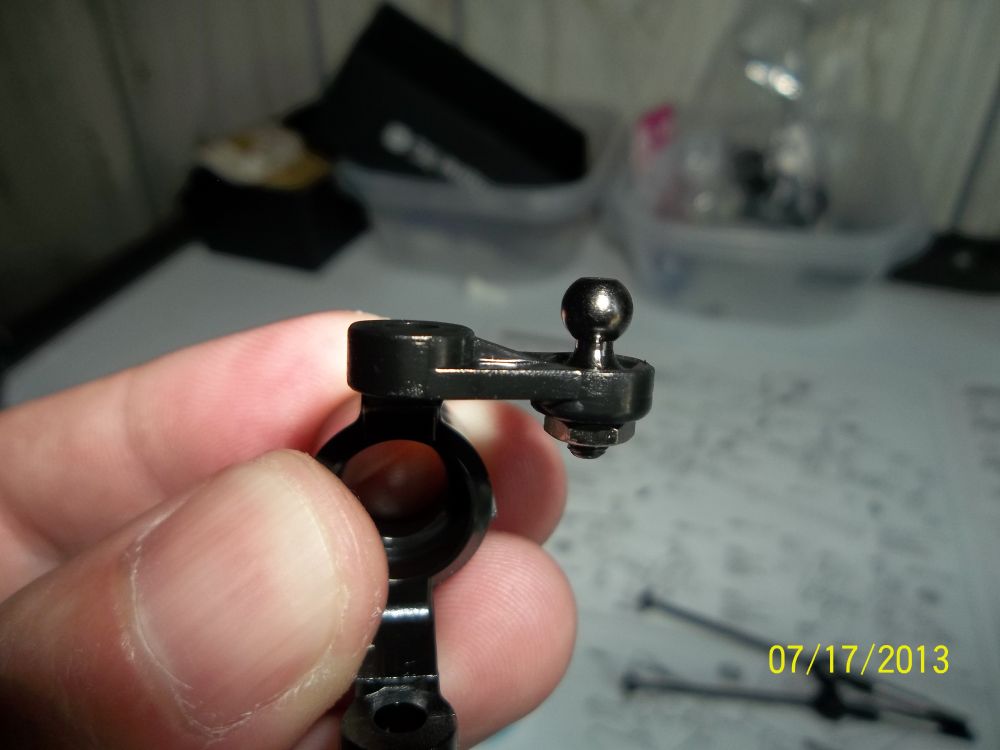
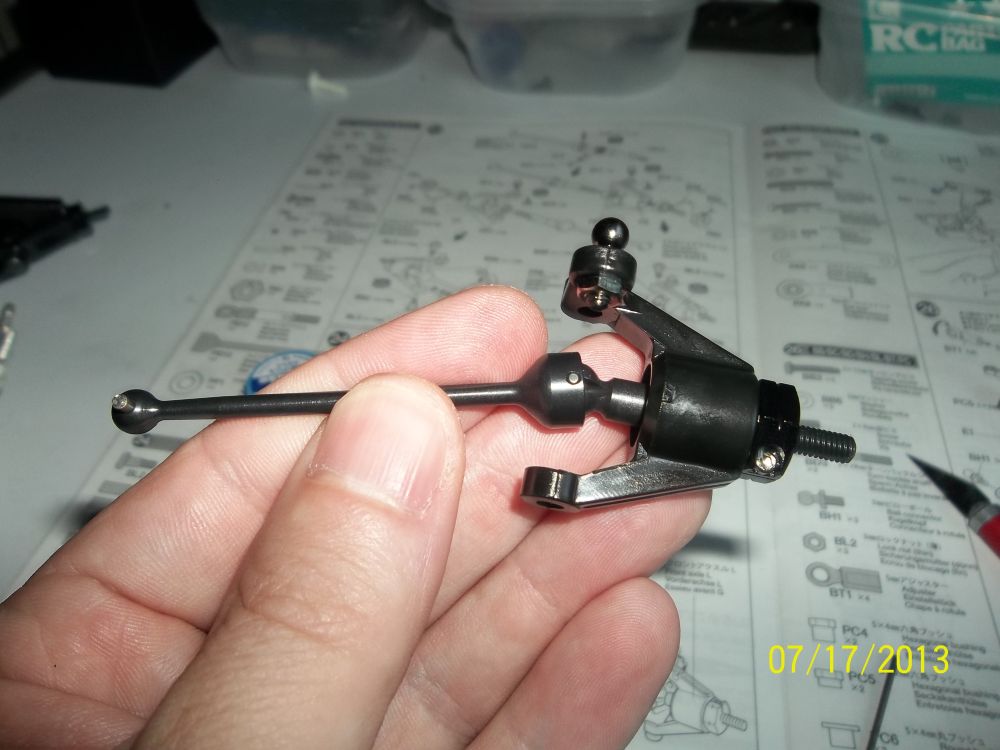
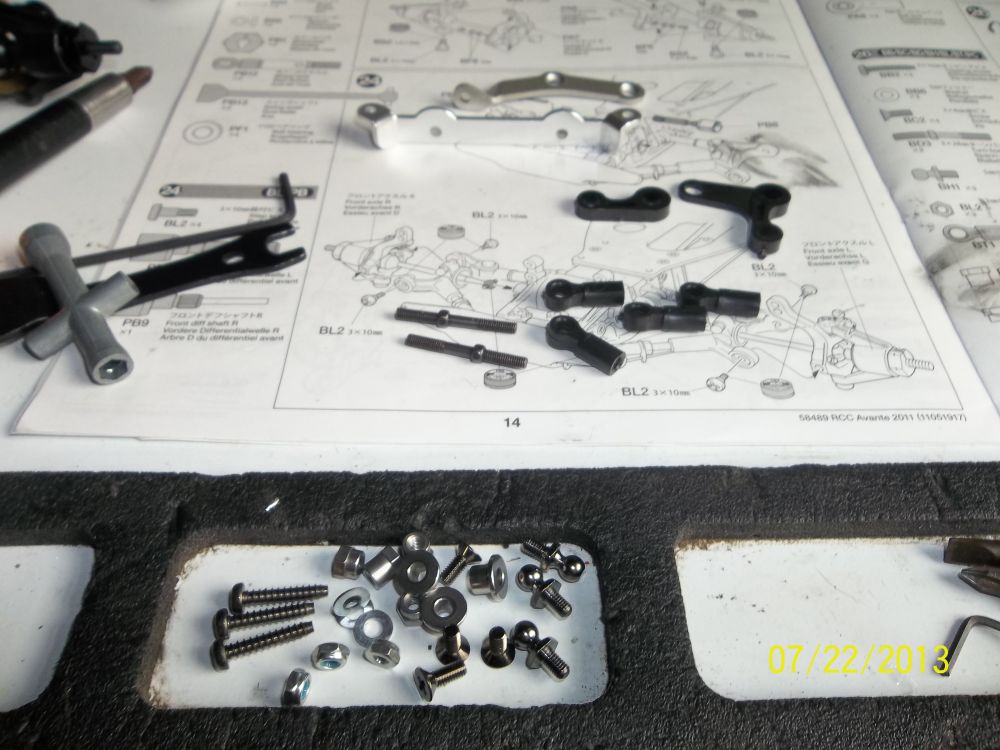
Here we go again, more tie rods 🙂
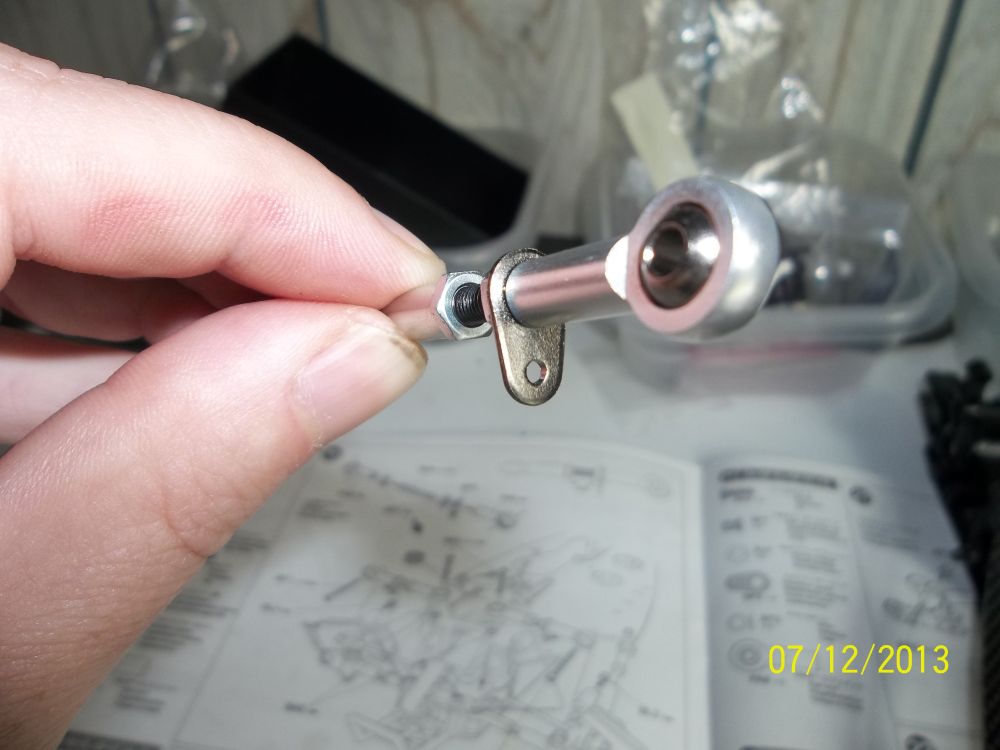
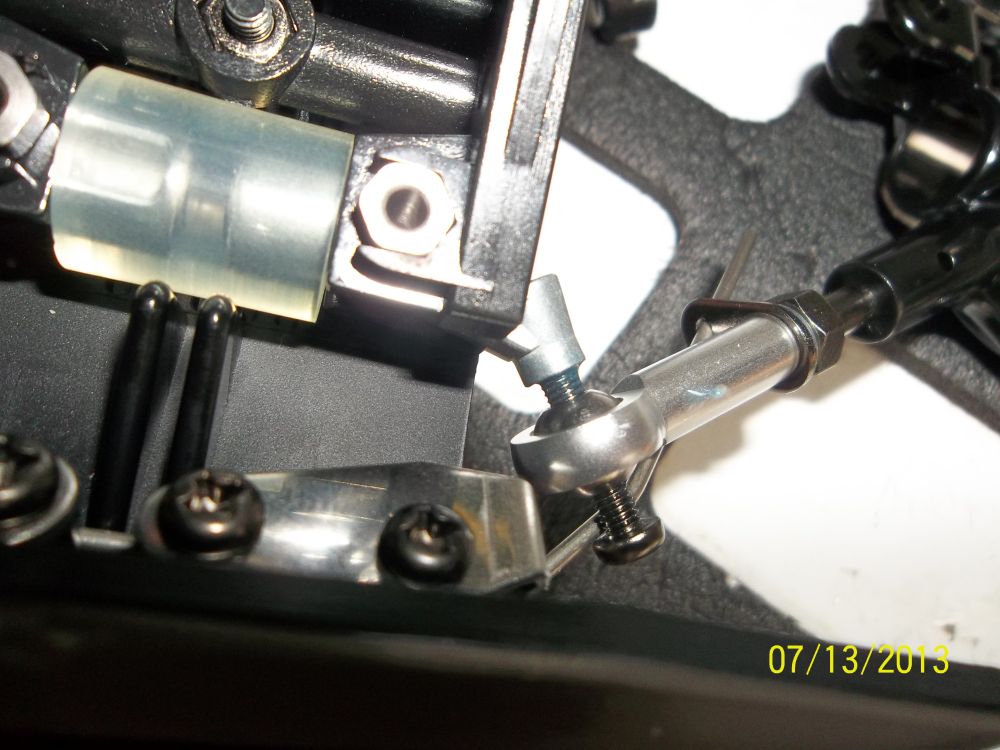
Make sure the sway bar mount is aligned with the ball joint.
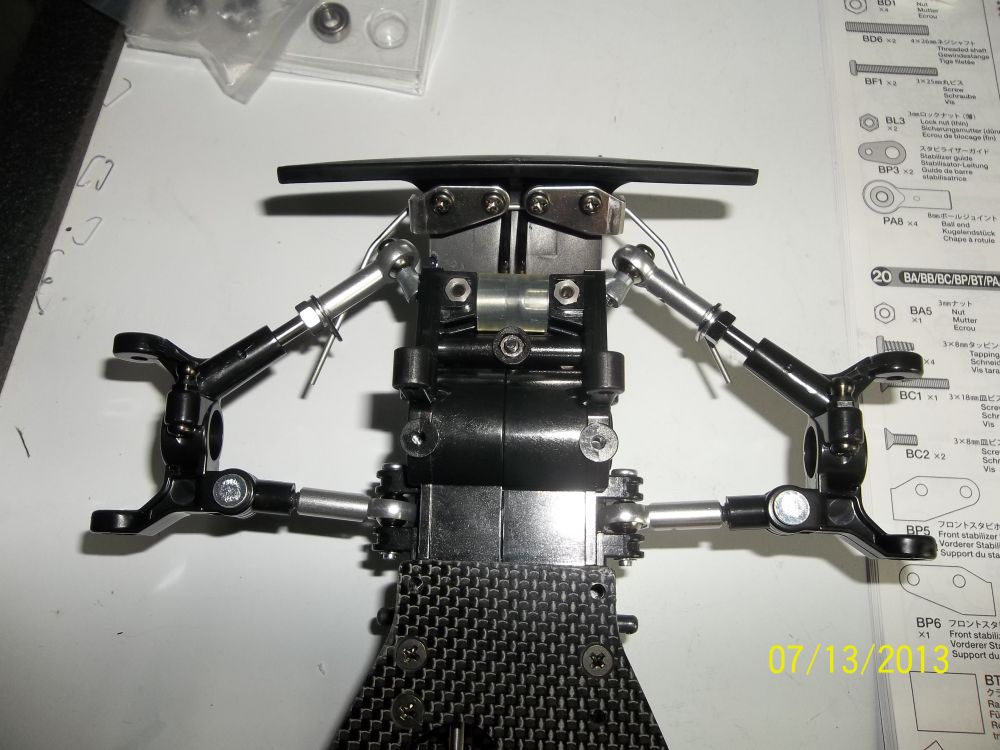
Sway bar and upper tie rods mounted.
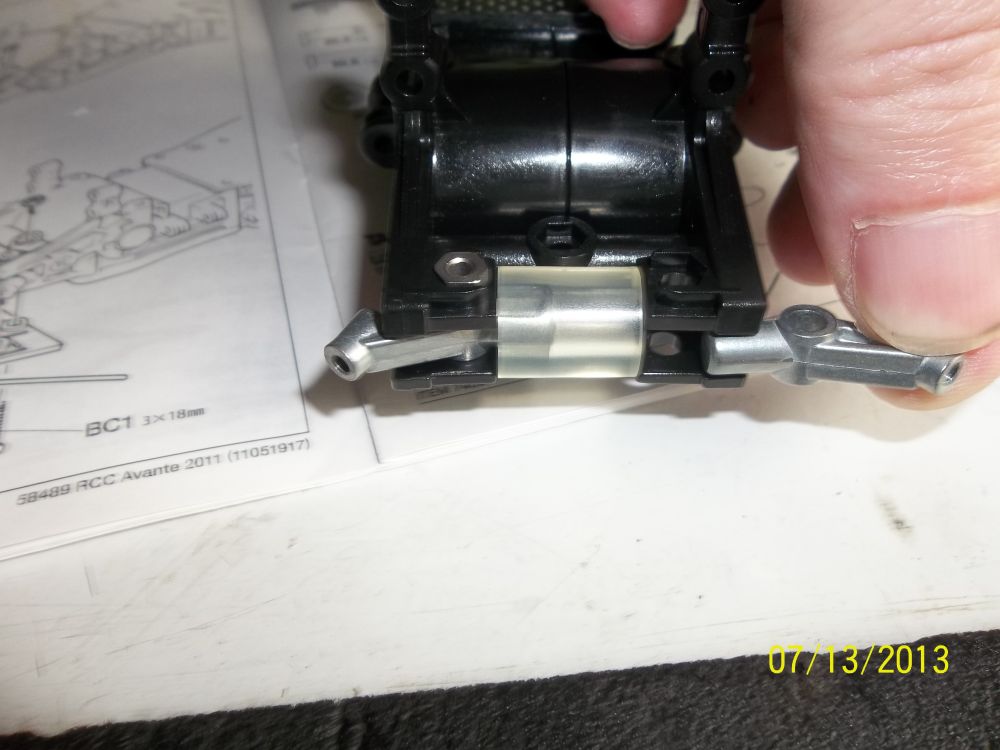
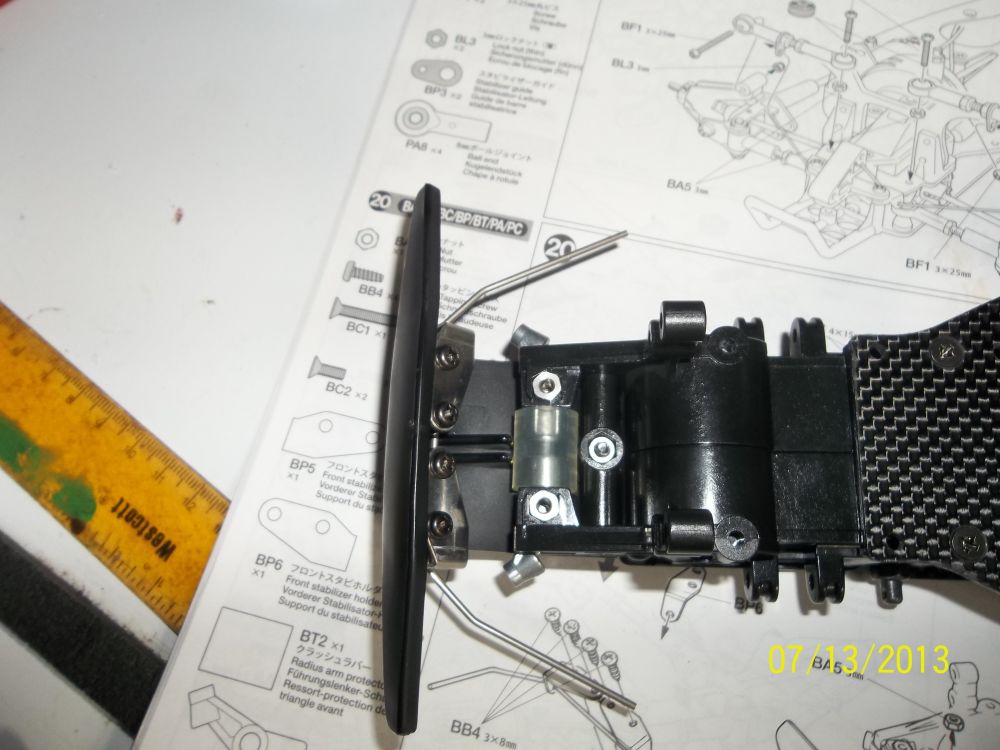
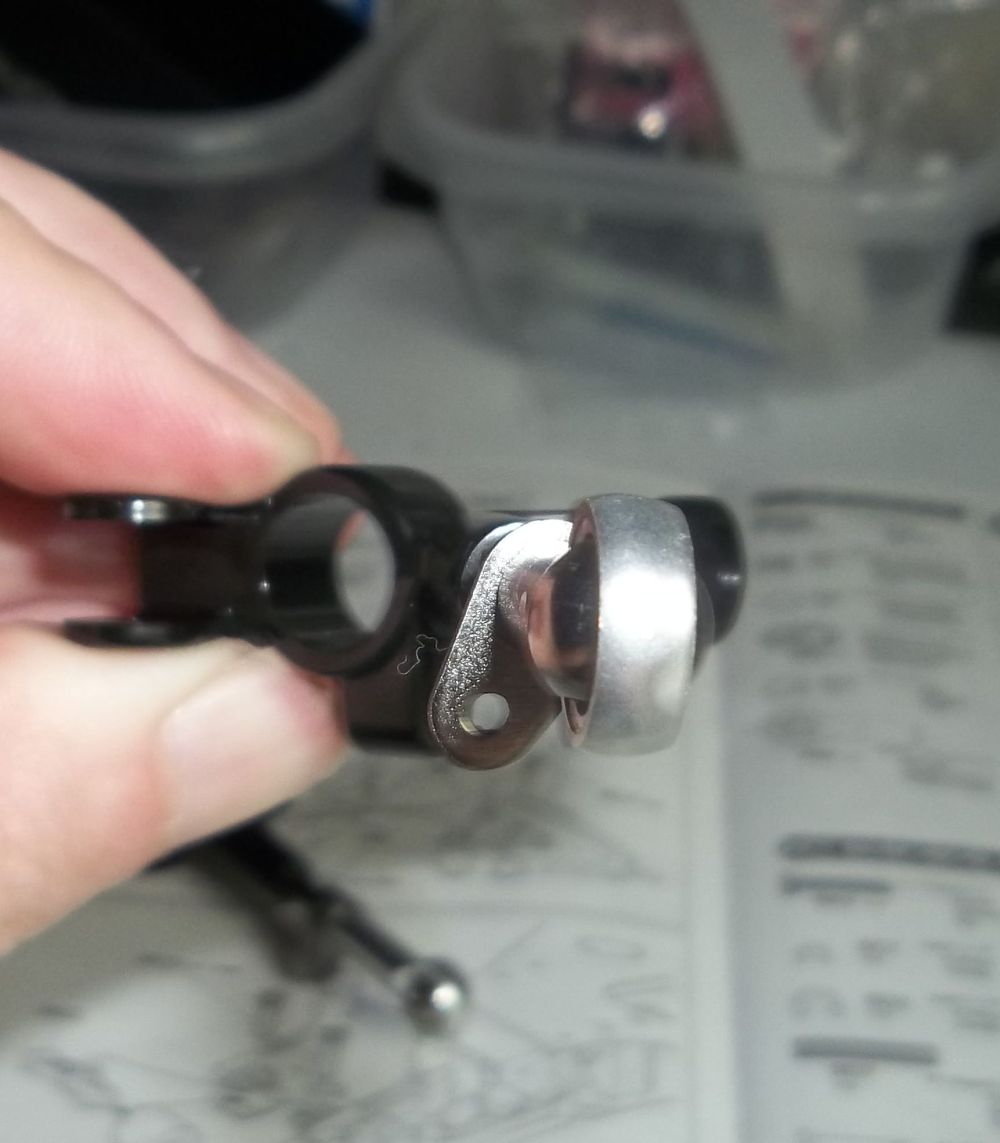
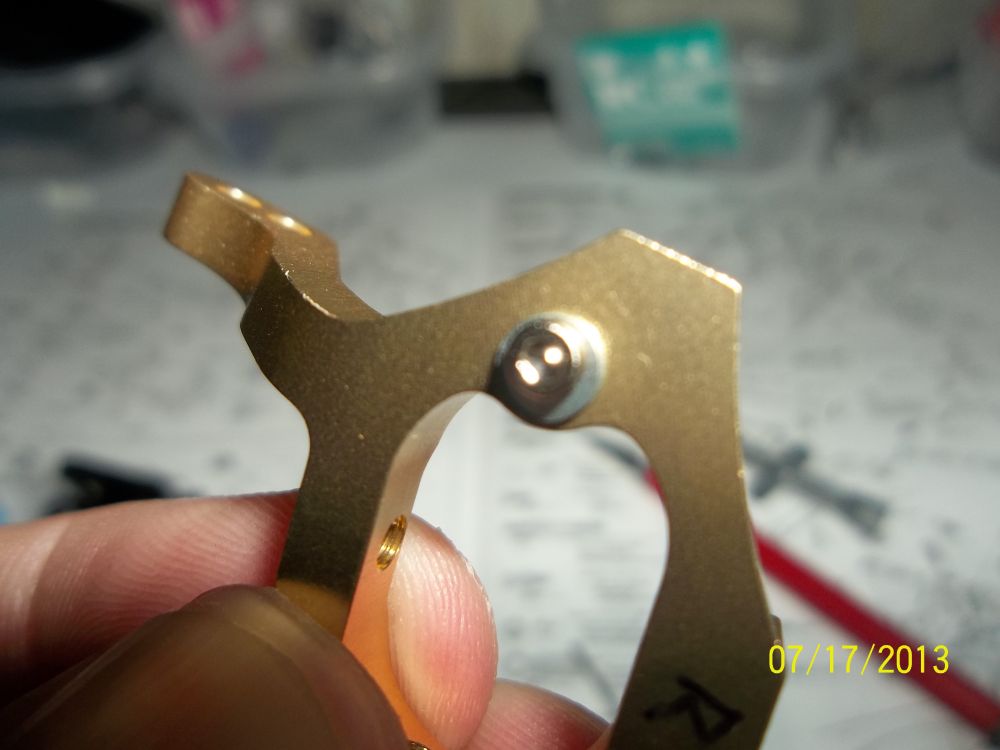
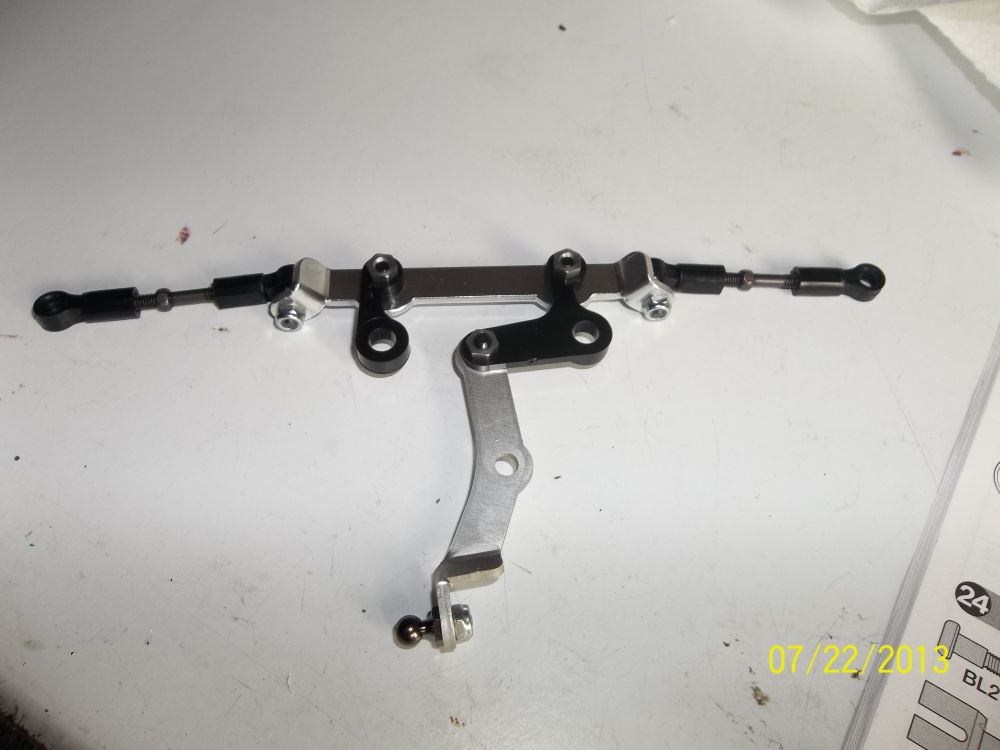
I found this part of the built pretty NEAT. Notice the two cast aluminum rockers? Well the ends of them fit into that tube.The front arms then thread into the other end of the aluminum rocker. This allows the front arms to flex back on hits.
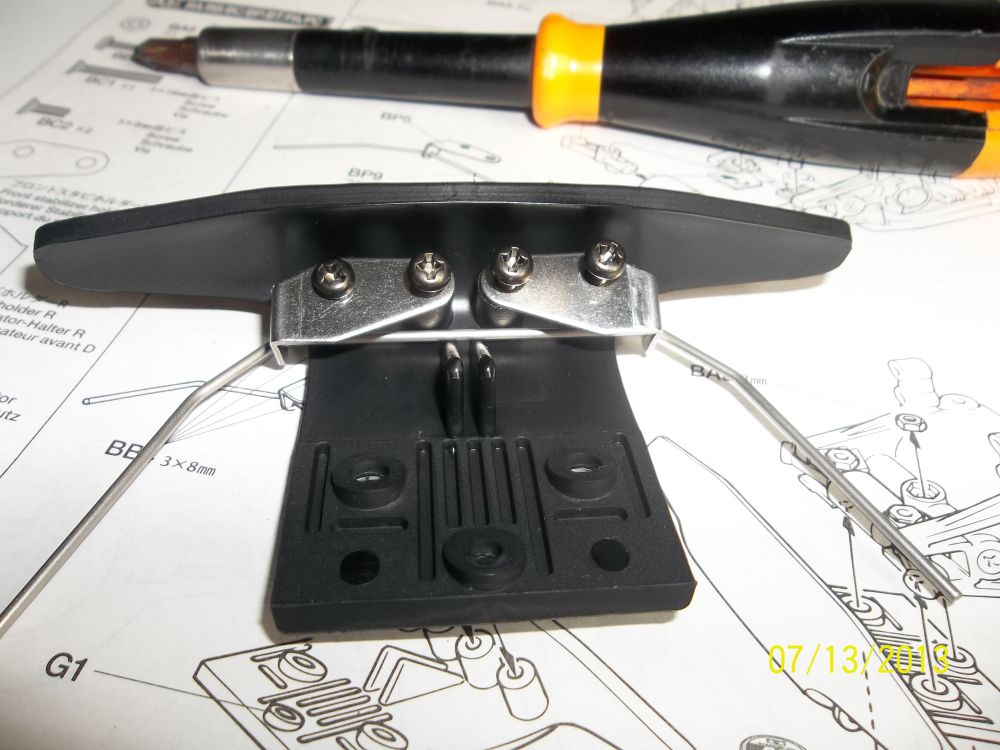
Front bumper and sway bar.
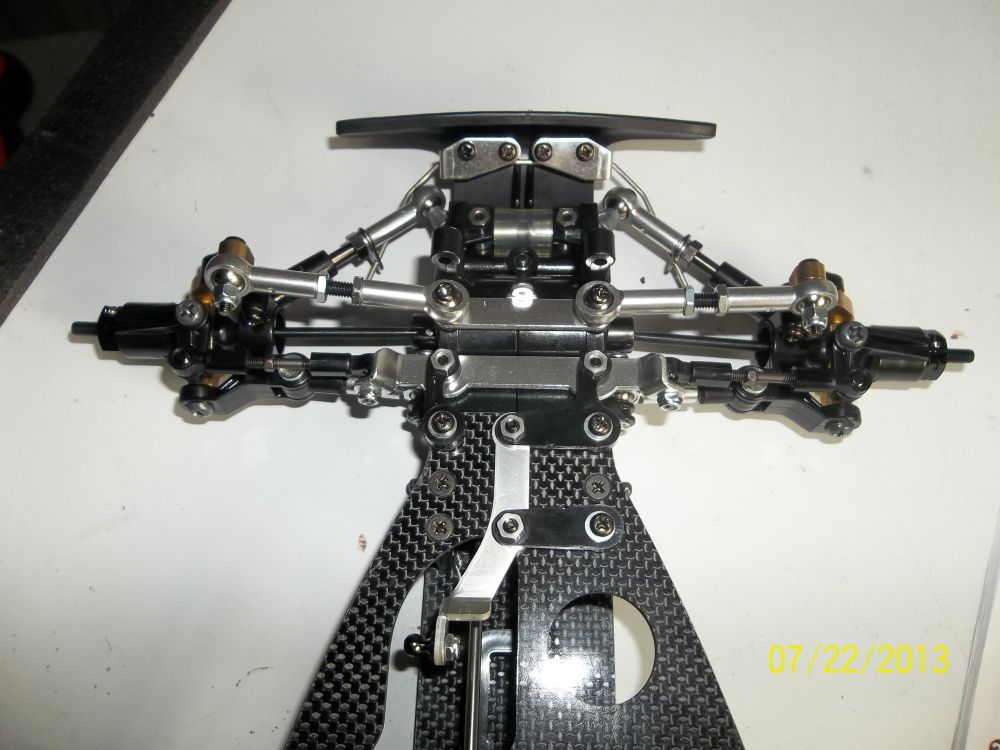
Here I have attached it to the chassis.
Here is the front sway bar/tie rod mount. Make sure your sway bar mount angle is in the same relation to the tie rod as in the pic above.
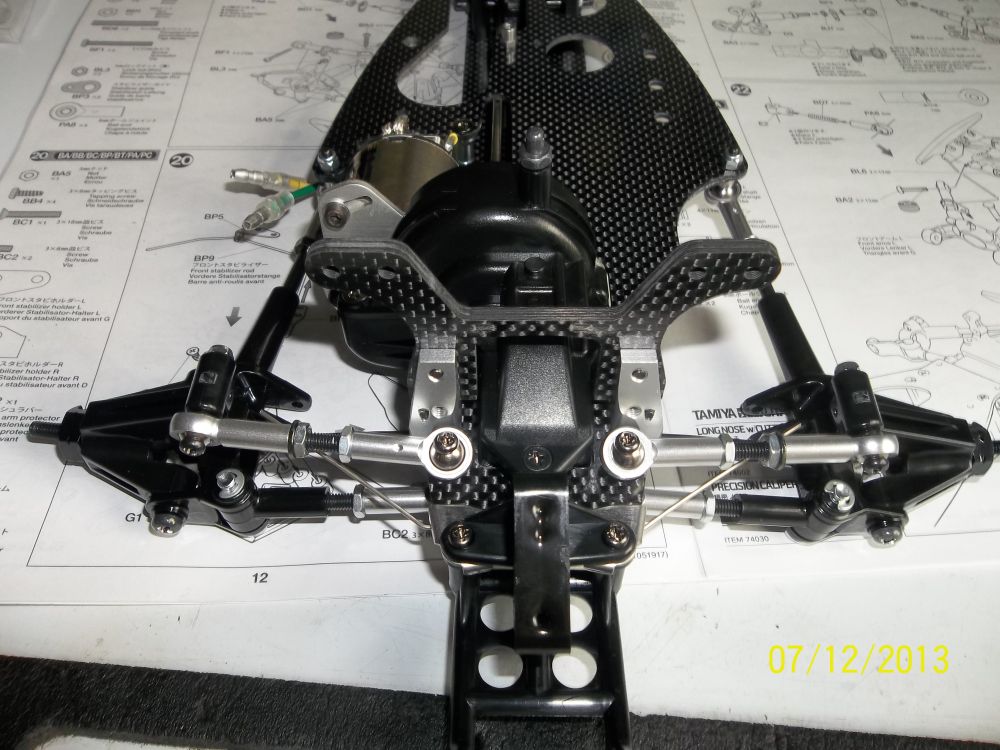
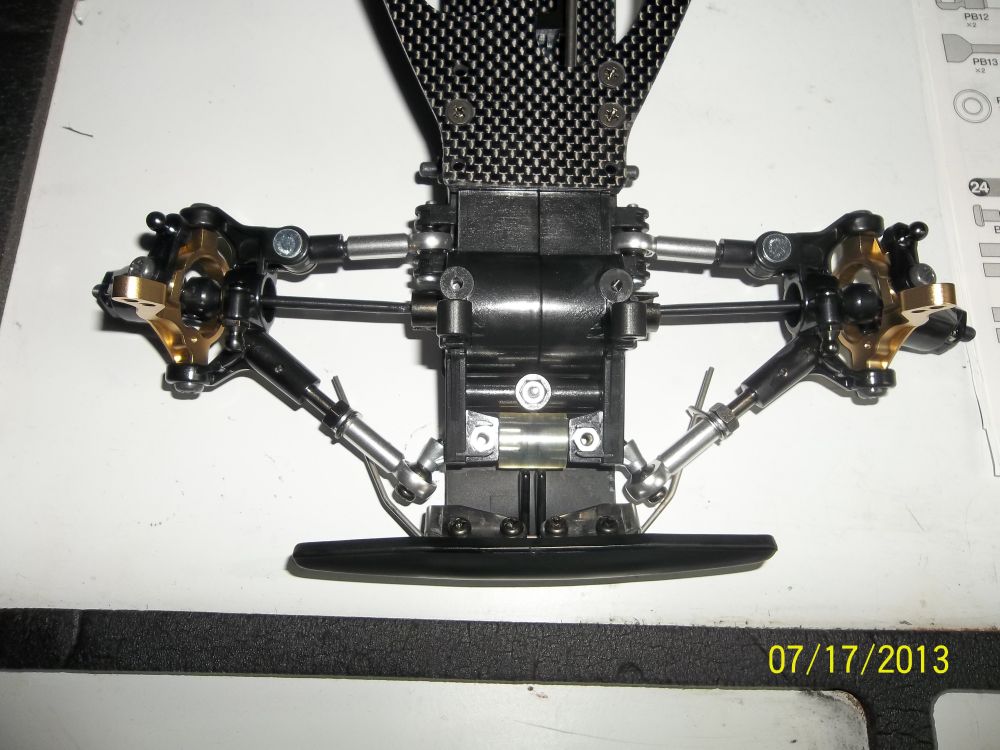
 Front hubs and tie rods.
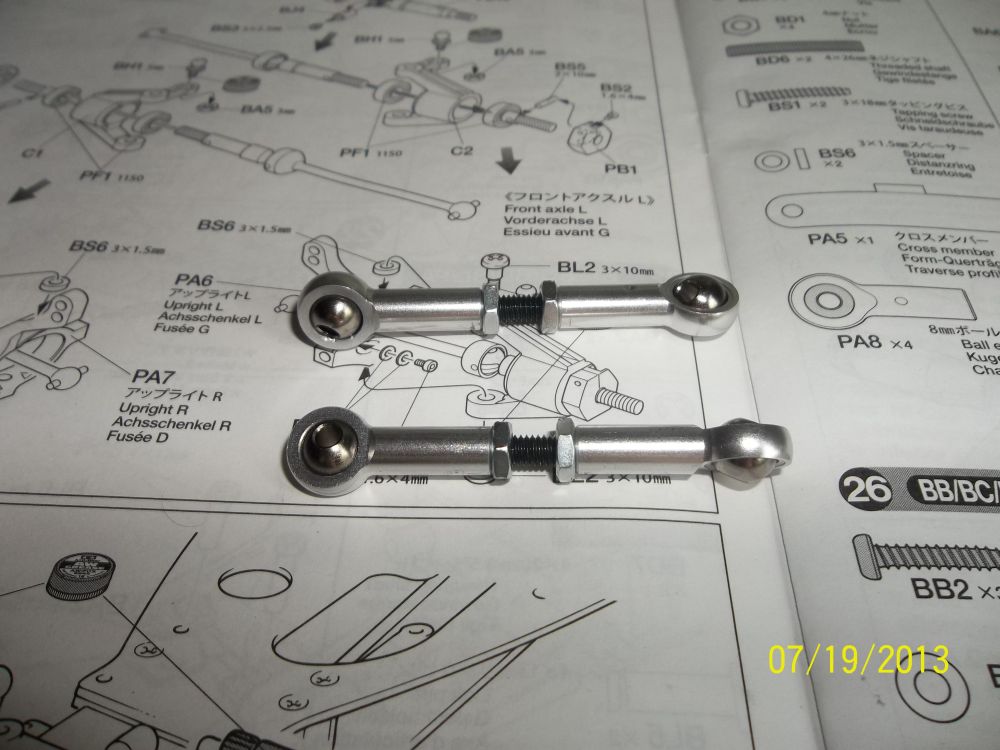
Yup…more tie rods.
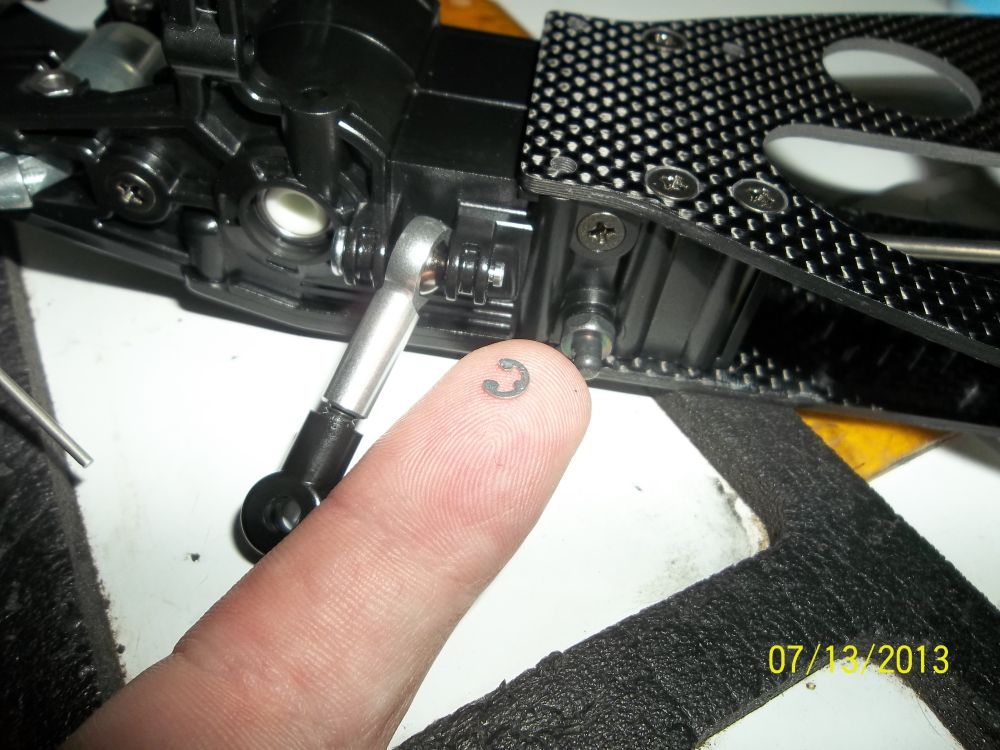
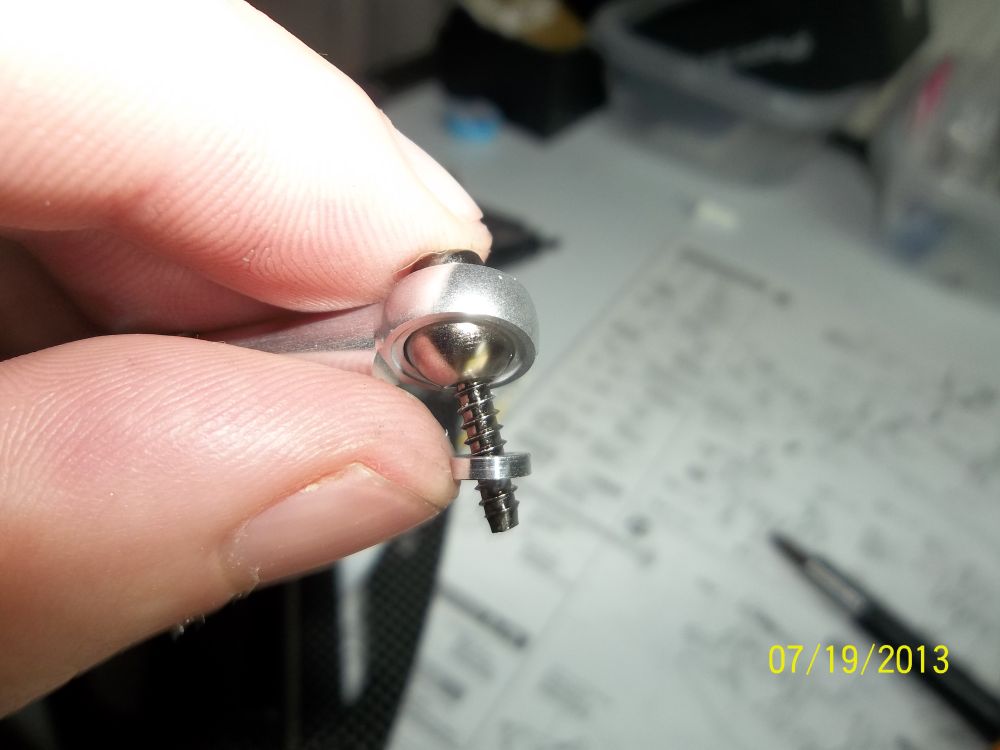
Be careful installing these little e-clips. They snap onto the back of that pin.
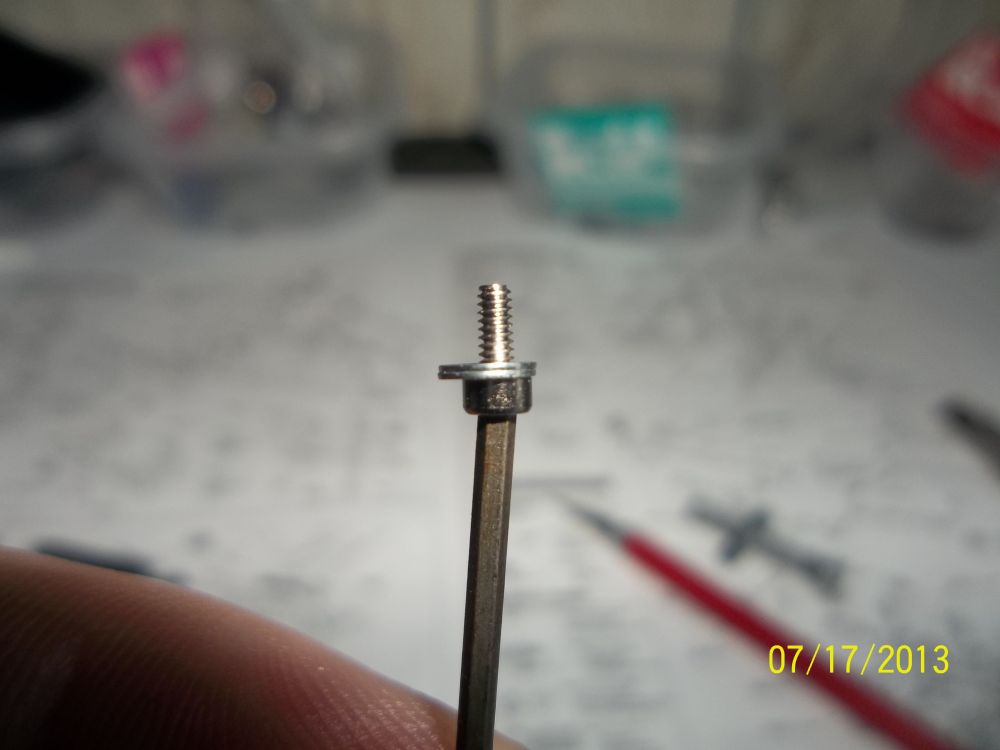
 Use threadlock here.
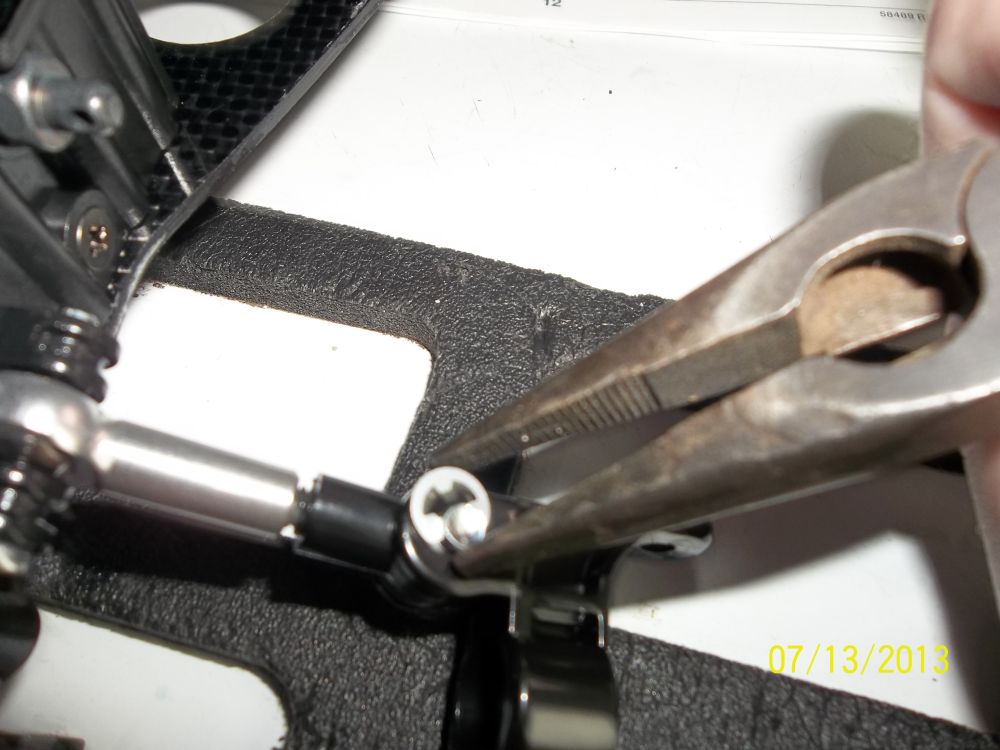
Snap on the e-clip.
Here you can see how that tube will allow the arm to flex back a bit.
Looking good!
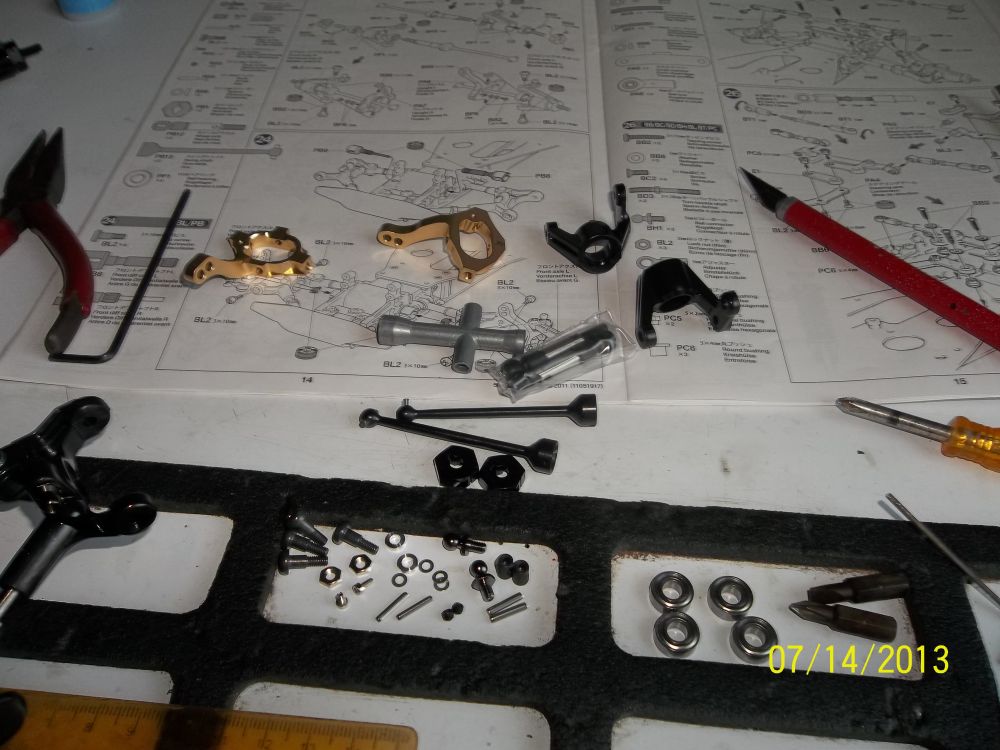
All the parts for the next step. Front knuckles, bearings and some CVD’S.
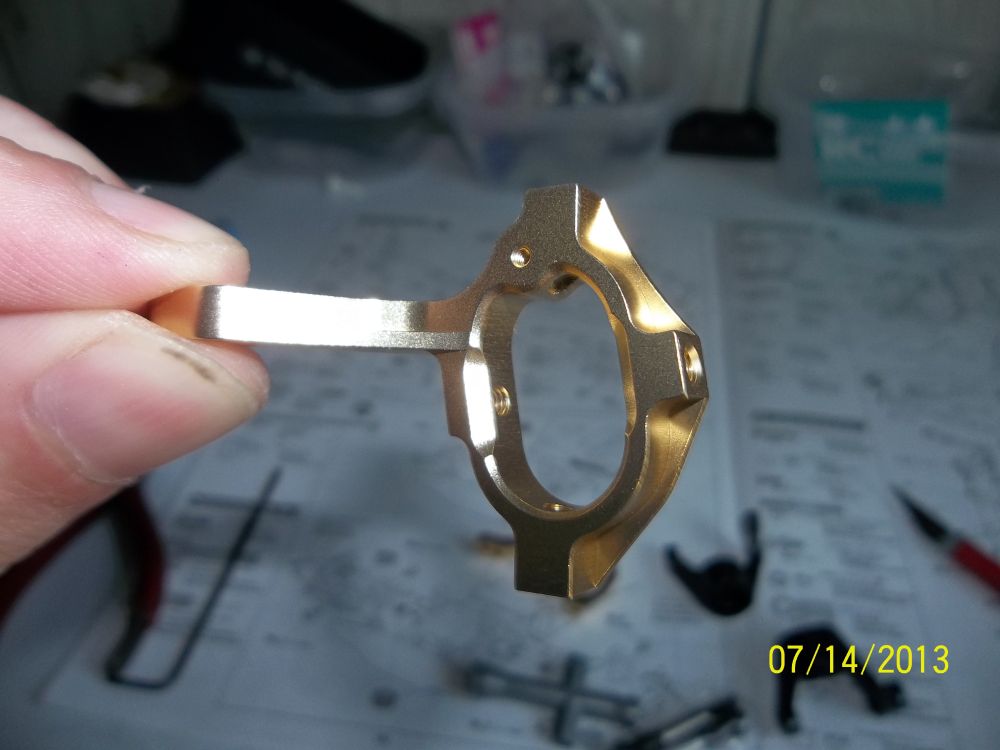
Check out these knuckles. Very nice looking.
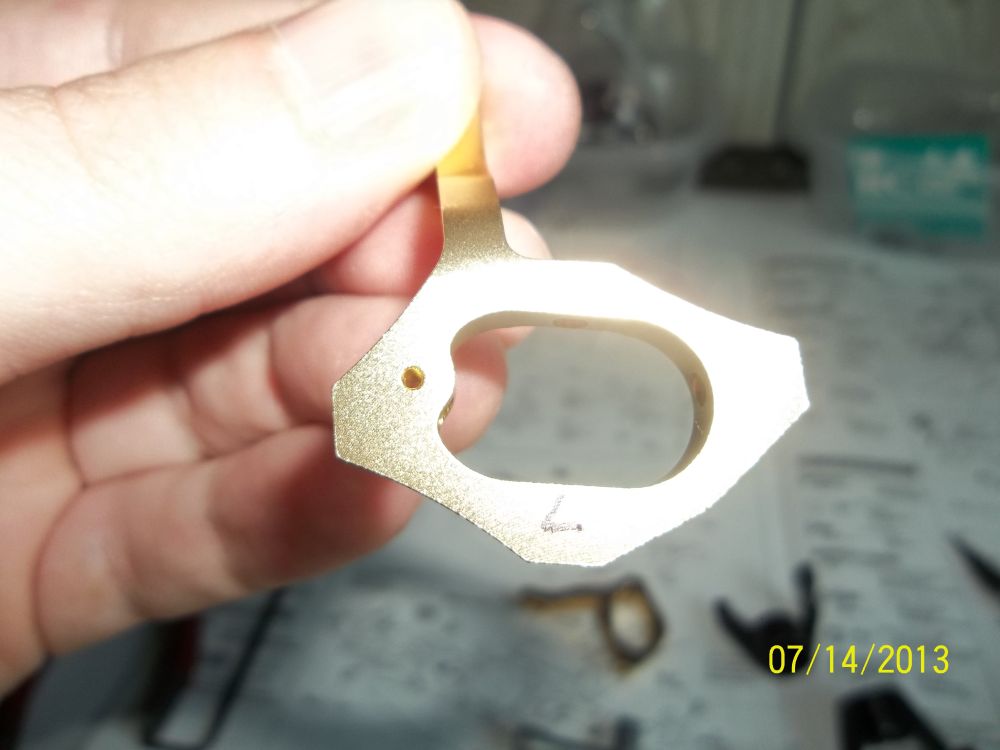
I took a sharpie and marked the knuckles left and right so I put them on the correct way.
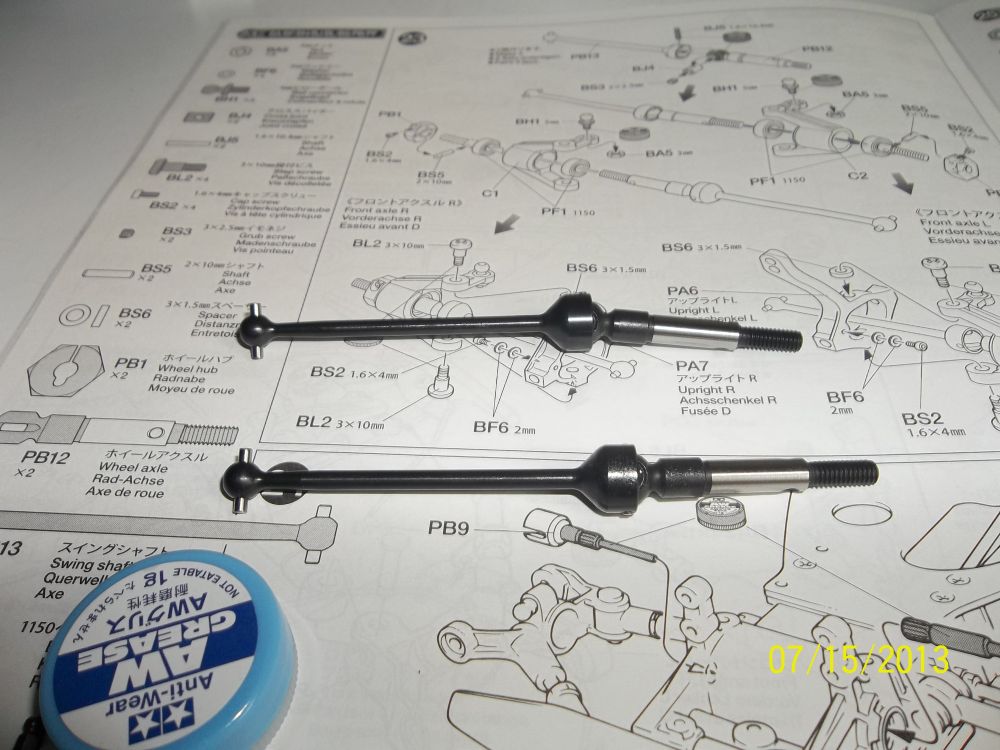
The front CVD’s ready to go in!
Here is the front hub with a bull stud attached.
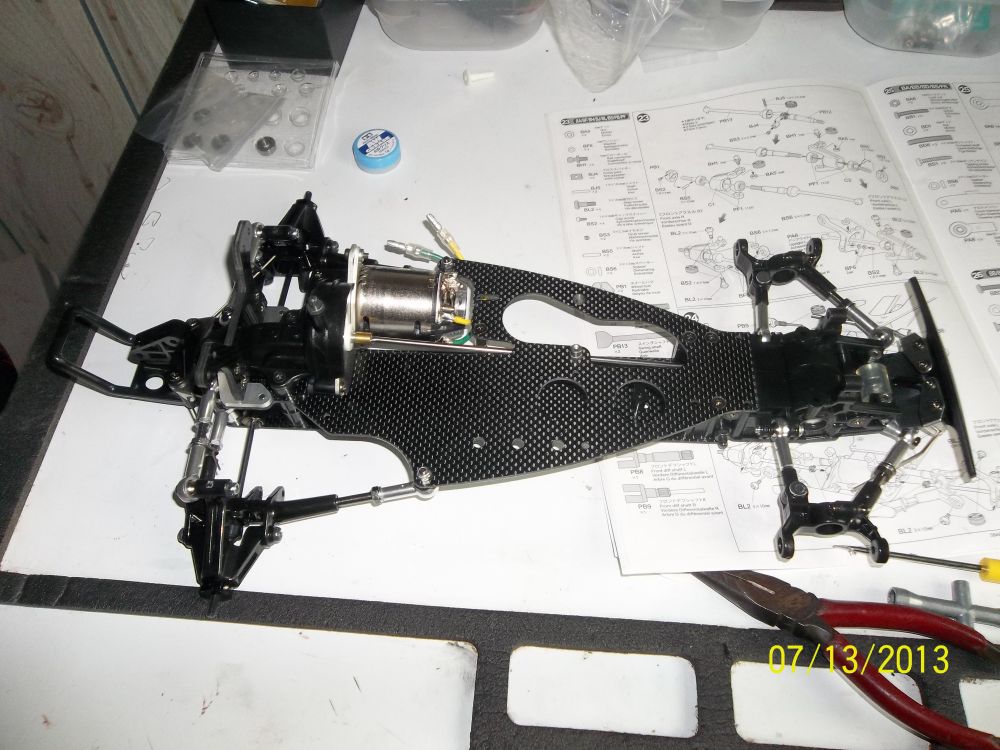
 The completed unit.
This will be a stop screw for the steering throw. Make sure to use the correct number of shims.
 The screw and shims in the front knuckle.

Notice the spacer on the top of the knuckle in between the hub.
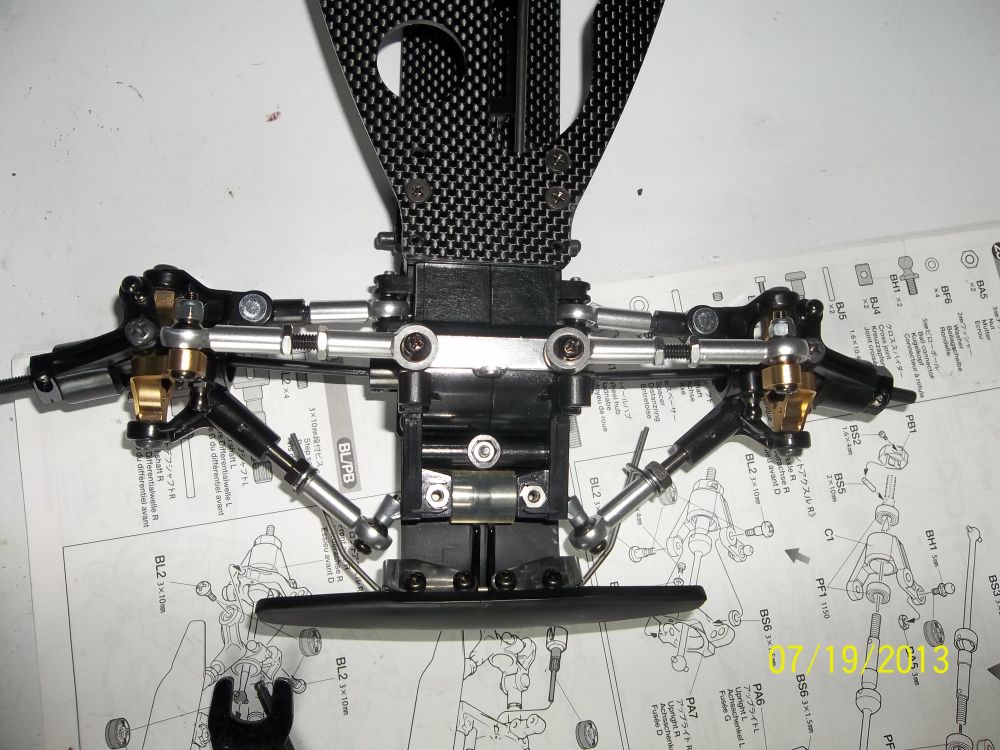
The parts installed onto the chassis.
And more tie rods…. These are the top camber rods.
A spacer is needed.
Camber rods installed.
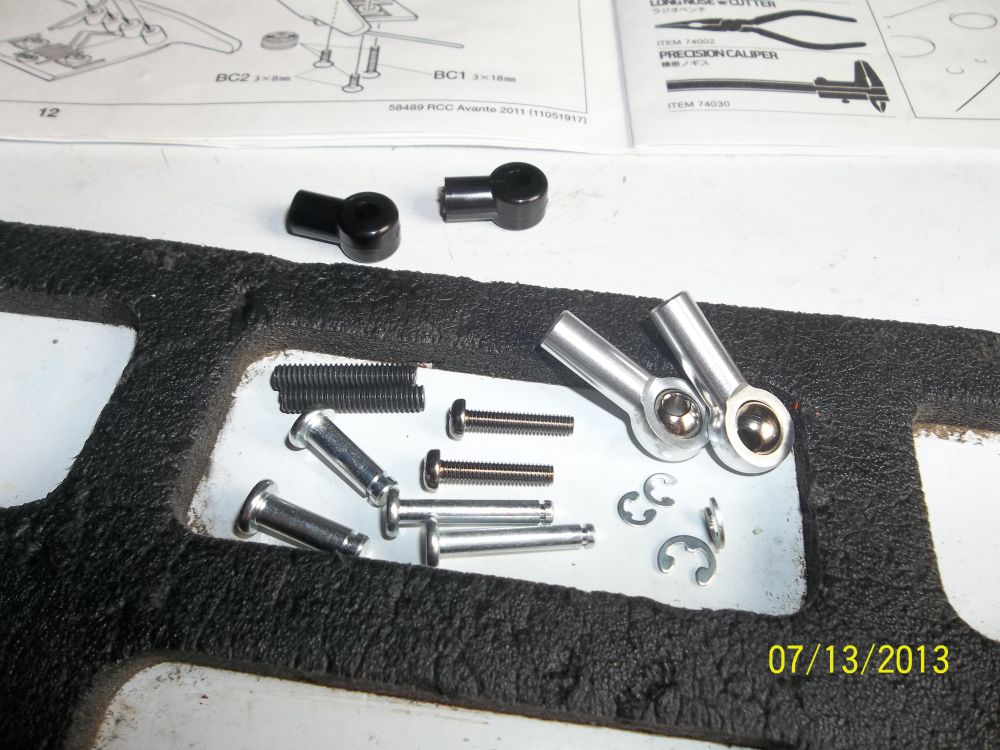
All these parts are for the steering racks, yes racks… There are two.
This is quiet the set up!
Here we go with the two racks installed.
 Posted in
  Tags:
Tags:
Were you able to run this even though it was a re-release?