

 September 4th, 2013
  Geo
Geo Turnbuckle time!
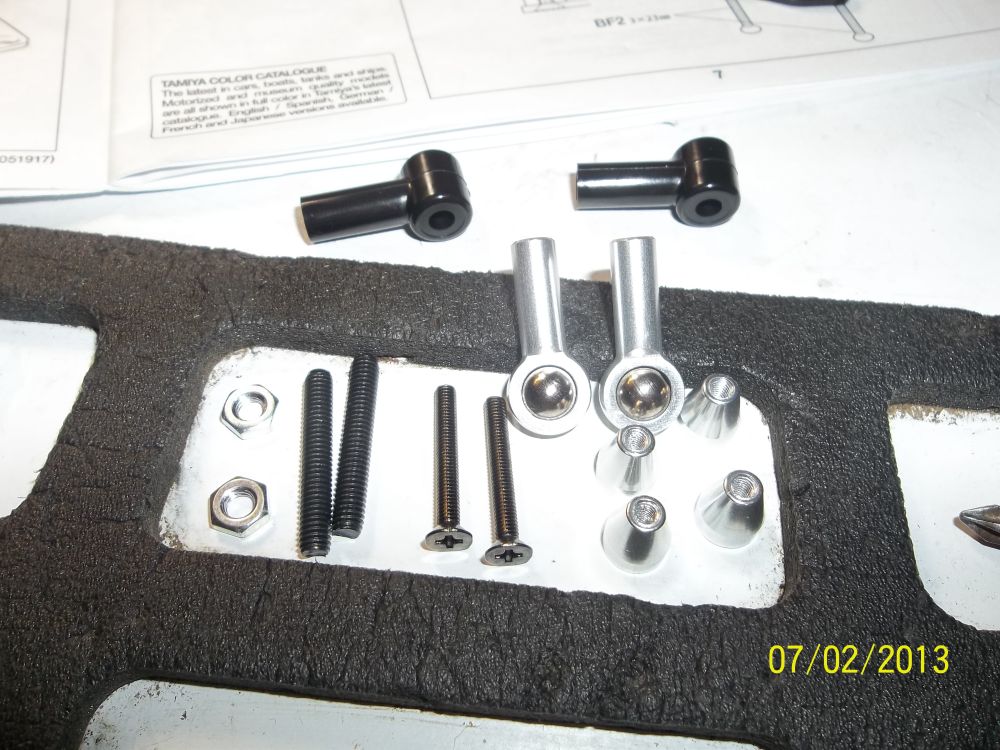
Whats this? The beginning of a nightmare, lol. Tie rods! (there is alot of them, easy to do… just many of them)
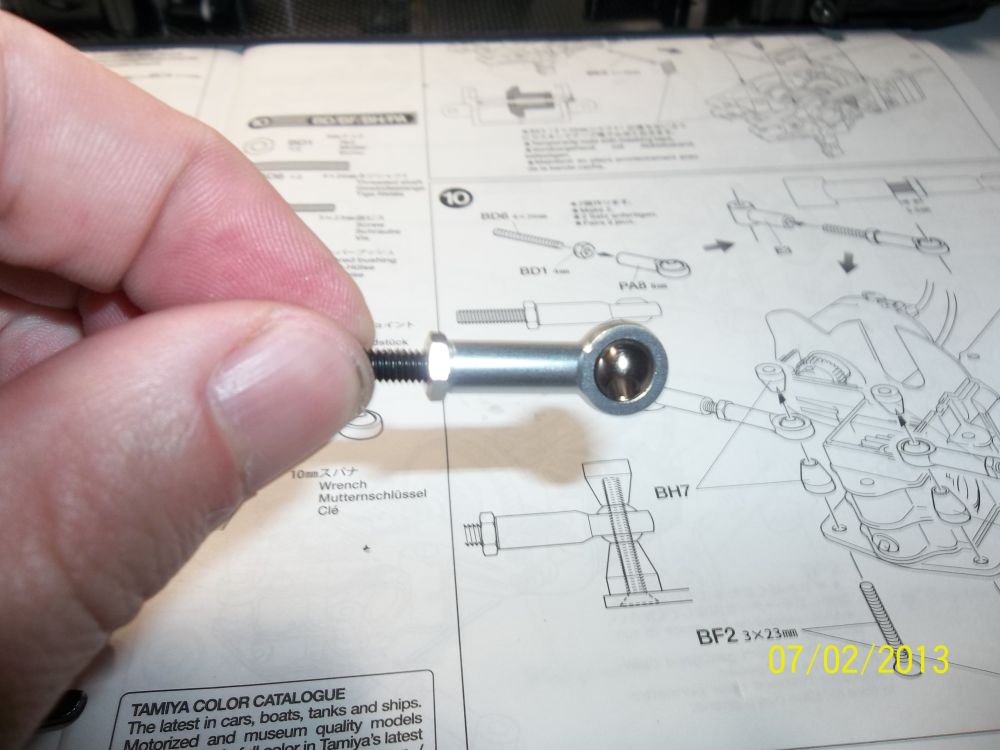
The ball ends are very well machined. They are screwed onto a threaded shaft then followed by a jam nut. I used a little blue loctite on all the ball ends and shafts.
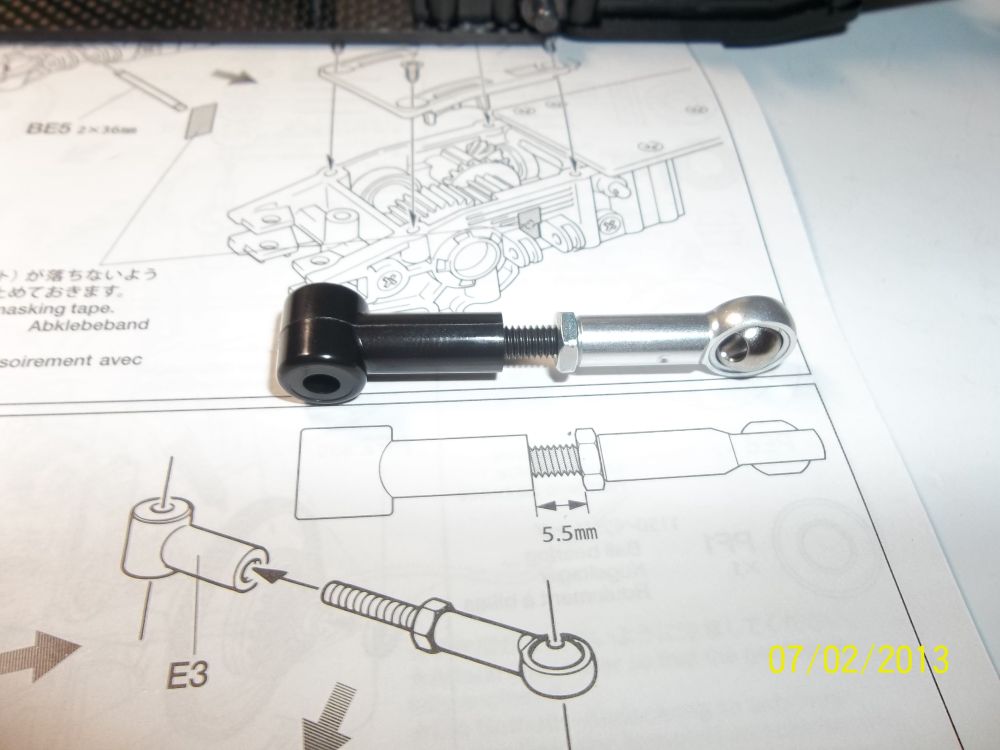
Thread on the plastic end and compare to your 1:1 pic to make sure you have the length correct. this is very important. You don’t want your camber/toe going in all different directions do ya?
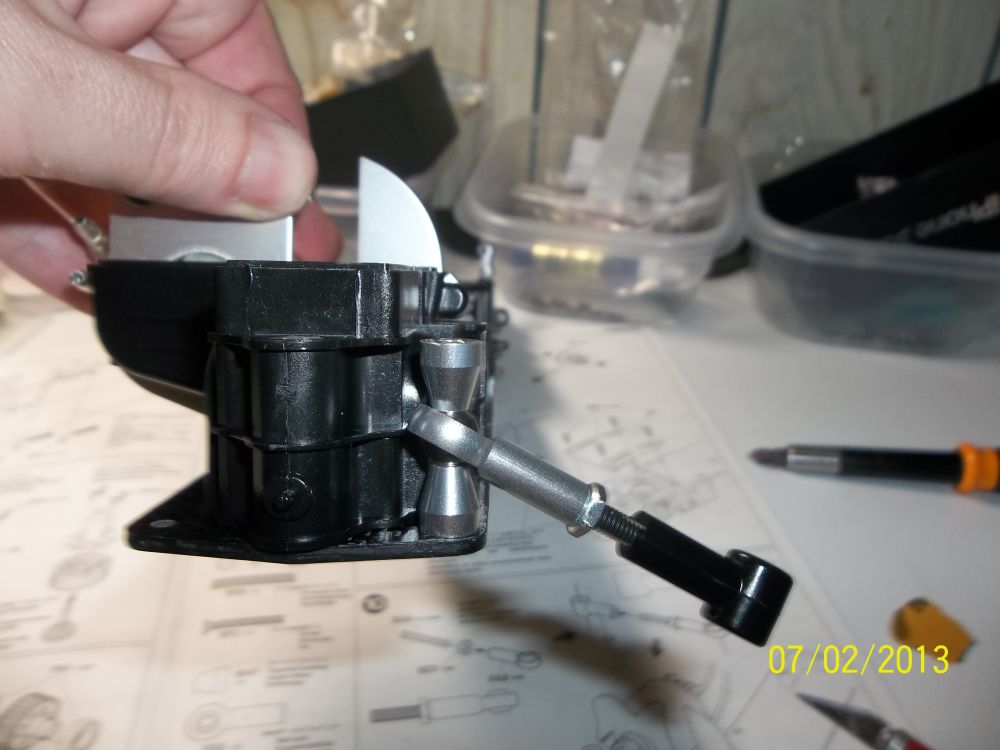
Here is the rear tie rod installed onto the chassis. Look at the nice beveled spacers. Repeat for other side.
Ball diff time!
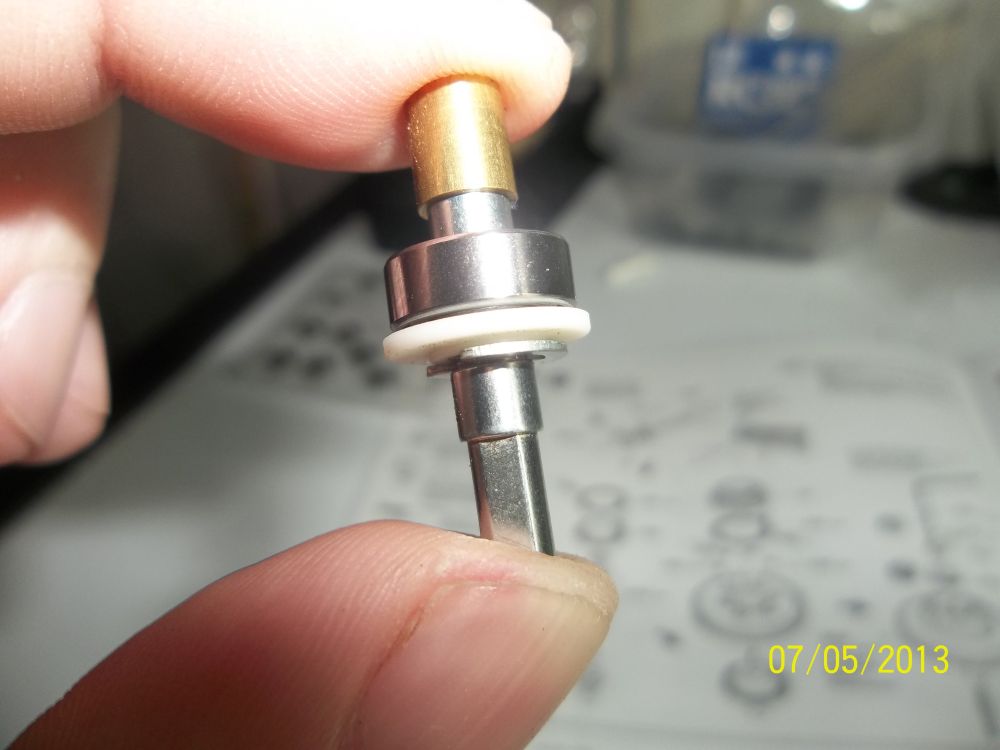
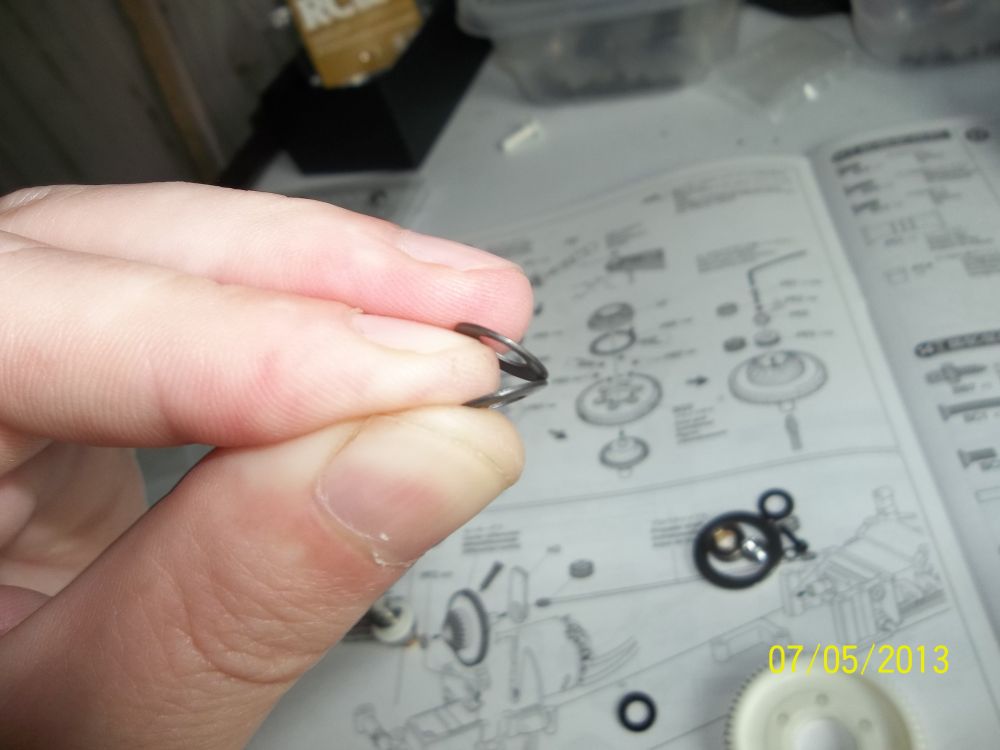
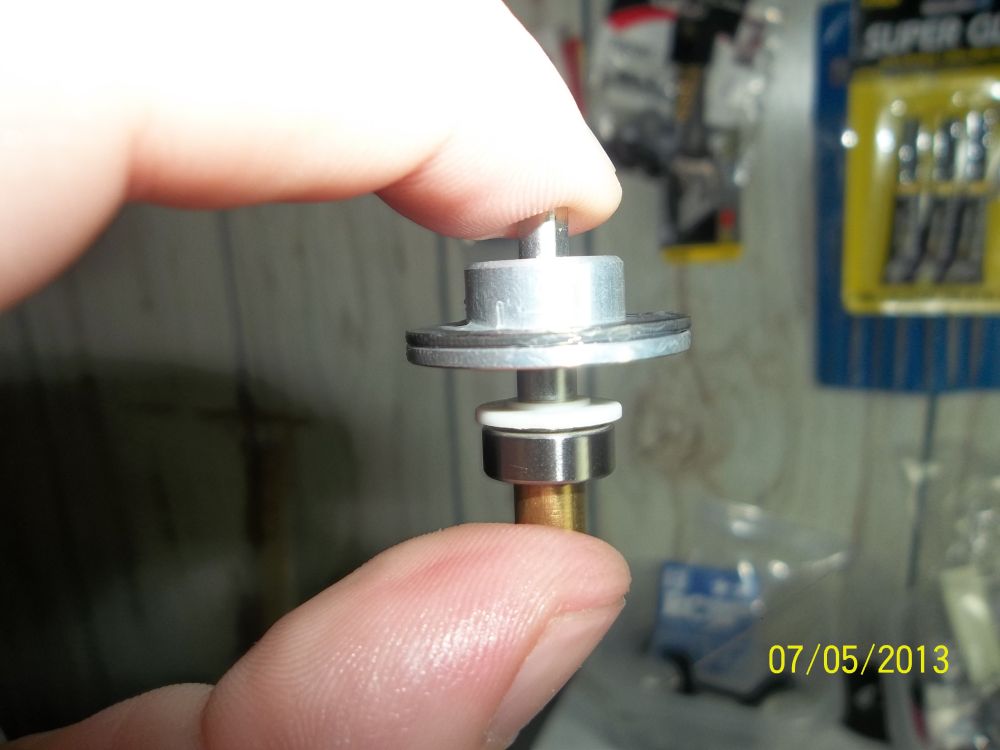
Start off by taking the shaft and placing a bearing of proper size on it followed by a plastic spacer and then an e-clip. The e-clips can be tough to get on so be careful.
Next step is to place 5 beveled washers onto the shaft. Now these washers go on in a specific way. Pay attention here.
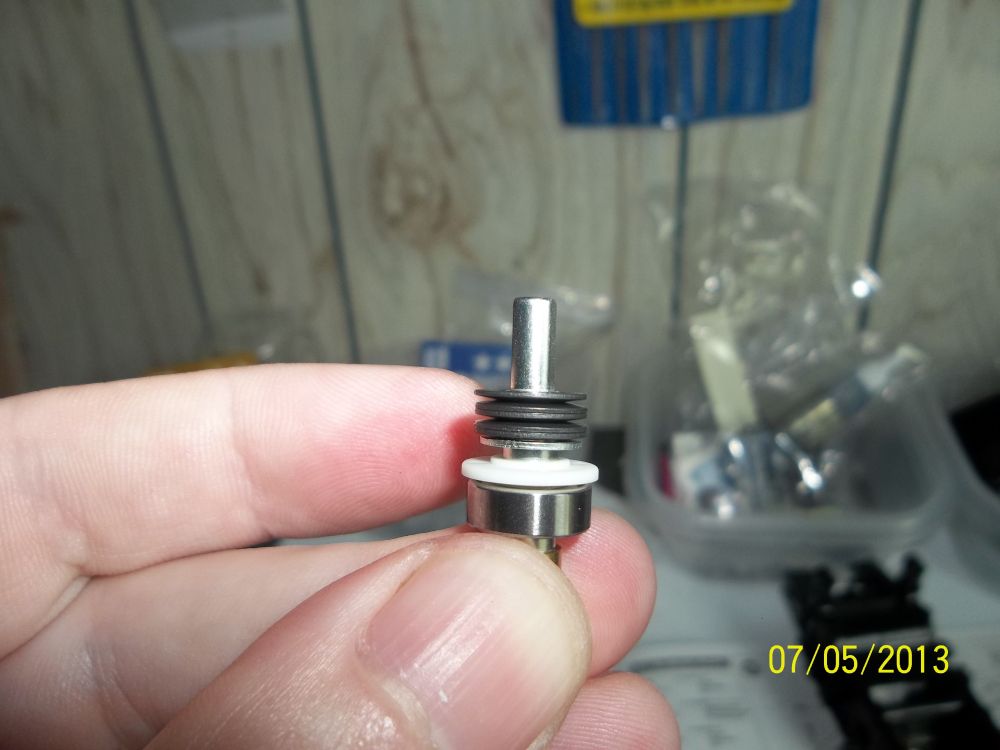
Here we see the washers stacked correctly. These will provide the diff with pressure to keep it tight and preload the diff balls once tightened further on in the instructions.
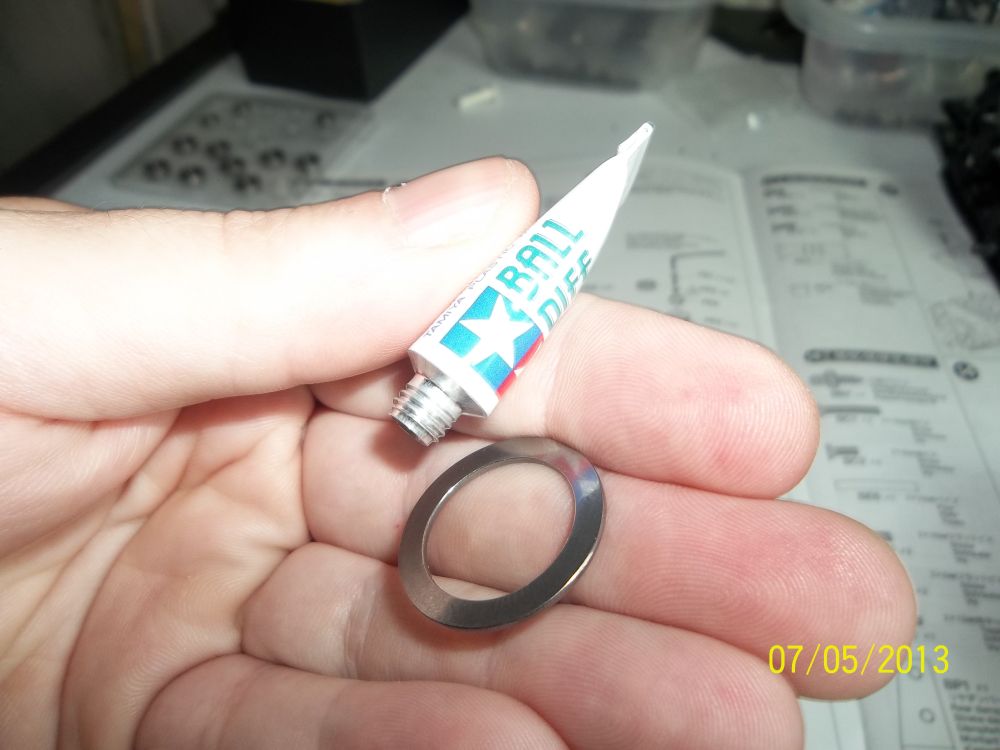
Here we need to add a liberal amount of diff grease to the diff rings.
Then place diff ring onto the outdrive and then onto the shaft.
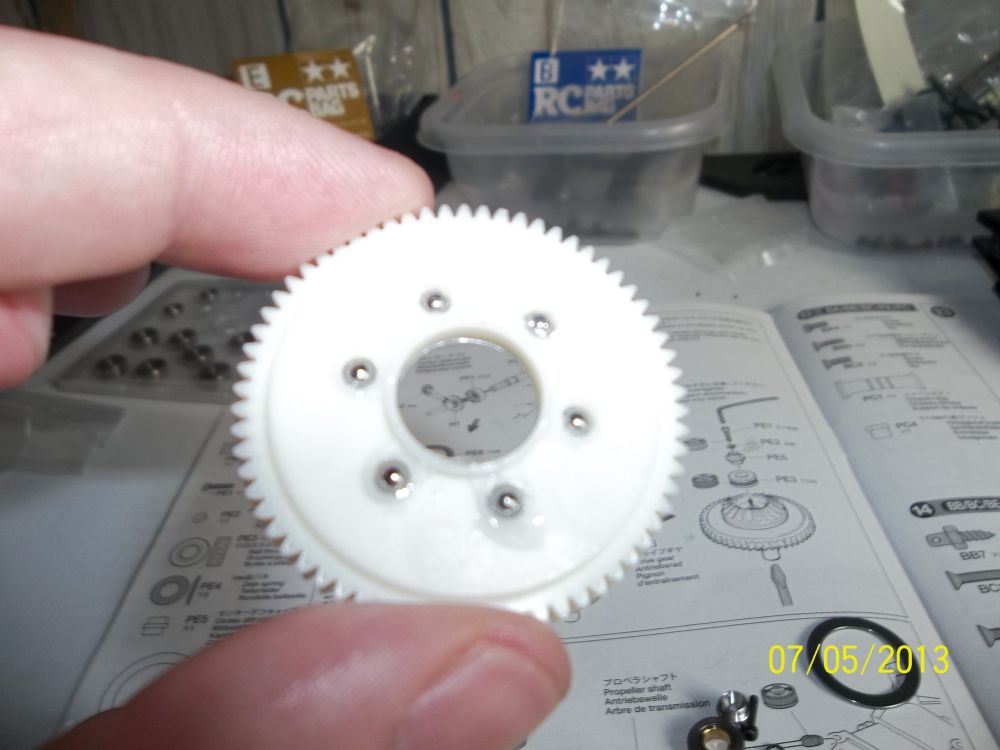
Place 6 diff balls into the main spur gear and coat with diff lube. Work over a towel or your CowRC pit mat in case you drop a ball.
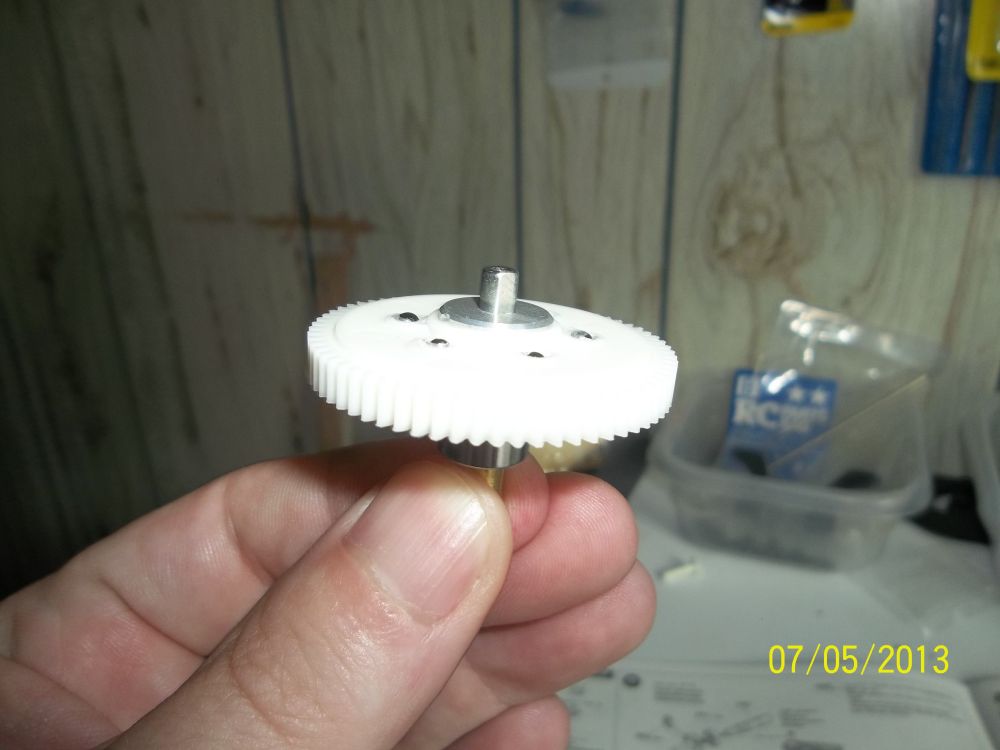 Place diff onto shaft.
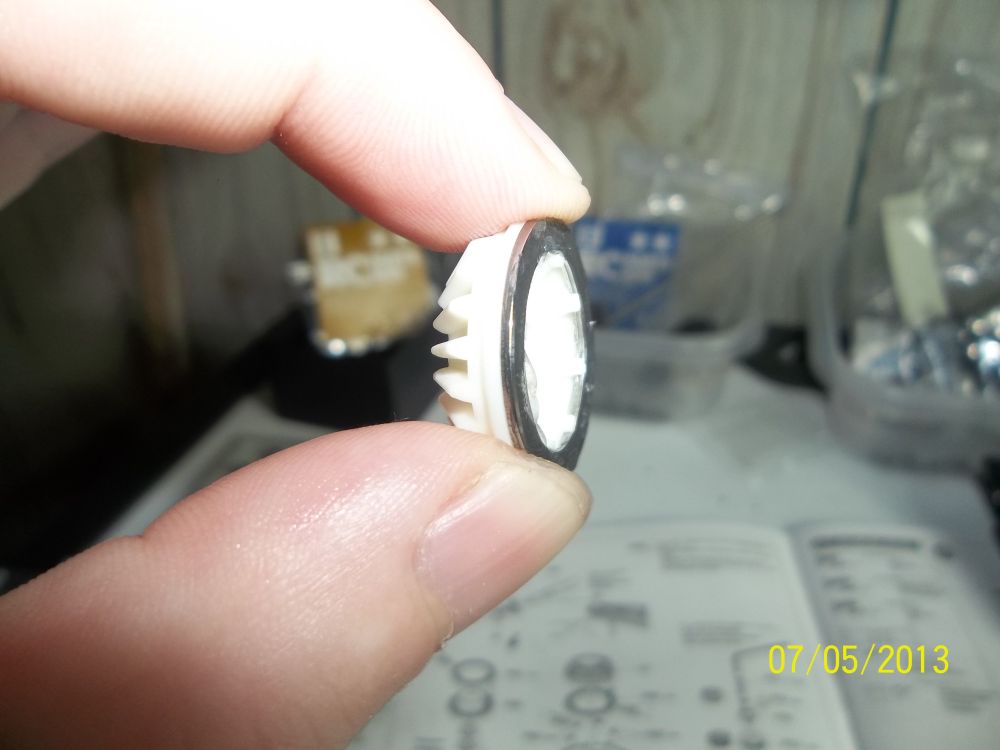
Now take a beveled gear, part number H7 and place a lubed diff ring onto it.
Place that onto the main spur gear with the ring facing the balls.
Here you place the thrust washer into the beveled gear. I had a hard time taking a pic here so refer to your instructions!
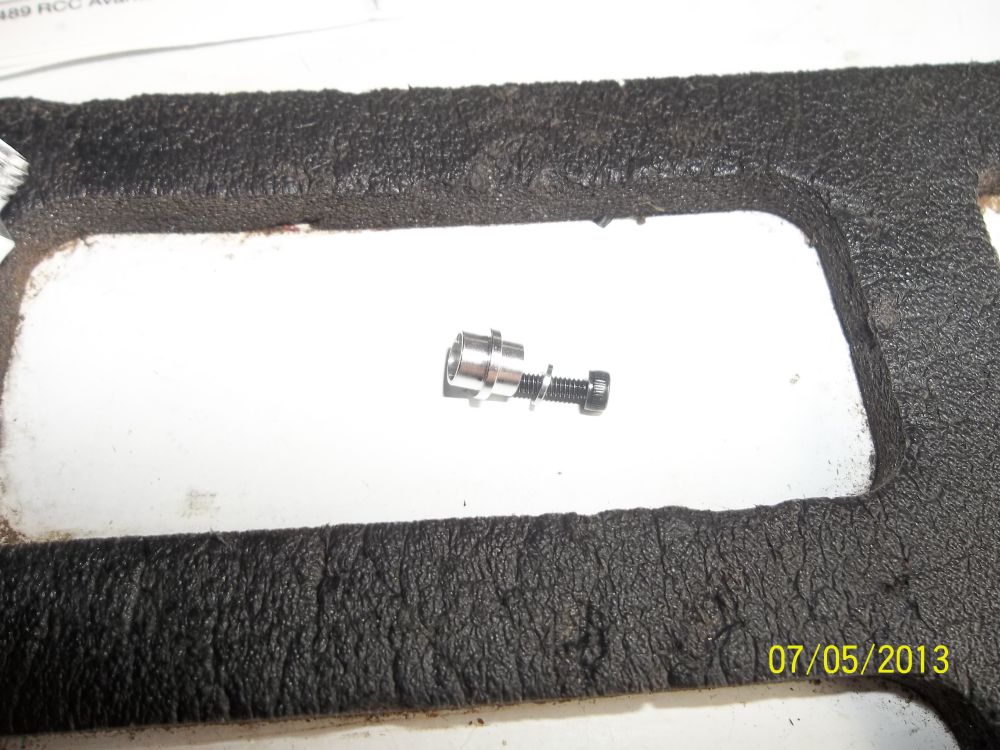
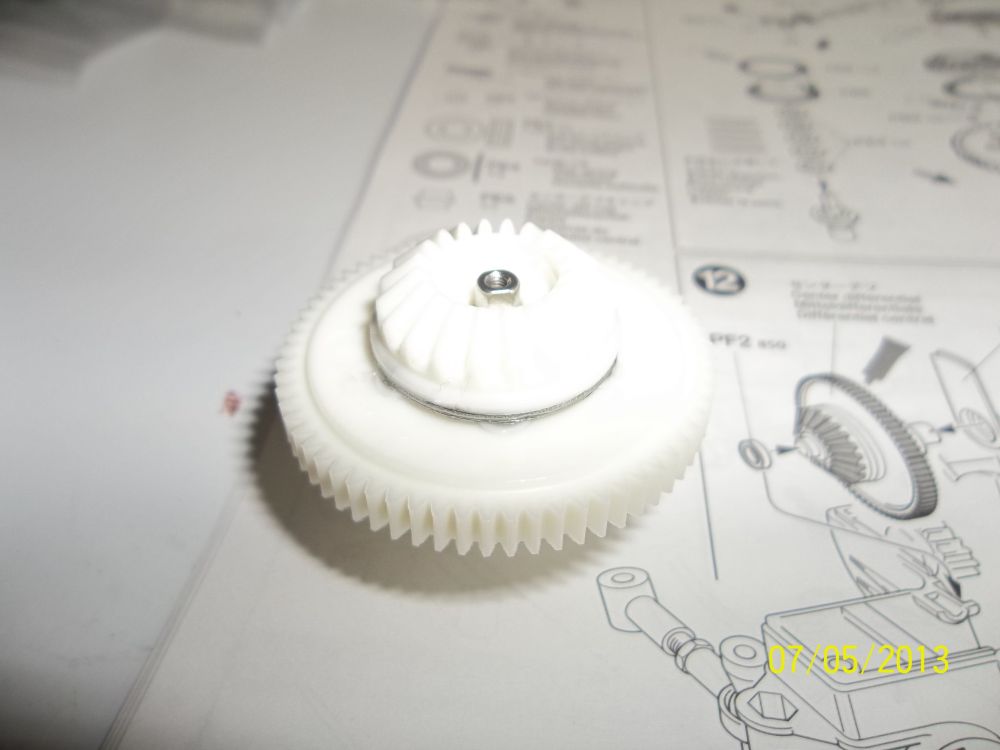
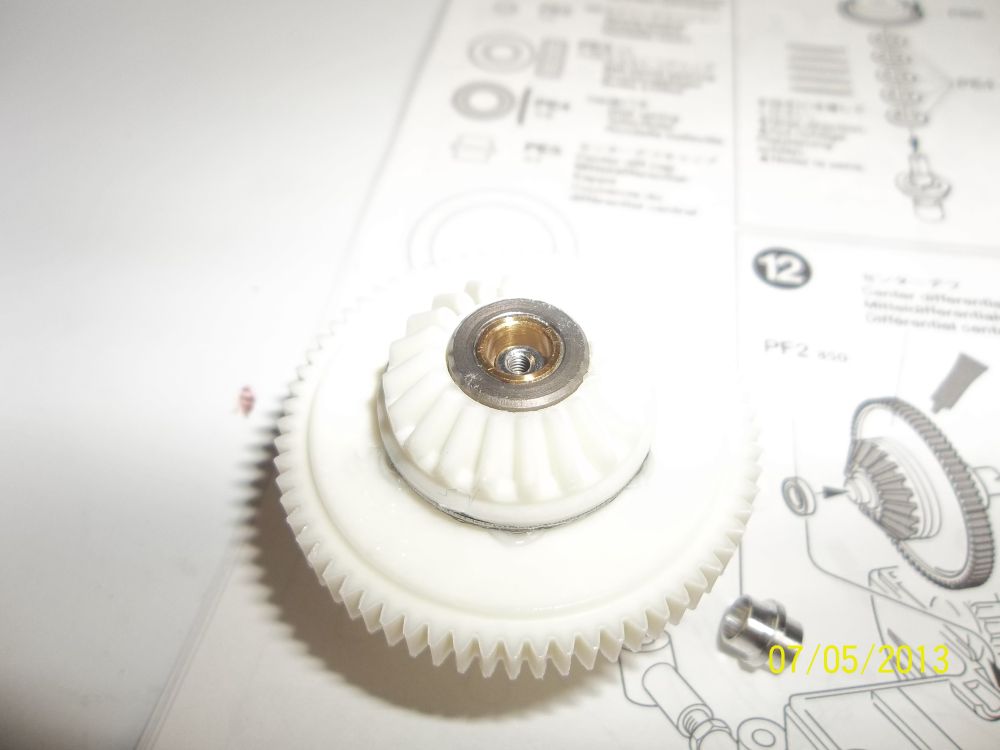
This is the screw, washer and spacer that goes in next through the thrust washer.
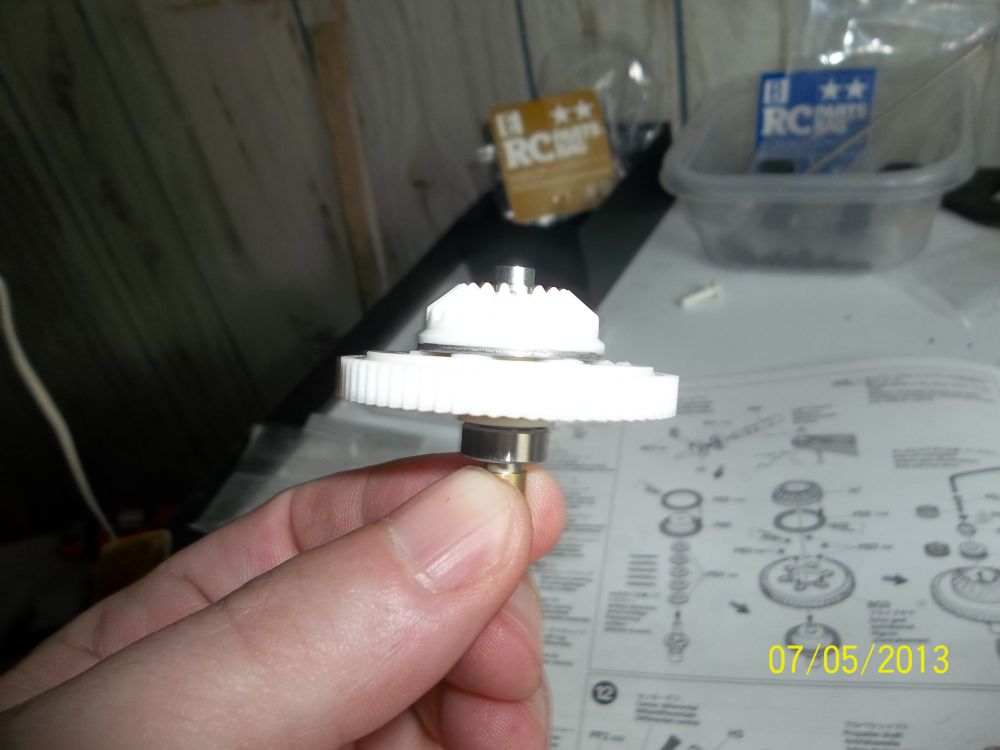
Now tighten the diff 98% of the way down.I could not find any clear instructions on how tight to tighten it.Only not to over tighten it.So I went searching on the internet and found that some people were having problems with the ball diff loosening up.So i suggest you tighten it up like i mentioned.
Look for our future article on our initial test and I will let ya know how ours did.
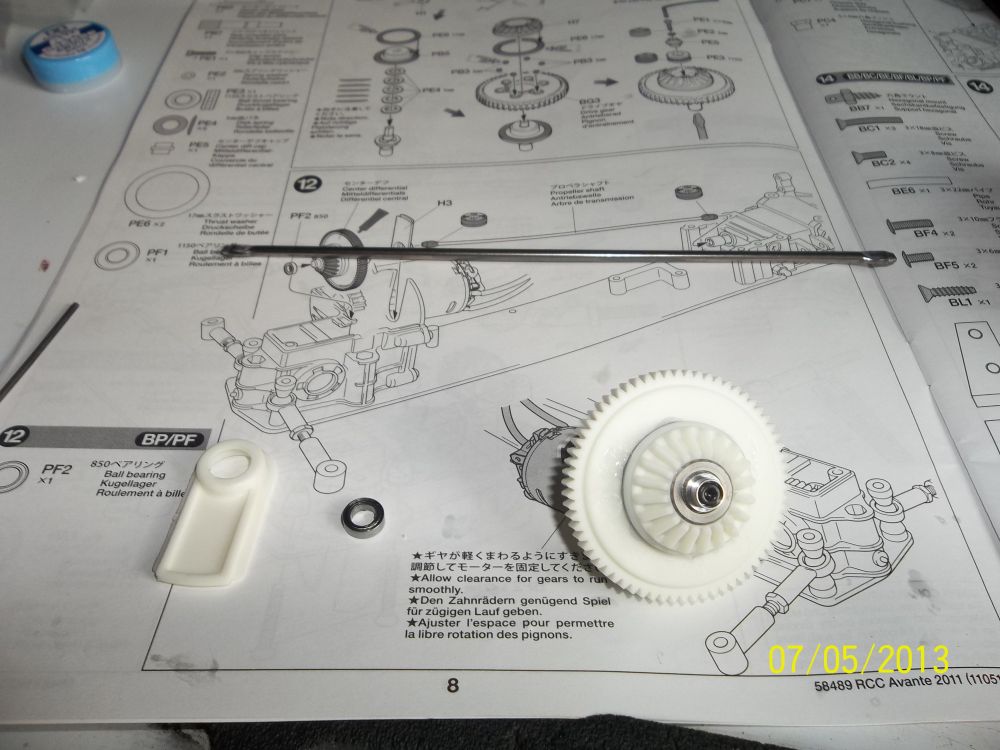
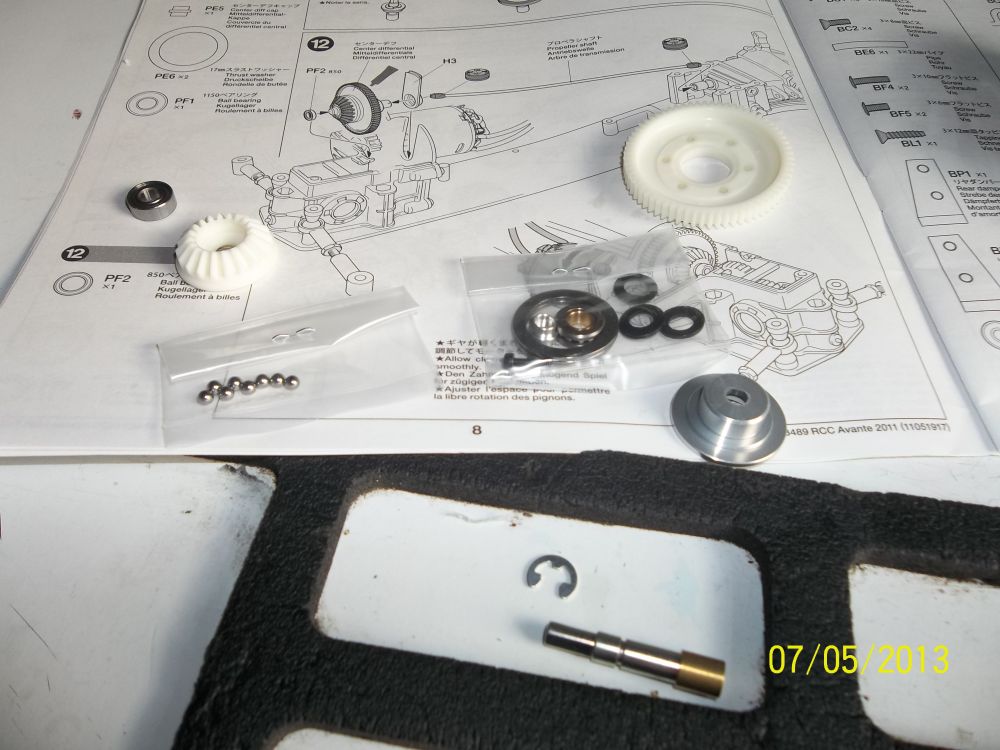
Now its time to put this bad boy in the car! Here are the parts to needed to do so. Yes that’s the center drive shaft in the background.
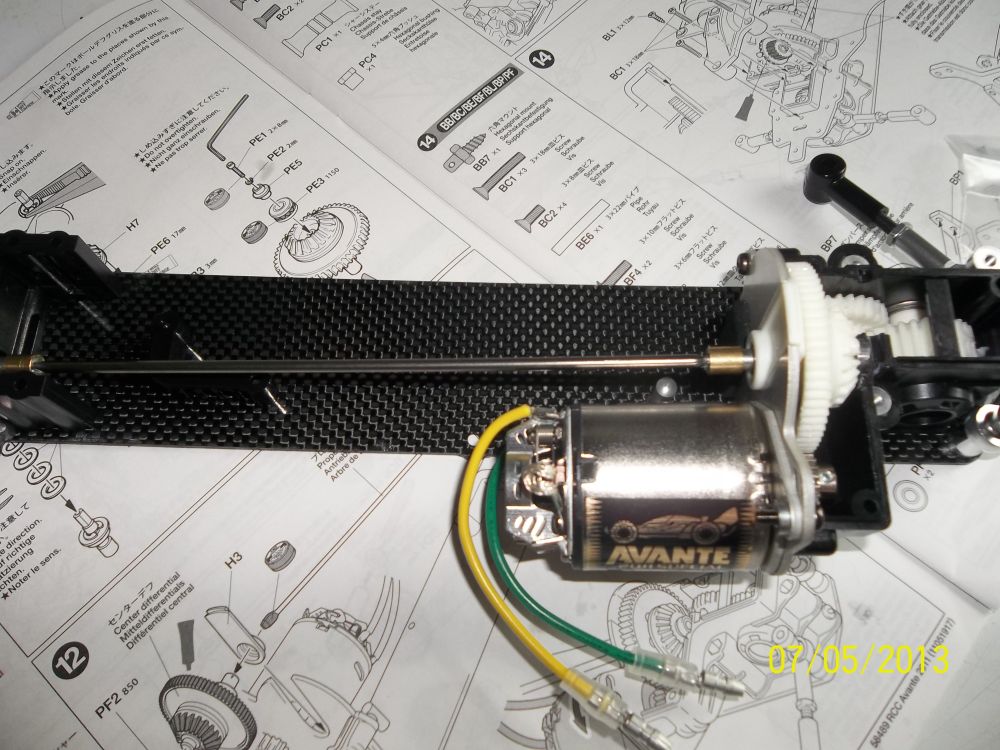 Drive shaft and ball diff installed.
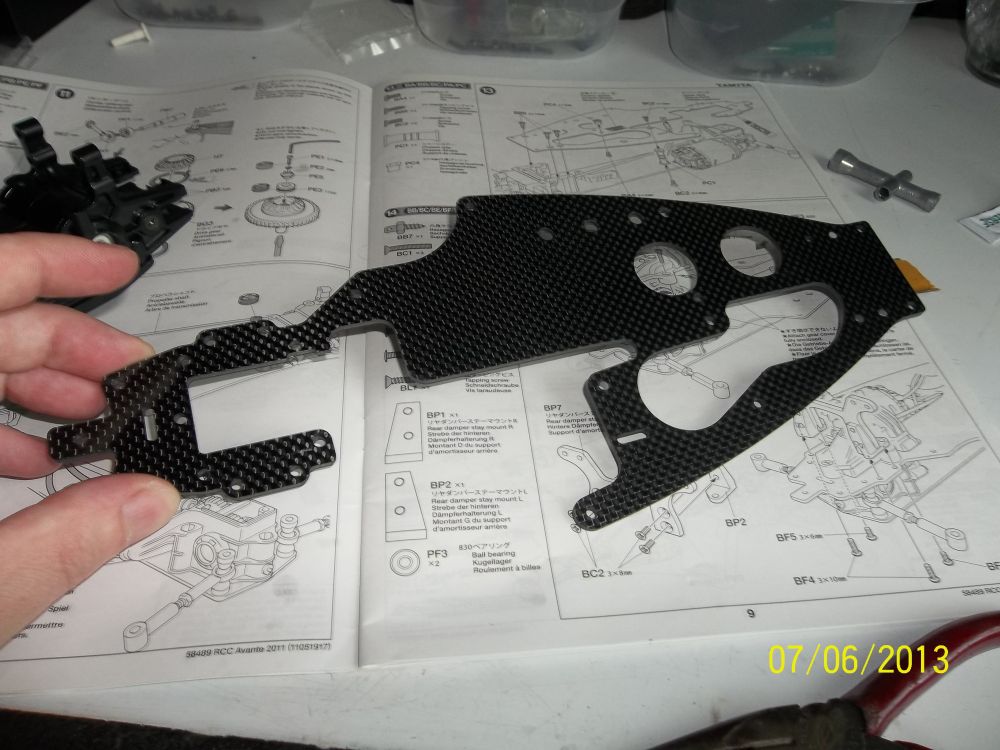
Look at this top plate! Remember to seal it just like we did for the main chassis.
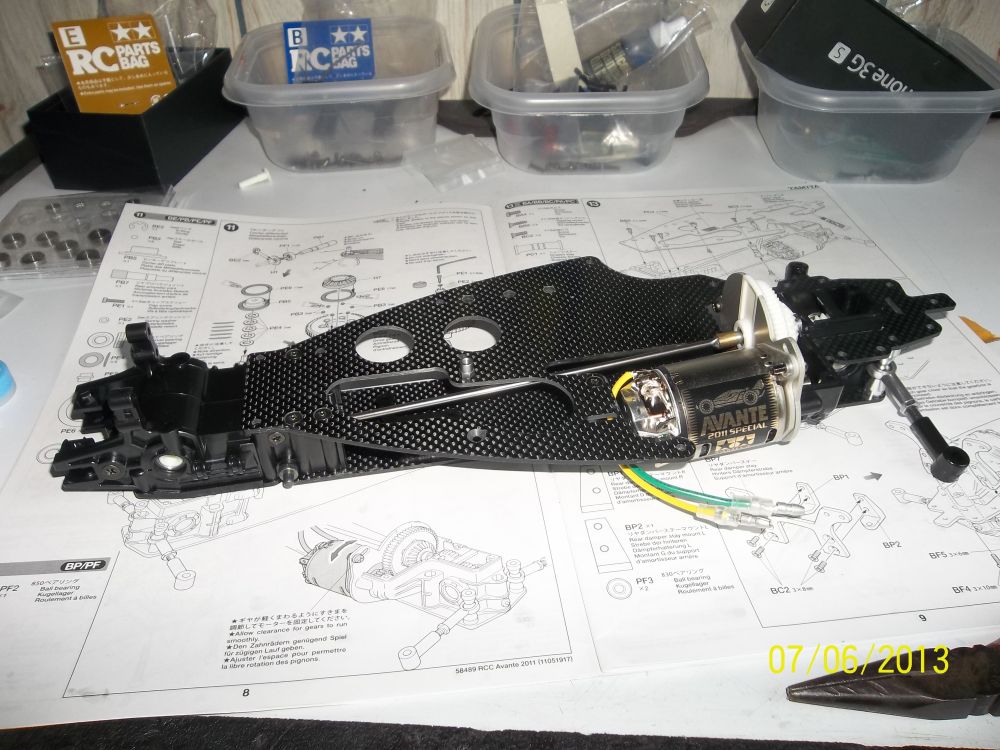
Now its starting to look like a car!
 Posted in
  Tags:
Tags:
Were you able to run this even though it was a re-release?