

 September 4th, 2013
  Geo
Geo 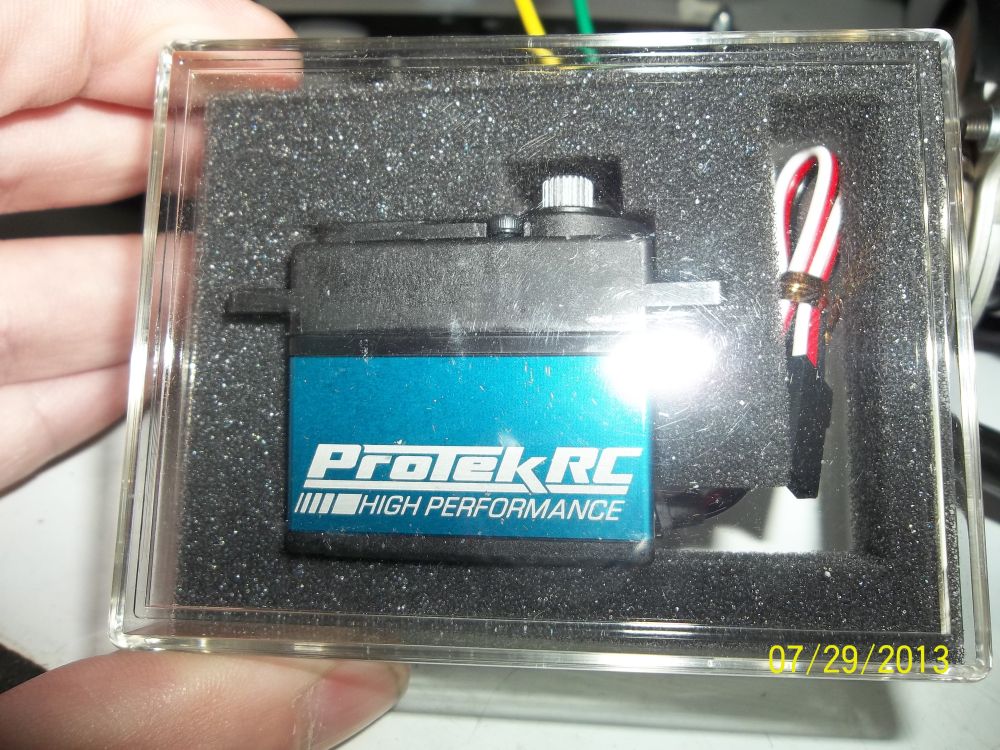
Its time to put in the servo. Here we chose the PROTEK RC PTK-100SS for steering duties.
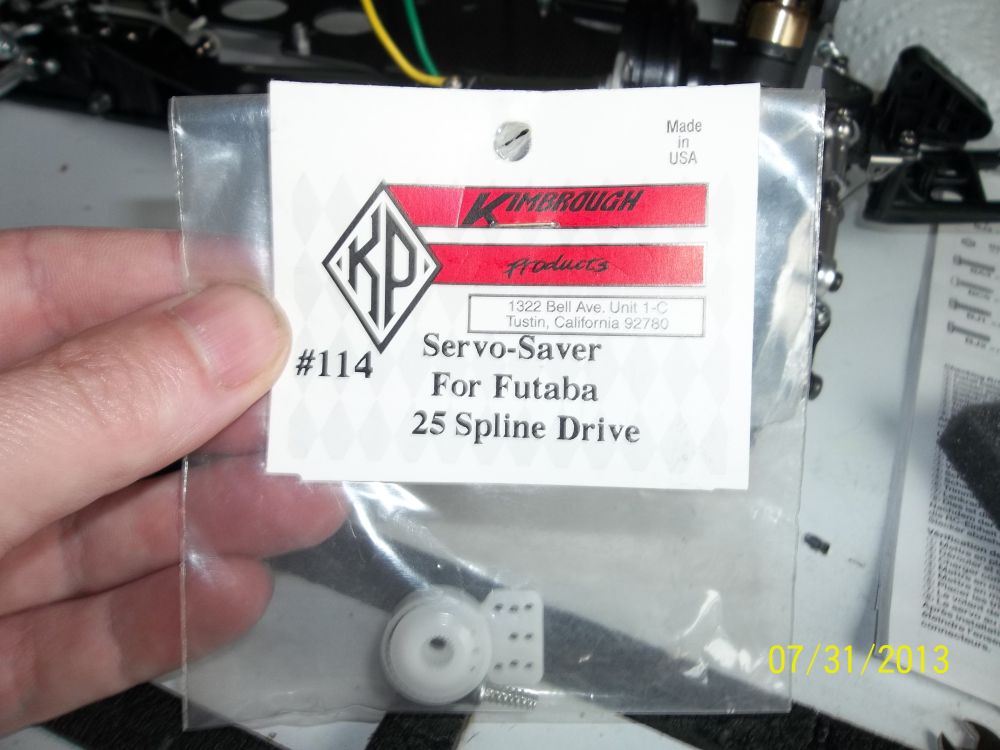
I read on the internet that the stock servo saver is too weak. So I opted for a Kimbrough servo saver. I hope this one is strong enough!
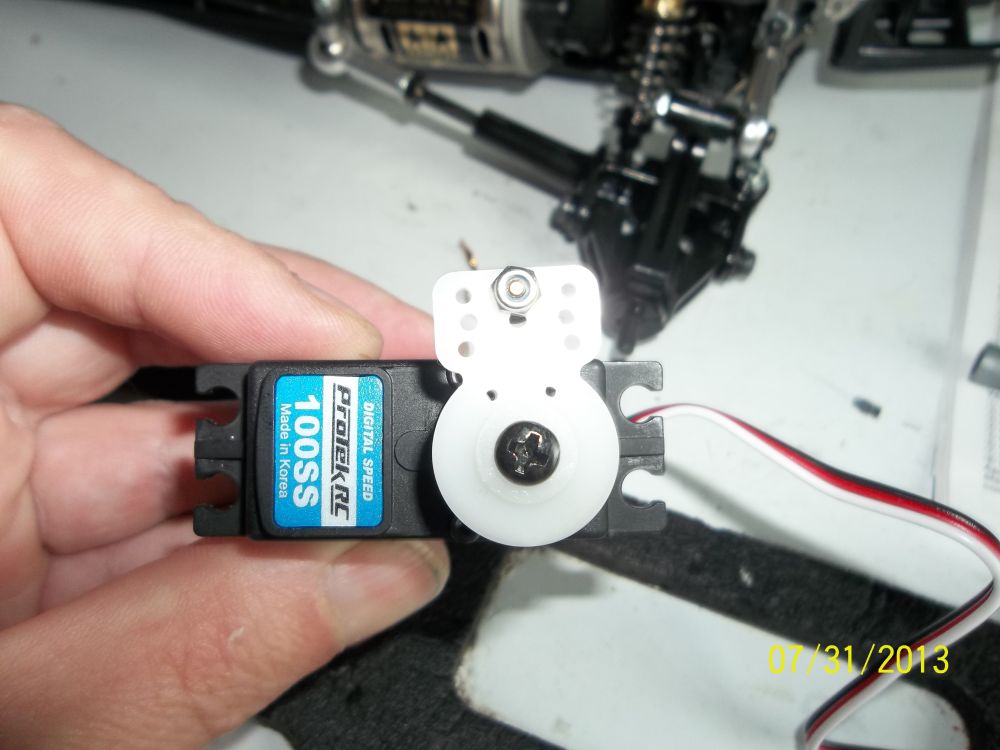
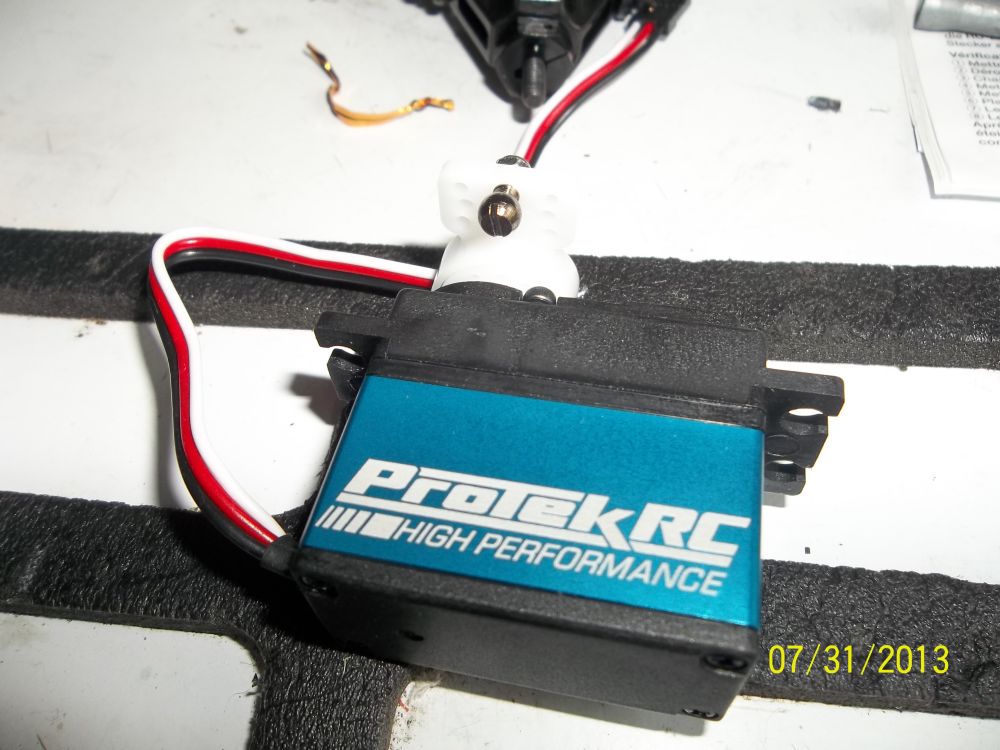
Servo centered and saver attached.
A nice looking servo!
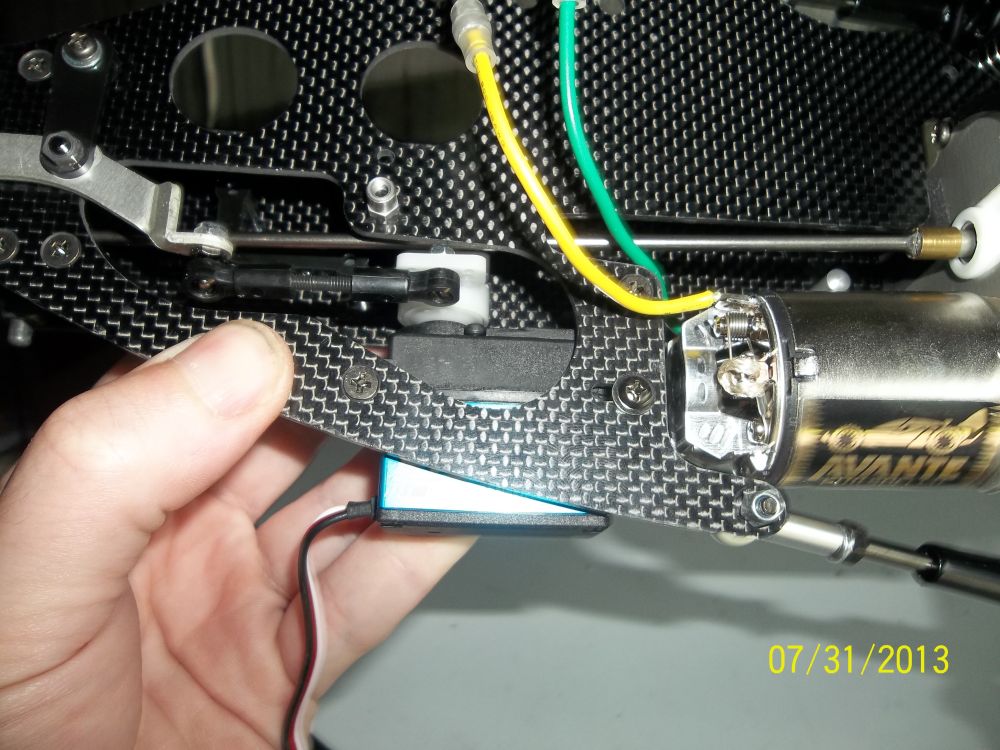
The servo mounts under the top deck. Attach the servo saver to the bell crank with a tie rod.
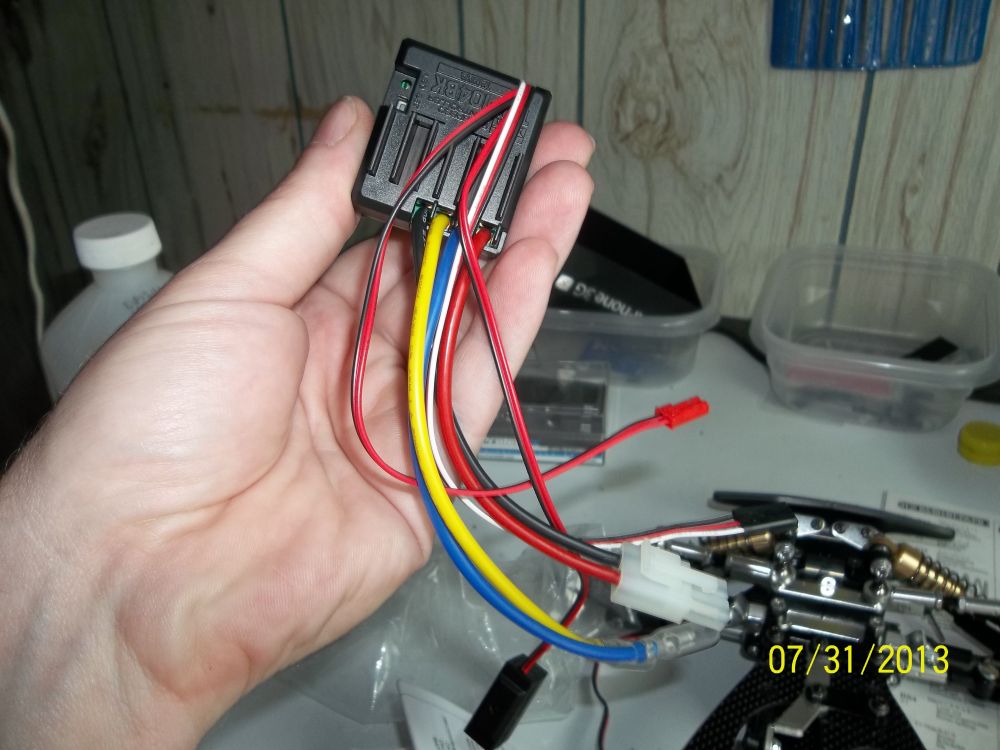
For the initial build we chose to use the stock electronics. Here is the stock Tamiya ESC. It does have a lipo cut for those that will be using lipos. I’d suggest using a cheap Lipo alarm.
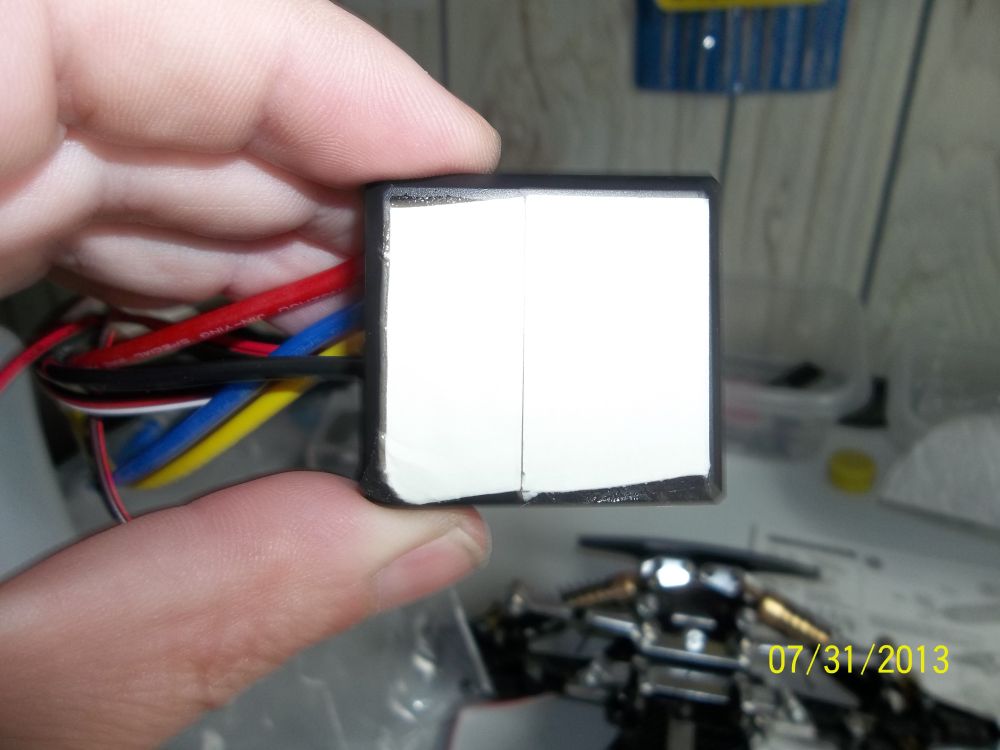
Stick some double sided tape on it and….
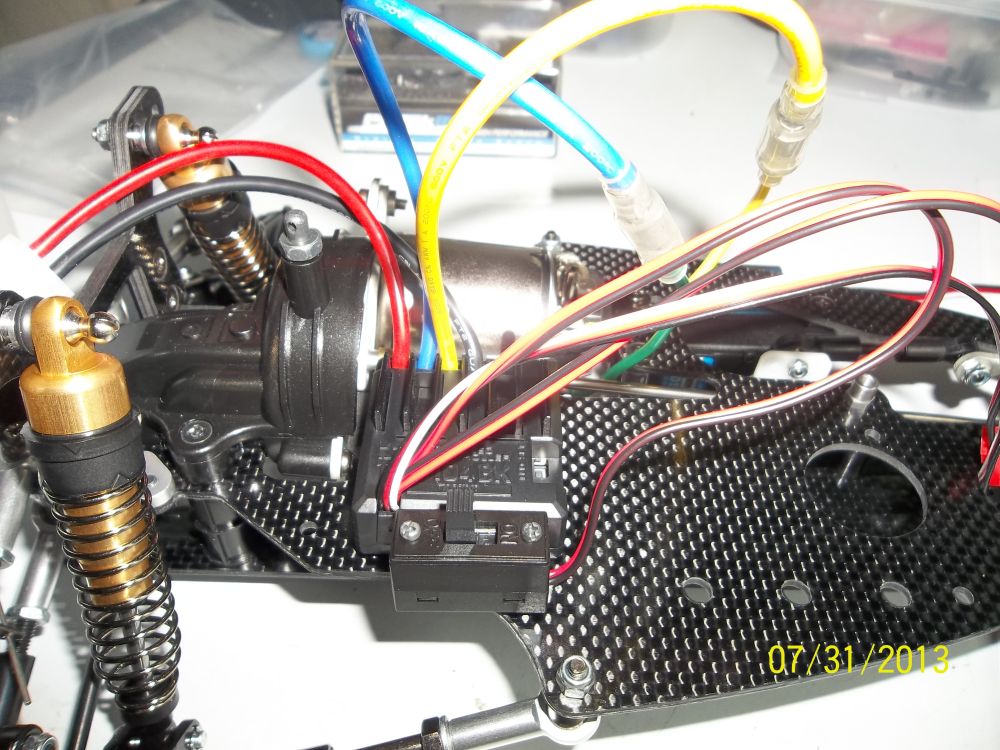
Stick it to the chassis. Make sure to leave enough room for the driver figure.
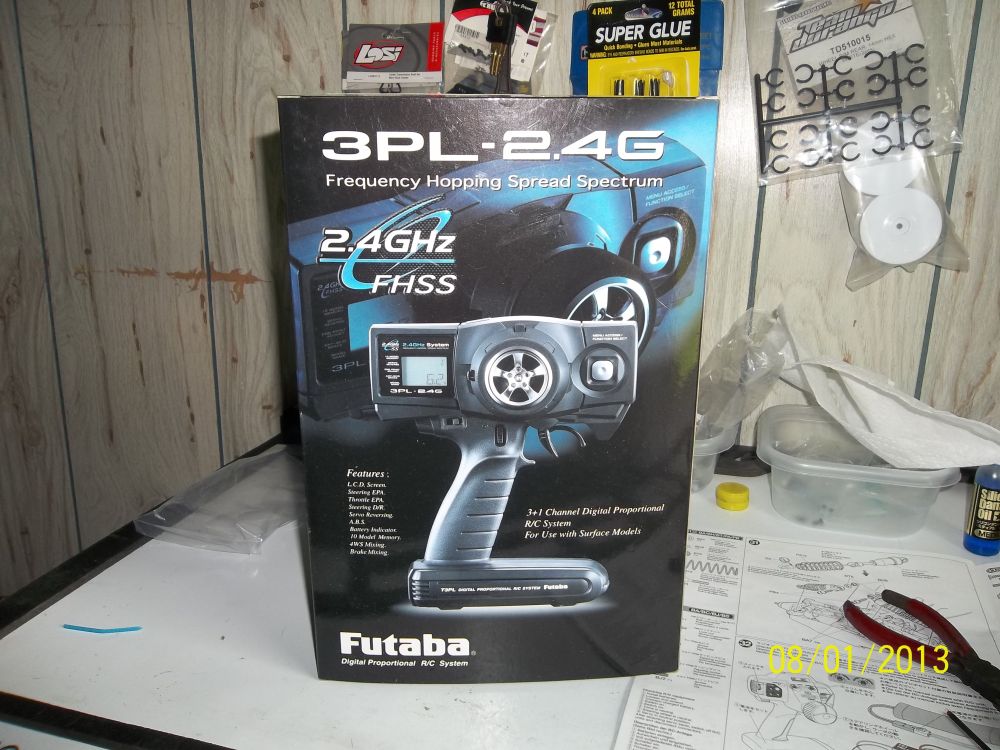
Time to break out the radio. Here we chose the Futaba 3PL-2.4g. This radio sports some nice features such as a LCD screen, steering and throttle EPA’S, steering D/R, Servo reversing, ABS, battery indicator, 10 model memory, 4ws mixing and brake mixing.
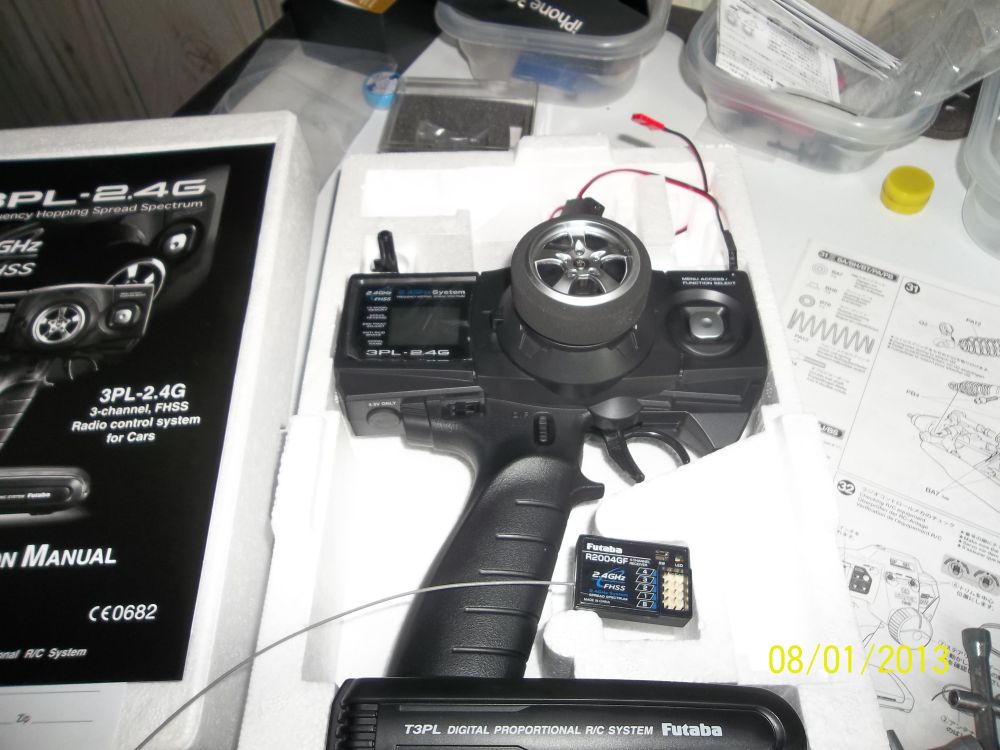
Nicely packaged. I need to get the receiver now..
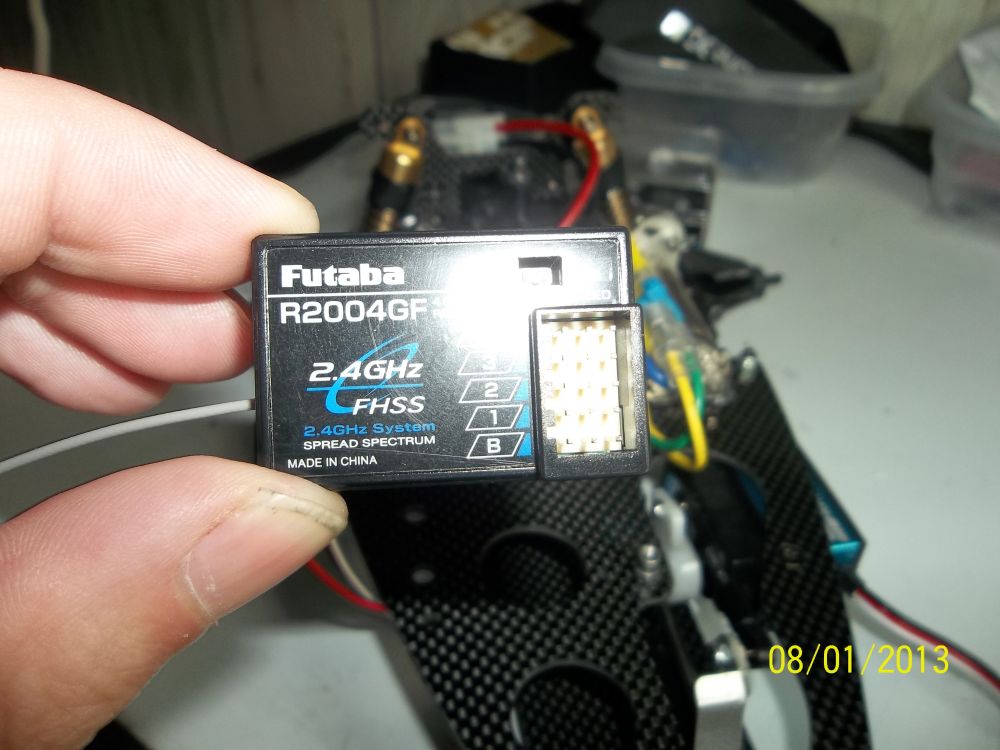 Its a nice size. not too large, not too small.
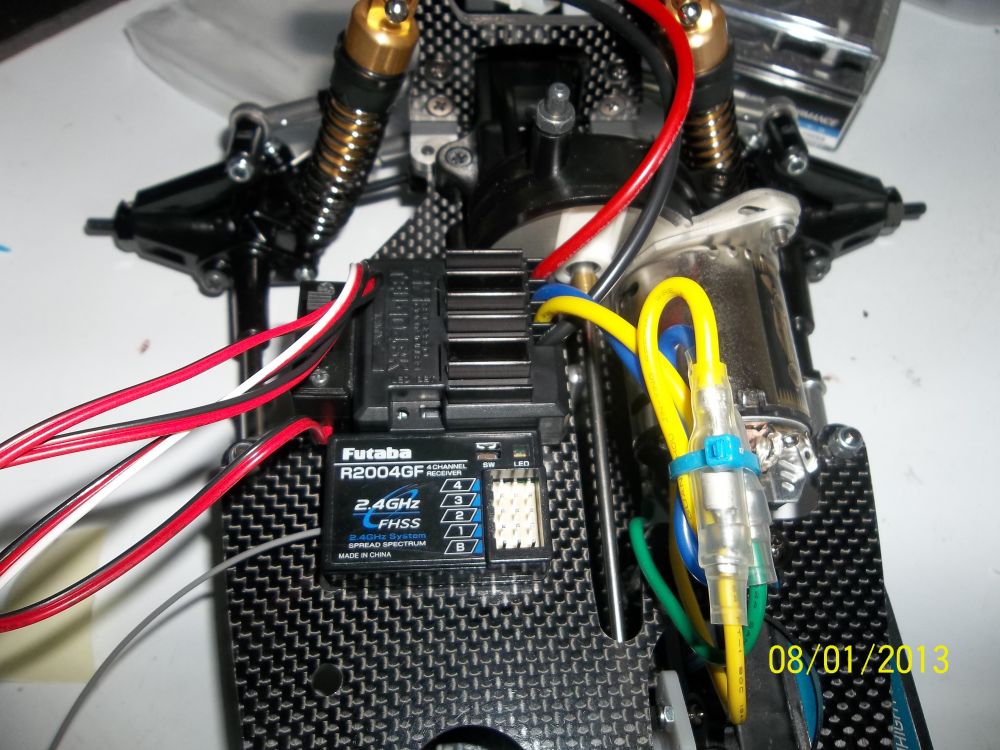
I stuck it to the chassis with the supplied double sided tape. Again make sure to leave enough room for the driver figure.

Now its time for the tires. Man these things look like they could be used as some type of medieval weapon. lol
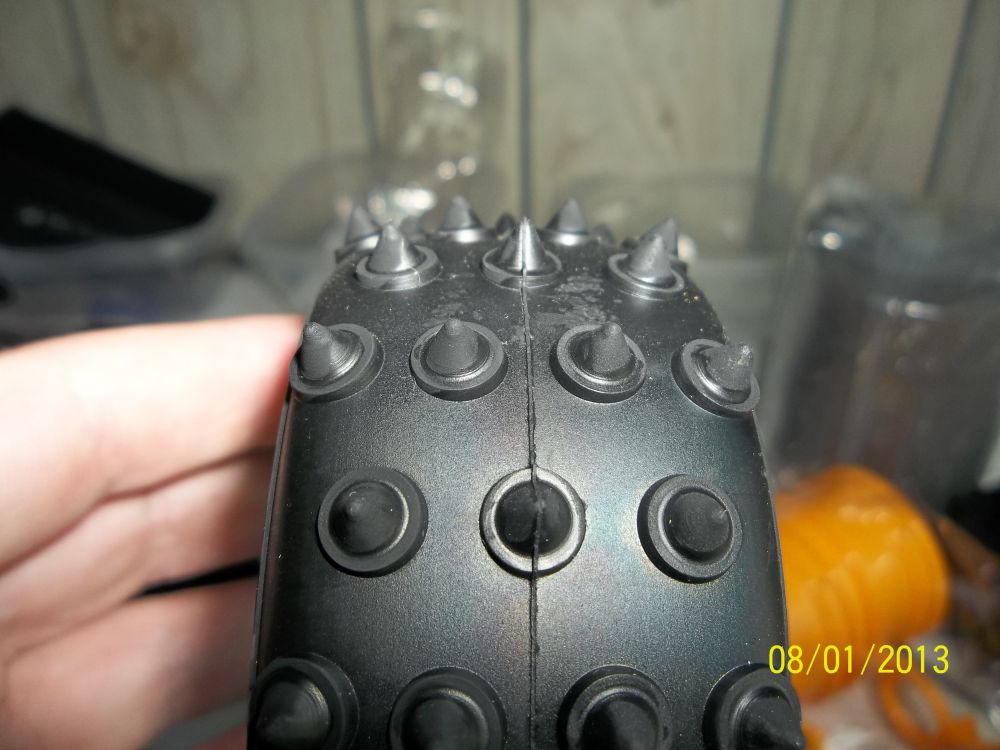
Chocolate chips?

Yes these tires have foam inserts. I am not 100% sure why as the tires are pretty hard.
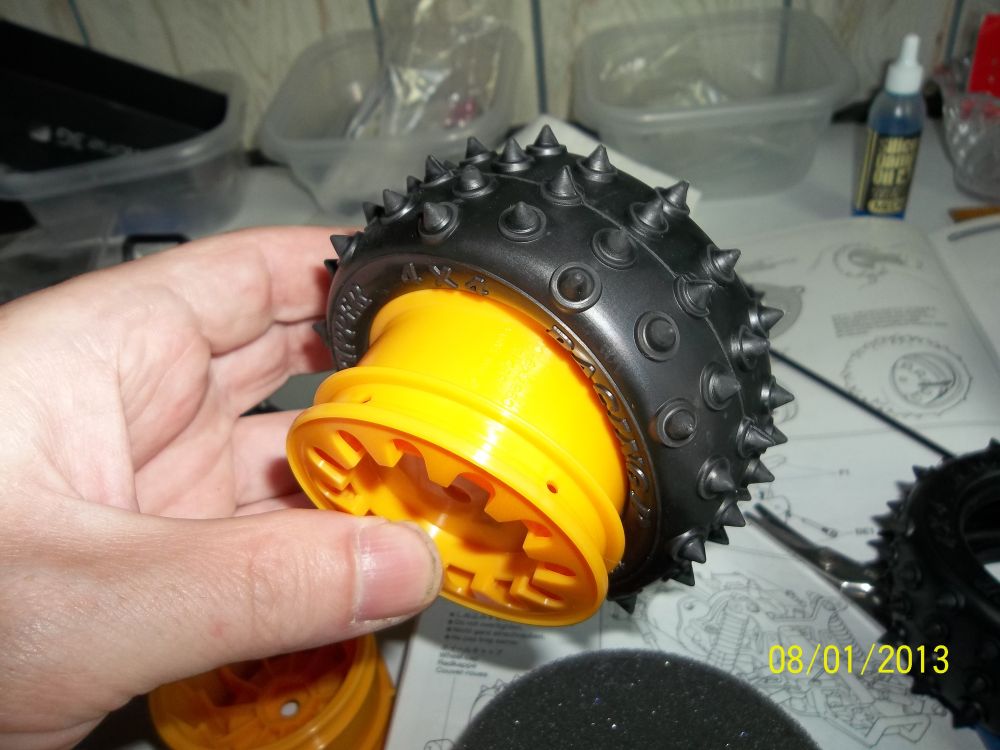
Push the rim into the tire.
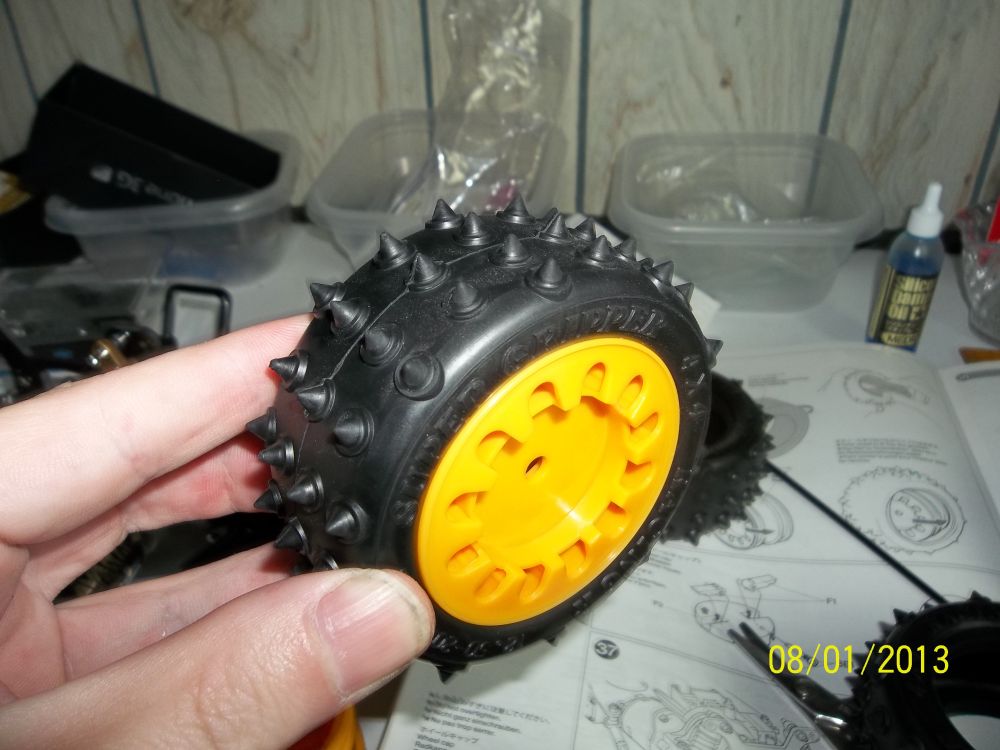
And here ya go. These tires fit so tight to the wheel I didn’t use any glue.
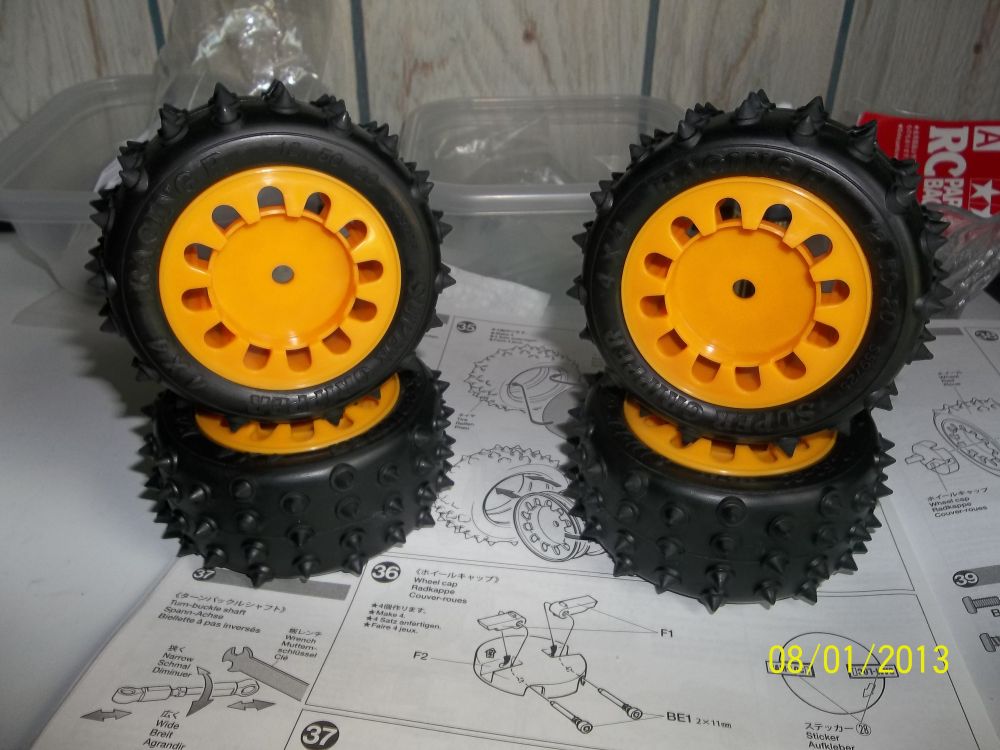
Four tires ready to be mounted up!
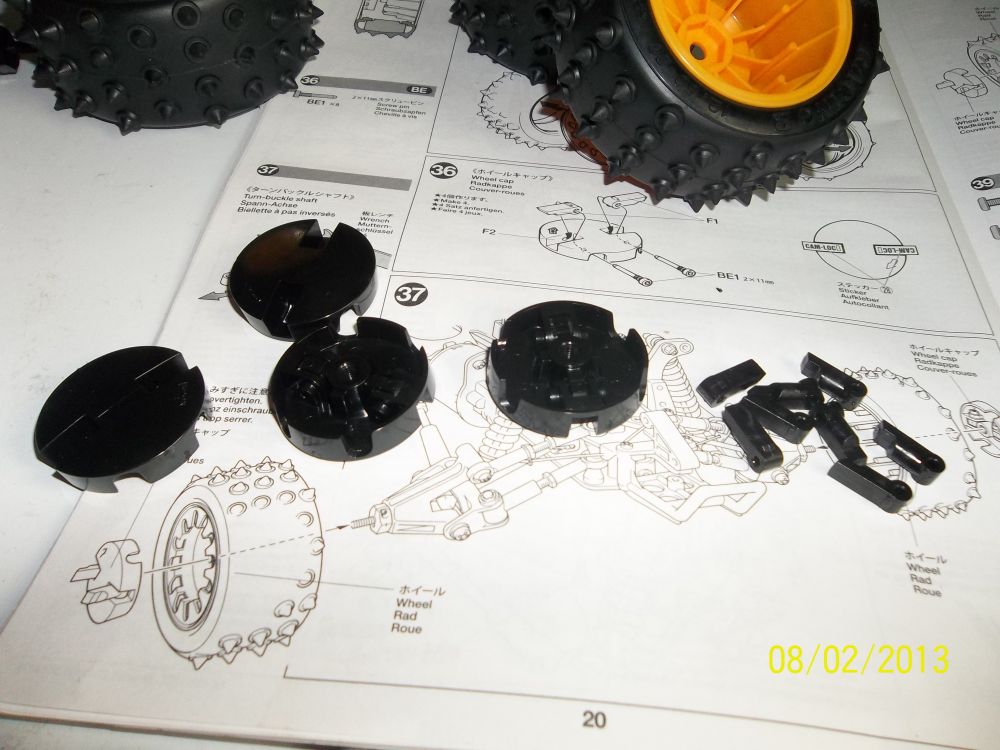
But not with a nut. These tires are mounted with a cam lock system. Here we go again with the Neat factor.
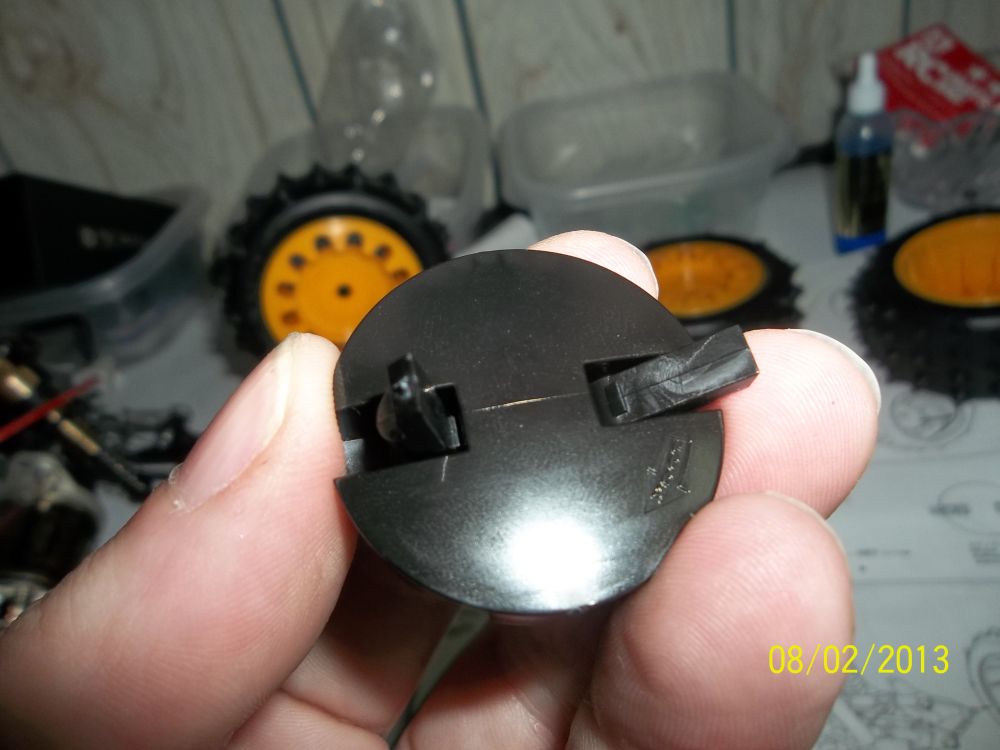
Cam lock.
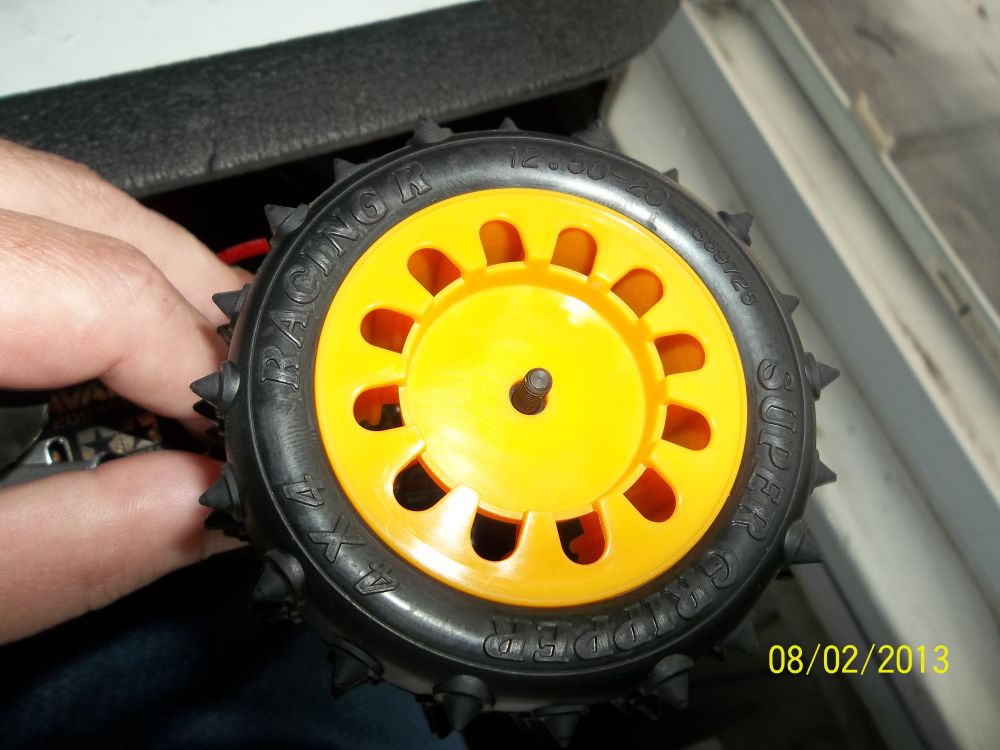
Wheel on car waiting for the cam lock.

Screw the cam lock down and then snap the levers over and your done.
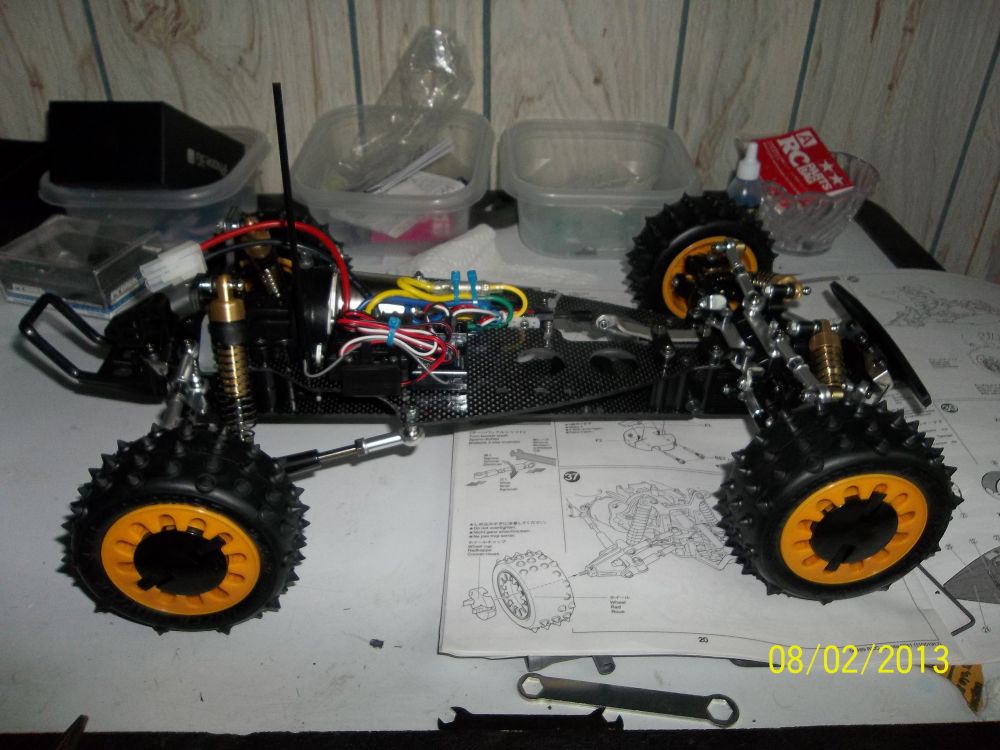
Here are the tires mounted to the car. Tamiya also included an extra set of modern 4wd buggy wheels so you can mount up your choice of rubber. That’s a nice add on. We’ll be mounting up a set of M4 Pro-Line Holeshots in our followup article coming soon.
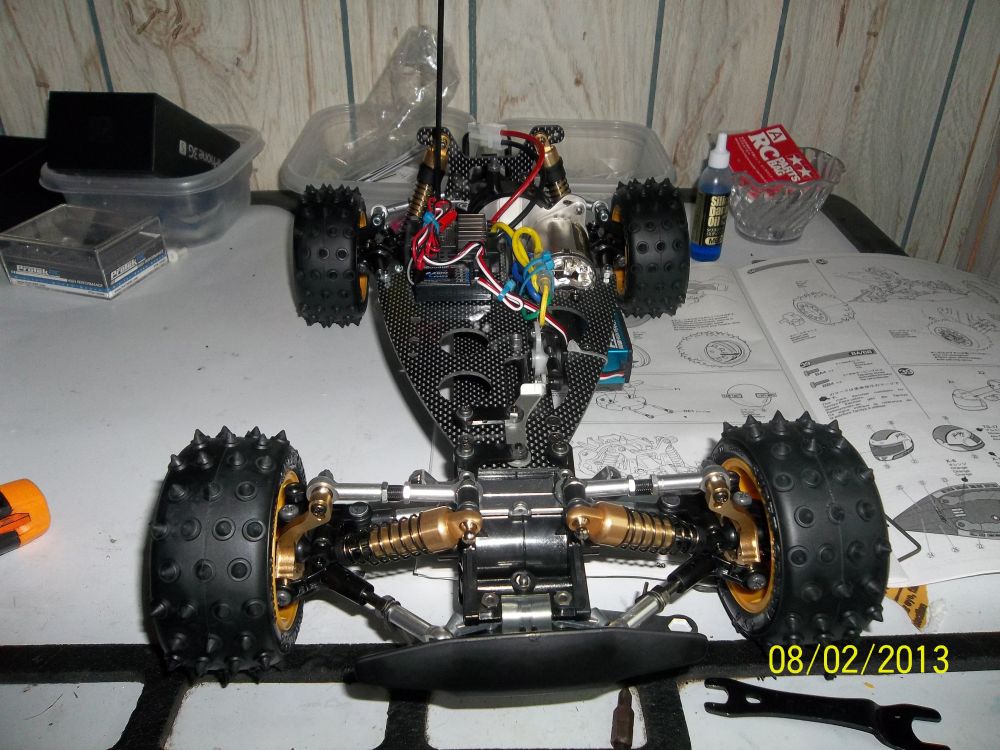
Another shot of the tires on the car.
 Posted in
  Tags:
Tags:
Were you able to run this even though it was a re-release?