

 September 4th, 2013
  Geo
Geo Shock build time!
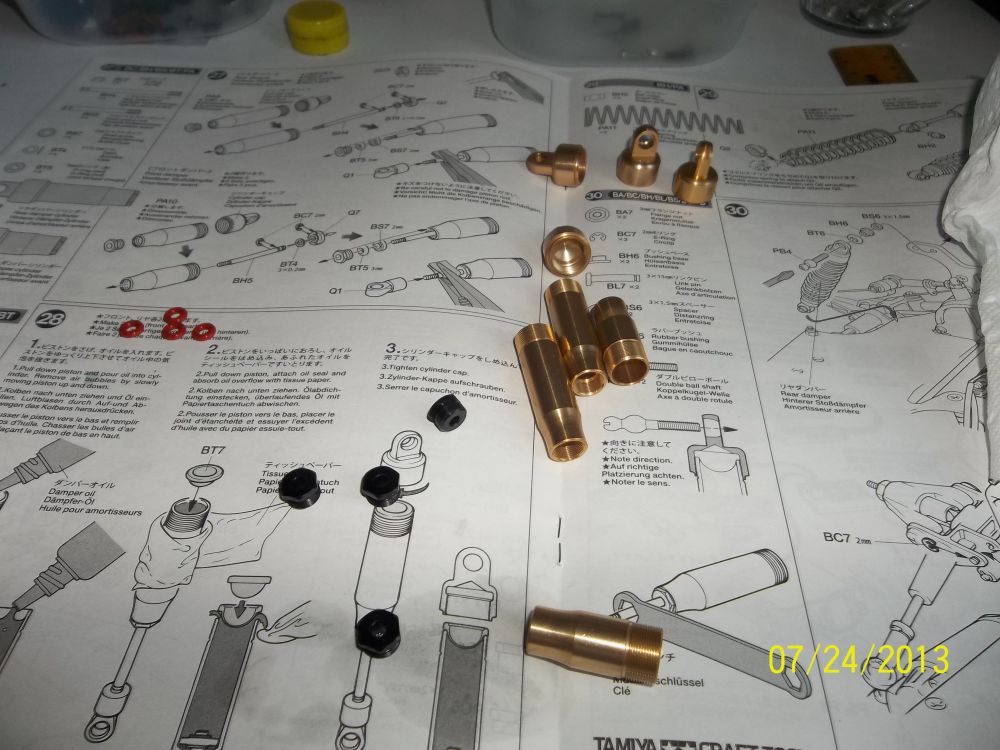

Snap your e-clips onto the shaft.
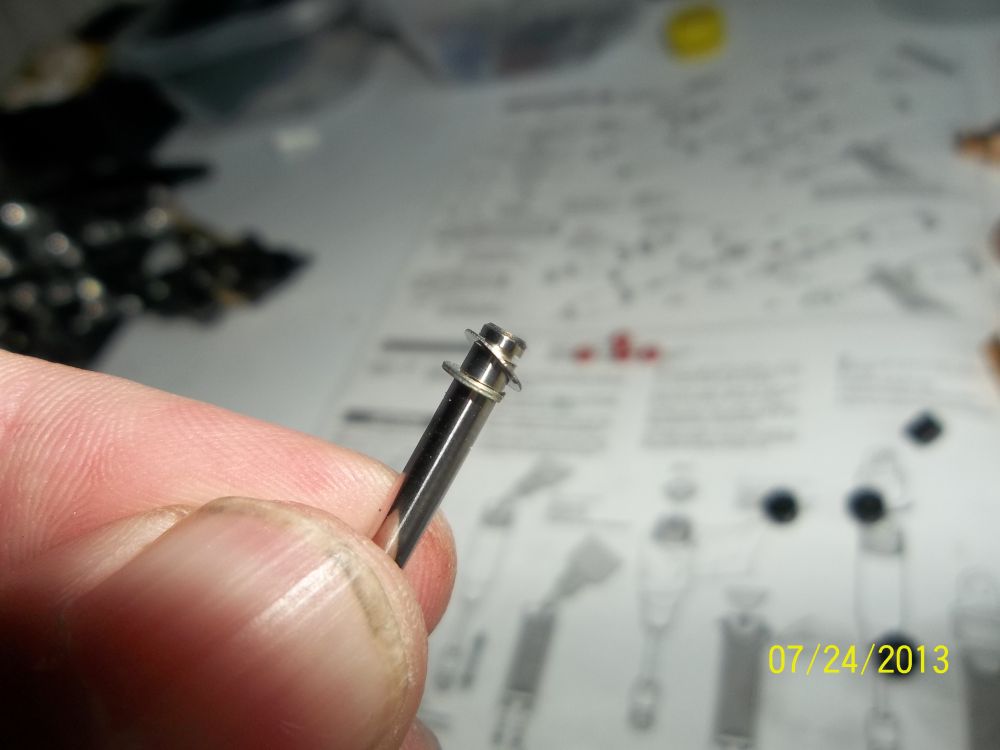
Next add a washer.
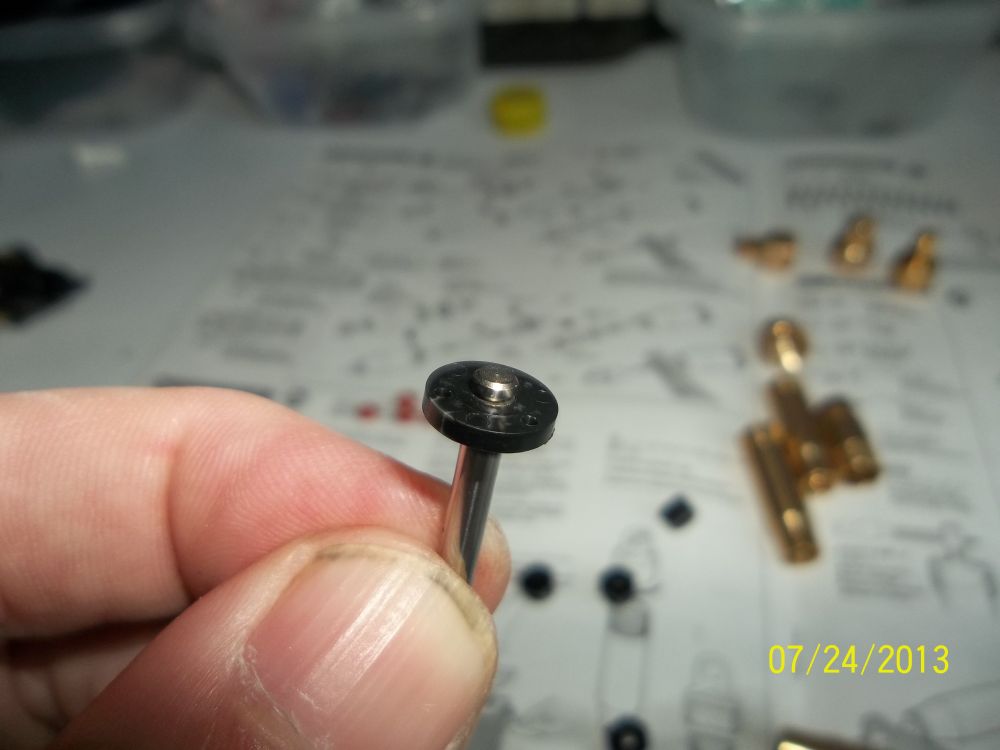
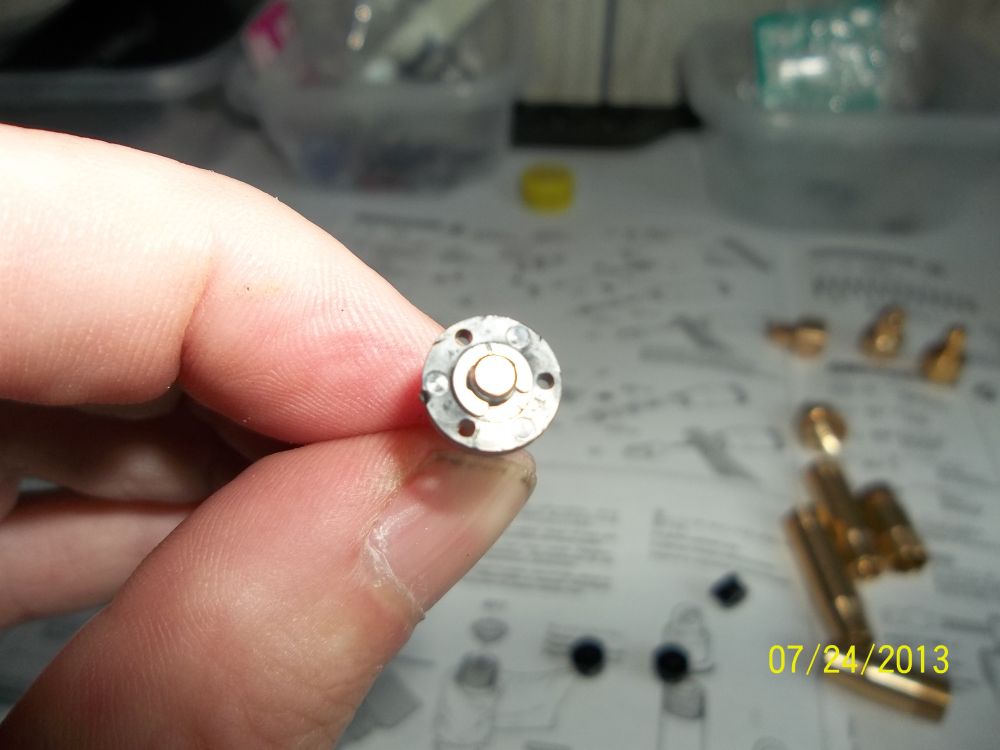
Then a piston.
And another e-clip.
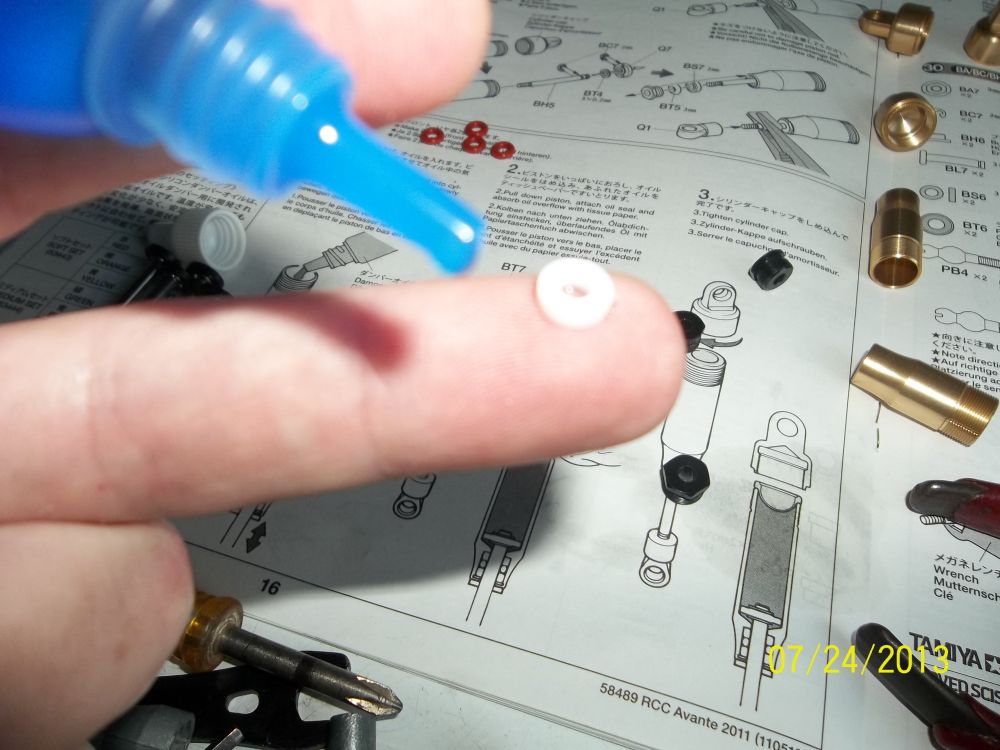
Now for the shock body bushings. Use some shock oil to lube them up.
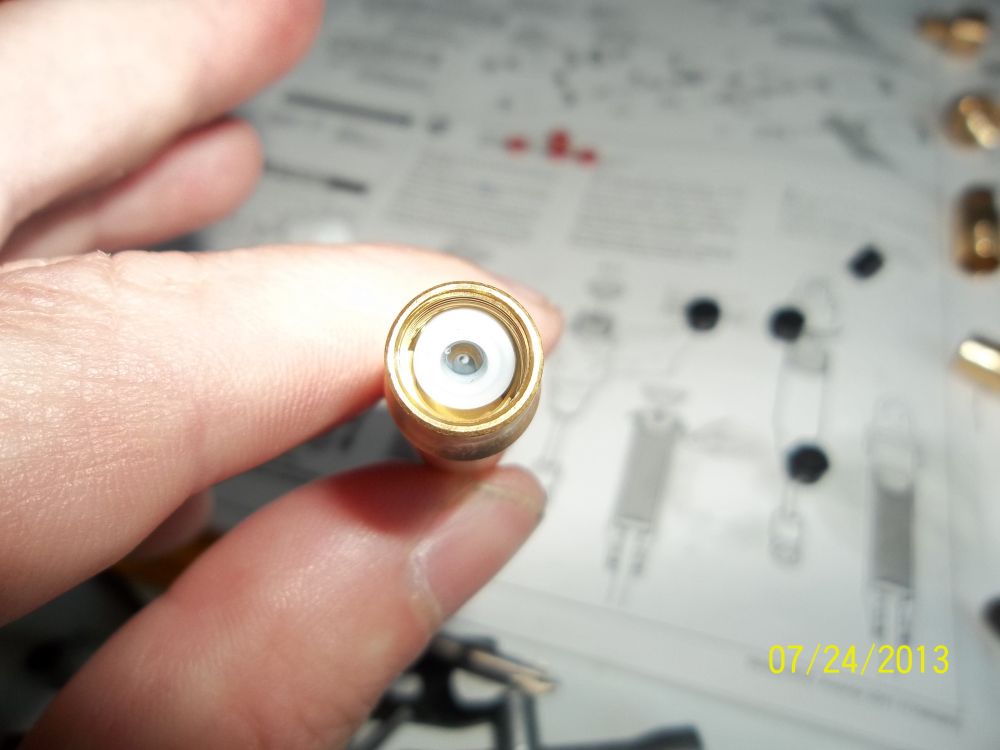
First a white plastic washer.
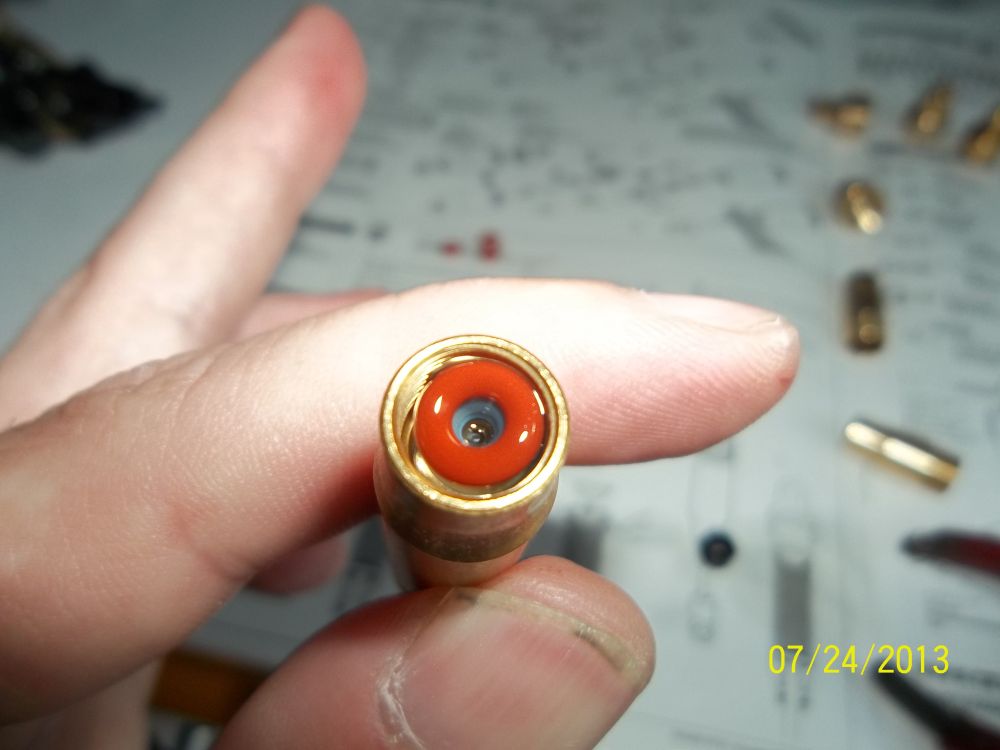
Next a rubber o-ring.
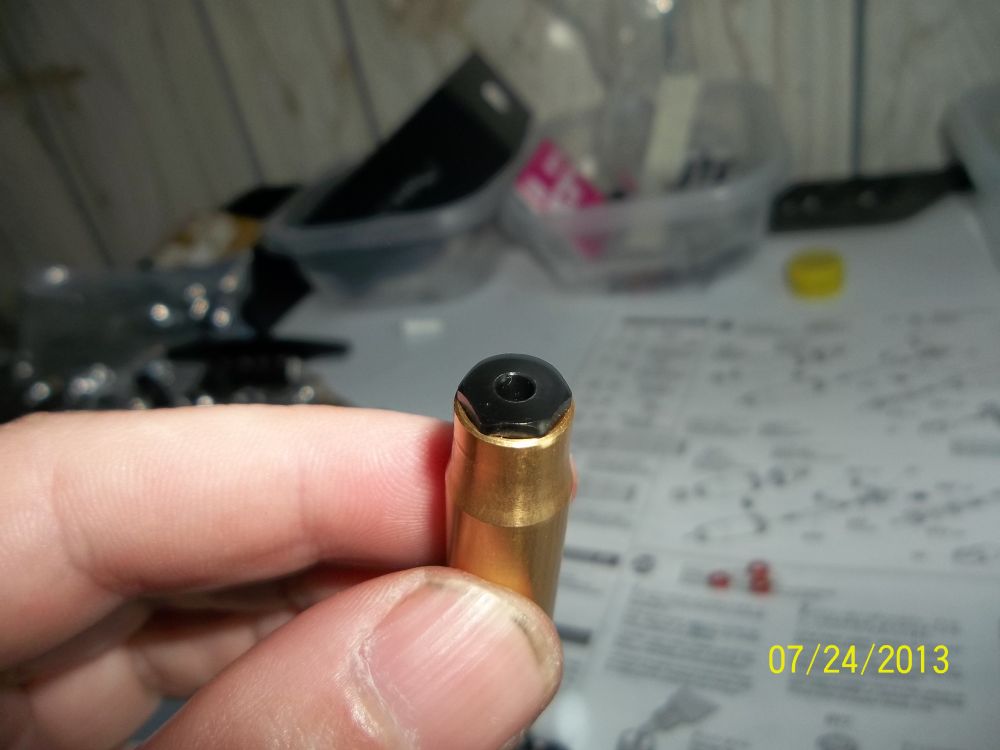
And the end cap.
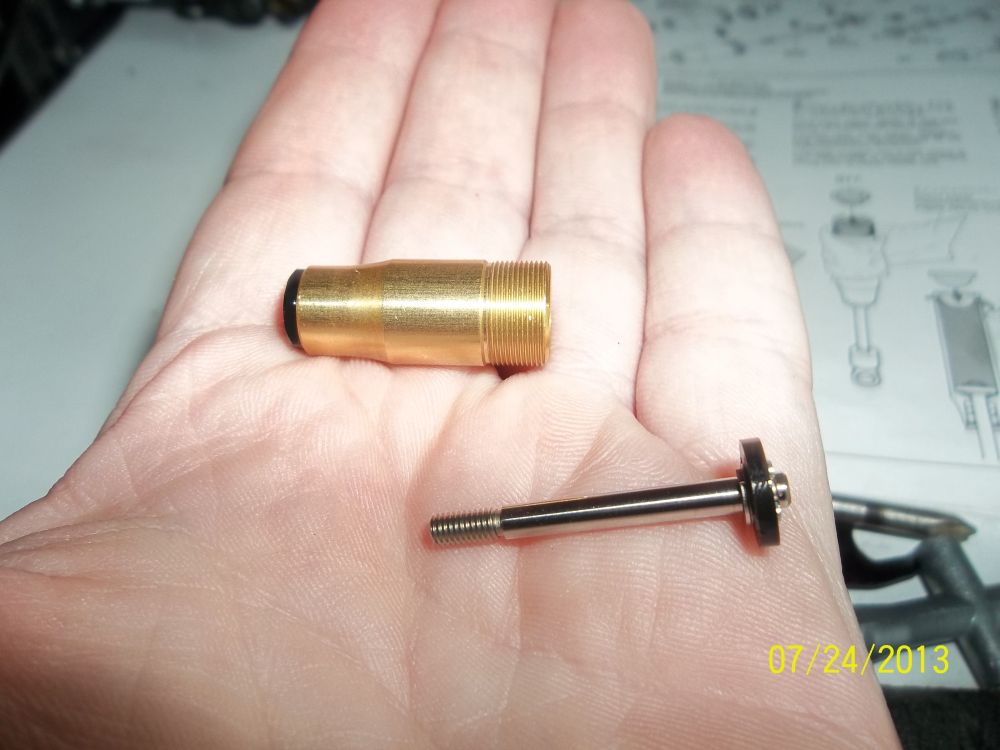
Semi finished shock.
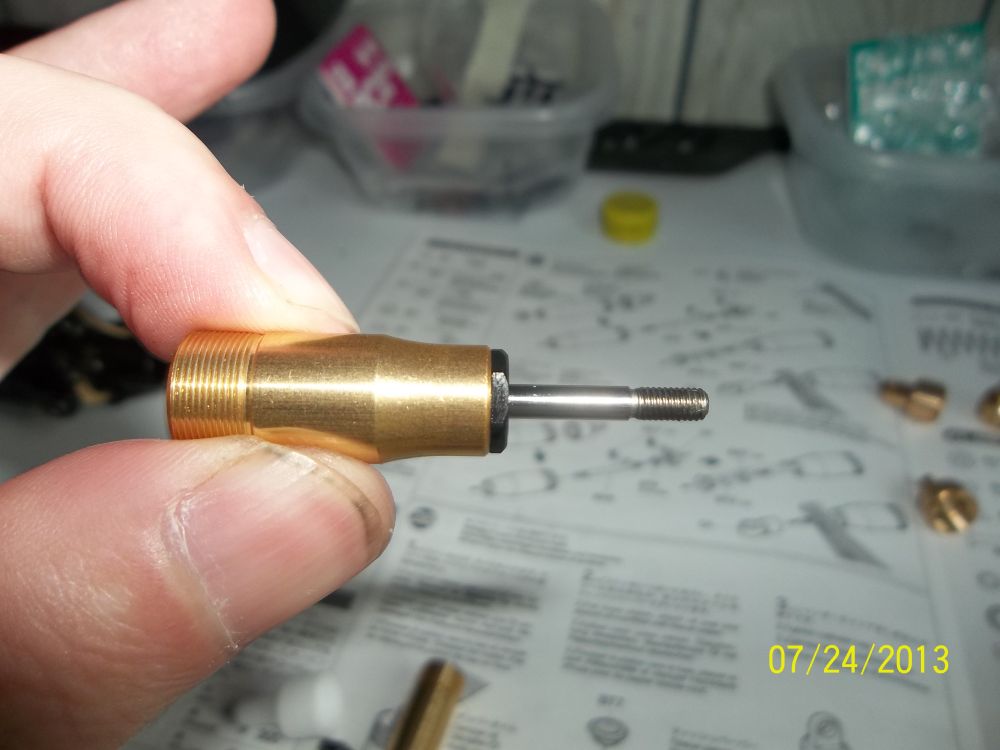
Slide the shaft into the shock body. I also used shock lube on the threads of the shaft so not to rip the o-rings.

Getting there…
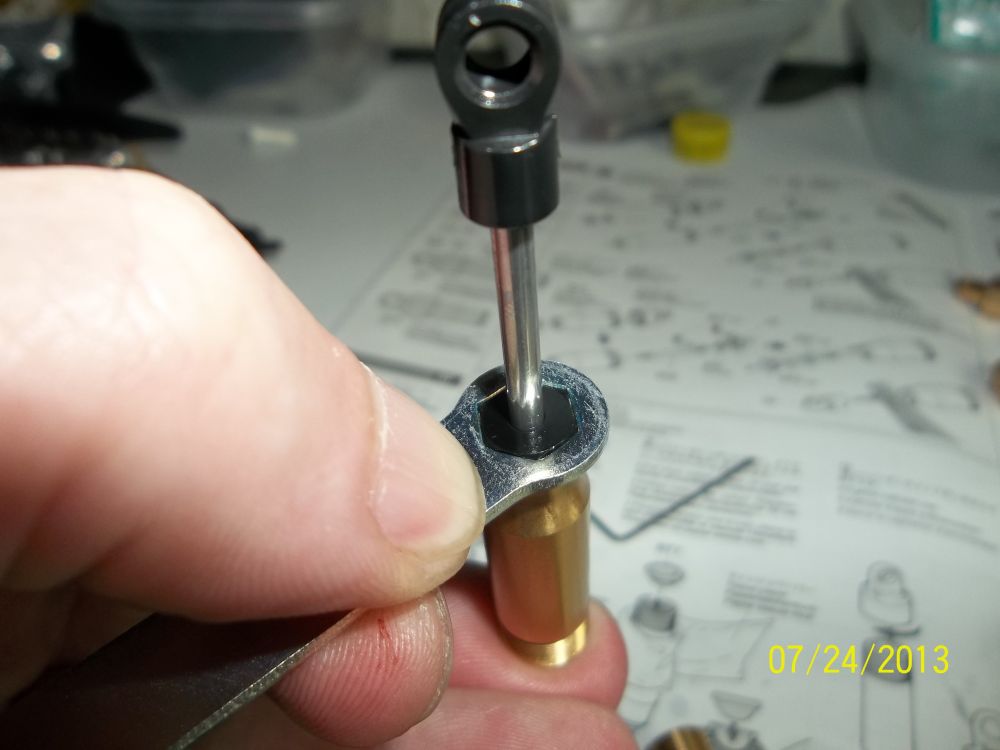
Use the supplied tamiya wrench to tighten end cap.Now repeat these steps three more times.
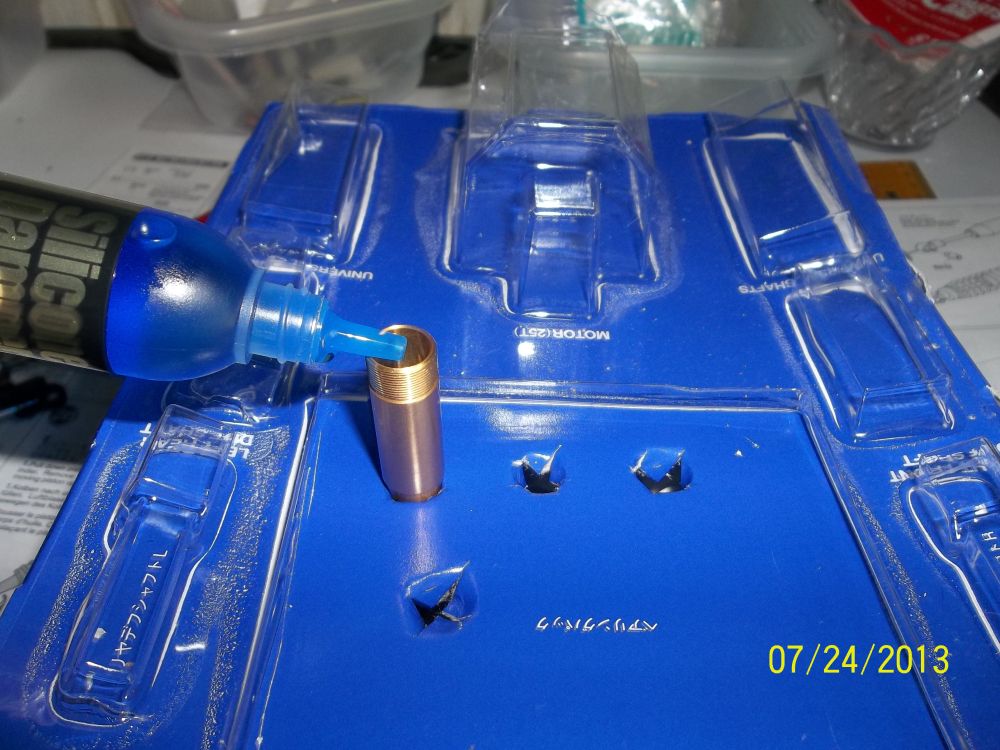
Here is a NEAT little idea I had. Just poke some holes in one of the boxes included in the kit to hold your shocks.This will allow you to fill them and let them sit to get rid of all the air bubbles.
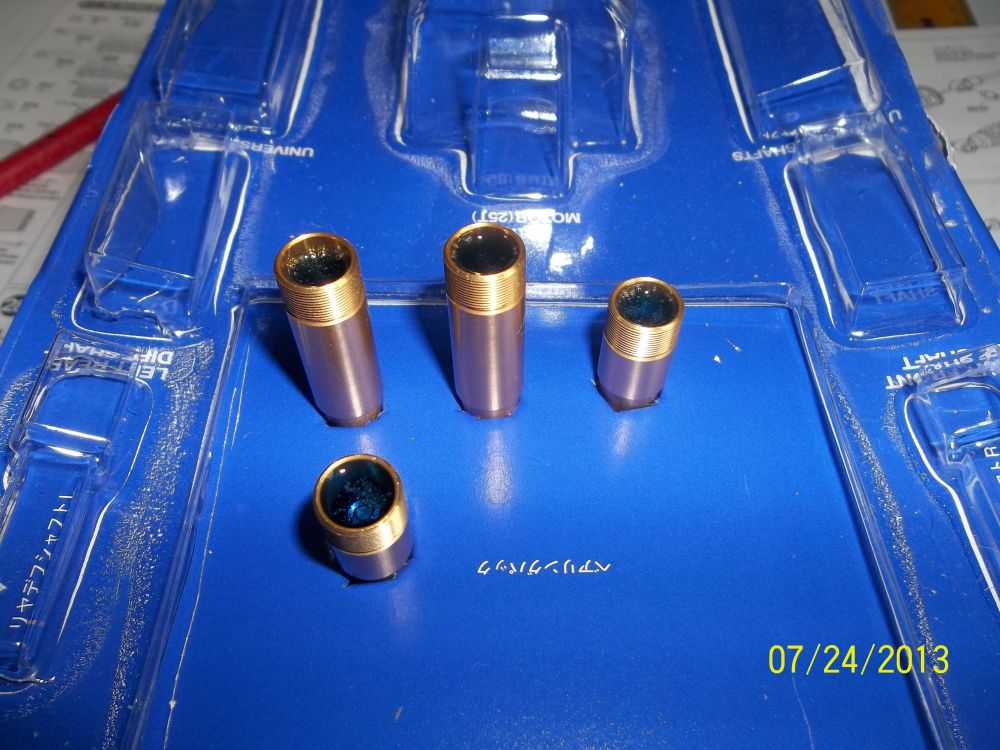
TA DA!

Now install the top bladder. Have a tissue ready.
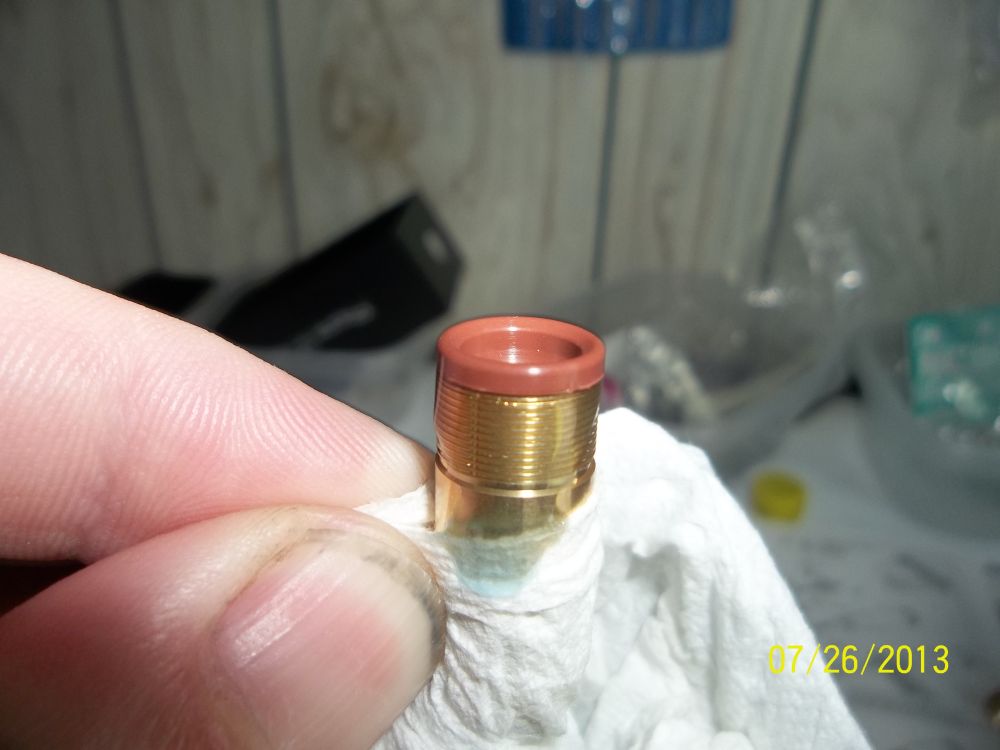
How it should sit.
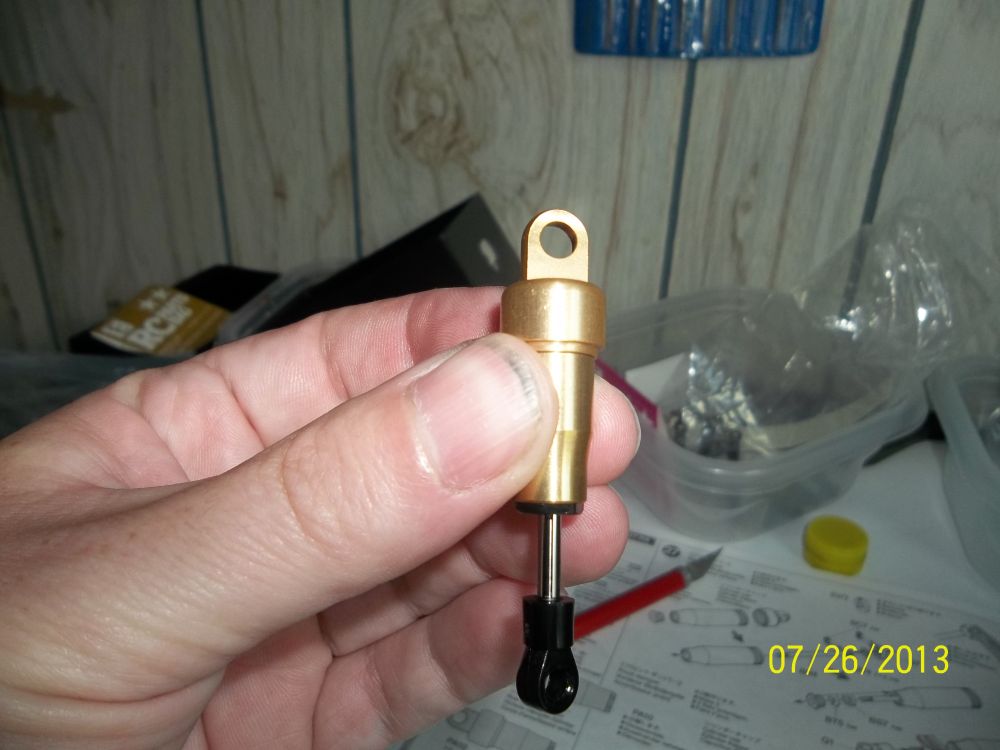
Install the cap and you have a finished shock minus the spring.

Speaking of springs check these out. They taper at the bottom.
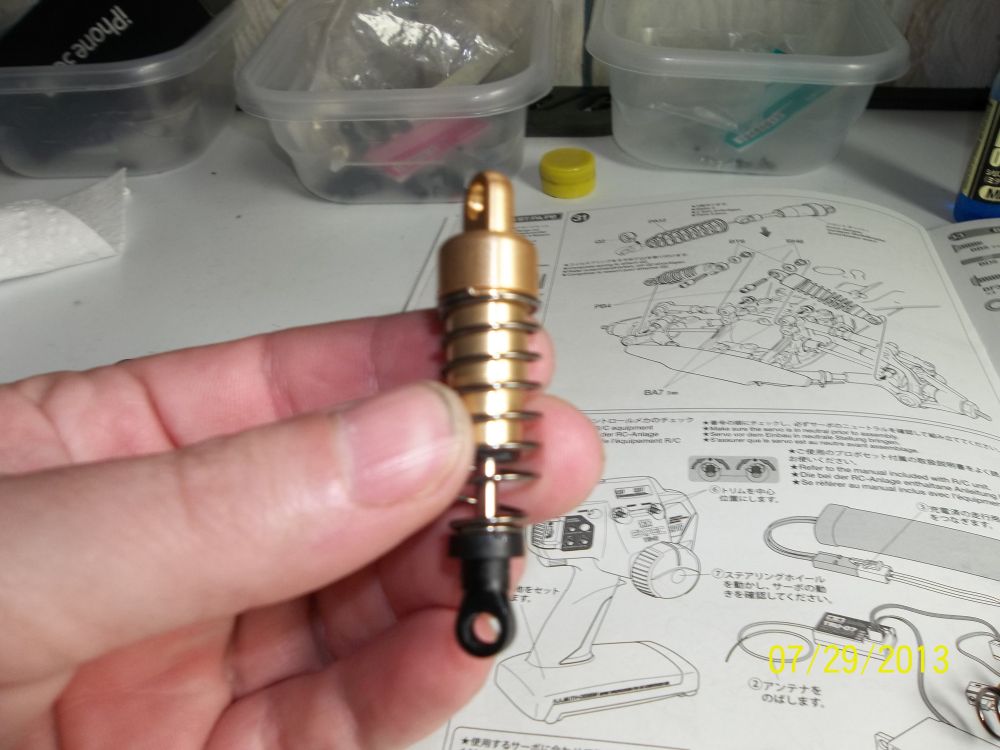
 Here we have a complete shock.
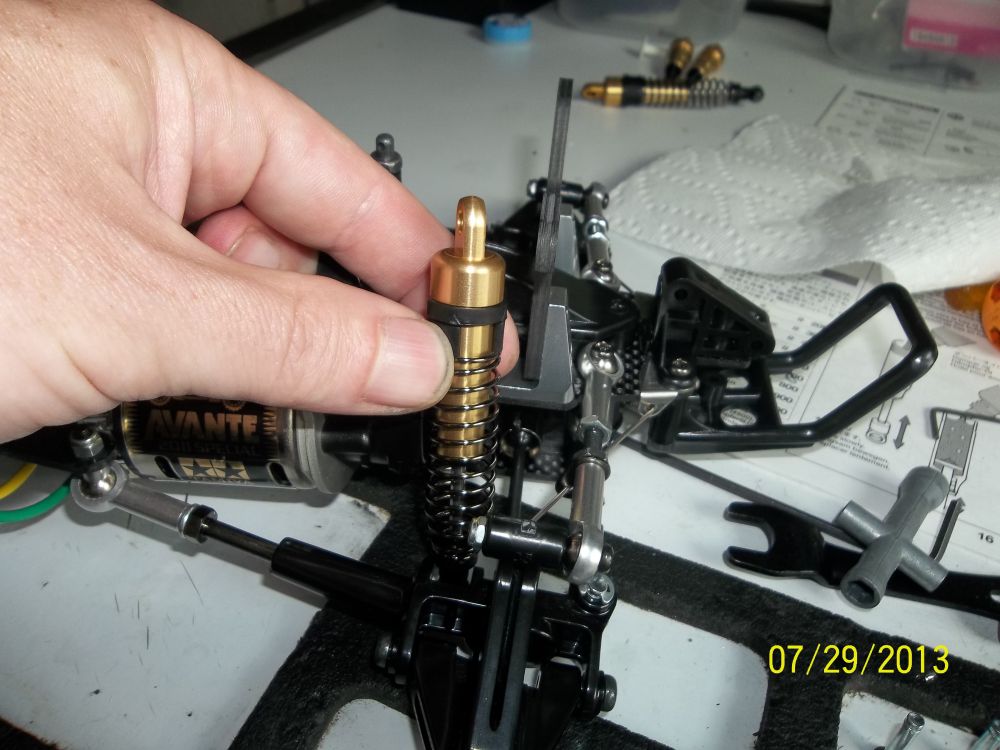
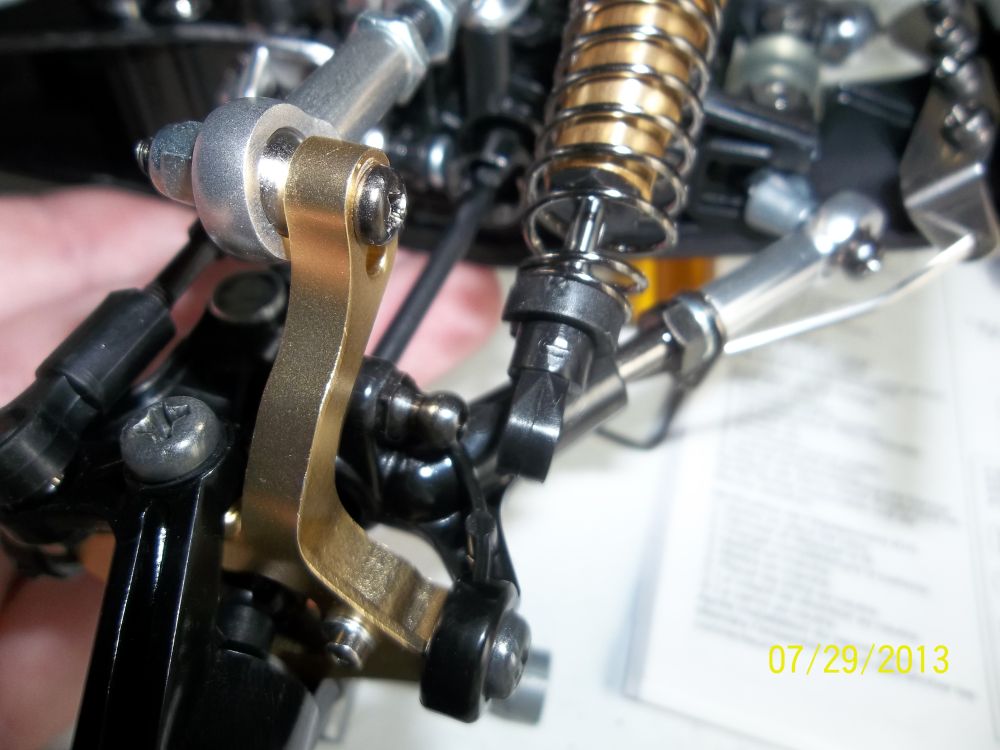
Getting ready to mount the rear shocks on the car.
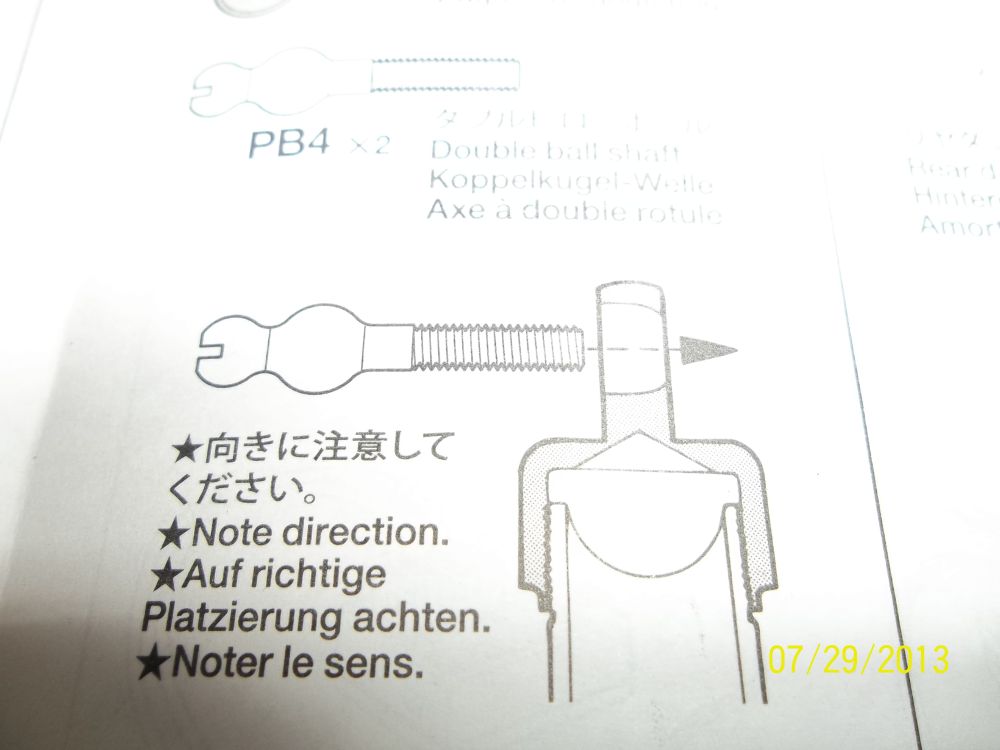
Pay close attention to the way the top screw goes into the shock cap. Each side of the cap is machined different. One side is larger to allow the ball of the screw to fit in.
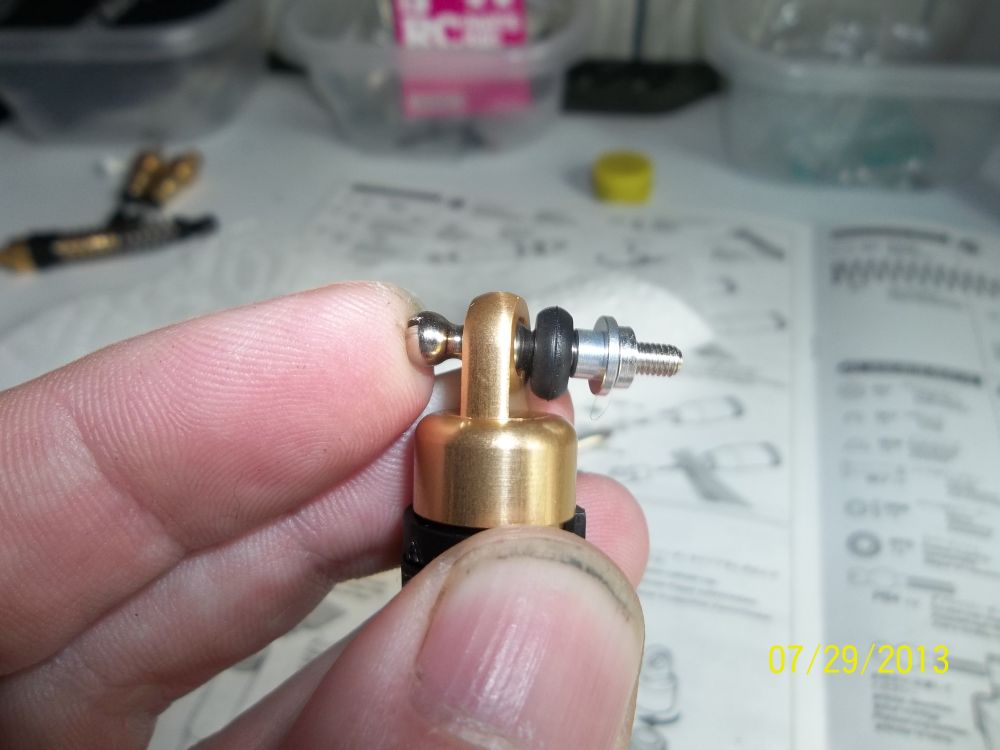
Now add a rubber o-ring and a spacer.

For mounting the bottom, we use a shaft and an e-clip.
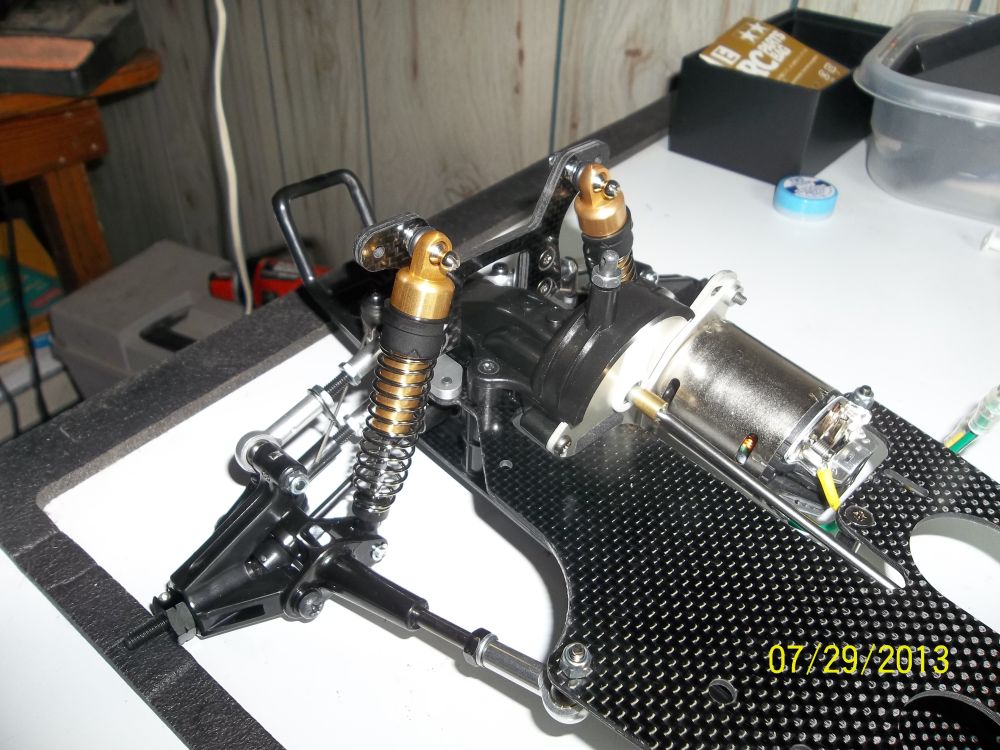
The shocks are mounted!
Now its time for the front shocks. Man these are some tiny shocks for an offroad car.
The bottom just snaps on over the ball stud.

Front shocks installed!
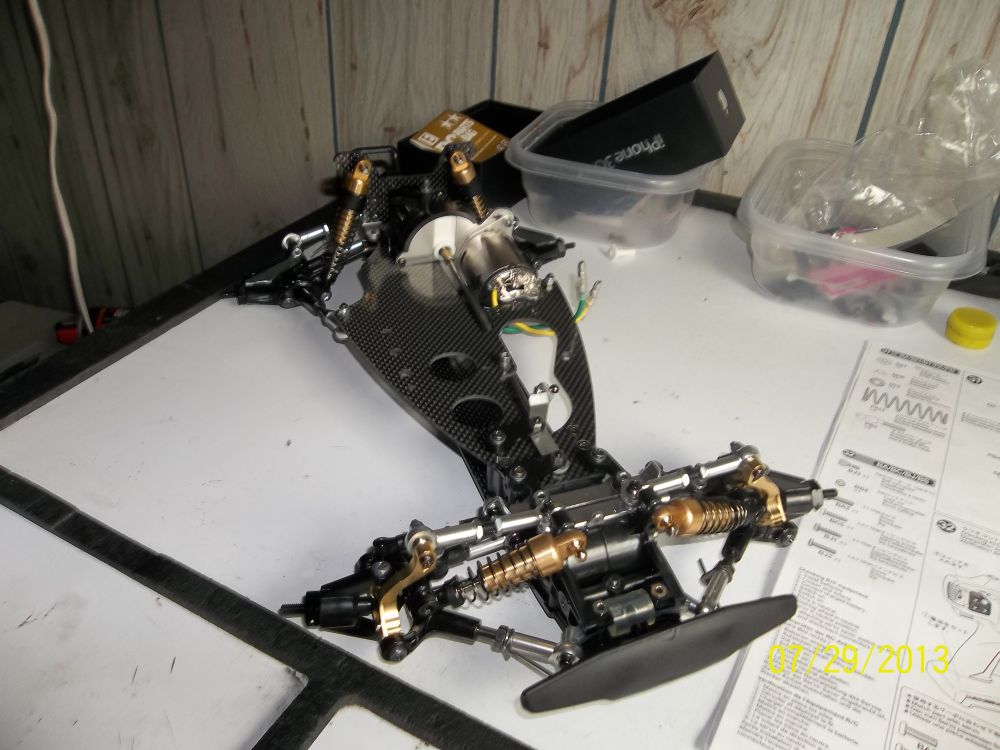
Looking like a car.
 Posted in
  Tags:
Tags:
Were you able to run this even though it was a re-release?