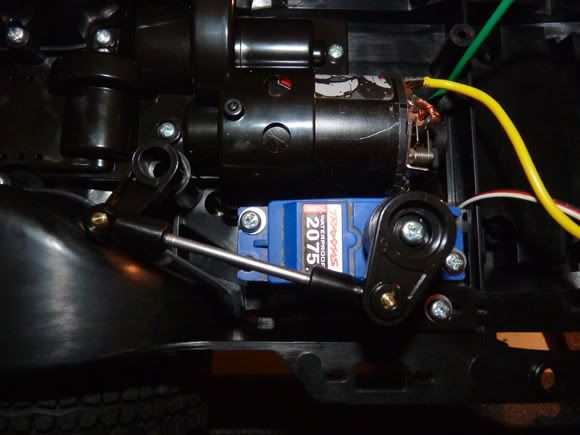
Electronics time. All of this is straight forward so I will zip through it. Below is my Traxxas servo. I went with Traxxas because they are dirt cheap, have a lot of torque for the money, and are waterproof. Here you can see how it controls the bellcrank.

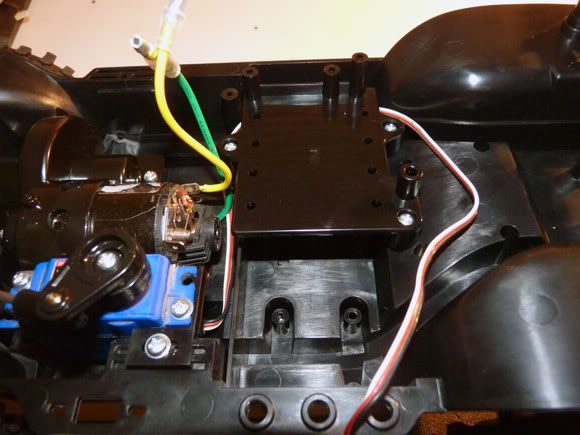
Now we install the battery compartment top plate/electronics tray.

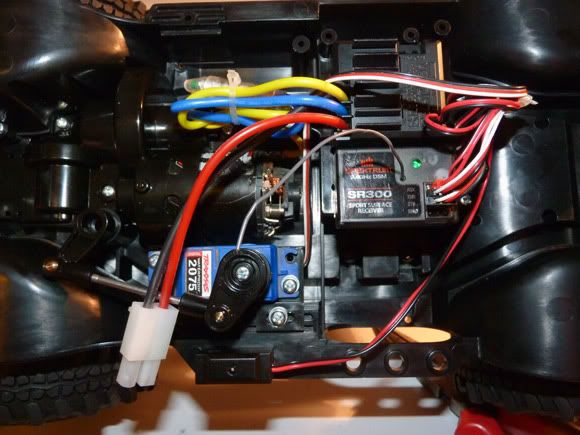
Here are the electronics mounted and tidied up with mini zip ties. I’m running a SR300 receiver to use with my DX3R, as well as the stock included ESC. Say goodbye to that Tamiya battery end. That’s the last time you will see it in this build.


 November 18th, 2011
  Kevin
Kevin  Posted in
  Tags:
Tags:
nice build up…i want a big wheel again !
[…] the whole thing over, but the images wouldn't link.. if you don't mind.. please follow the link. Tamiya CC-01 Mercedes-Benz Unimog Build Up | RC Soup Here's a […]
[…] you missed our build up of this truck, please check it out HERE. This is our review of the Tamiya CC-01 Mercedes-Benz Unimog. The truck is 90% stock, as it was […]