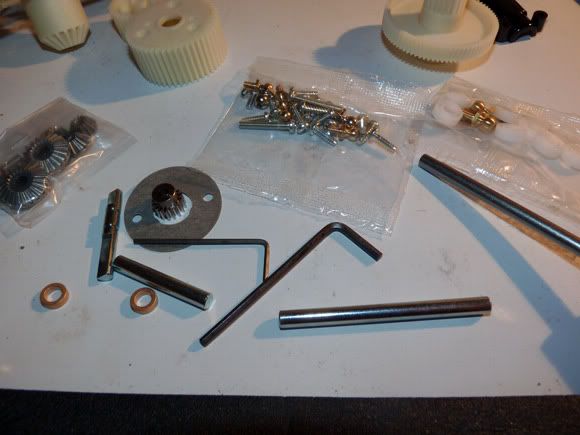
Let’s dig in! First step, attach the pinion gear to the motor. Wait, what? Ya.. that’s right.. what other kits save for last, Tamiya has you do first! For good reason I guess, there’s not much to this truck. In fact, if you actually read everything I’m about to tell you, you probably could have built this kit in the same amount of time (minus body work).

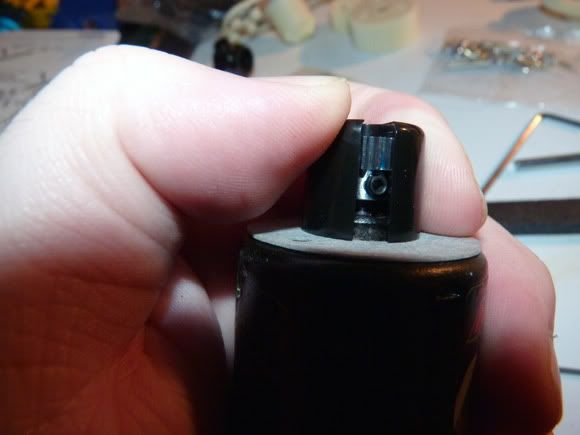
Tamiya gives you this nifty spacer to set the the pinion to the right offset. Simply put it over the pinion, slide the pinion so it butts up against the inside, and tighten. Done.

Next we install the motor on the plastic motor plate (Might be worth looking at getting an aluminum one down the road to help with heat disbursement). Then again, this truck isn’t meant to go 100mph, so heat may not be an issue. Another thing I’m not too crazy about is limited gearing. You can only mount the motor in 1 of 2 ways (no adjustability), which means you’re limited to 2 different pinion sizes, thats it.


 November 18th, 2011
  Kevin
Kevin  Posted in
  Tags:
Tags:
nice build up…i want a big wheel again !
[…] the whole thing over, but the images wouldn't link.. if you don't mind.. please follow the link. Tamiya CC-01 Mercedes-Benz Unimog Build Up | RC Soup Here's a […]
[…] you missed our build up of this truck, please check it out HERE. This is our review of the Tamiya CC-01 Mercedes-Benz Unimog. The truck is 90% stock, as it was […]