During my purchase of the Wheel Grip for my DX3R as seen HERE, I was looking at the other things PPR slots produces and stumbled upon this. Z-OPT RC Heavy Grease. They also make a lighter version, but for a crawler… we’re going in heavy. This grease is supposed to repel moisture and protect metal parts from corrosion. I’m giving all the gears/axles a coat of it in the event this CC-01 ever sees any stream crossings or other hazards one may encounter on the trail.

Looking back on this, I’m not quite sure what I was thinking when doing this.. but I coated all the spider gears in the front differential with the Z-OPT. Read the next part to find out what I mean..
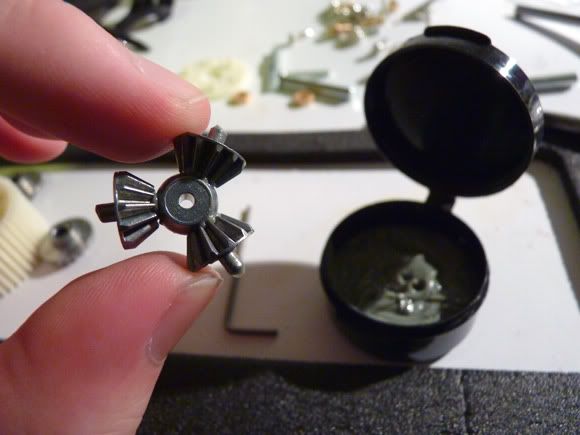
I found a useful tip on one of the forums (forget which now). An easy trick to lock the front differential without using JB Weld or making it permanent is to take a spider gear from the bag for the rear diff and using it in the front. If you are locking the rear diff, you don’t use any of the spider gears. Simply take that gear and place it between 2 others.. this will lock it all up for mountain goat type 4wd’ing. A locked front diff will dramatically increase your turning radius though, so be aware of that. Oh, and the above statement about greasing these.. since these gears will no longer spin in the diff, it was kind of pointless to lube them. I suppose if I got it buried and mud/water worked its way in there, that it will still help prevent corrosion though.
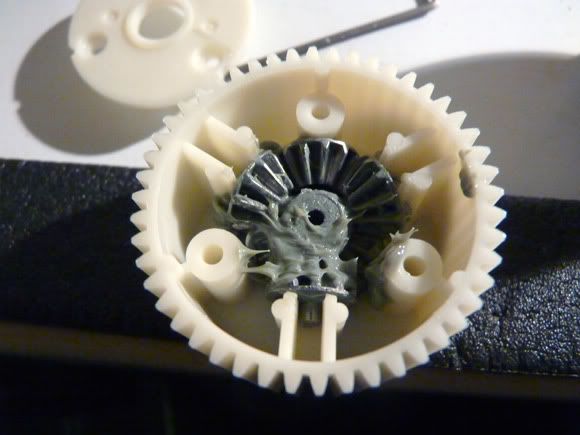
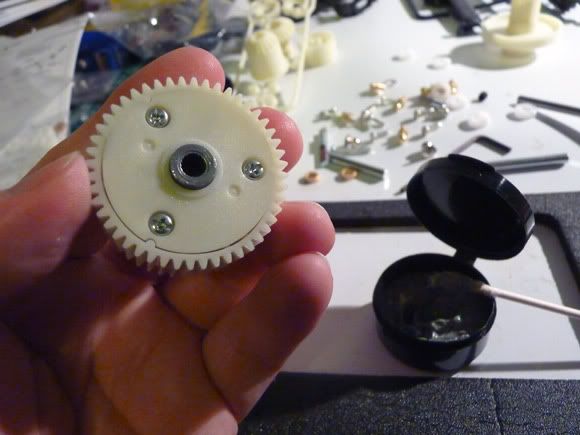
Here’s a shot of it all closed up. You can see my uber-high-tech grease applicator (Q-tip) as well.
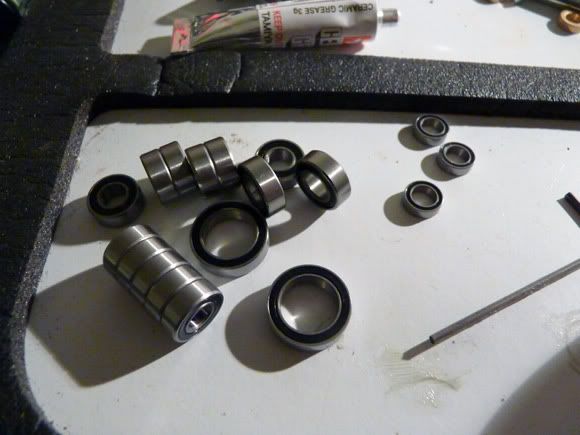
The super smooth rubber shielded bearings from Fast Eddy’s.
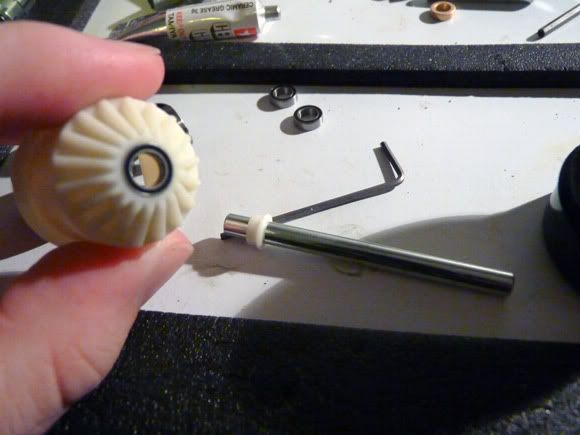
Bearing installed in the bevel gear. Notice the bronze bushings in the background. Ya, those aren’t making it into THIS truck.
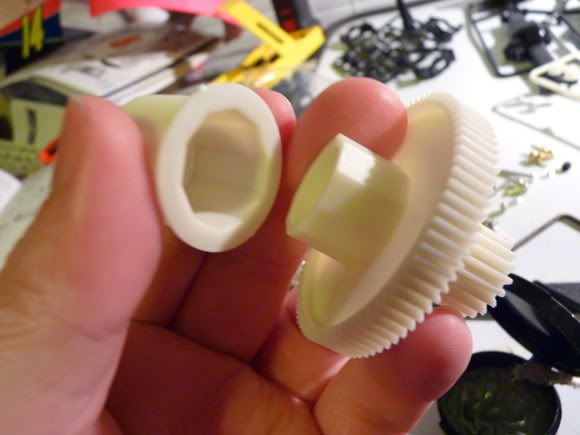
This is how the bevel gear attaches to the spur gear.
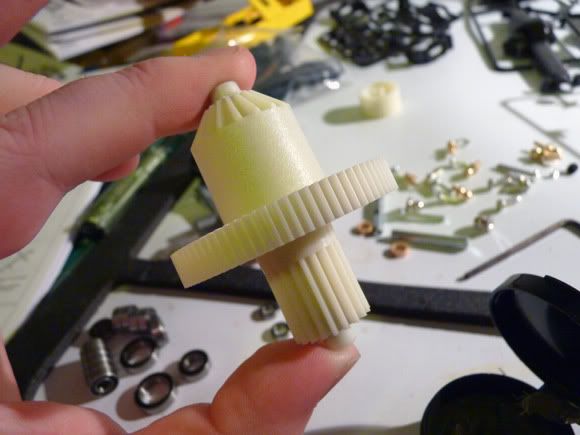
Counter gear with bearings installed. All of this goes pretty quickly.
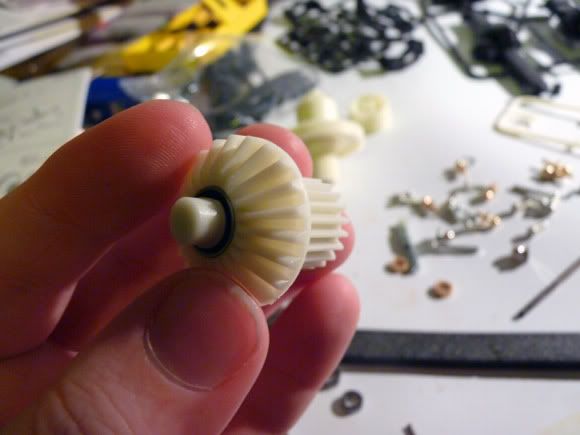
Now we install all the gears into the gearbox.. er.. the chassis. Yep. The diff gear drops straight into the chassis tub.
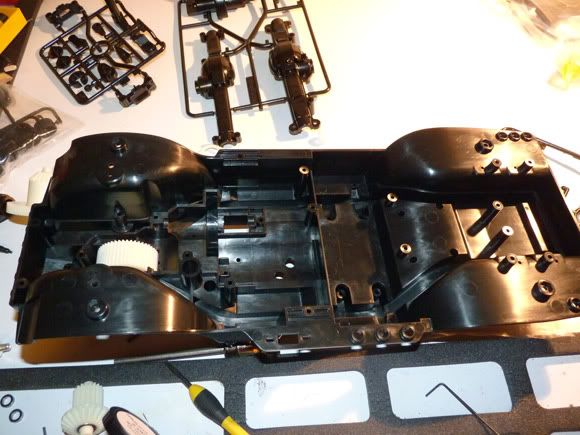
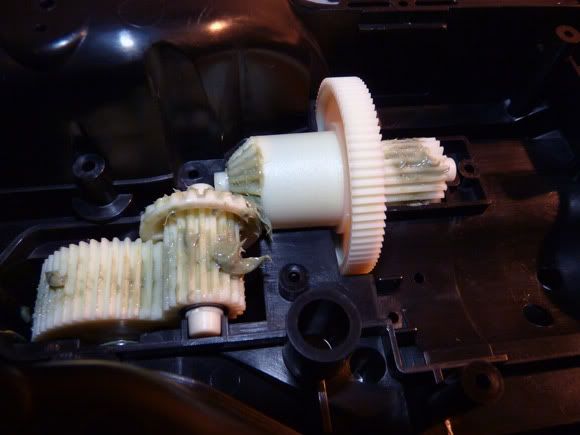
All 3 gears lubes up with Z-OPT (don’t lube the spur part where the pinion touches).
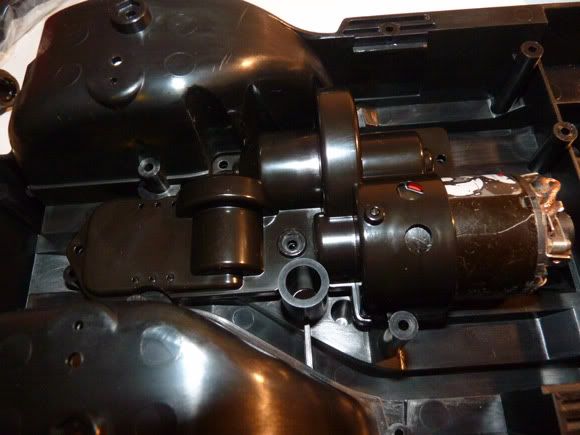
Somehow I skipped the photo of the motor plate being dropped in, but it just plops in, with the pins seen in first pic as a guide. No mesh to adjust, which is kind of nice. The gear cover holds all the gears and the motor in place.
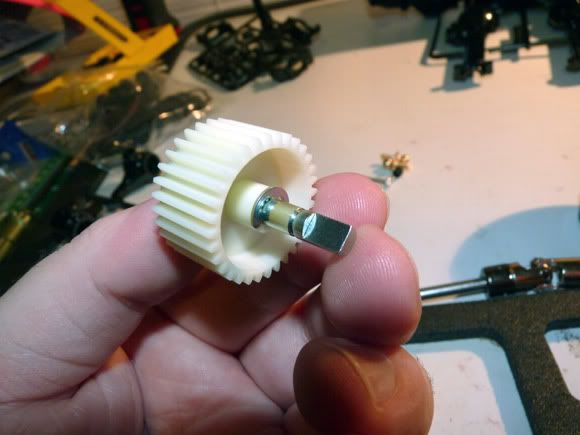
This is the drive gear. It gets installed from the bottom of the tub and is what drives the rear axle.


 November 18th, 2011
  Kevin
Kevin  Posted in
  Tags:
Tags:
nice build up…i want a big wheel again !
[…] the whole thing over, but the images wouldn't link.. if you don't mind.. please follow the link. Tamiya CC-01 Mercedes-Benz Unimog Build Up | RC Soup Here's a […]
[…] you missed our build up of this truck, please check it out HERE. This is our review of the Tamiya CC-01 Mercedes-Benz Unimog. The truck is 90% stock, as it was […]