Now we move onto the A-Arms. These are typical Tamiya, a lot like the TL-01 and others. They use a 2 piece molded plastic design that captures the hinge pins. Simple, and it works. There’s no cutouts to save weight, which is a good thing.. less to get hung up on.
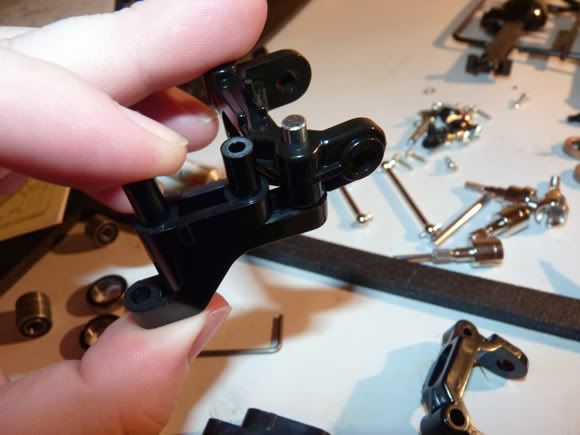
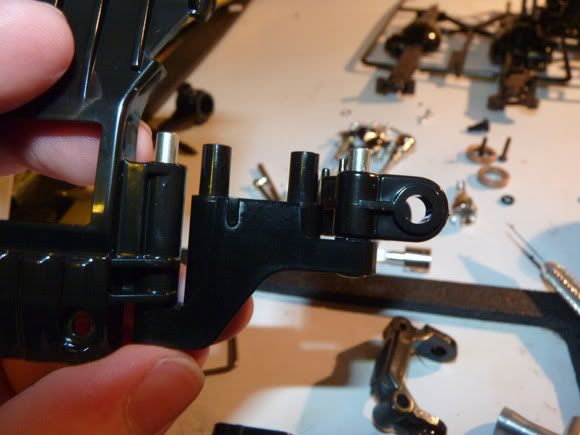
We’ll assemble both arms onto this front skid plate and then install the whole thing as a unit.
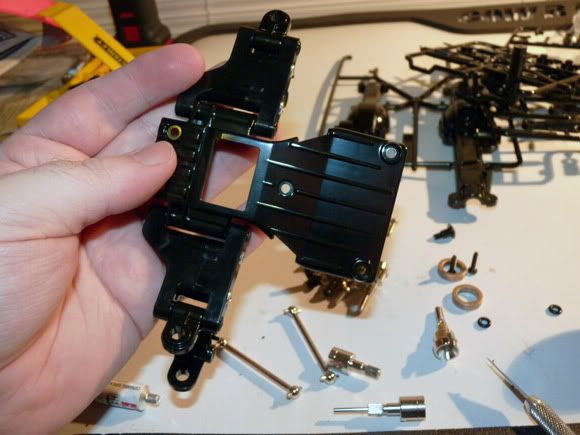
Bellcrank post. This slides into a hole in the tub chassis. The bottom of it gets screwed to one arm of the bellcrank. (Silver screw below)

Bellcrank installed. Silver screw attaches to the bottom of the bellcrank post through the chassis, and the other arm of the bellcrank is riding on a black should screw.

Next up, body mount. This gets put on from the bottom, thru the wheel wells, and it’s easiest to install now, before all the front end stuff is on. Seems weird, but I get why they did it.
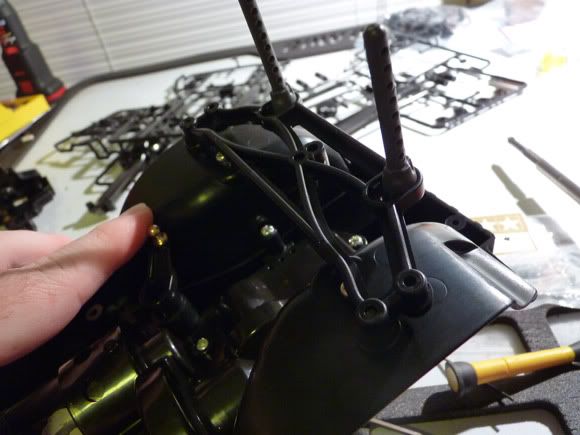
Now the skid plate/arms goes on over top of the bellcrank system.
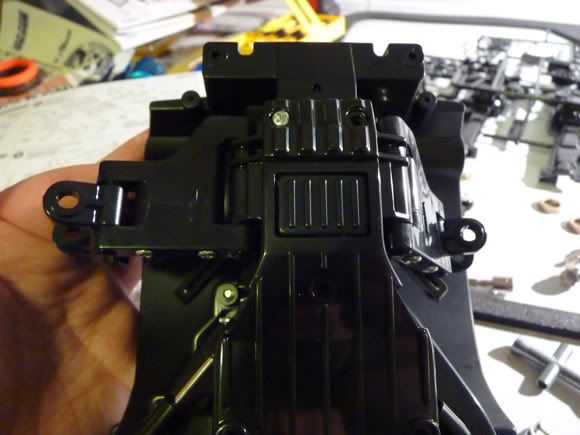
Shot of the front end without shocks/axles installed yet.
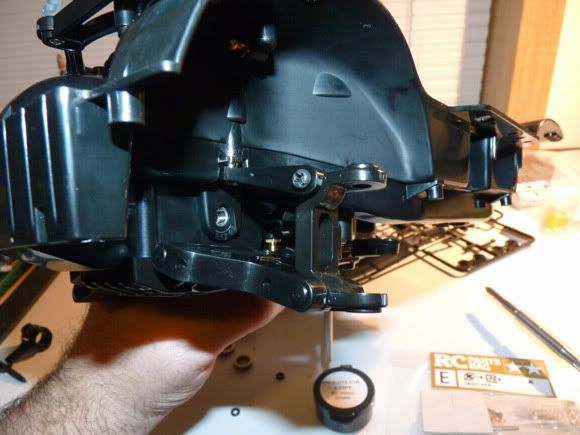
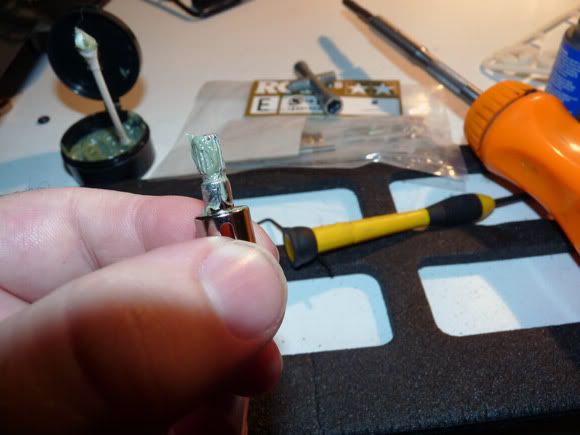
Now for the outdrives, which I coated in Z-OPT again. They just slide into the diff gear from the outside. The splines line up inside the gear.
Installed, man that was a toughie.
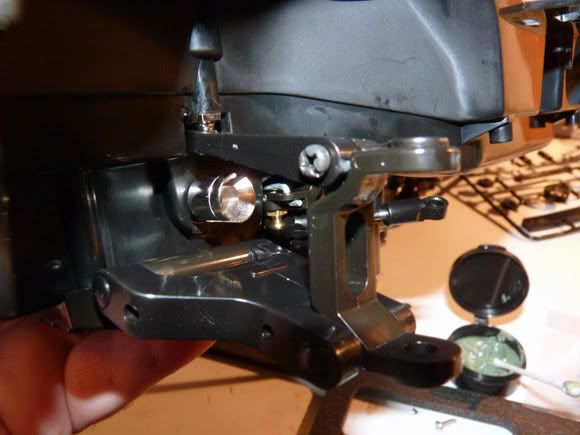
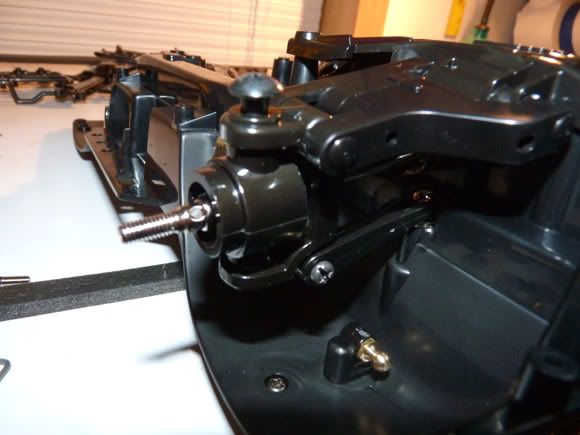
The CC-01 uses shoulder screws as kingpins. It works well, just don’t overtighten. I’ve also installed the dog bones and stub axles at this point.


 November 18th, 2011
  Kevin
Kevin  Posted in
  Tags:
Tags:
nice build up…i want a big wheel again !
[…] the whole thing over, but the images wouldn't link.. if you don't mind.. please follow the link. Tamiya CC-01 Mercedes-Benz Unimog Build Up | RC Soup Here's a […]
[…] you missed our build up of this truck, please check it out HERE. This is our review of the Tamiya CC-01 Mercedes-Benz Unimog. The truck is 90% stock, as it was […]