

 January 7th, 2013
  Kevin
Kevin Time to do some shock work.
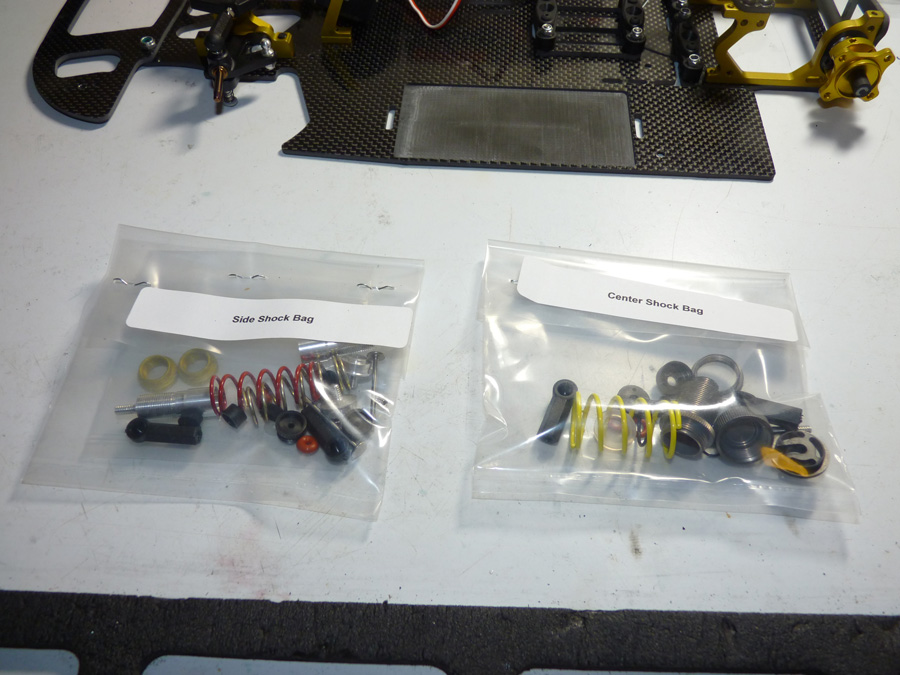
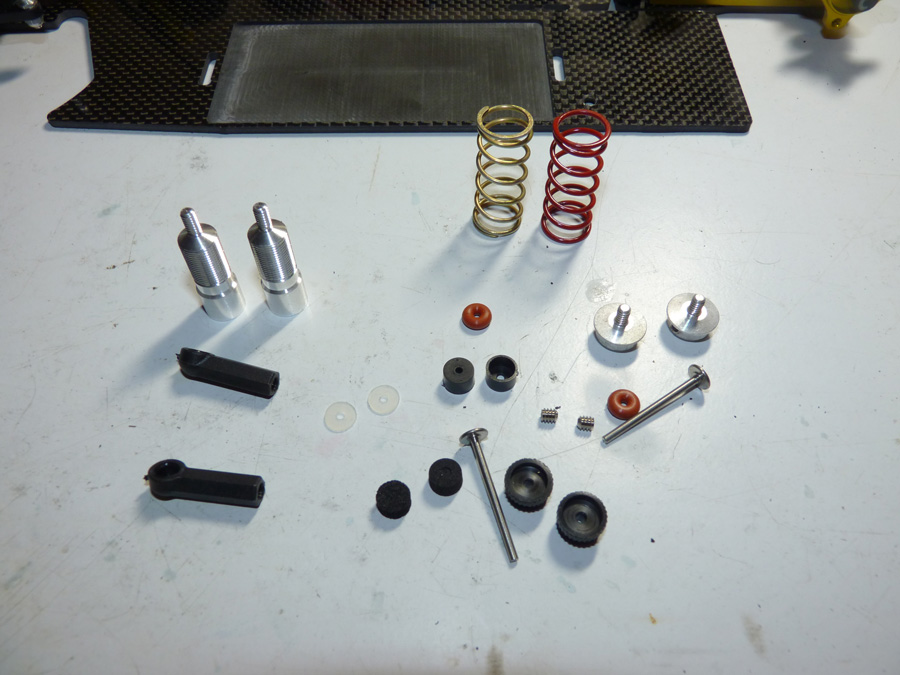
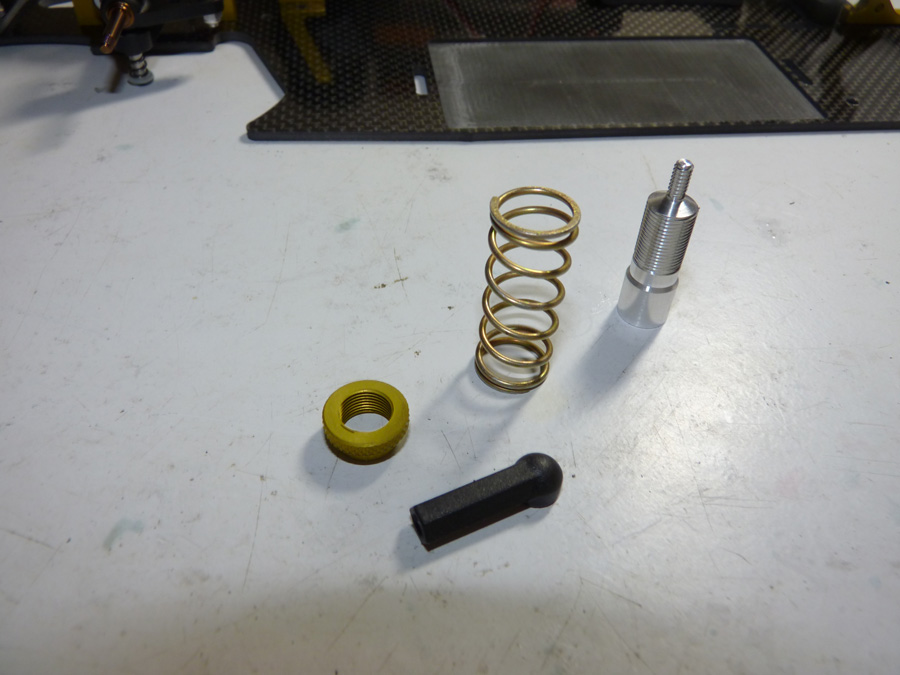
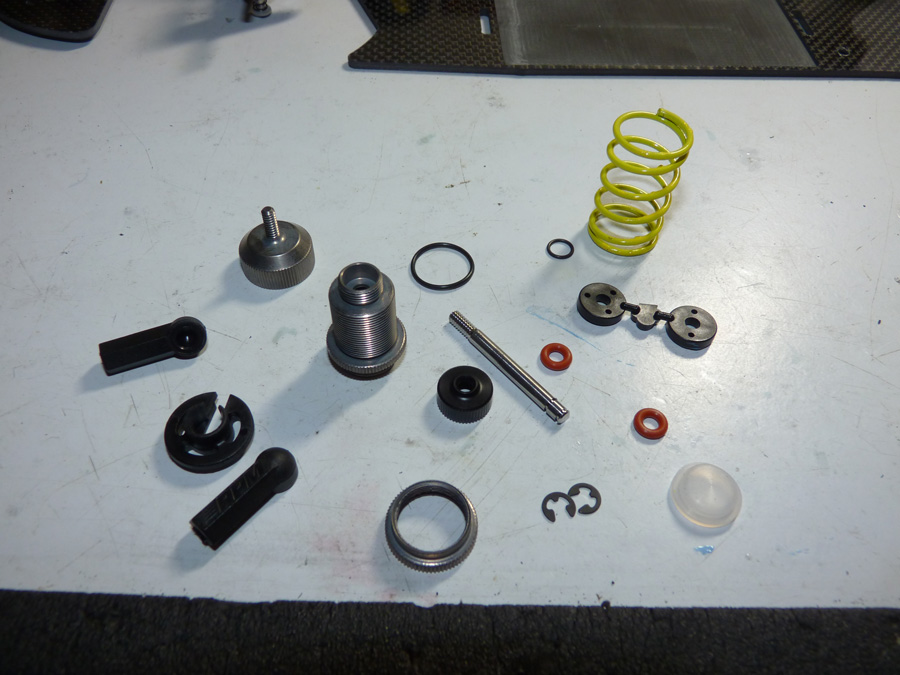
We’ll start off with the side shocks.
Here are those parts spread out.
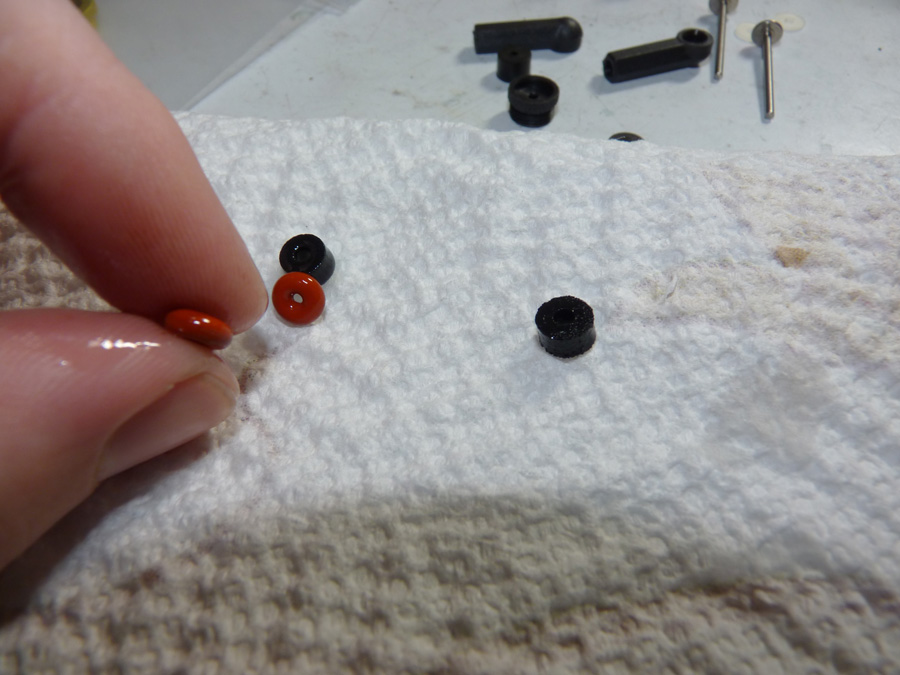
We’ll take our oil and wet the O-Rings and soak the foam bladders.
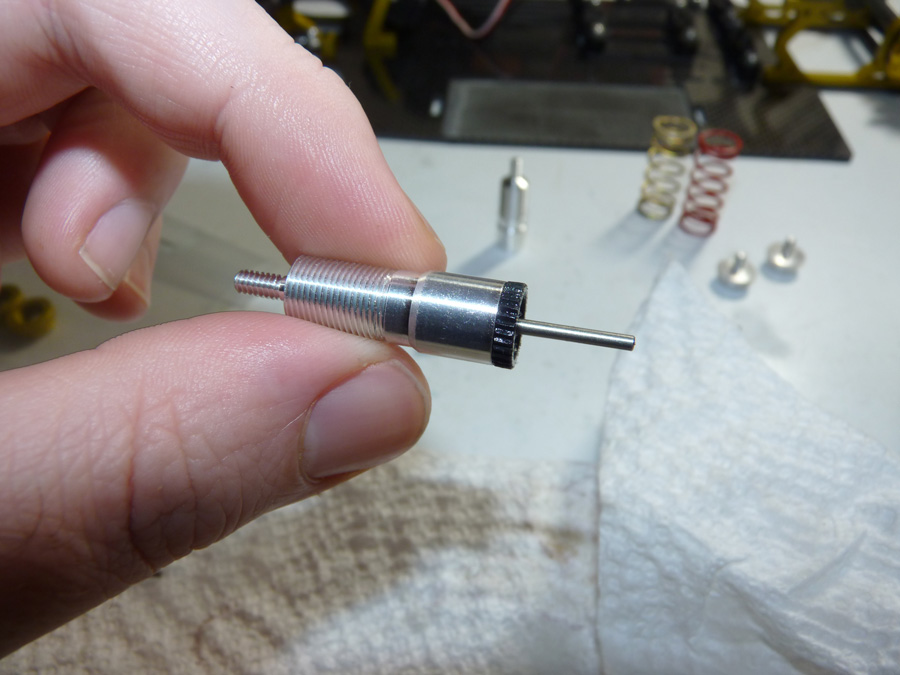
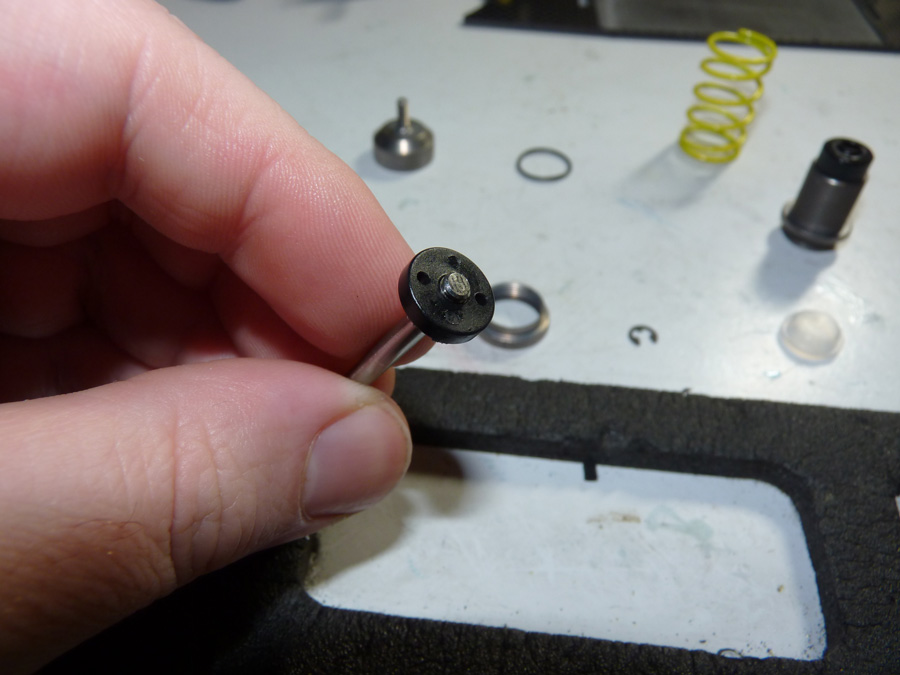
Now we take the shock shaft and start assembly.
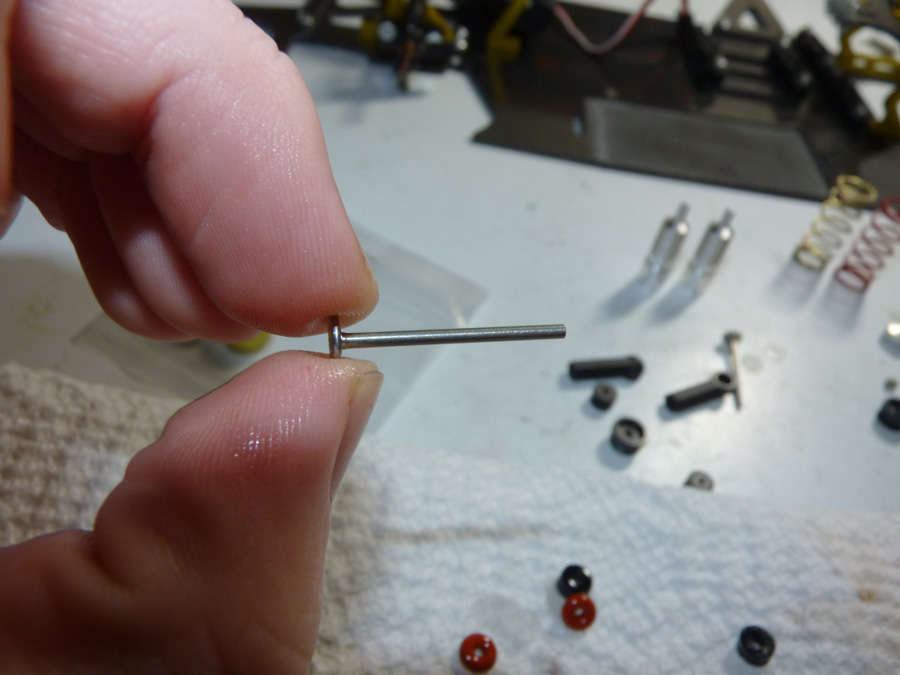
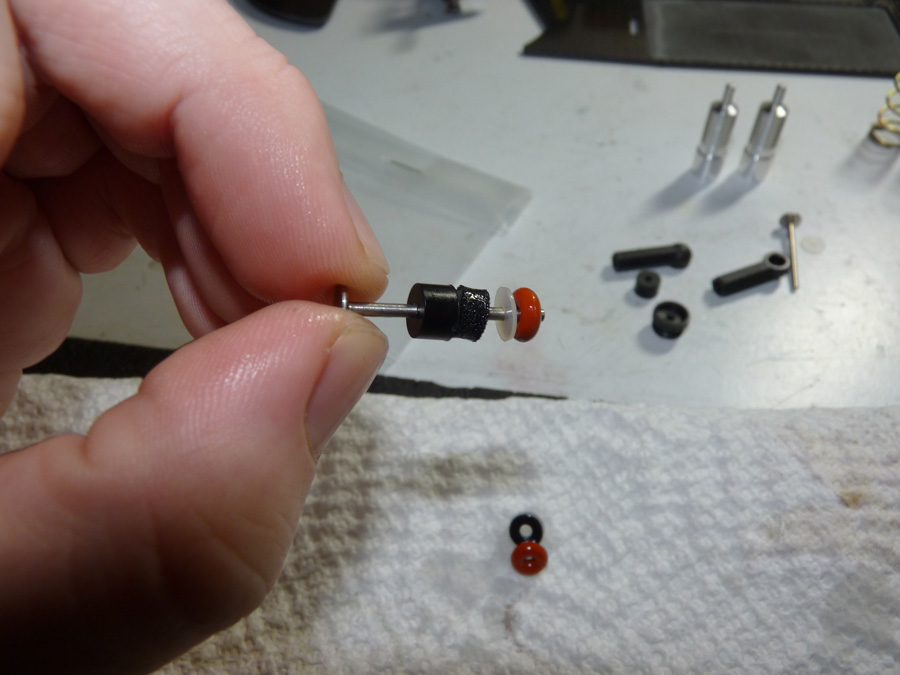
First slide on the plastic foam retainer cup.
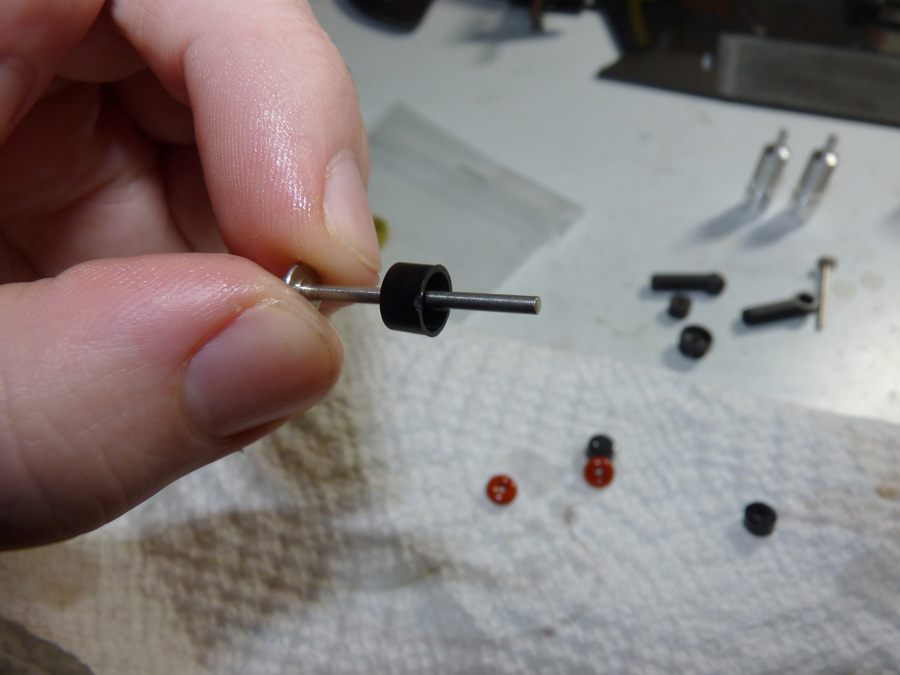
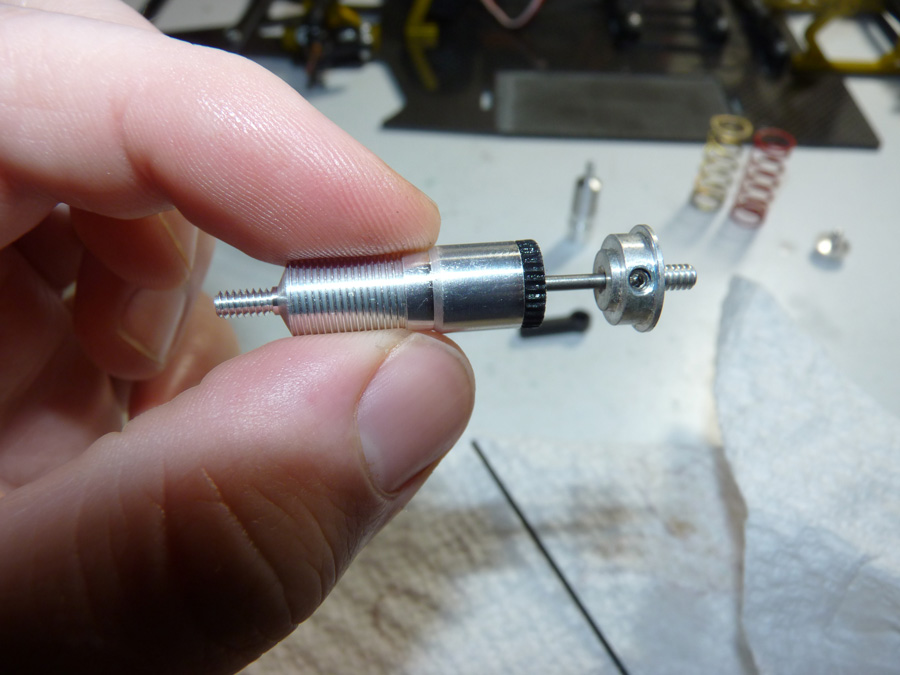
Then slide on the foam bladder (oiled), the plastic washer, and a lubed O-Ring.
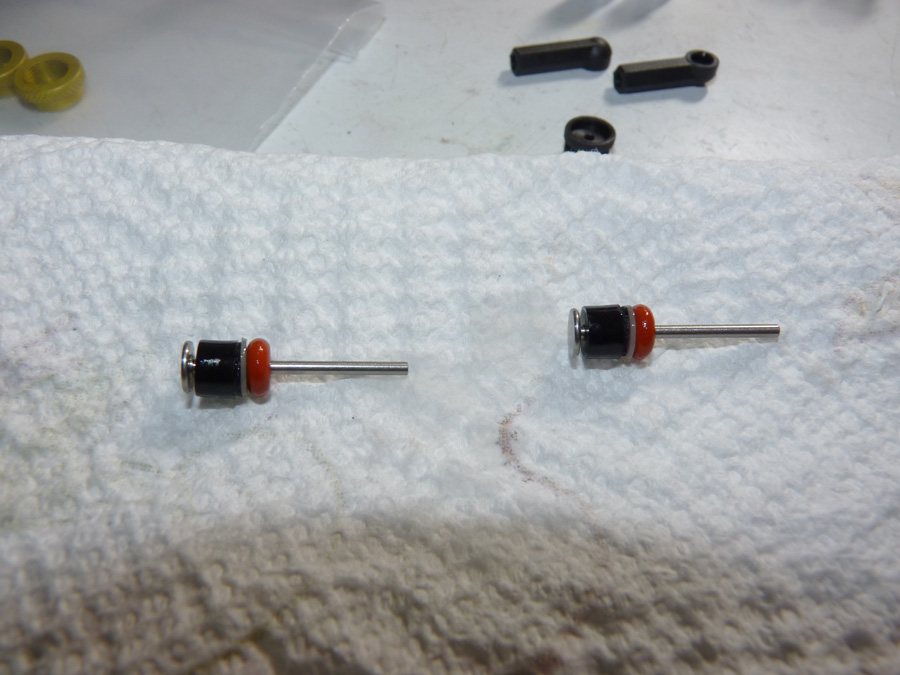
Your shafts should look like this.
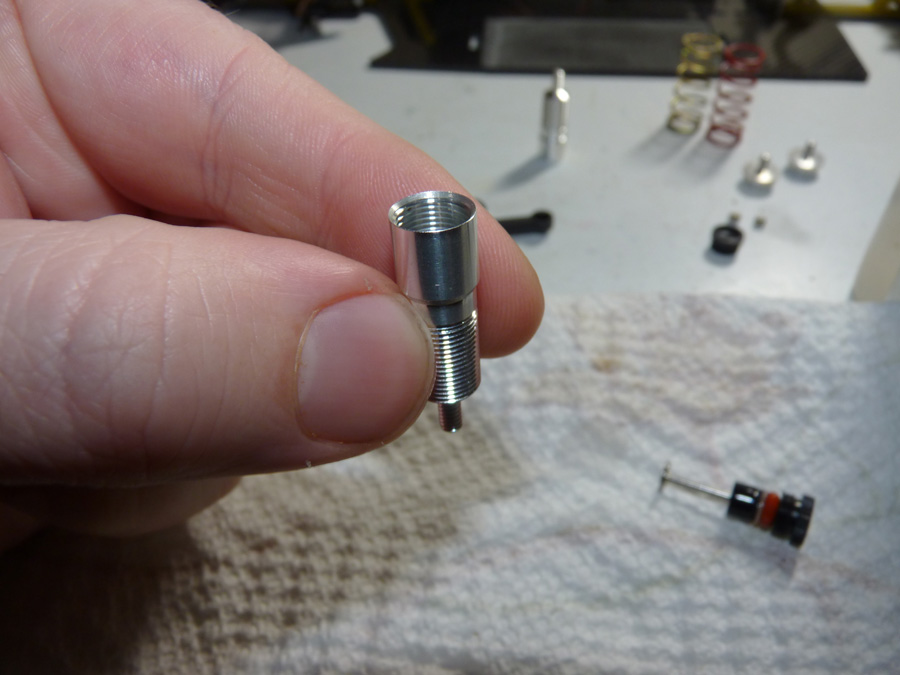
Now pour oil into the shock until it reaches the fill line. Then insert the shaft with parts into the shock with the shaft facing up. Insert slowly to prevent a lot of oil spillage. Then install the threaded cap slowly. If you overfilled the shock, it will bleed out at this point. Tighten and loosen the cap with the shaft depressed to bleed the oil. When the shock is fully bled, no oil will leak out, and the shaft will rebound out very slowly when fully depressed.
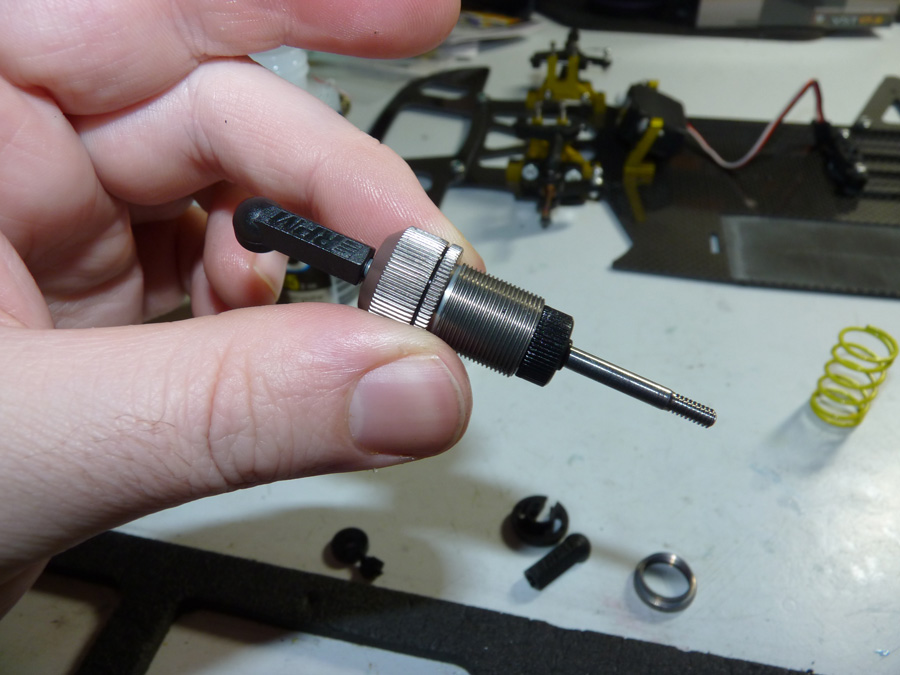
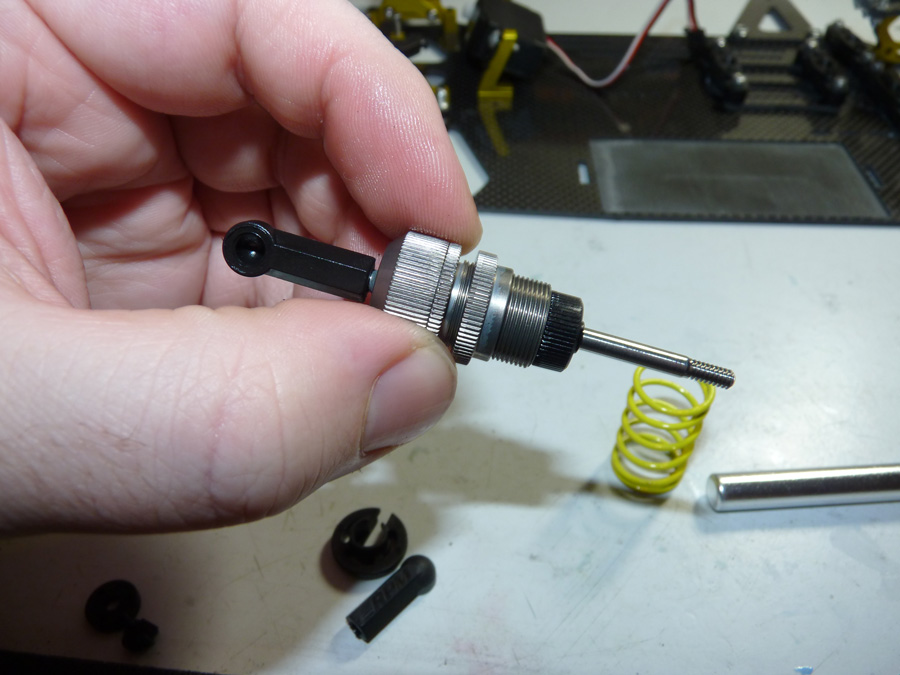
Once the shock is fully bled we can install the lower spring cup/shock end with the included set screw.
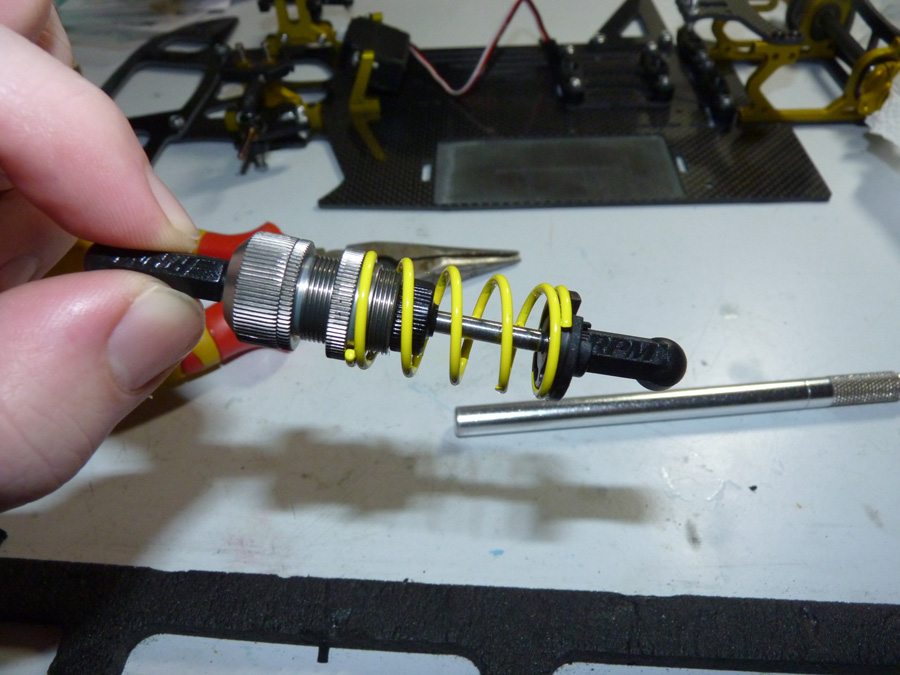
Then slide the spring on, install the adjustable collar, and rod end.
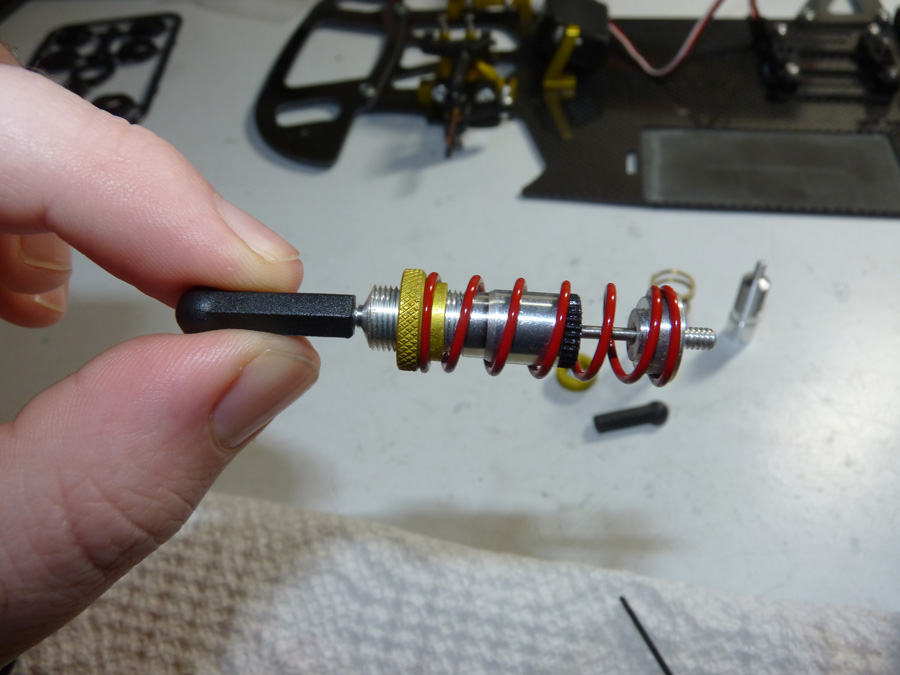
Now we have completed side shocks (minus the other rod ends, which were accidentally left out of my kit).

Time for the center shock.
Here are all it’s parts.
First we wet and insert both O-Rings into the bottom of the shock body.
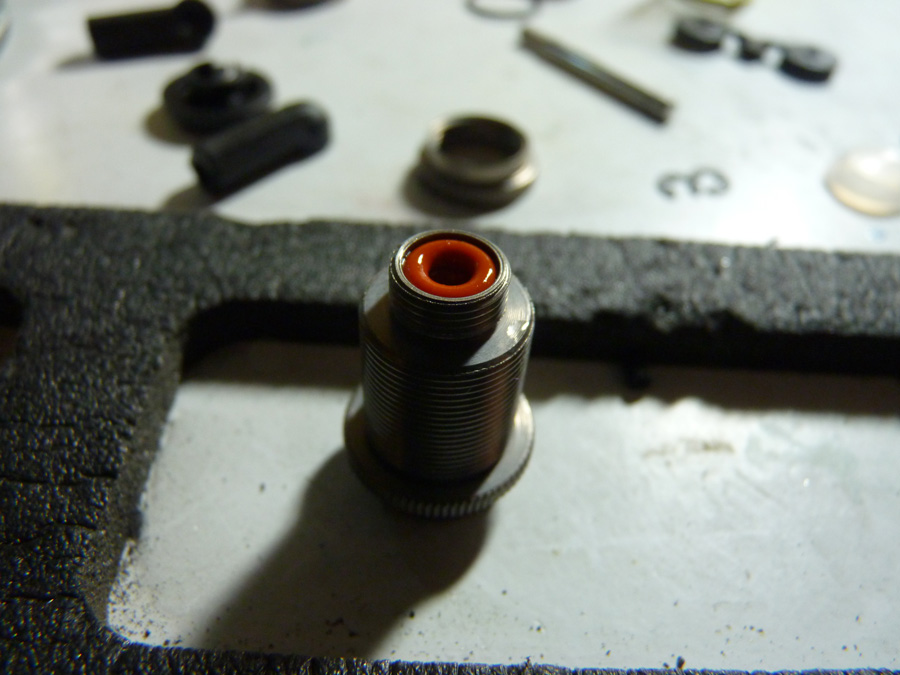
We then install the small black gasket around the base so that we get a good seal. Followed of course by the lower cap.

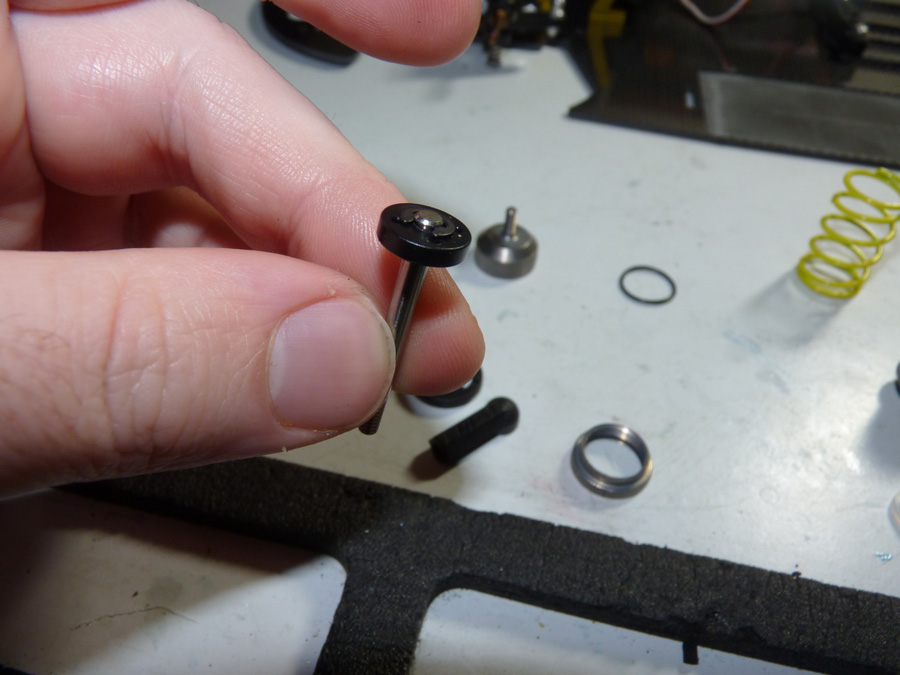
We then install an E-Clip on the shock shaft and then the piston, followed by another E-Clip. The kit came with both a 2 and 3 hole piston. I installed the 2 hole piston.
We then fill it with oil, bleed the air out, install the diaphragm and shock cap.

Then we install the RPM ball cup on the cap.
Next we install the large black gasket inside the adjustment collar and install it onto the shock body.
We then install the spring, lower spring retainer, and ball cup. This is where on my first race day that I installed a longer ball cup (Thanks Holcomb!). The longer rod end on the shaft provides longer shock length to give the pod the proper amount of droop. The stock end did not have enough adjustment to get the pod to drop below level.
 Posted in
  Tags:
Tags:
[…] is my Pemberton Raceworks SJ-10 Chief I build almost specifically to race here. I sold the old roller I ran last year. It handled ok. I […]