

 January 7th, 2013
  Kevin
Kevin Now we have the parts for the POP front end. Let’s pause and talk about this for a second. This is what the PRW site says about the POP front end.
After nearly 1 year of R&D Pemberton RaceWorks is pleased to present our new PRW “POP” 10th Scale Front End. POP stands for “pivot-on-power”, and this front end is as good as it gets. This front end was designed as a collaborative effort between Pemberton RaceWorks and Mike Valentine. Its features include:
- Precision machined delrin lower arms for smooth and stable pivot operation
- 2-piece lower arm/ lower mount construction, to allow for ease of width, camber gain, and roll center adjustments
- A custom delrin upper A-arm with a “captured pin” design allowing for easy “on-the fly” caster adjustment
- 4* static castor in the lower arm mount allowing for better tie-rod clearance, and an optimum angle for “matching” upper arm castor
- Two important options:
- The POP front end offers both 10th scale lower arm mounts and 12th scale lower arm mounts. This allows you to buy this front end with ride height appropriate to your specific application. It also make this the ONLY machined delrin front end designed specifically with 12th scale in mind.
- 2 options for kingpin lengths: The POP front end offers the user the option of using standard “B3 kingpins” or extended length kingpins to allow the use of the longer “Wolf” spring and 2 spring buckets…..a popular front suspension option for oval racing.
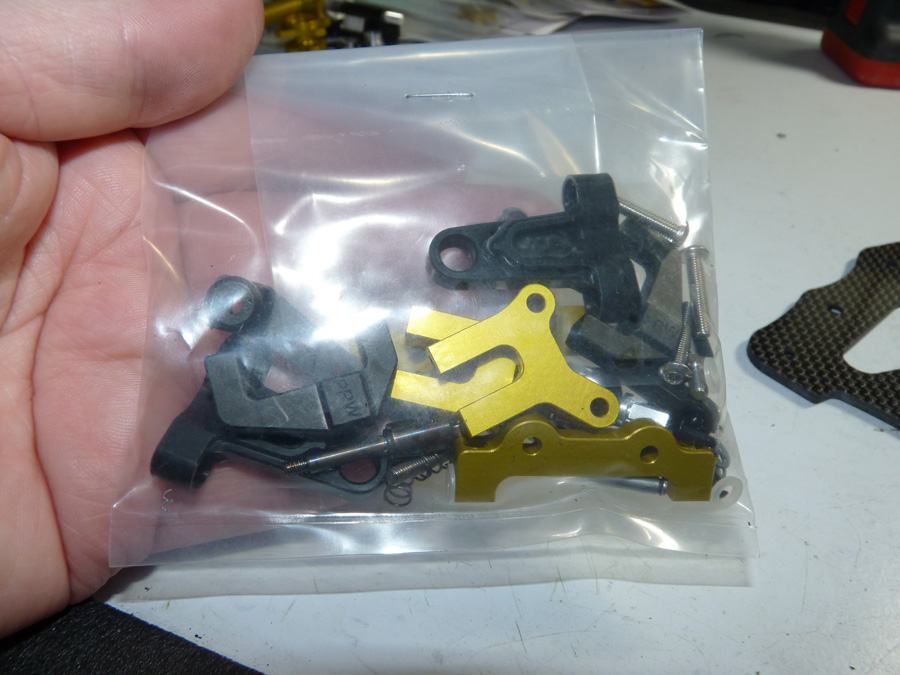
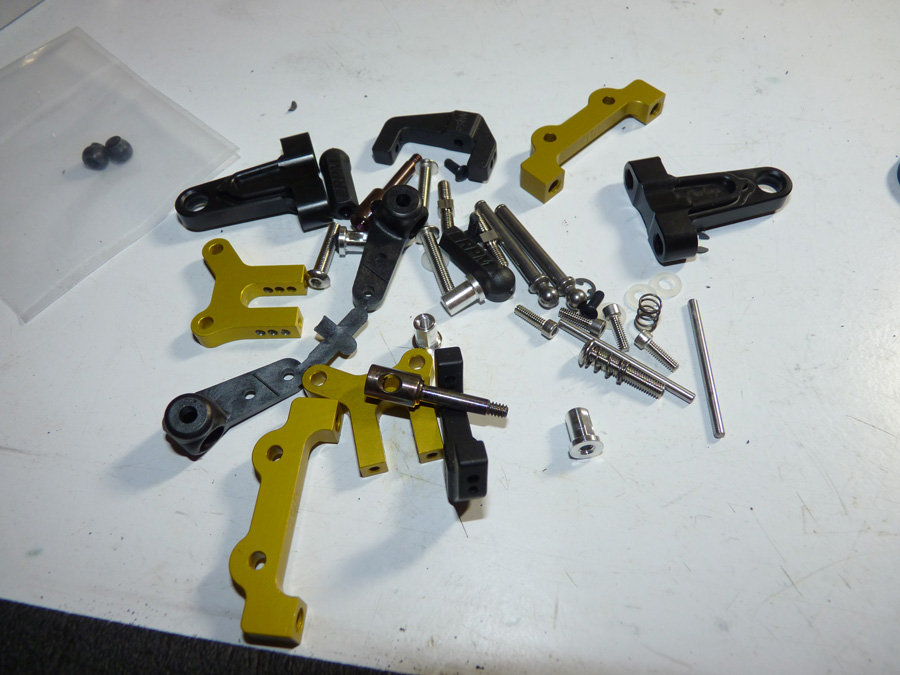
Here are the POP parts out of the bag.
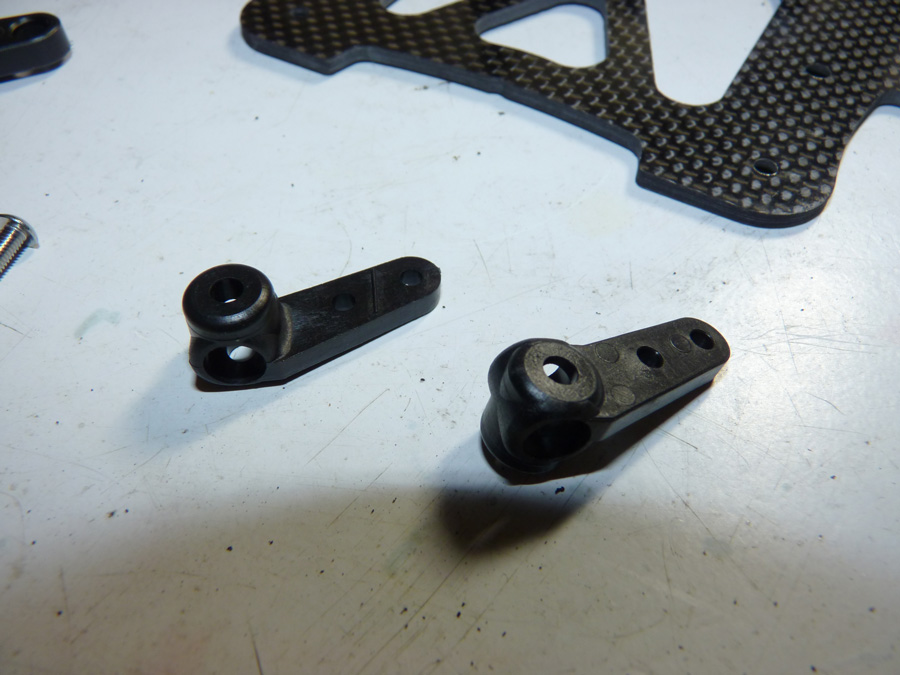
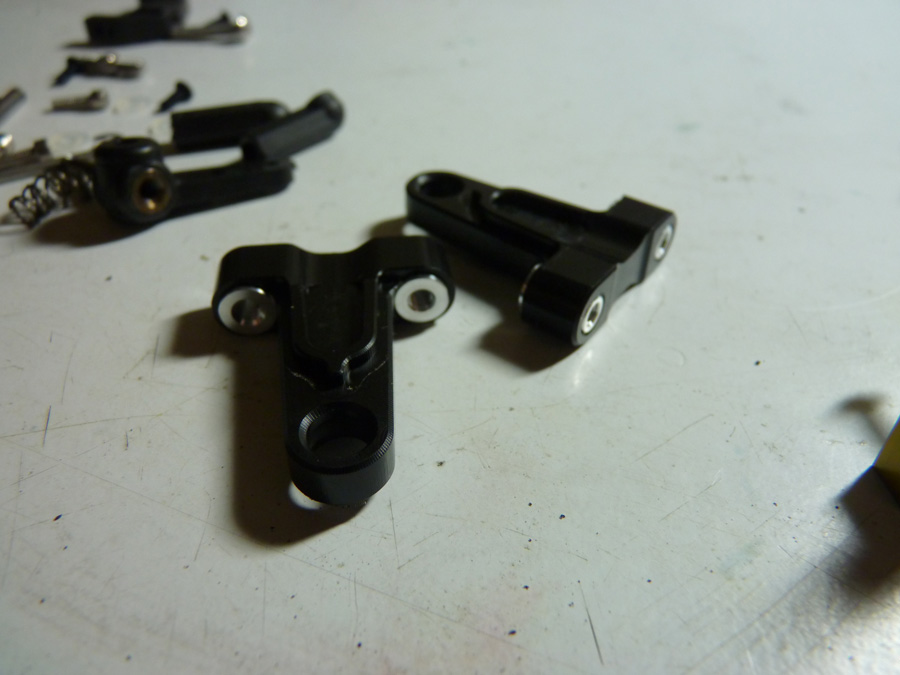
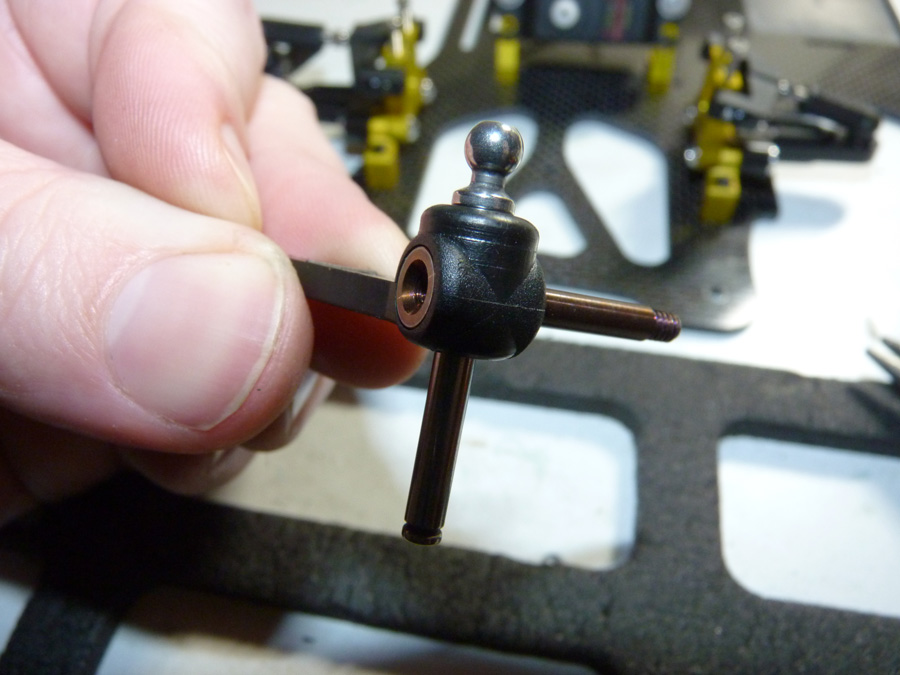
These are the steering hubs.
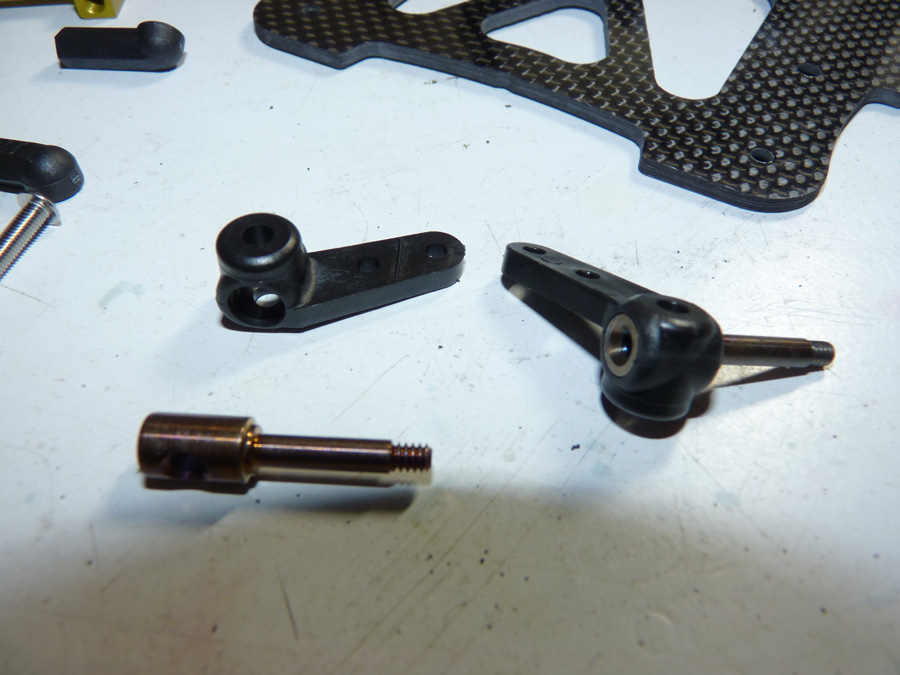
We then install the axles. Make sure to line up the through hole to allow the kingpin to slide through.
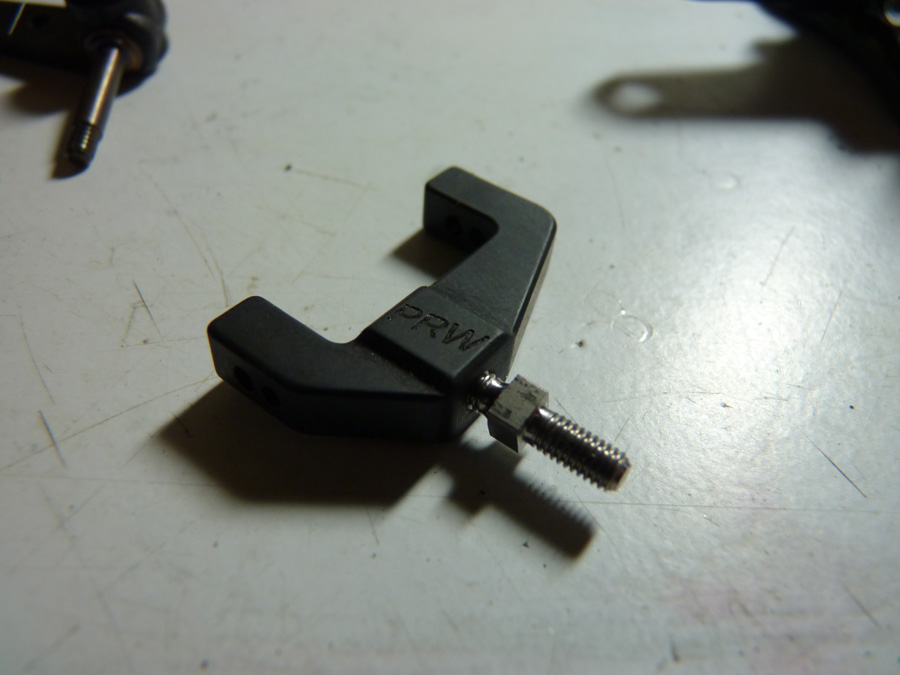
This is the PRW Delrin top arm.
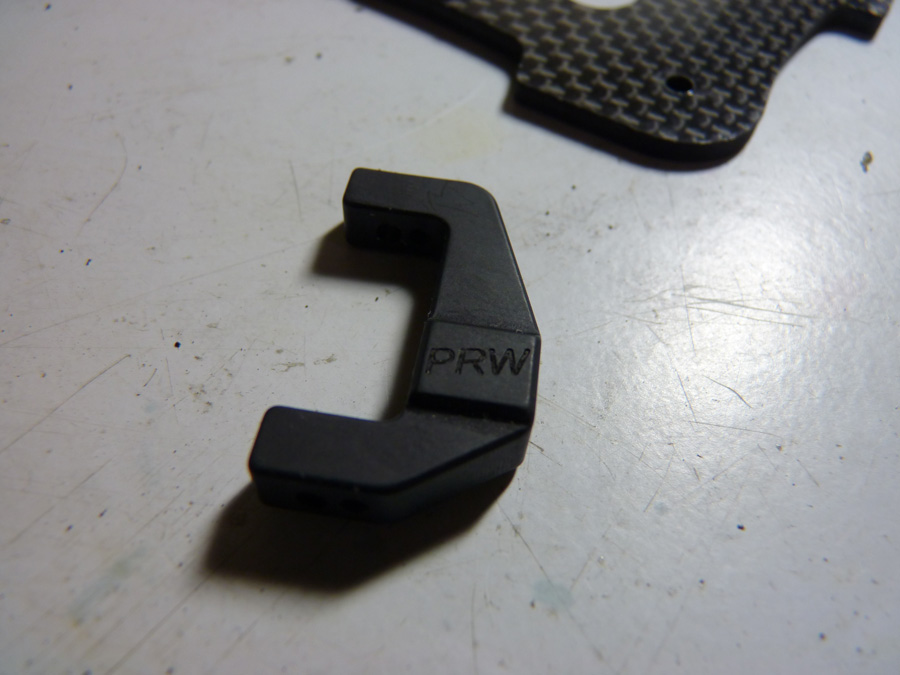
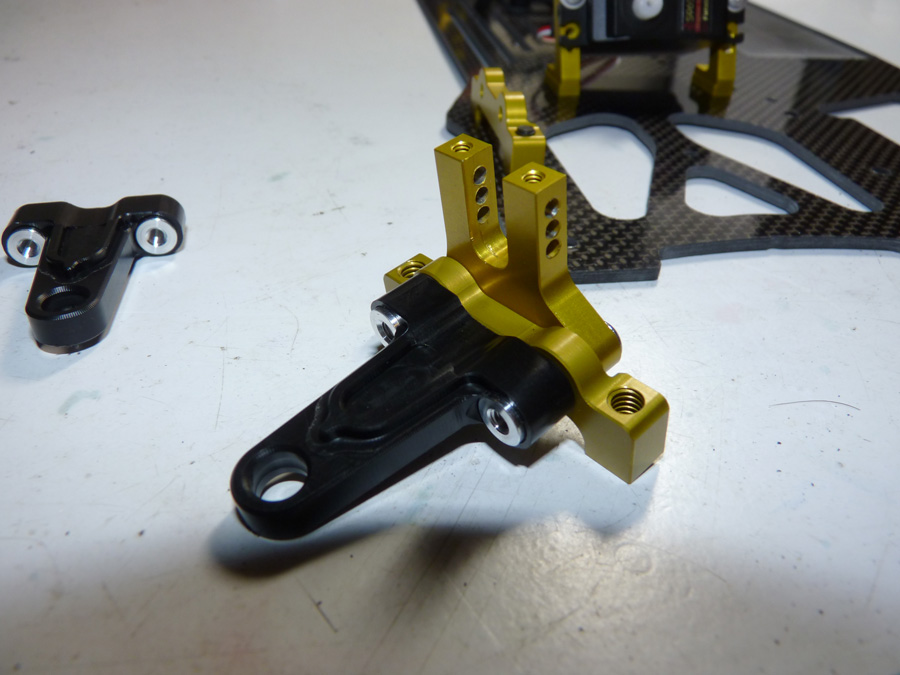
And the lower arm mount. They are labeled left (L) and right (R).
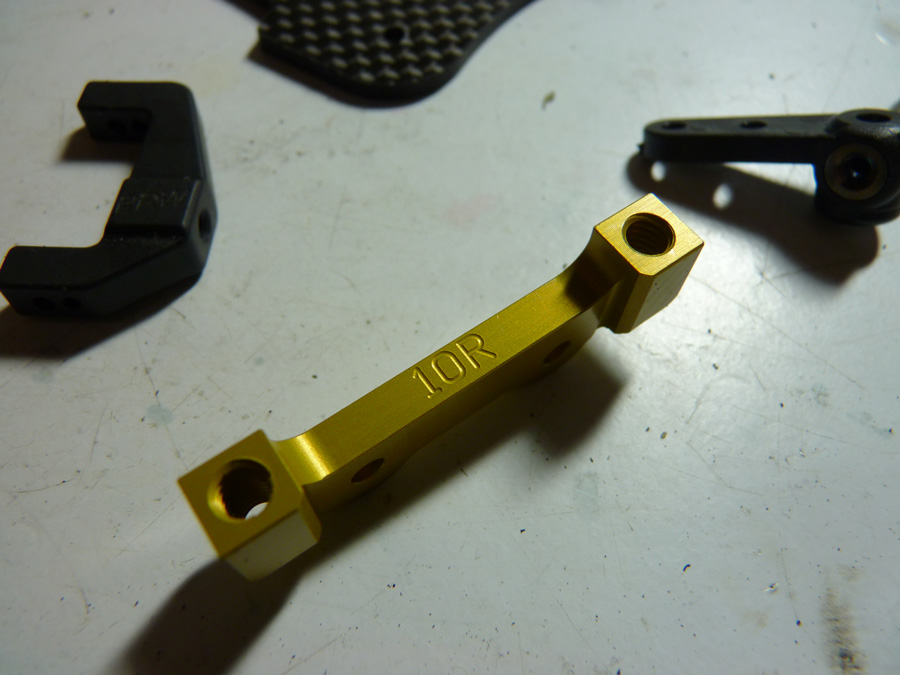
This will be how they mount when we get that far.
First we will take the lower arms screws and pass them through the upright and lower arm mount. I had trouble here because the anodized coating REALLY tightened up the tolerances of the holes in both pieces. I VERY slightly cleaned them out with an undersized drill bit until I could pass the screw thru the holes. Before they would only go in if I tried to thread them in, and this is designed to be a thru hole. I went thru this on the ZRP Diablo build, so I know that anodizing can wreak havoc on hole tolerances and screw threads. Luckily I had no issues with any threads here.

This is the delrin machined lower arm. They have threaded inserts that are keyed to act as nuts and allow you to tighten the above screws through the upright and mount, into these and securing the entire assembly with a single screw.
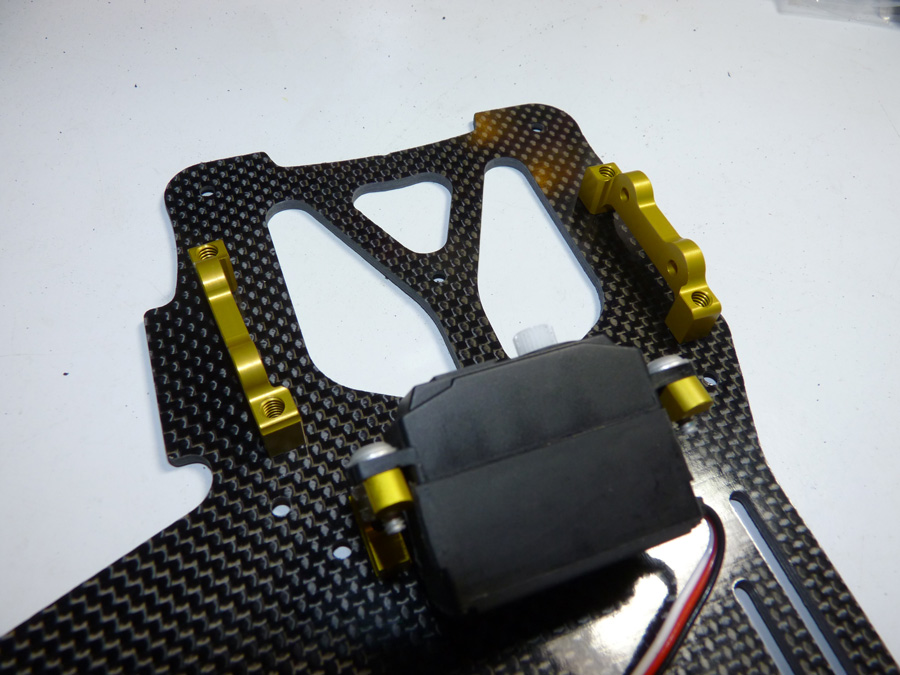
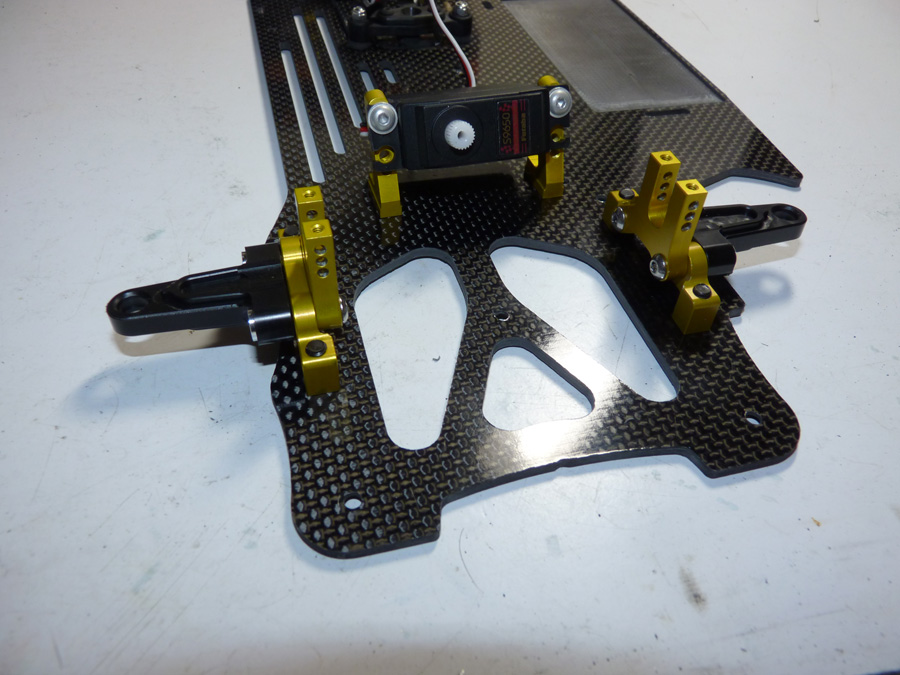
Once I was able to freely get the screw to pass thru the aluminum parts, we mount the arms. We then mount it to the chassis with the 4 large Phillips screws. A side note here, with the way the kit comes the front end sits pretty high with 2.12 tires. I opted to throw in a shim under the mount to lower the chassis ride height a bit (Thanks Gary!).
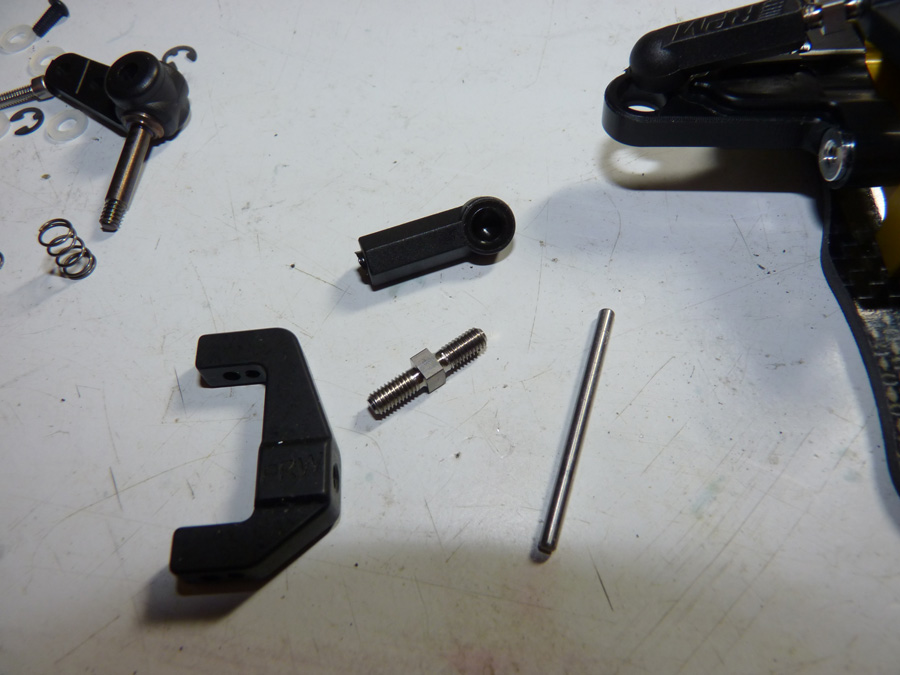
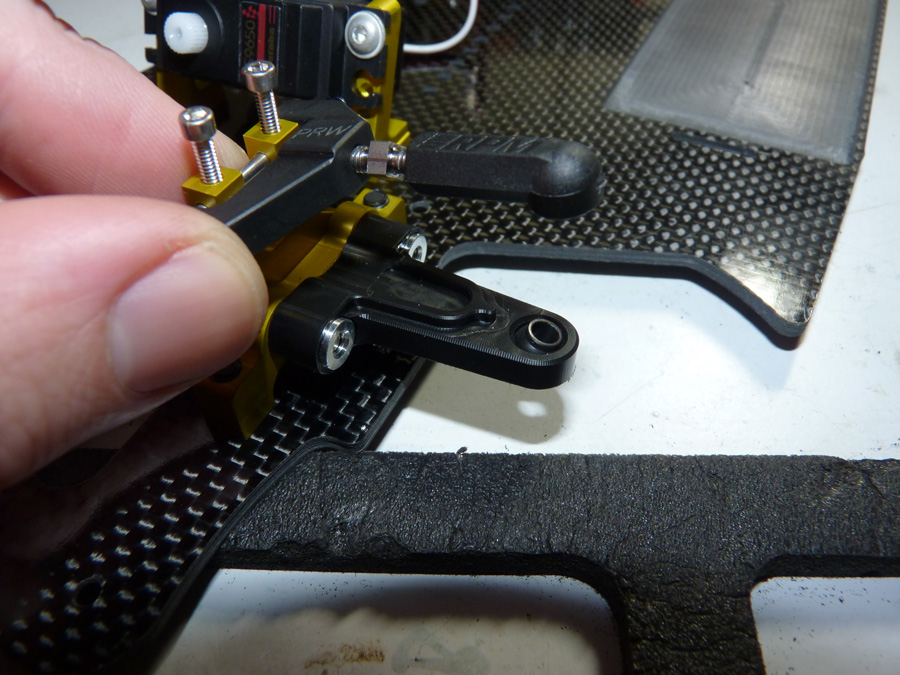
Next we assemble the top delrin arm by threading in the tie rod and RPM ball cup.
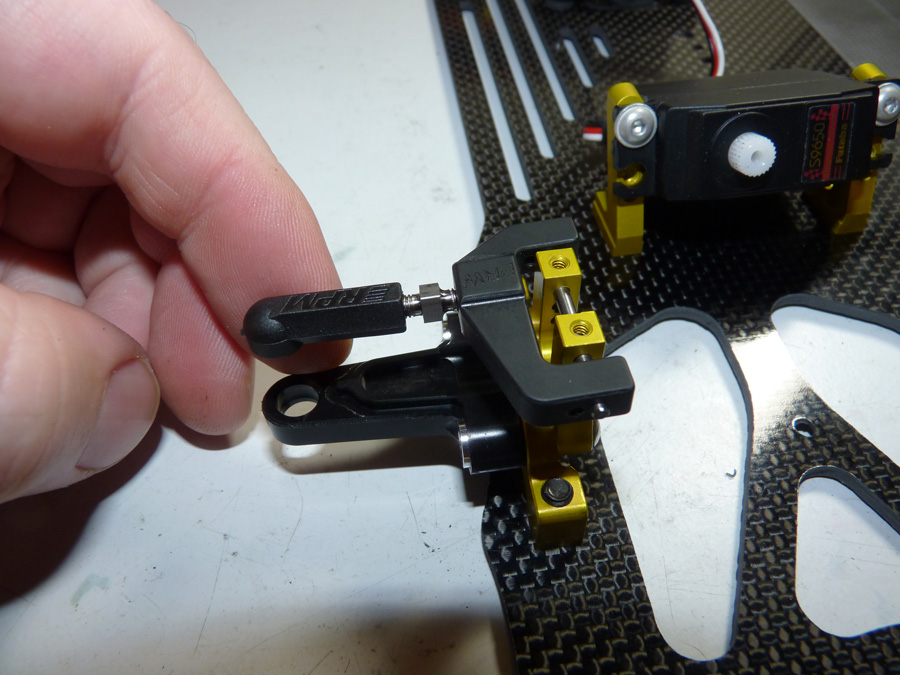
We then carefully insert the ball into the lower arm.
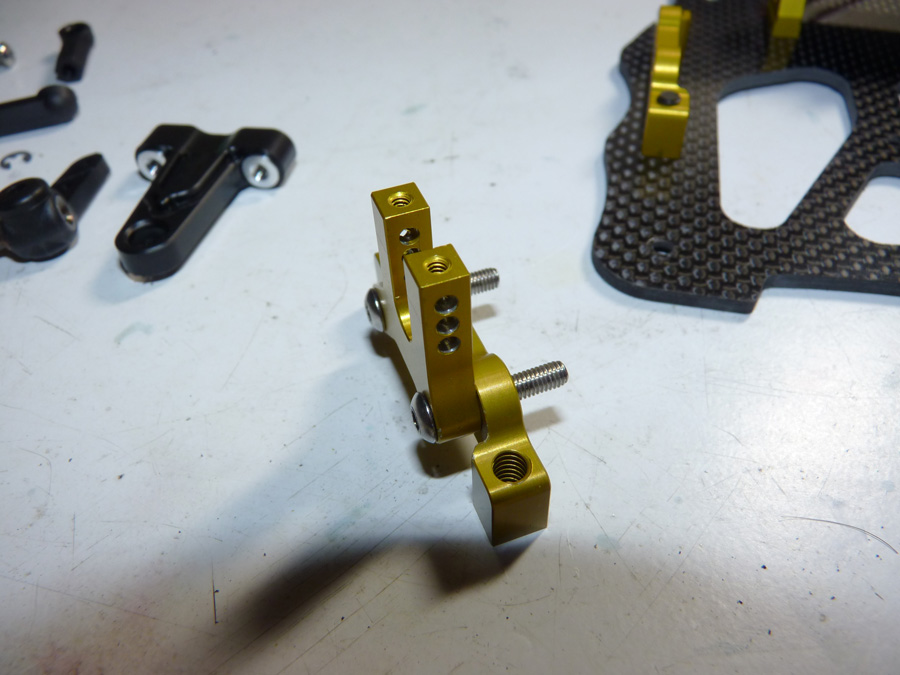
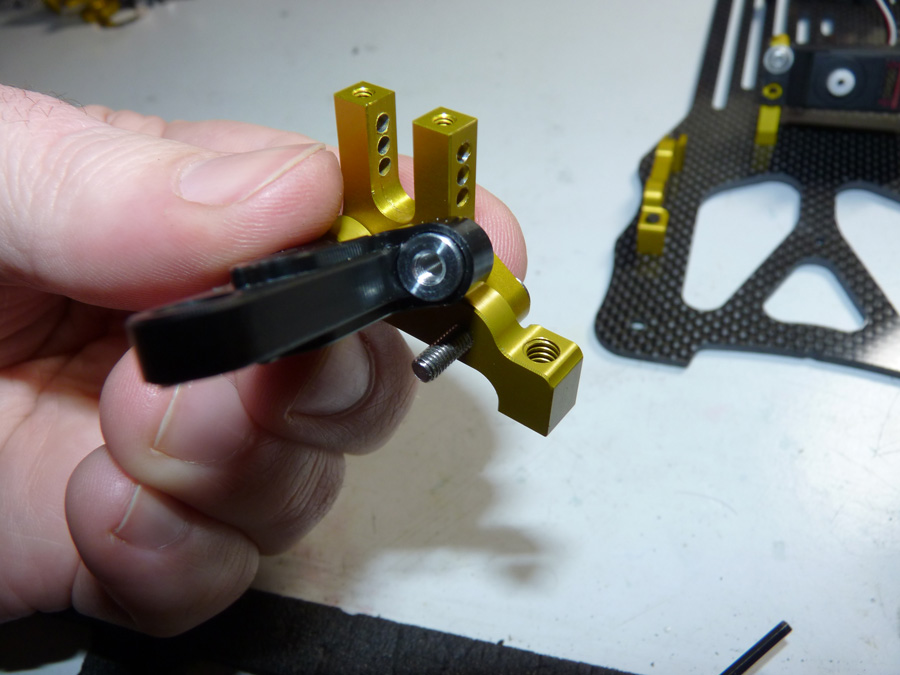
We can then insert the hinge pin into the upright and into the top arm.
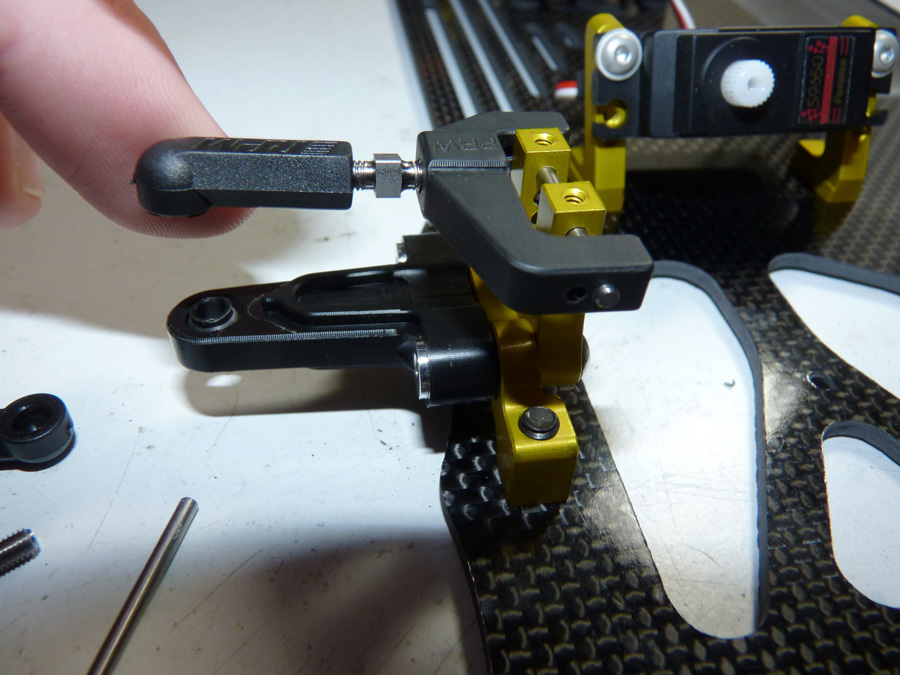
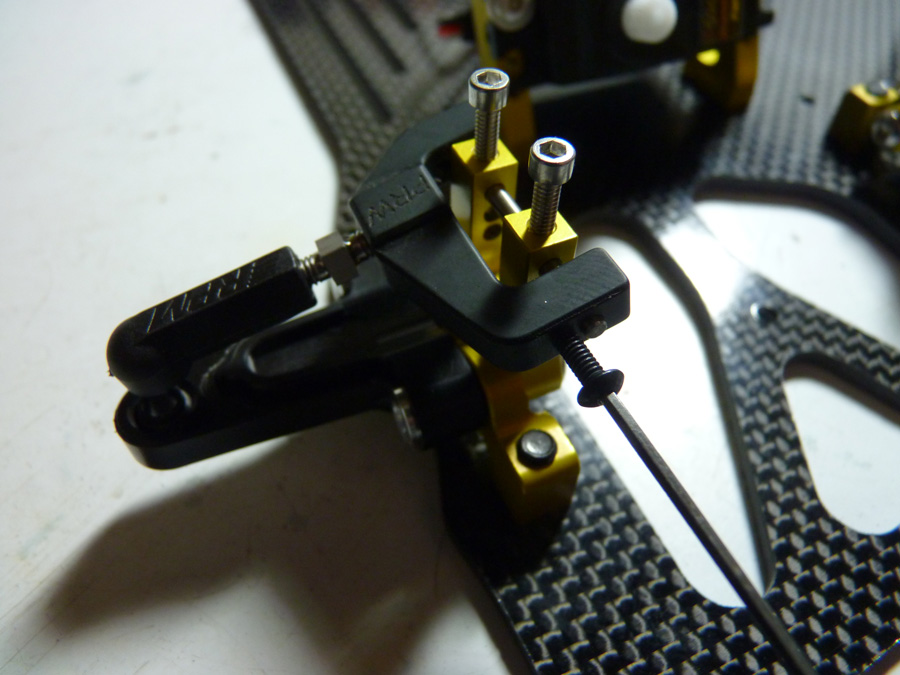
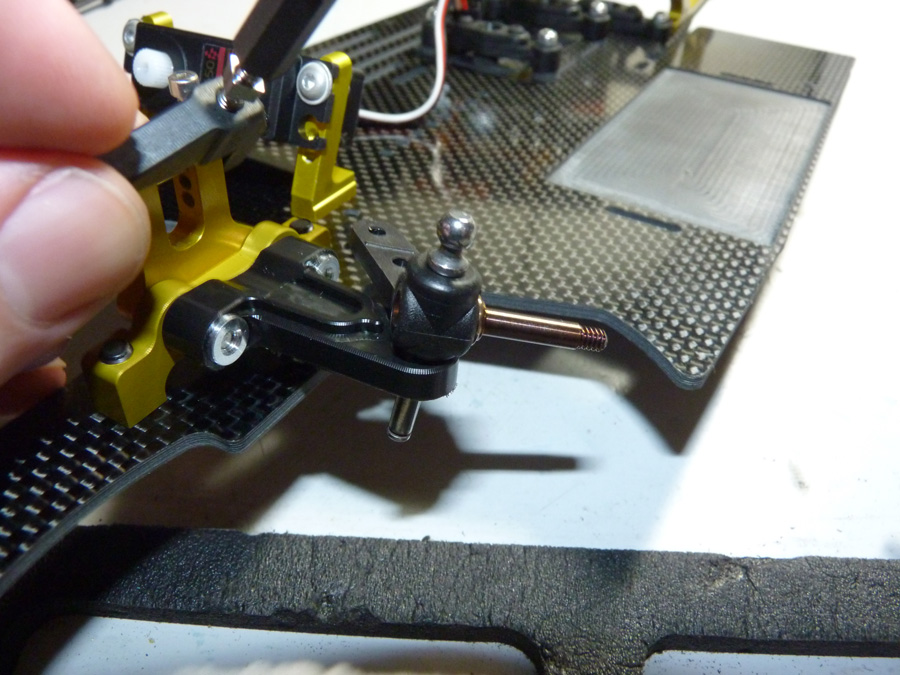
This pin is captured by a screw on either side. How far those are screwed in adjusts the amount of caster the car has. The screws in the top hold the pin in place while the screws on the arm adjust the position of the arm in relationship to the upright (forward or backward).
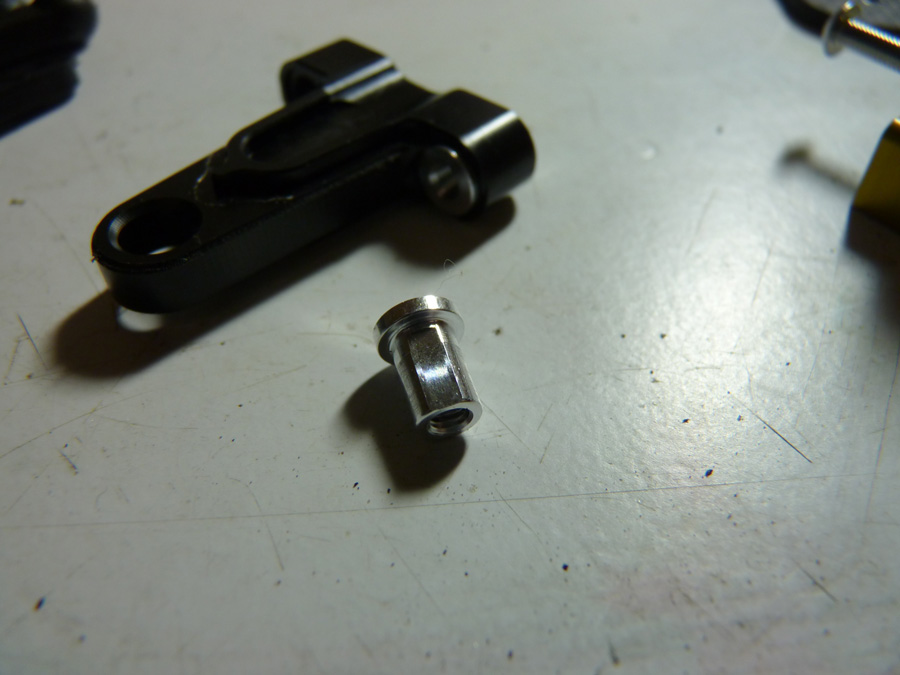
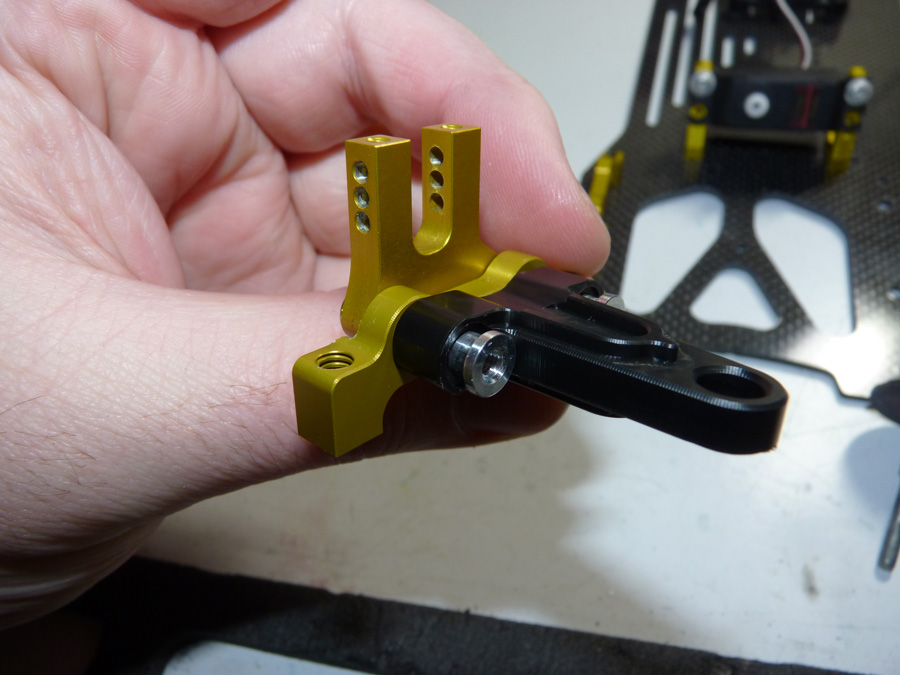
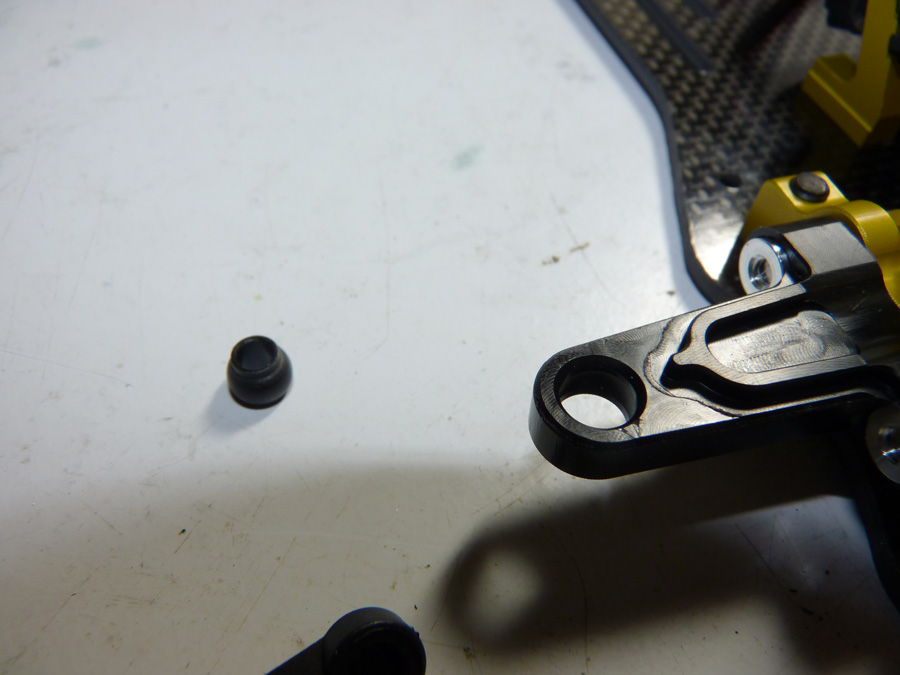
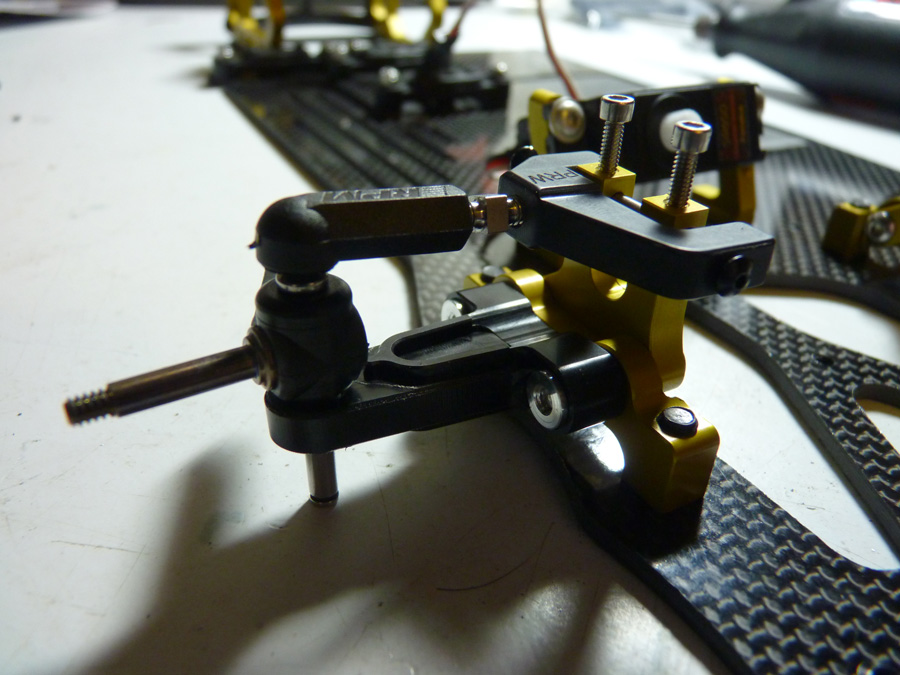
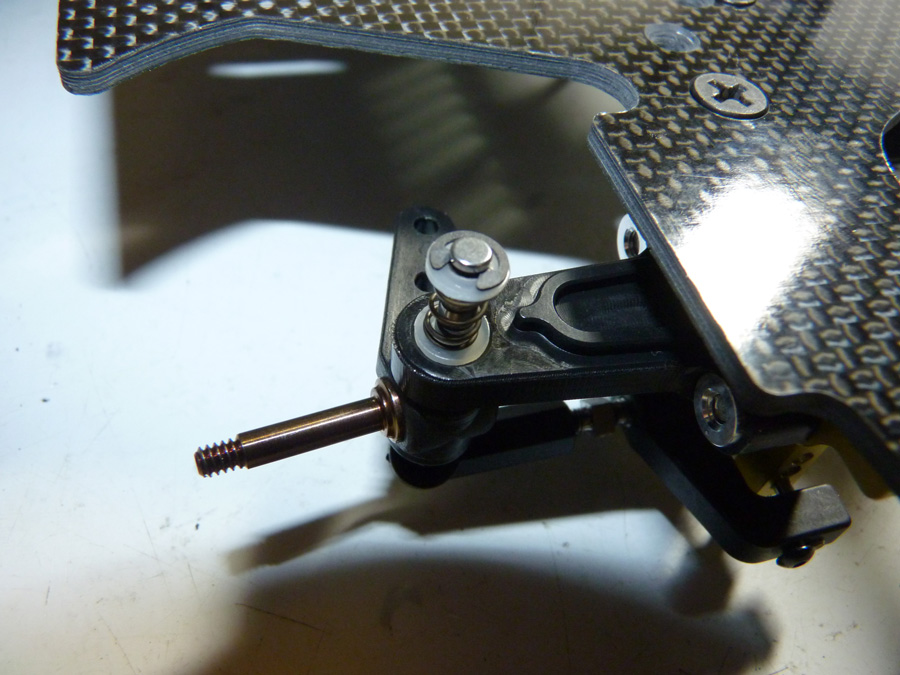
Now we insert the kingpin through the steering knuckle. Then we install the assembly into the arm.
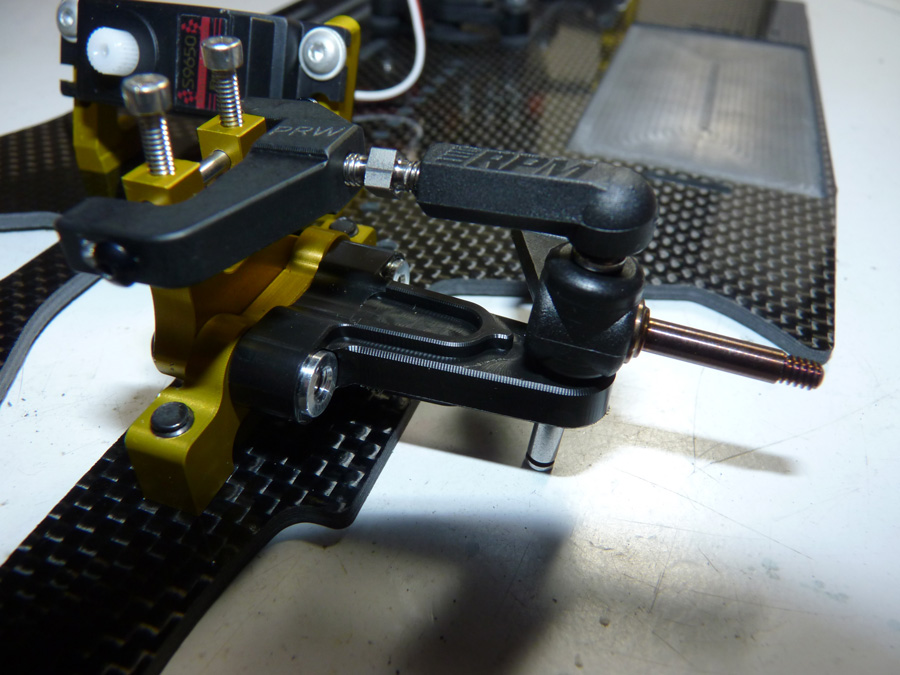
Here’s that completed.
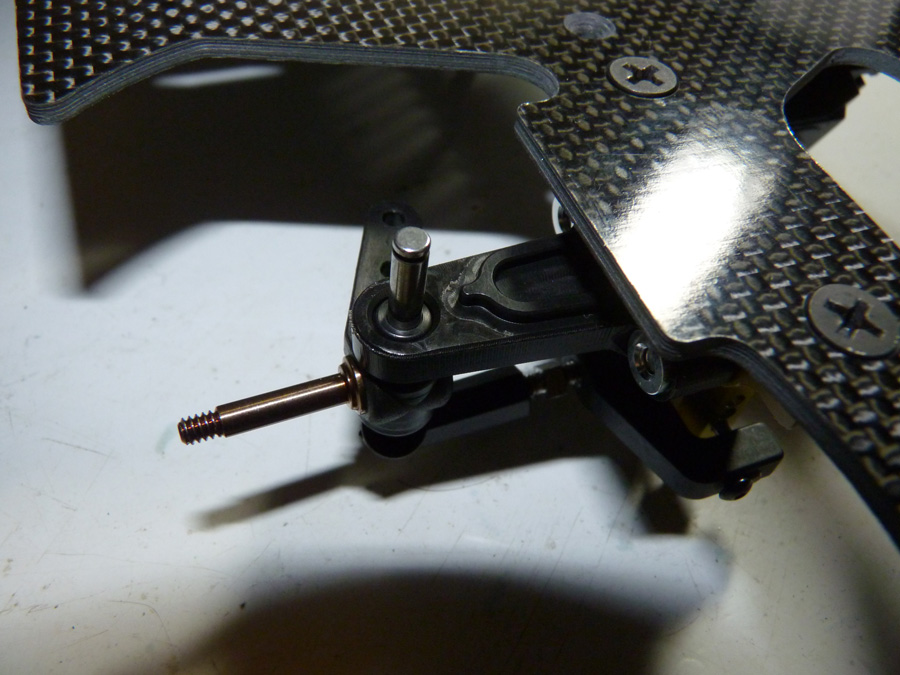
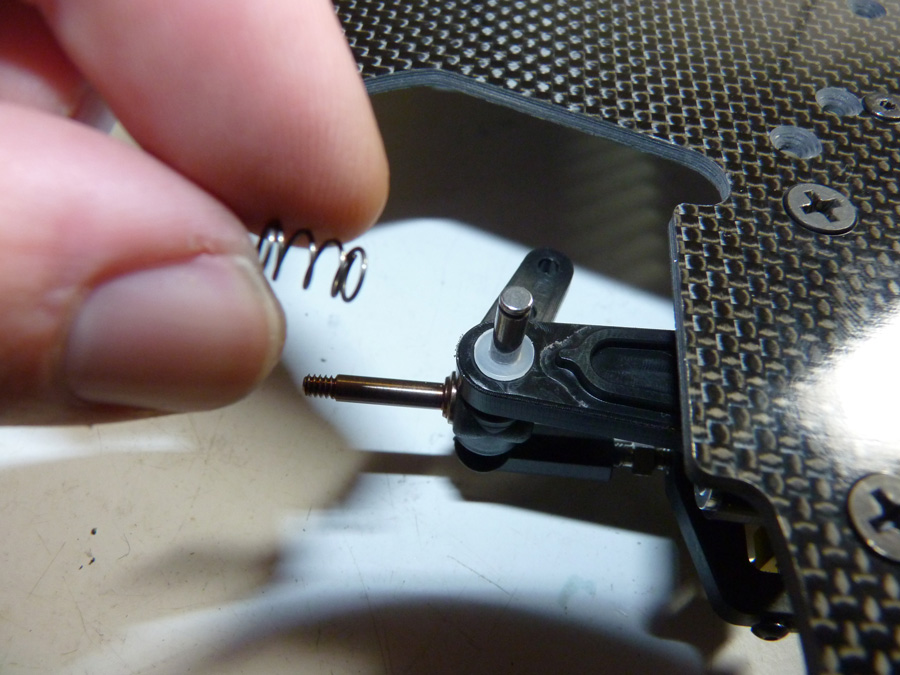
Now let’s flip it over and install the springs.
I changed this when running. I originally had a spacer above and below the spring. When running I decided to take out the one that was above the spring and put that between the steering knuckle and the arm to take some of the preload out of the spring. I’m not sure that was right, and will fix this section as soon as I get some input from the PRW crew. Either way it is not a drastic change or hard to fix.
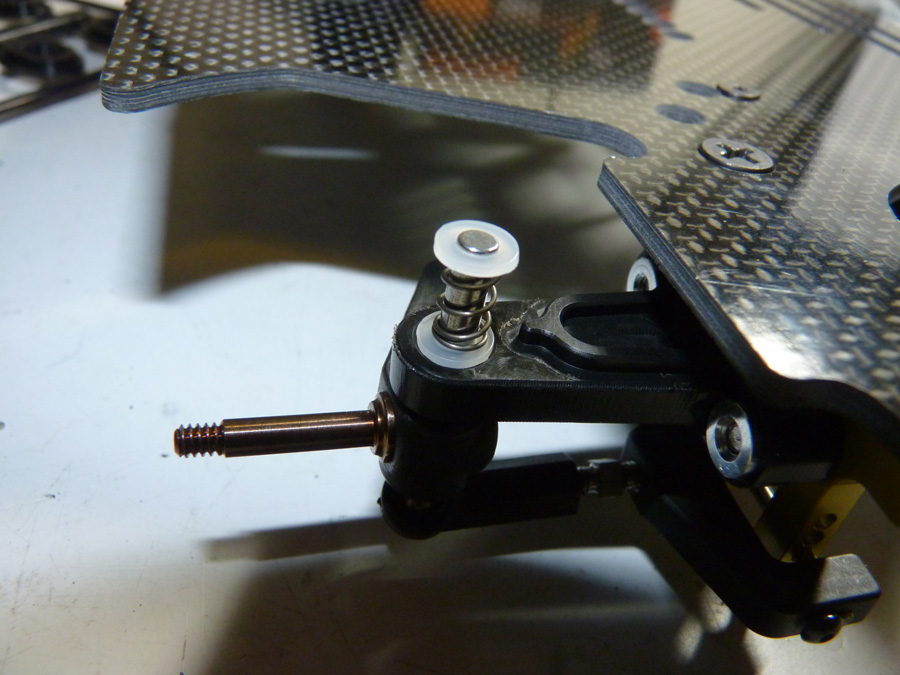
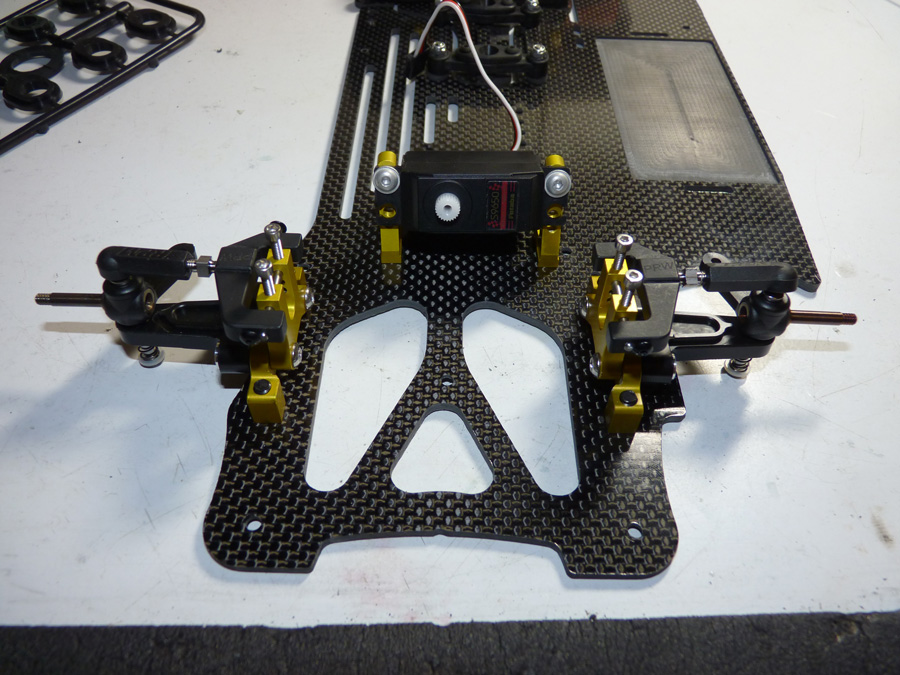
Now the front end is basically together.
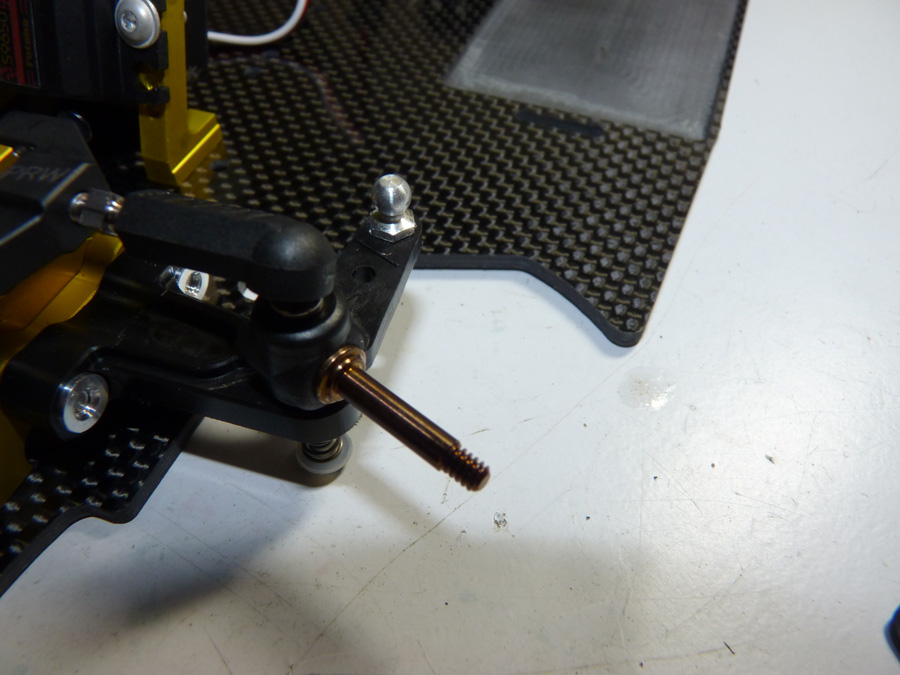
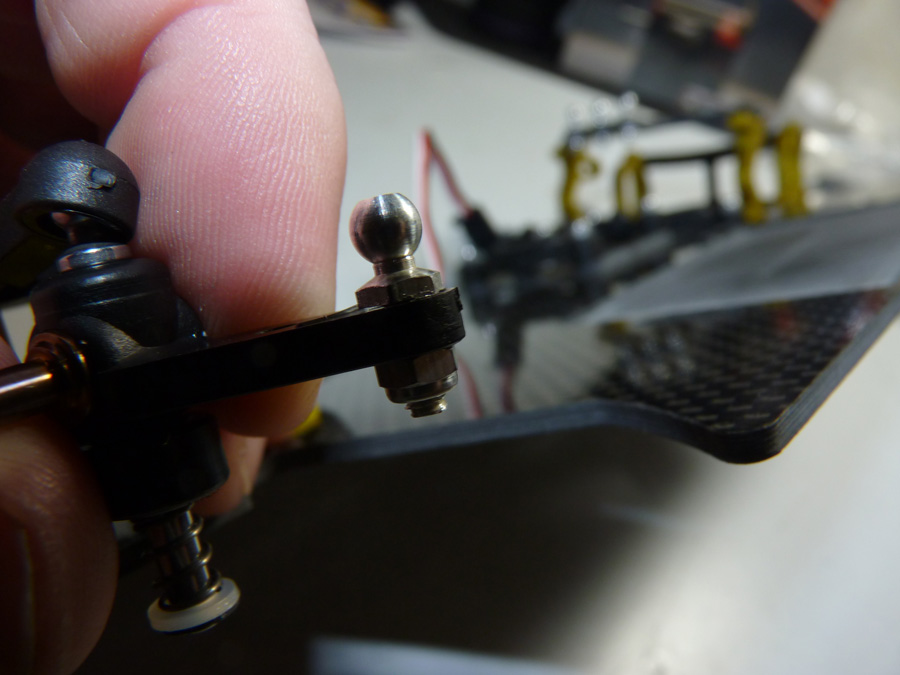
Let’s install those ball studs on the steering knuckles.
 Posted in
  Tags:
Tags:
[…] is my Pemberton Raceworks SJ-10 Chief I build almost specifically to race here. I sold the old roller I ran last year. It handled ok. I […]